Introduction
This manual provides essential information for the safe and efficient installation, operation, and maintenance of your GarveeHome SEER 18.5 12000BTU 230V Mini Split Air Conditioner. Please read it thoroughly before beginning any procedures.
Key Features:
- High-Efficiency Cooling & Heating: SEER 18.5 Inverter Technology reduces energy costs by up to 30%. 12000BTU capacity cools/heats rooms up to 750 Sq.Ft quickly and quietly.
- Smart Features: Includes Programmable 24H Timer, Sleep Mode, iFeel Mode, Rapid Cooling, and Auto-Restart. Adjust settings via WiFi and the user-friendly remote control.
- Ultra-Quiet Operation: Operates as low as 32dB, ideal for bedrooms, offices, or small spaces, ensuring minimal disturbance.
- Durable & Low-Maintenance: Features R32 Eco-Friendly Refrigerant, Anti-Corrosion Coating, and a Self-Diagnosis System.
Package Contents
Your GarveeHome Mini Split Air Conditioner package includes the following components:
- Indoor Unit
- Outdoor Unit
- Installation Kit (including line sets, drain hose, remote control, and step-by-step guide)

Image: Detailed view of all components included in the GarveeHome Mini Split Air Conditioner package.
Setup and Installation
While this unit is designed for DIY installation, professional installation is recommended to ensure optimal performance and safety. The refrigerant has been pre-charged, but the unit needs to be vacuumized during installation.
Installation Guide Video:
Video: A comprehensive guide to installing a mini split air conditioner, covering all essential steps from preparation to final testing.
1. Preparation
- Ensure you have all necessary tools for installation.
- Avoid installing the unit near heat/steam sources, in areas with smoke/oil, or where obstructions may block air flow.
- Do not install near flammable or corrosive gases.
2. Indoor Unit Installation
- The wall for the indoor unit must be hard, flat, and firm to prevent vibration and noise.
- Remove the mounting bracket from the back of the indoor unit.
- Use the provided paper pattern to identify the exact location for drilling screw holes and the wall hole.
- Drill the screw holes and insert expansion tubes for expansion screws.
- Drill the wall hole with a hole punch, ensuring it has a certain angle of inclination (high on the inside, low on the outside) for proper drainage.
- Confirm the direction for placing air conditioning ducts and remove duct boards as needed.
- Remove the protective film from the indoor unit.
- Lift the cover, remove screws for the power cord cover, and fix the communication cable wires to the corresponding positions.
- Connect the pipes to the indoor unit, ensuring joints are tightly fitted and tightened with a wrench.
- Connect the thicker end of the drain hose to the drain pipe of the indoor unit.
- Line up all wires and pipes neatly, turn them to the position of the corresponding holes, and wrap them together with plastic tape.
- Hang the indoor unit on the shelf, run pipes and wires through the holes, and cover them with pipe protection rings inside and outside the walls, plugging excess using putty.
3. Outdoor Unit Installation
- Place the outdoor unit in a suitable location (outside the wall bracket or on the ground). Wall bracket or ground stand may need to be purchased separately.
- Leave out the drain pipe and tape off the remaining pipes.
- Connect the two pipes to the outdoor unit, ensuring joints fit snugly and are tightened.
4. Electrical Connections
- Remove the 3 screws from the cover of the outdoor unit and use a tool to open the two holes at the lower end of the cover.
- Pass the wires through the cover hole (usually the right-hand hole).
- Fix the 3 wires of the power cable one by one according to the color (green - ground wire, black - fire wire, white - zero wire).
- Secure the fixing plate.
- Fix the 4 wires of the communication cable one by one according to the color.
- Install the other end of the power cord on the power supply (green - ground wire, black - fire wire, white - zero wire).
5. Refrigerant Circuit Vacuuming
- Unscrew the three nuts circled on the outdoor unit.
- Connect the stop valve, charging hose manifold, and vacuum pump.
- Vacuumize for 15 minutes at least, ensuring the value on the pressure gauge is ≤ -0.1MPa (-76cmHg / 500µm).
- Keep the pressure for 35 minutes after vacuumizing to ensure springback is ≤ 0.05MPa.
- Open the 1/4 liquid valve, then remove the charging hose.
- Using an Allen wrench, open all the liquid valves and gas valves, and finally retighten the three caps.
6. Trial Operation
- Pour 500ml of water along the evaporator (indoor unit) for about 20 seconds. Check to see if water is flowing from the pipe outside the wall.
- Turn on the unit using the remote control.
- If there is electricity leakage, turn off power immediately and check for the source of the leakage.
Operating Instructions
Your GarveeHome Mini Split AC offers various modes and smart features for optimal comfort and energy efficiency.
Remote Control Functions:

Image: Multifunctional remote control for the GarveeHome Mini Split Air Conditioner.
- Cooling Mode: Fast cooling in 30 seconds.
- Heating Mode: Fast heating in 60 seconds.
- Dry Mode: One-key drying mode to quickly reduce indoor humidity.
- Fan Only Mode: Low, Mid, High, Turbo 4 wind speeds with 50ft long distance air flow.
- Sleep Mode: Ultra-quiet operation for undisturbed sleep.
- 24H Timer: Program the unit to turn on/off automatically.
- iFeel Mode: Adjusts temperature based on remote's location for precise comfort.
- ECO Energy Saving: Optimizes operation for reduced energy consumption.
- 4D Auto Swing: Ensures even air distribution.
Smart WiFi Control (AC Freedom App):
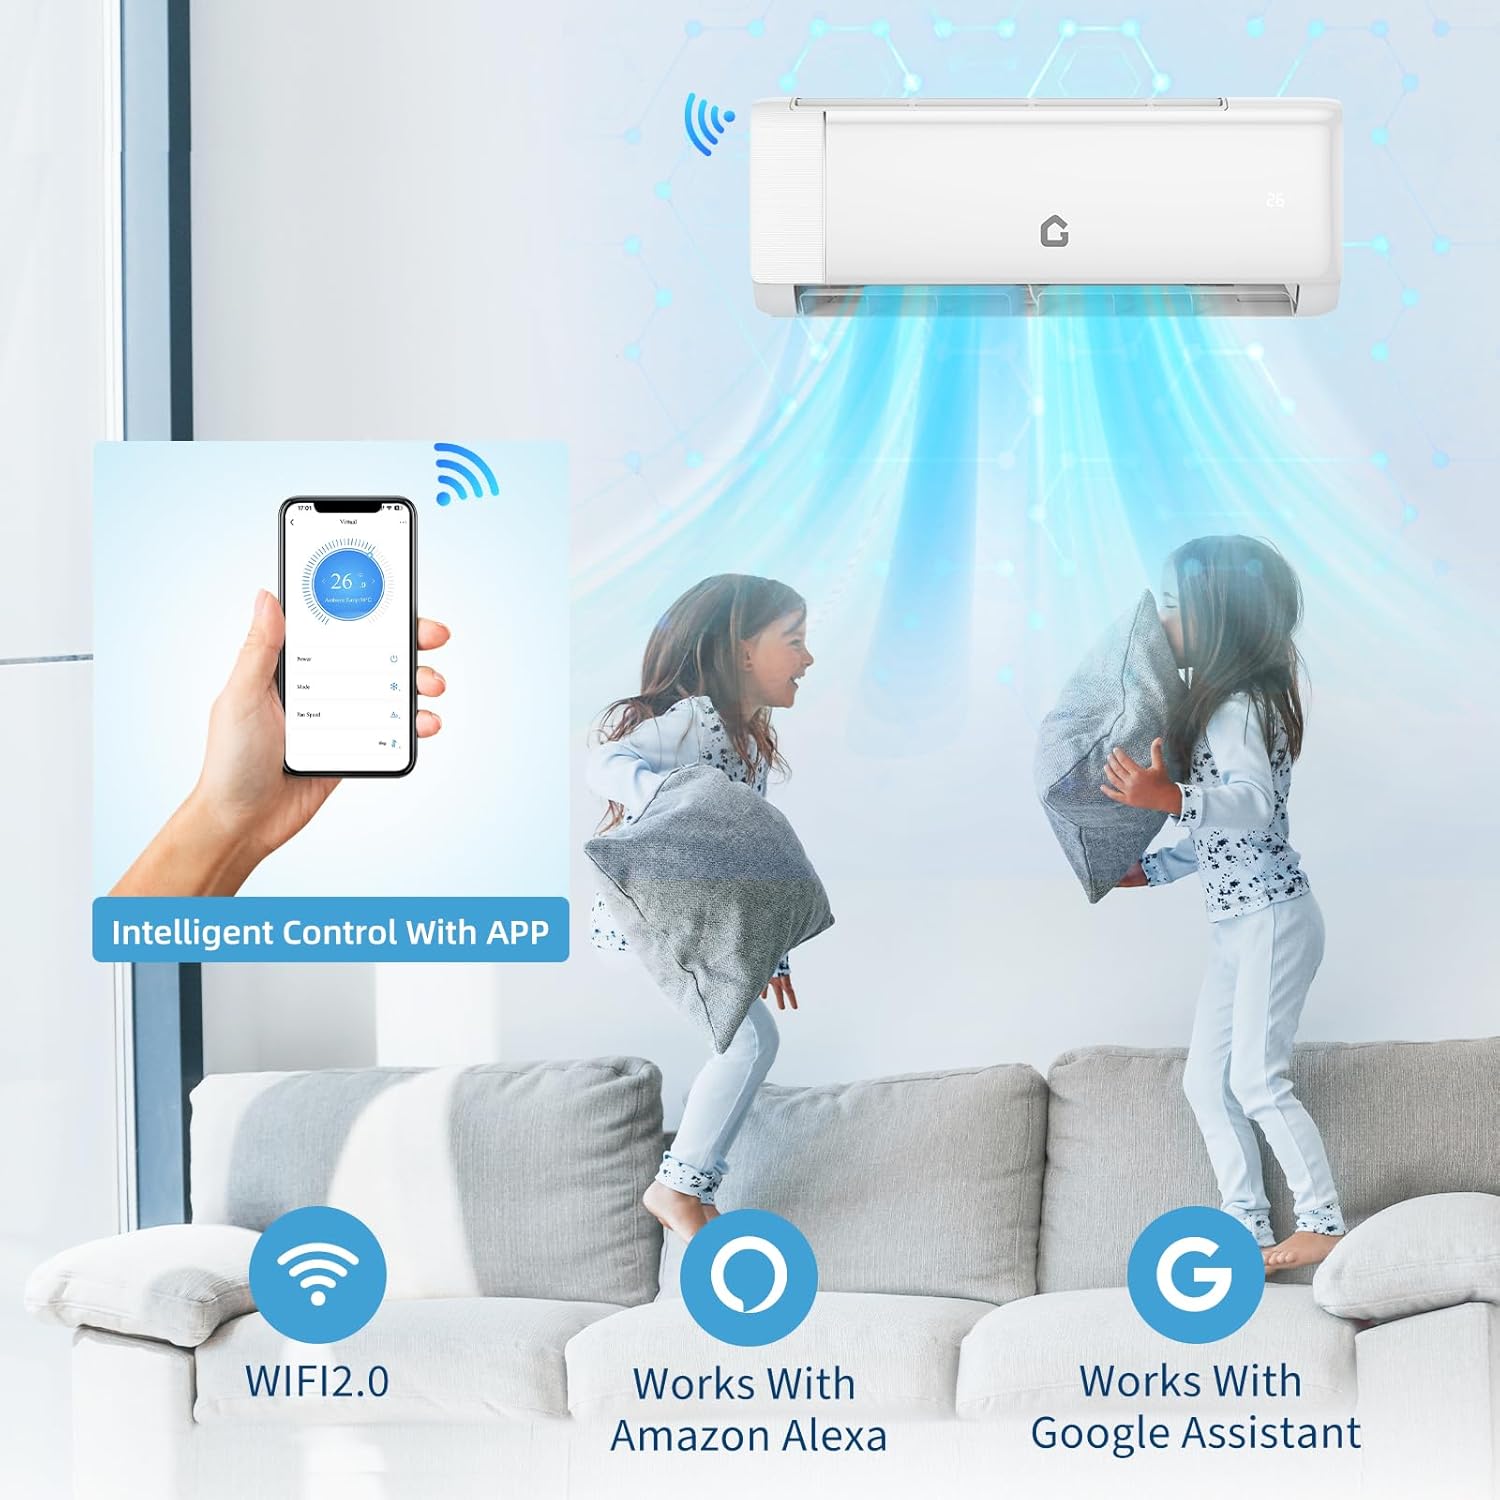
Image: Intelligent control of the GarveeHome Mini Split Air Conditioner via a smartphone app.
Video: Step-by-step guide to setting up and using the AC Freedom Network for your GarveeHome Mini Split Air Conditioner.
- Download the AC Freedom app on your smartphone.
- Follow the in-app instructions to connect your mini split unit to your home WiFi network.
- Control temperature, mode, fan speed, and other features remotely.
- Set timers and schedules for automated operation.
Maintenance
Regular maintenance ensures the longevity and efficient operation of your mini split system.
1. Filter Cleaning
- Clean the air filters regularly (every 2-4 weeks, depending on usage) to maintain air quality and efficiency.
- Refer to the detailed user manual for instructions on how to remove and clean the filters.
2. Self-Diagnosis System
- The unit is equipped with a self-diagnosis system that can detect and display error codes.
- Consult the troubleshooting section of this manual or the full user manual for explanations of error codes.
3. Anti-Corrosion Coating
- The outdoor unit features an anti-corrosion coating for enhanced durability against environmental factors.
- Periodically inspect the outdoor unit for any debris or blockages that may affect performance.
Troubleshooting
If you encounter issues with your mini split system, refer to the following common troubleshooting tips:
- Unit not turning on: Check power supply, circuit breaker, and ensure the remote control batteries are functional.
- Insufficient cooling/heating: Verify temperature settings, clean air filters, check for obstructions around indoor/outdoor units, and ensure windows/doors are closed.
- Unusual noises: Check for loose parts, debris in the fan, or vibration from improper installation.
- Water leakage: Ensure the drain hose is properly installed and not blocked. Check for proper inclination of the wall hole.
- WiFi connectivity issues: Ensure your router is working, the unit is within WiFi range, and the AC Freedom app is updated.
For persistent issues or error codes displayed on the unit, consult the detailed user manual or contact customer support.
Specifications

Image: Detailed dimensions and technical specifications of the GarveeHome Mini Split Air Conditioner.
| Feature | Specification |
|---|---|
| Brand Name | GarveeHome |
| Model Info | LL-SplitAC-S1851W2230VZ93l |
| Item Weight | 65 pounds |
| Product Dimensions | 32.48 x 25.2 x 31.34 inches |
| Efficiency | Highly Efficient |
| Capacity | 0.75 Tons (12000 BTU) |
| Annual Energy Consumption | 576 Kilowatt Hours Per Year |
| Noise Level | 32 Decibels |
| Installation Type | Split System |
| Form Factor | Mini-Split |
| Special Features | Inverter Compressor, Remote Controlled, WiFi Enabled, Heating And Cooling Function, Dehumidifier |
| Color | White |
| Voltage | 230 Volts |
| Wattage | 1350 watts |
| Material Type | Iron, Aluminum, ABS Plastic |
| Floor Area Coverage | 750 Square Feet |
| Seasonal Energy Efficiency Ratio (SEER) | 18.5 |
| Refrigerant | R-32 |
Warranty and Support
Your GarveeHome Mini Split Air Conditioner comes with a 5-Year Warranty on the Compressor, ensuring long-term reliability.
We also provide Lifetime Technical Support for any questions or assistance you may need with your unit.
For support, please refer to the contact information provided in your full user manual or visit the GarveeHome website.