ILEFOROR A9
ILEFOROR A9 2-Person Folding Electric Bike Instruction Manual
1. Introduction
This manual provides essential information for the safe and efficient operation, assembly, and maintenance of your ILEFOROR A9 2-Person Folding Electric Bike. Please read this manual thoroughly before using the product and retain it for future reference.
2. Safety Information
Always prioritize safety when operating your electric bike. Failure to follow safety guidelines can result in serious injury or damage to the product.
- Wear a helmet and appropriate safety gear at all times.
- Ensure all components are securely fastened before each ride.
- Do not exceed the maximum weight capacity of 330 lbs (150 kg).
- Familiarize yourself with local traffic laws and regulations for electric bikes.
- Avoid riding in adverse weather conditions or on slippery surfaces.
- Regularly inspect brakes, tires, and battery for proper function.
3. Setup and Assembly
Your ILEFOROR A9 electric bike requires some assembly. Follow these steps carefully to ensure correct setup.
3.1 Unboxing and Initial Inspection
Carefully remove all components from the packaging. Verify that all parts listed in the packing list are present and undamaged.
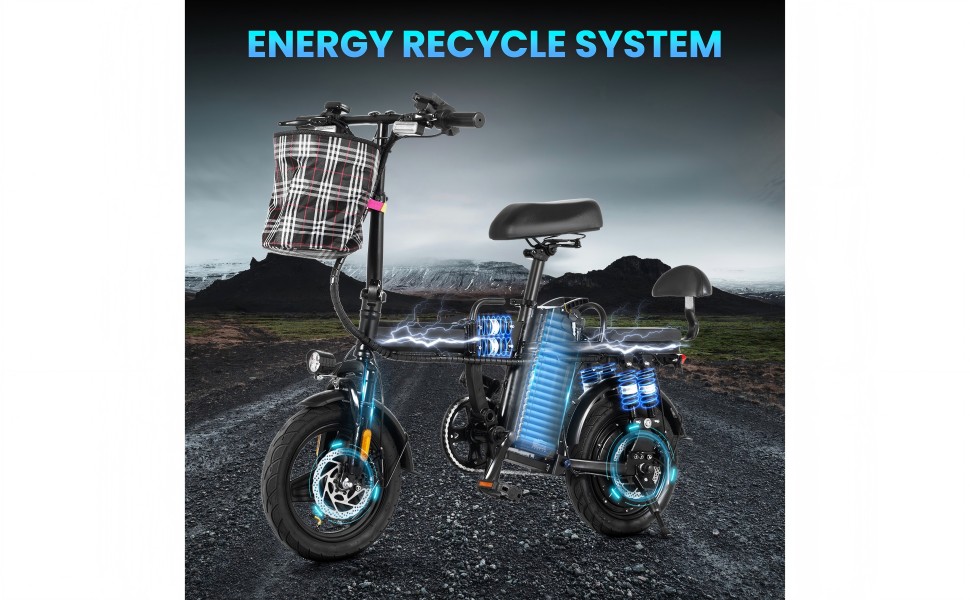
Image: All components of the ILEFOROR A9 Electric Bike laid out for assembly.
3.2 Assembly Steps
- Unfolding the E-Bike: Unfold the main frame and adjust the front fork. Ensure all locking mechanisms are securely engaged.
- Installing the Front Tube Rod and Handlebar: Insert the front tube rod into the frame. Place the handlebar into the rod, ensuring it is inserted past the safe level mark. Secure all fasteners.
- Attaching the Front Mudguard: Assemble the front mudguard to the front fork using the provided screws and tools.
- Installing the Front Wheel: Insert the axle into the front wheel, ensuring all washers, nuts, and spacers are correctly positioned. Mount the wheel onto the fork and tighten the nuts securely.
- Assembling the Front Disc Brake: Attach the front disc brake caliper and tighten the screws. Ensure the brake pads are correctly aligned with the rotor.
- Installing the Seat: Install the main seat and insert its rod into the tube. Adjust to a comfortable height, ensuring the safe level mark is not exceeded.
- Mounting the Rear Seat Backrest: Remove the rear seat cushion and mount the backrest to the rear rack using the provided hardware. Reattach the rear seat cushion.
- Attaching Footrests: Install the footrests on both sides of the rear wheel.
- Applying Reflectors: Stick the reflectors on both sides of the front fork for increased visibility.
- Attaching the Front Basket: Secure the front basket to the handlebar.
3.3 Assembly Video Guide
For a visual guide on the assembly process, please refer to the official installation video below.
Video: Official ILEFOROR A9 Electric Bike Installation Video. This video demonstrates the step-by-step assembly of the e-bike, including unfolding, installing handlebars, mudguards, wheels, brakes, seats, footrests, reflectors, and the front basket.
4. Components Overview
Understand the key features and controls of your ILEFOROR A9 electric bike.

Image: Detailed view of the ILEFOROR A9 Electric Bike's handlebar controls, including the front brake handle, headlight switch, horn, turning signal light switch, speed level indicator, phone charger/holder, twist throttle, and display.
- Front Brake Handle: Controls the front disc brake.
- Rear Brake Handle: Controls the rear disc brake.
- Headlight: Provides illumination for night riding.
- Turning Signal Lights: Front and rear indicators for signaling turns.
- Horn: For alerting others.
- Display: Shows battery power, mileage, and current speed.
- Twist Throttle: Engages electric power for acceleration.
- Phone Charger/Holder: Integrated USB port and holder for mobile devices.
- Speed Level Selector: Adjusts the pedal assist level (3 speeds).
5. Operation
5.1 Starting the E-Bike
Insert the key into the ignition and turn it to the 'ON' position. The display will illuminate, indicating the bike is ready for operation. You can also use the remote control to turn the bike on/off and lock/unlock it.
5.2 Riding Modes
The ILEFOROR A9 offers three riding modes:
- Electric-Only Mode: Use the twist throttle to accelerate without pedaling.
- Pedal Assist Mode: The motor provides assistance as you pedal. Adjust the assist level using the speed selector.
- Regular Bike Mode: Ride the bike like a traditional bicycle without motor assistance.
5.3 Braking
Apply the brake levers gently and evenly. The rear light will activate when braking. The right lever controls the front brake, and the left lever controls the rear brake.

Image: Close-up view of the front disc brake on the ILEFOROR A9 Electric Bike, highlighting the braking mechanism.
6. Battery and Charging
The ILEFOROR A9 is equipped with a 48V 15Ah lithium battery, offering a range of up to 50 miles (80 km) in pedal assist mode.
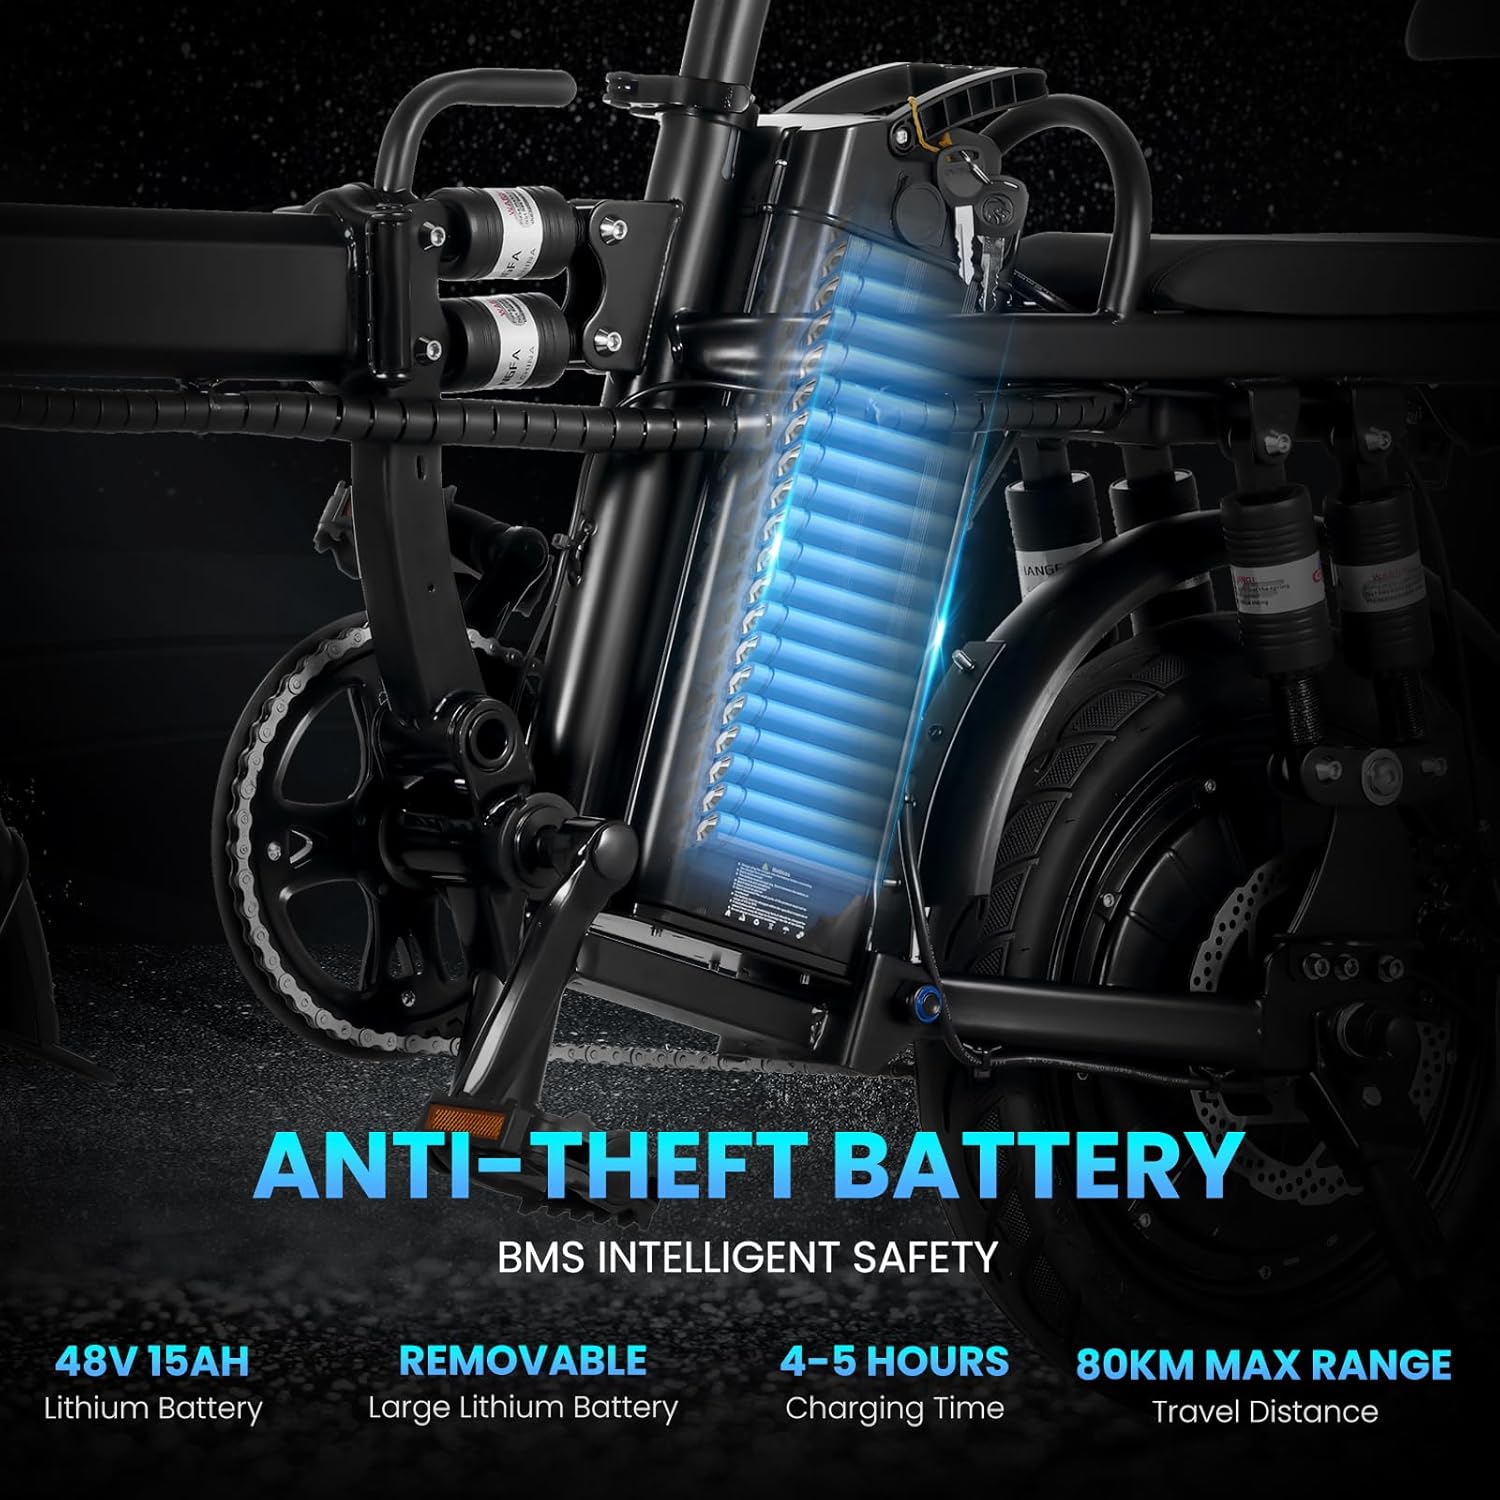
Image: The ILEFOROR A9 Electric Bike showcasing its 48V 15Ah lithium battery, which is removable for charging and features anti-theft design.
6.1 Charging the Battery
The battery can be charged while installed on the bike or removed for convenience. A full charge typically takes 4-5 hours. Use only the provided charger.
- Connect the charger to the battery charging port.
- Plug the charger into a standard electrical outlet.
- The charger indicator light will show charging status (e.g., red for charging, green for fully charged).
7. Folding Mechanism
The ILEFOROR A9 features a convenient folding design for easy storage and transport.

Image: A person demonstrating the folding capability of the ILEFOROR A9 Electric Bike, easily placing it into a car trunk.
7.1 Folding Instructions
- Ensure the e-bike is powered off.
- Locate the quick-release levers on the handlebar stem and the main frame.
- Open the quick-release lever on the handlebar stem and fold the handlebar down.
- Open the quick-release lever on the main frame and fold the bike in half.
- Secure any folding clamps or latches to prevent accidental unfolding.

Image: The ILEFOROR A9 Electric Bike shown in both its fully assembled and compact folded configurations, illustrating its portability.
8. Maintenance
Regular maintenance ensures the longevity and safe operation of your electric bike.
- Tires: Check tire pressure before each ride. Maintain recommended PSI for optimal performance and safety.
- Brakes: Inspect brake pads and cables regularly. Adjust or replace as needed to ensure effective stopping power.
- Chain: Keep the chain clean and lubricated to prevent rust and ensure smooth pedaling.
- Battery: Store the battery in a cool, dry place. Charge it regularly, even if not in use, to maintain battery health.
- Frame: Periodically check the frame and all fasteners for any signs of damage or looseness.
- Cleaning: Clean the bike with a damp cloth. Avoid using high-pressure water jets directly on electrical components.
9. Troubleshooting
This section addresses common issues you might encounter with your ILEFOROR A9 electric bike.
| Problem | Possible Cause | Solution |
|---|---|---|
| Bike does not power on. | Battery low or disconnected; key not in 'ON' position. | Charge battery; ensure battery is securely connected; turn key to 'ON'. |
| Motor not assisting. | Pedal assist level too low; throttle not engaged; sensor issue. | Increase pedal assist level; check throttle connection; contact support if issue persists. |
| Brakes feel weak. | Worn brake pads; loose brake cables. | Inspect and replace brake pads; adjust brake cable tension. |
| Unusual noises during operation. | Loose components; dry chain; motor issue. | Check all fasteners; lubricate chain; contact support. |
10. Specifications
| Feature | Detail |
|---|---|
| Model Name | A9 |
| Bike Type | City Bike, Folding Bike |
| Motor | 750W Peak Brushless Motor |
| Battery | 48V 15Ah Lithium Battery (Removable) |
| Charging Time | 4-5 hours |
| Max Range (Pedal Assist) | Up to 50 miles (80 km) |
| Max Speed | 20 MPH (32 km/h) |
| Wheel Size | 14 Inches |
| Frame Material | Alloy Steel |
| Suspension Type | Rear (Nine layers of shock absorption with built-in hydraulic shock absorption) |
| Brake Style | Disc Brakes |
| Number of Speeds | 1 (with 3-speed shifting system for assist levels) |
| Item Weight | 66 Pounds (30 kg) |
| Maximum Weight Recommendation | 330 Pounds (150 kg) |
| Recommended User Height | 4'9"–5'9" (150–180 cm) |
| Special Features | Adjustable Seat, Basket, Foldable, Lightweight, Portable, Kids Seat, Phone Charging Holder, Safety Alarm |
| UPC | 764479728796 |

Image: Technical diagram illustrating the dimensions, recommended user height, bicycle weight, and maximum load capacity of the ILEFOROR A9 Electric Bike.
11. Warranty and Support
11.1 Warranty Information
The ILEFOROR A9 Electric Bike comes with a one-year limited warranty covering motors, batteries, controllers, and instruments. Wearing parts are not covered under warranty. If any covered part fails during the warranty period, a replacement will be sent free of charge. Customers are required to provide photos and videos for confirmation.
Please note the following conditions:
- Returns without a quality problem after delivery will incur return shipping, repacking, and labor charges (restocking fee).
- For minor damage upon receipt, replacement parts will be sent. For major issues, the product may need to be returned to a designated repair point.
- Damage caused by user misuse after delivery will result in charges for express shipping and replacement accessories.
11.2 Customer Support
For any questions, technical assistance, or warranty claims, please contact ILEFOROR customer support through your purchase platform or the contact information provided with your product packaging.
Ask a question about this manual
Ask about setup, troubleshooting, compatibility, parts, safety, or missing instructions. Manuals+ will review the question and use this page’s manual context to help answer it.