1. Introduction
This manual provides essential instructions for the setup, operation, and maintenance of your Generic A3 L805 UV Flatbed Printer. This versatile printer is designed for high-resolution printing on a wide array of materials, offering capabilities such as flat printing, cylinder printing, varnish effects, 3D embossing, and UV DTF printing. It is suitable for customizing items like phone cases, bottles, glass, leather, metal, and PVC.
Important Note: This UV printer is not compatible with PP and PE materials.

Figure 1: The Generic A3 L805 UV Flatbed Printer shown with various customized items.
2. Package Contents
Verify that all the following items are included in your package:
- 1x UV DTF Printer
- 1x Bottle Holder
- 6x Ink Bottles
- 1x Software (on USB)
- 1x USB User Manual (on USB)
- 1x Ink Damper
- 1x Syringe
- USB Cable
- Power Cable

Figure 2: All components included in the product package.
3. Specifications
Refer to the table below for detailed technical specifications of the A3 L805 UV Flatbed Printer:
| Feature | Specification |
|---|---|
| Printer Type | A3 L805 UV flatbed printer |
| Print Platform Size | 33 x 50 CM |
| UV Lamp Effective Area | 32 x 50 CM |
| Maximum Bottle Size | Diameter 110mm, length 500mm |
| Diameter Range of Bottle | 5-11 CM |
| Printer Nozzle Type | EPSON L805 |
| Software Setting Precision | 2880 x 1440 dpi |
| Print Speed | 178 seconds (Photo mode) |
| Print Software | AcroRIP White ver10.3 |
| Print Interface | USB2.0 |
| Color of Printing | CMYK+V or CMYK+2W |
| Printer Size | 76 x 63 x 51 CM |
| Computer Operating System | Windows 7-11 |
| Product Dimensions (D x W x H) | 19" x 21" x 25" |

Figure 3: Technical specifications of the A3 L805 UV Flatbed Printer.
4. Setup
Follow these general steps for initial setup. For detailed visual guidance, refer to the USB user manual and any included video instructions.
- Unpacking: Carefully remove all components from the packaging. Retain packaging for future transport or storage.
- Placement: Place the printer on a stable, level surface with adequate space for operation and ventilation.
- Connections: Connect the power cable to the printer and a suitable power outlet. Connect the USB cable from the printer to your computer.
- Software Installation: Insert the provided USB drive into your computer. Install the necessary printing software (AcroRIP White ver10.3) and drivers.
- Ink Loading: Follow the instructions in the USB manual for safely loading the ink into the printer's ink tanks. Ensure correct color placement.
- Initial Calibration: Perform any initial calibration steps as outlined in the software or USB manual to ensure optimal print head alignment and height detection.
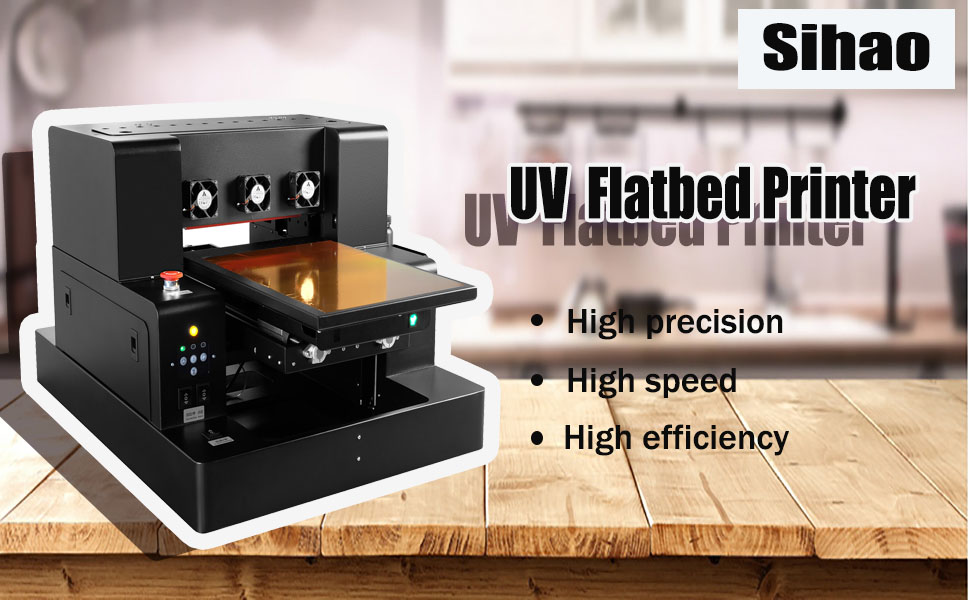
Figure 4: The UV flatbed printer ready for setup.
5. Operating Instructions
The A3 L805 UV Flatbed Printer supports various printing modes and offers intuitive controls.
5.1 Basic Printing Process
- Computer Typesetting: Design your desired image or text using the provided software on your computer.
- Material Placement: Carefully place the item to be printed on the printer's platform. For cylindrical items, install the bottle holder accessory (see Figure 5). The printer features automatic height detection (see Figure 6).
- Start Printing: Initiate the print job from the software.
- Finished Product: Once printing is complete, remove the customized item.

Figure 5: Overview of the printing workflow.
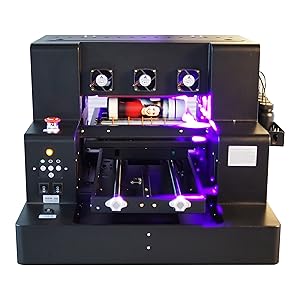
Figure 6: Printer with bottle holder for cylindrical items.
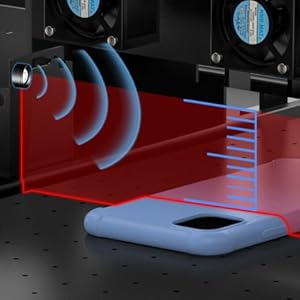
Figure 7: Automatic height detection mechanism.
5.2 Control Panel Functions
The printer's control panel provides access to various functions:
- Emergency Stop Switch: A red button for immediate shutdown of the printer in emergencies.
- Function Button: Used to cycle through various printer functions.
- Paper Button: Controls paper/material feeding.
- Ink Button: Manages ink-related operations.
- Automatic Stop/Manual: Toggles between automatic and manual operation modes.
- In and Out / Stop: Controls the movement of the print platform.
- Cleaning Button: Initiates the print head cleaning cycle.
- Delete Button: Used to clear print jobs or settings.
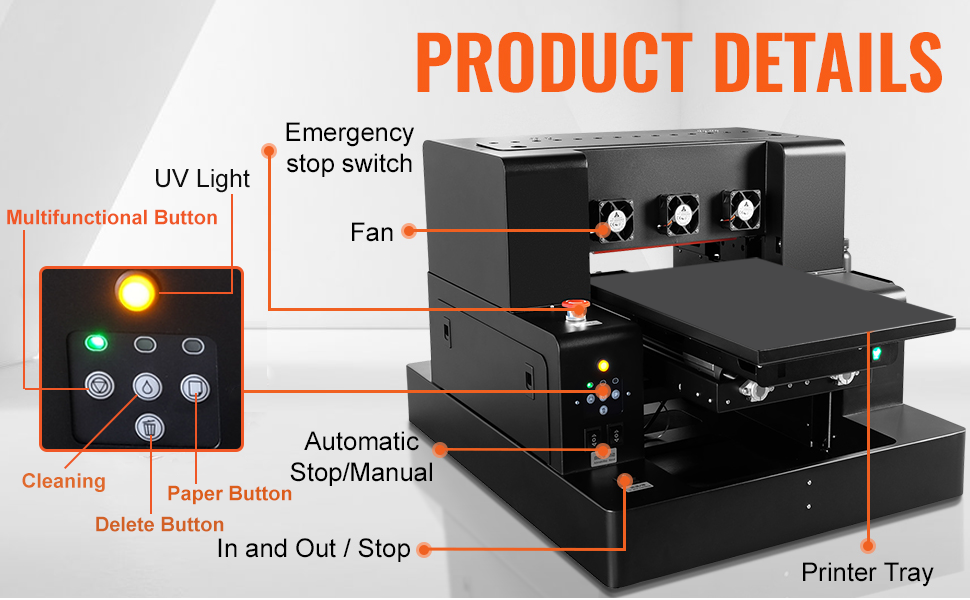
Figure 8: Detailed view of the printer's control panel and components.
5.3 Application Scenarios
The printer's capabilities extend to a wide range of materials and products:
- Phone cases
- Glass items
- Leather products
- Metal surfaces
- PVC materials
- Bottles and cylindrical objects (with bottle holder)
- Stickers and labels (UV DTF printing)
- Items requiring 3D embossing or varnish effects

Figure 9: Diverse applications of the UV flatbed printer.
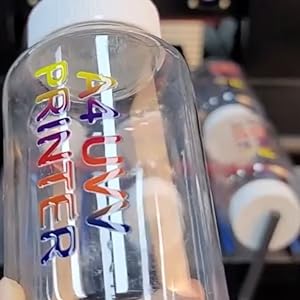
Figure 10: Example of printing on a bottle.

Figure 11: Example of printing on stickers.

Figure 12: Example of a 3D embossed print.
6. Maintenance
Proper maintenance ensures the longevity and optimal performance of your UV printer.
6.1 White Ink Mixing Cycle System
The printer is equipped with a white ink mixing system. This system automatically circulates the white ink to prevent pigment settling and ensures even distribution throughout the nozzle. Regular operation of this system is crucial for maintaining print quality and preventing clogs.
6.2 Automatic Cleaning Function
Utilize the automatic cleaning function regularly, especially before and after extended periods of non-use, to prevent ink clogging and maintain print head health. Refer to the USB user manual for instructions on initiating and managing cleaning cycles.

Figure 13: White ink circulation and cleaning mechanisms.
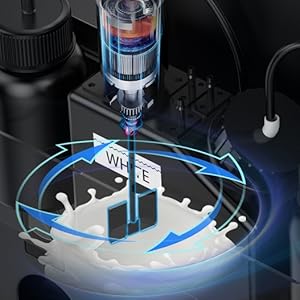
Figure 14: Internal white ink stirring mechanism.
7. Troubleshooting
If you encounter any issues during setup or operation, please refer to the detailed instructions and software provided on the USB drive. Many common problems can be resolved by following the troubleshooting guides within the manual.
If you are unable to open the USB manual, install the software, or resolve a persistent issue, please contact the seller for assistance. They are prepared to help you resolve any problems.
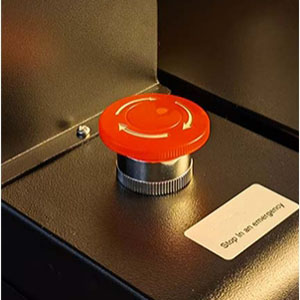
Figure 15: Emergency stop button for immediate printer shutdown.
8. Safety Information
Always observe the following safety precautions when operating the UV Flatbed Printer:
- Ensure the printer is connected to a grounded power outlet.
- Do not expose the printer to water or excessive humidity.
- Keep hands and loose clothing away from moving parts during operation.
- Handle ink cartridges and bottles with care to avoid spills. Wear appropriate protective gear if necessary.
- In case of an emergency, immediately press the emergency stop button.
- Do not attempt to service the printer beyond the instructions provided in this manual. Refer to qualified personnel for repairs.
9. Warranty and Support
For any questions regarding your printer, including software installation, operation, or troubleshooting, please refer to the comprehensive user manual and video instructions provided on the included USB drive. If you require further assistance, do not hesitate to contact the seller directly. They are committed to providing support and resolving any issues you may encounter.