1. Introduction
This manual provides detailed instructions for the safe and efficient operation, maintenance, and troubleshooting of your Philips 800 Series Automatic Espresso Machine, model EP0820/04. Please read this manual thoroughly before first use and retain it for future reference.
The Philips 800 Series espresso machine is designed to deliver fresh bean coffee beverages, including espresso and regular coffee, with the convenience of an integrated grinder and a classic milk frother for specialty drinks.
2. Important Safety Information
Always observe basic safety precautions when using electrical appliances to reduce the risk of fire, electric shock, and injury to persons. This includes, but is not limited to:
- Read all instructions carefully.
- Do not touch hot surfaces. Use handles or knobs.
- To protect against fire, electric shock, and injury, do not immerse cord, plugs, or the appliance in water or other liquid.
- Close supervision is necessary when any appliance is used by or near children.
- Unplug from outlet when not in use and before cleaning. Allow to cool before putting on or taking off parts, and before cleaning the appliance.
- Do not operate any appliance with a damaged cord or plug, or after the appliance malfunctions or has been damaged in any manner.
- The use of accessory attachments not recommended by the appliance manufacturer may result in fire, electric shock, or injury to persons.
- Do not use outdoors.
- Do not let cord hang over edge of table or counter, or touch hot surfaces.
- Do not place on or near a hot gas or electric burner, or in a heated oven.
- Always attach plug to appliance first, then plug cord into the wall outlet. To disconnect, turn any control to "off", then remove plug from wall outlet.
- Do not use appliance for other than intended use.
- Exercise extreme caution when dispensing hot steam.
3. Product Overview
Familiarize yourself with the components of your Philips 800 Series Automatic Espresso Machine.
3.1 Main Components

The machine features a sleek black design with an intuitive touch display. Key visible components include the coffee spout, classic milk frother on the left, and the drip tray at the base.
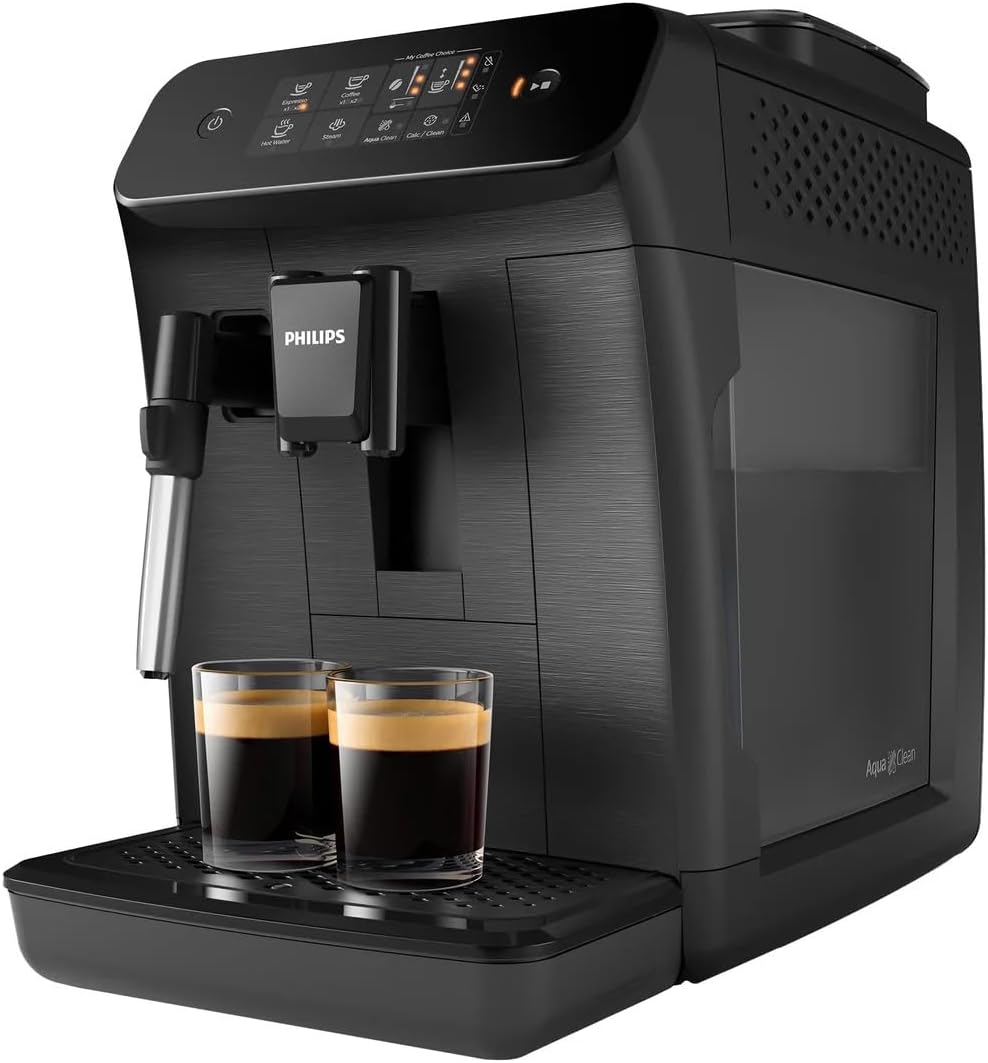
The removable water tank is located on the right side of the machine, designed for easy refilling and cleaning.
3.2 Control Panel

The control panel features touch-sensitive icons for:
- Power Button: To turn the machine on or off.
- Espresso: Brews a single shot of espresso.
- Coffee: Brews a regular black coffee.
- Hot Water: Dispenses hot water for tea or other beverages.
- Steam: Activates the classic milk frother for steam.
- Aroma Strength: Adjusts the intensity of your coffee.
- Quantity: Adjusts the volume of your coffee.
- AquaClean: Indicates AquaClean filter status.
- Calc/Clean: Indicates descaling requirement.
- Warning Indicator: Alerts to various issues (e.g., empty water tank, full grounds container).
4. Setup and First Use
Follow these steps for the initial setup of your espresso machine.
4.1 Initial Rinse Cycle
- Remove all packaging materials.
- Fill the water tank with fresh tap water up to the MAX indication.
- Place a container under the coffee spout and hot water spout.
- Plug in the machine and press the power button. The machine will perform an automatic rinse cycle.
4.2 Setting Water Hardness
Setting the water hardness ensures optimal performance and timely descaling notifications.
- Use the provided water hardness test strip to determine your local water hardness.
- Refer to the detailed instructions in the full manual (not included here) to set the water hardness level on your machine.
4.3 Installing the AquaClean Filter
The AquaClean filter helps to purify water and reduce the need for frequent descaling.
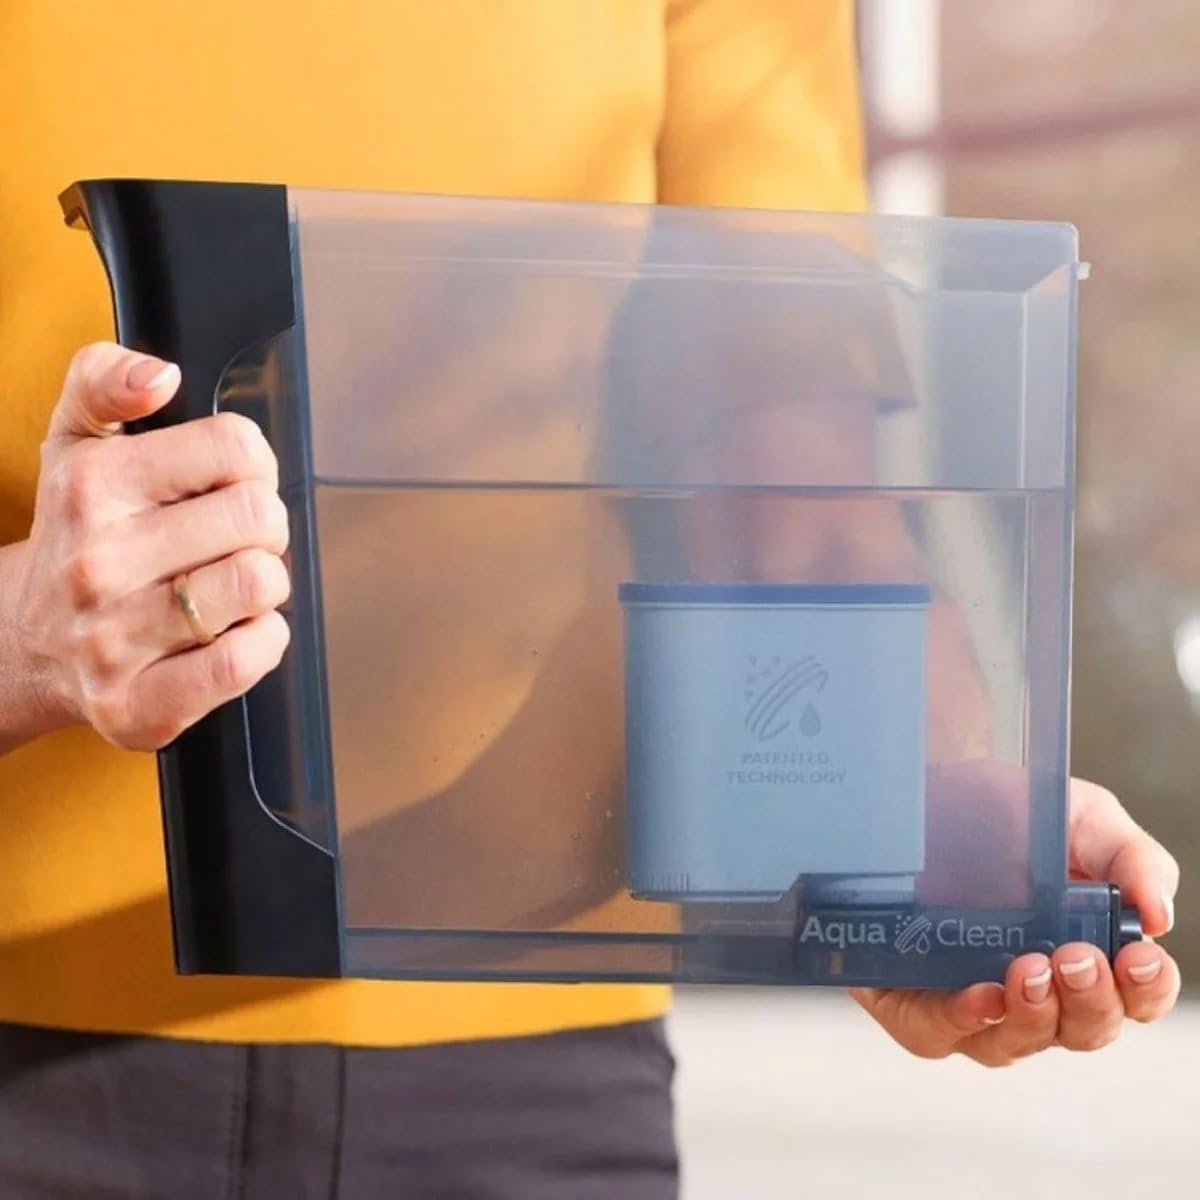
- Submerge the AquaClean filter in cold water for 30 seconds until no more air bubbles appear.
- Insert the filter into the water tank.
- Follow the on-screen instructions or refer to the full manual to activate the AquaClean filter on your machine.
5. Operating the Machine
Learn how to prepare various coffee beverages and use the milk frother.
5.1 Filling the Bean Hopper
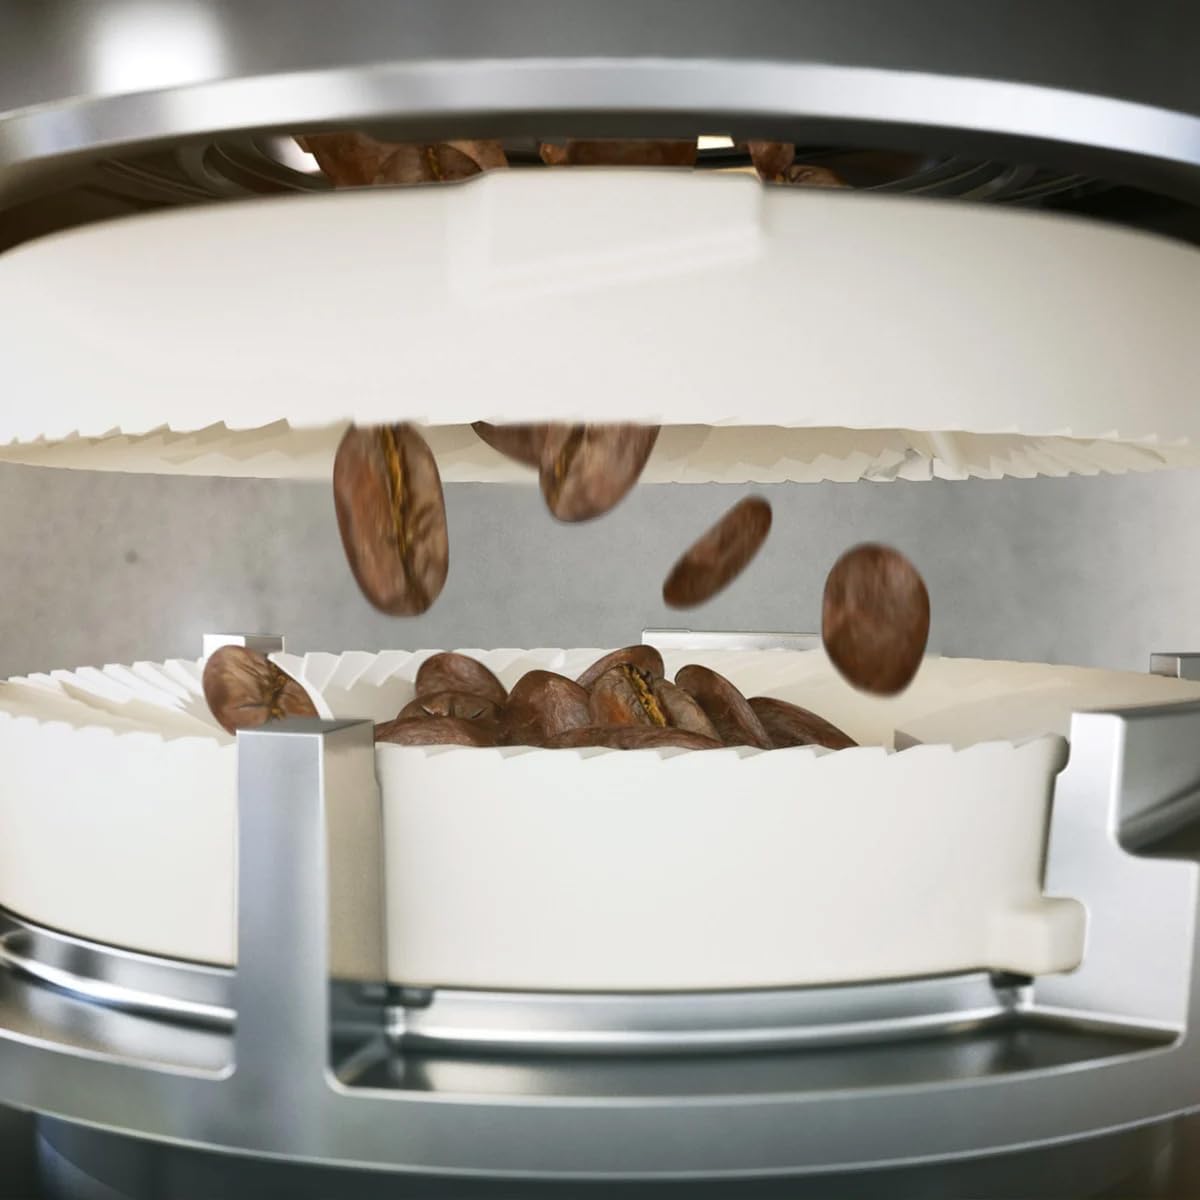
Open the lid of the bean hopper and pour fresh whole coffee beans into it. Do not fill above the MAX level. Only use roasted coffee beans; do not use ground coffee, instant coffee, or caramelized beans in the bean hopper.
5.2 Using Pre-Ground Coffee
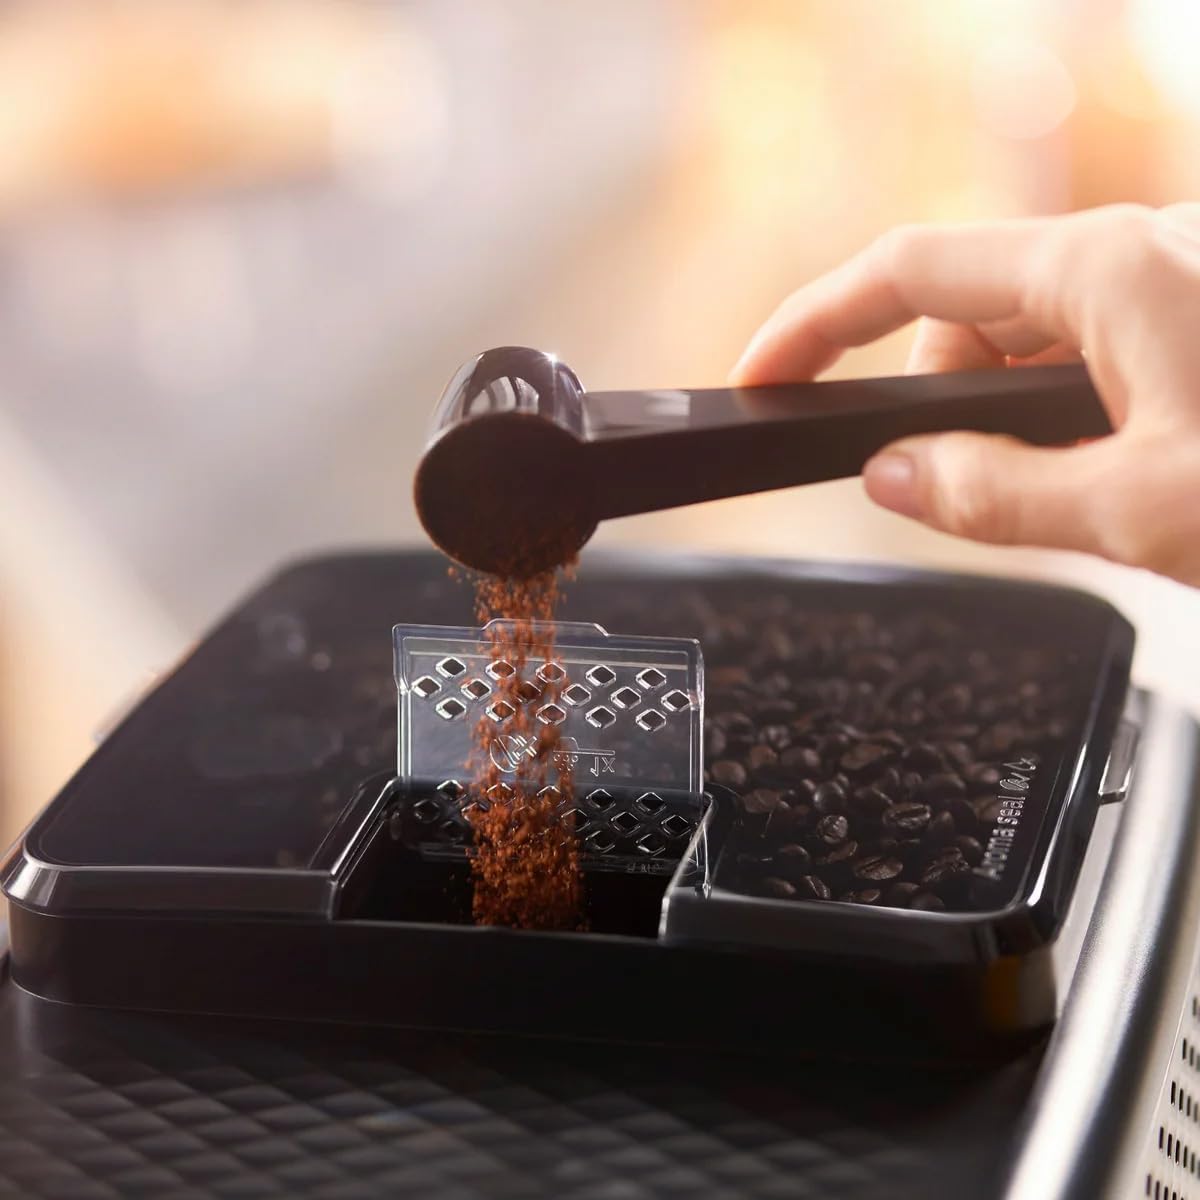
If you wish to use pre-ground coffee, open the pre-ground coffee compartment (usually next to the bean hopper) and add one scoop of pre-ground coffee. Select the pre-ground coffee option on the control panel before brewing.
5.3 Brewing Espresso and Coffee
- Ensure the water tank is filled and the bean hopper contains beans.
- Place a cup under the coffee spout.
- Press the 'Espresso' or 'Coffee' icon on the control panel. The machine will automatically grind the beans and brew your selected beverage.
- You can adjust the aroma strength and quantity before brewing by pressing the respective icons.
5.4 Using the Classic Milk Frother

- Fill a milk pitcher with cold milk (dairy or non-dairy).
- Position the classic milk frother into the milk.
- Press the 'Steam' icon on the control panel. The machine will start dispensing steam.
- Move the pitcher up and down to create desired foam.
- Once finished, press the 'Steam' icon again to stop. Clean the frother immediately after use.
6. Maintenance and Cleaning
Regular cleaning and maintenance ensure the longevity and optimal performance of your machine.
6.1 Daily Cleaning
- Drip Tray and Coffee Grounds Container: Empty and rinse daily. The machine will prompt you when the grounds container is full.
- Classic Milk Frother: After each use, wipe the frother with a damp cloth and perform a short steam burst to clear any milk residue.
6.2 Cleaning the Brew Group

- Turn off the machine and unplug it.
- Open the service door (usually on the right side).
- Press the 'PUSH' button and pull the brew group out by its handle.
- Rinse the brew group thoroughly under lukewarm running water.
- Allow it to air dry completely before reinserting.
6.3 Descaling
The machine will indicate when descaling is required via the 'Calc/Clean' icon. Follow the on-screen instructions or refer to the full manual for the complete descaling procedure using Philips descaling solution.
7. Troubleshooting
This section addresses common issues you might encounter. For more detailed troubleshooting, refer to the full product manual or Philips support website.
| Problem | Possible Cause | Solution |
|---|---|---|
| No coffee is dispensed. | Water tank empty, brew group clogged, or machine not primed. | Fill water tank, clean brew group, or perform a rinse cycle to prime the system. |
| Coffee is too weak. | Aroma strength too low, grind setting too coarse, or insufficient coffee dose. | Increase aroma strength, adjust grinder to a finer setting, or ensure enough beans are in the hopper. |
| Machine leaks water. | Water tank not correctly inserted, or drip tray full. | Ensure water tank is pushed in firmly. Empty and reinsert drip tray. |
| Milk frother does not produce steam. | Frother nozzle clogged. | Clean the frother nozzle thoroughly, ensuring no dried milk residue remains. |
8. Specifications
| Feature | Detail |
|---|---|
| Brand | Philips |
| Model Name | 800 Series |
| Item Model Number | EP0820/04 |
| Capacity | 60 Fluid Ounces (Water Tank) |
| Color | Black |
| Product Dimensions | 17.05"D x 9.69"W x 14.61"H |
| Special Features | Auto Clean Function, Integrated Coffee Grinder, Milk Frother, Removable Tank, Water Filter |
| Coffee Maker Type | Espresso Machine |
| Operation Mode | Fully Automatic |
| Coffee Input Type | Whole Beans |
| UPC | 850010037622 |
9. Warranty and Support
Your Philips 800 Series Automatic Espresso Machine is covered by a manufacturer's warranty. For specific warranty terms and conditions, please refer to the warranty card included with your product or visit the official Philips website.
For technical support, spare parts, or service, please contact Philips Customer Service or visit their official support page. Keep your proof of purchase and model number (EP0820/04) ready when contacting support.
You can find more information and support resources on the Philips Kitchen Appliances Store.