1. Introduction
This manual provides detailed instructions for the installation, operation, and maintenance of your Hi-Focus HD-XVR-5108QL 8-Channel Full HD Digital Video Recorder (DVR). This DVR is designed for advanced surveillance systems, offering robust video recording and management capabilities. It supports a wide range of camera technologies, ensuring compatibility and flexibility for various security setups.
Please read this manual thoroughly before operating the device to ensure proper usage and to maximize its performance and longevity.
2. Product Features
The Hi-Focus HD-XVR-5108QL DVR is equipped with advanced features to provide reliable and high-quality surveillance:
- Video Compression: Supports H.265 and H.264 video formats for efficient storage and bandwidth usage.
- Audio over Coaxial: Capable of transmitting audio signals over coaxial cables, specifically for TVI cameras.
- Adaptive Camera Support: Compatible with TVI, AHD, CVI, CVBS, and IP cameras, offering versatile integration.
- Video Inputs: Features 8 BNC input channels for connecting analog and HD-TVI/AHD/CVI cameras.
- Video Outputs: Provides 1-channel HDMI output and 1-channel VGA output, both supporting resolutions up to 1920x1080.
- Long Transmission Distance: Designed for long-distance video transmission over coaxial cable without significant signal degradation.
- Network Protocols: Supports mainstream cameras utilizing ONVIF and RTSP protocols for broader compatibility.
3. Package Contents
Upon unpacking, please verify that all items listed below are present and in good condition:
- Hi-Focus HD-XVR-5108QL DVR Unit
- Power Adapter
- USB Mouse
- SATA Cables (for HDD connection, if applicable)
- Quick Start Guide
Note: Hard Disk Drive (HDD) is typically sold separately and is required for video recording.
4. Setup
Follow these steps to set up your DVR system:
4.1. Hardware Installation
- Install Hard Disk Drive (HDD): If not pre-installed, open the DVR casing, connect the SATA power and data cables to the HDD, and secure the HDD within the enclosure.
- Connect Cameras: Connect your surveillance cameras to the BNC input ports on the rear panel of the DVR. Ensure secure connections.
- Connect Monitor: Connect a monitor to the DVR using either the HDMI or VGA output port.
- Connect USB Mouse: Plug the included USB mouse into one of the USB ports on the DVR.
- Connect to Network (Optional): For remote viewing and network features, connect an Ethernet cable from your router/switch to the LAN port on the DVR.
- Connect Power: Plug the power adapter into the DVR's power input and then into a power outlet. The DVR will typically power on automatically.
4.2. Initial Configuration
Upon first boot, the DVR will guide you through an initial setup wizard. This typically includes:
- Setting up an administrator password.
- Configuring date and time.
- Network settings (DHCP or static IP).
- Hard drive initialization (This step is crucial for recording. Follow on-screen prompts carefully.).
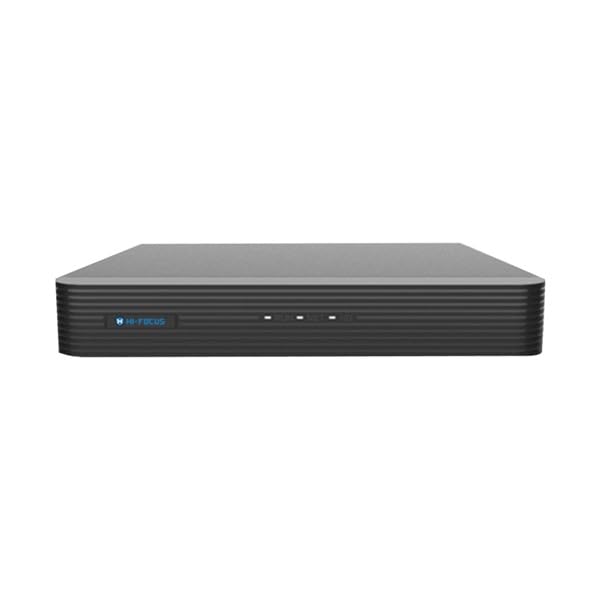
Image 1: Front and rear view of the Hi-Focus HD-XVR-5108QL DVR unit, showing various input and output ports for cameras, monitor, and network connections.
5. Operating Instructions
Once the DVR is set up, you can begin operating your surveillance system.
5.1. Live View
After booting, the DVR will display the live view of all connected cameras. You can switch between single-camera view, multi-camera grid views, and customize display layouts using the mouse.
5.2. Menu Navigation
Right-click on the live view screen to access the main menu. Use the USB mouse to navigate through options such as:
- Record: Configure recording schedules, motion detection, and continuous recording settings.
- Playback: Search and review recorded footage by date, time, and event.
- Backup: Export recorded video clips to a USB drive.
- System: Access general system settings, user management, and network configurations.
- Camera: Adjust camera-specific settings, including image quality, OSD, and PTZ controls (if supported by camera).
5.3. Recording and Playback
Ensure your HDD is initialized and recording schedules are configured. To play back footage, navigate to the 'Playback' menu, select the desired date and time, and choose the camera channel. You can use controls for fast forward, rewind, and pause.
6. Maintenance
Regular maintenance ensures optimal performance and longevity of your DVR system:
- Cleaning: Periodically clean the DVR's exterior with a soft, dry cloth. Ensure ventilation openings are free from dust and obstructions. Do not use liquid cleaners directly on the unit.
- Firmware Updates: Check the manufacturer's website for available firmware updates. Updating firmware can improve performance, add features, and fix bugs. Follow update instructions carefully.
- Hard Drive Health: Monitor the health of your hard drive through the DVR's system settings. Replace the HDD if it shows signs of failure to prevent data loss.
- Backup Important Footage: Regularly back up critical surveillance footage to external storage devices.
7. Troubleshooting
If you encounter issues with your DVR, refer to the following common problems and solutions:
- No Power:
- Ensure the power adapter is securely connected to both the DVR and a working power outlet.
- Verify the power outlet is functional.
- No Video Output on Monitor:
- Check HDMI/VGA cable connections between the DVR and the monitor.
- Ensure the monitor is powered on and set to the correct input source.
- Try a different monitor or cable.
- No Camera Image:
- Verify camera power supply and BNC cable connections.
- Ensure the camera type (TVI, AHD, CVI, CVBS, IP) is compatible and correctly configured in the DVR settings.
- Test the camera with another known working input or DVR.
- No Recording:
- Check if the Hard Disk Drive (HDD) is installed, initialized, and healthy in the DVR's system settings.
- Verify recording schedules are properly configured.
- Ensure there is sufficient free space on the HDD.
- Network Connection Issues:
- Ensure the Ethernet cable is securely connected.
- Check network settings (IP address, gateway, DNS) in the DVR's system menu.
- Verify your router/switch is functioning correctly.
For persistent issues, please contact Hi-Focus technical support.
8. Specifications
| Model Number | HD-XVR-5108QL |
| Brand | Hi-Focus (Generic) |
| Number of Channels | 8 |
| Connectivity Technology | BNC, HDMI, VGA |
| Network Connectivity Technology | BNC, HDMI, VGA (for output) |
| Compatible Devices | Camera, Surveillance System |
| Video Input Types | TVI, AHD, CVI, CVBS, IP |
| Media Format Digital Video | H.265, H.264 |
| Product Dimensions (L x W x H) | 20L x 20W x 30H Centimeters |
| Item Weight | 250 Grams |
9. Warranty Information
This Hi-Focus DVR comes with a 3-year warranty from the service center. Please retain your purchase receipt for warranty claims. The warranty covers manufacturing defects and malfunctions under normal use conditions. It does not cover damage caused by misuse, accidents, unauthorized modifications, or natural disasters.
10. Support
For technical assistance, product inquiries, or warranty service, please contact Hi-Focus customer support. Refer to the product packaging or the official Hi-Focus website for the most current contact information.
When contacting support, please have your DVR model number (HD-XVR-5108QL) and purchase details readily available.