1. Introduction
This manual provides detailed instructions for the installation, operation, and maintenance of your AUTO-VOX WF1 RV Backup Camera System. This wireless system is designed to enhance safety and convenience when maneuvering large vehicles such as RVs, trailers, campers, and motorhomes. It features a 7.2-inch HD 1080P monitor, IR night vision, DVR recording capabilities, and supports up to three video channels.

Image 1.1: The AUTO-VOX WF1 RV Backup Camera System, showing the 7.2-inch monitor and the wireless camera unit.
2. Key Features
- Wireless Plug and Play: Compatible with pre-wired RV systems for quick installation.
- HD 1080P Display: Provides clear, high-definition video feed on a 7.2-inch widescreen monitor.
- Super IR Night Vision: Equipped with infrared LEDs for clear visibility up to 30 feet in low-light conditions.
- Stable Signal Transmission: Dual antennas ensure a reliable wireless connection up to 500ft, minimizing lag and disruptions.
- Expandable 3-Channel System: Supports up to three cameras for comprehensive blind spot coverage (additional cameras sold separately).
- DVR Loop Recording: Records footage to an included 32GB SD card for security and journey documentation.
- IP69 Waterproof Camera: Durable camera design withstands various weather conditions.

Image 2.1: Visual representation of the core features of the AUTO-VOX RV Wireless Backup Camera.
3. Package Contents
Please verify that all items listed below are included in your package:
- Monitor (7.2-inch)
- Wireless Camera
- Camera Silicone Pad
- Antenna (for camera)
- Car Charger (for monitor)
- Monitor Stand
- Extension Cord
- Screwdriver
- User Manual
- 32GB Memory Card
- Self-Tapping Screws

Image 3.1: Contents of the AUTO-VOX WF1 RV Backup Camera System package.
4. Setup & Installation
The AUTO-VOX WF1 offers two primary installation methods:
4.1. Pre-Wired RV Setup (Plug and Play)
If your RV is equipped with a pre-wired Furrion-compatible system, installation is simplified:
- Locate the pre-wired camera port on the rear of your RV.
- Attach the wireless camera to the mounting bracket adapter.
- Connect the camera's pigtail wire directly to the RV's pre-wired port.
- Secure the camera and bracket using the provided screws.
4.2. Universal Vehicle Installation
For RVs or vehicles without a pre-wired system, follow these steps:
- Mount the Camera: Choose a suitable location on the rear of your vehicle, typically above the license plate or near the top center. Use the camera silicone pad and self-tapping screws to securely mount the camera.
- Connect Power: Connect the camera's power cable to a 12V DC power source. This can be done by tapping into your vehicle's running lights, taillights, or marker lights. Ensure proper polarity (red wire to positive, black wire to ground).
- Install Antennas: Attach the longer antenna to the wireless camera and the two stubby antennas to the monitor for optimal signal reception.
- Mount the Monitor: Place the 7.2-inch monitor on your dashboard using the provided monitor stand. Ensure it does not obstruct your view.
- Power the Monitor: Plug the car charger into your vehicle's 12V cigarette lighter socket.
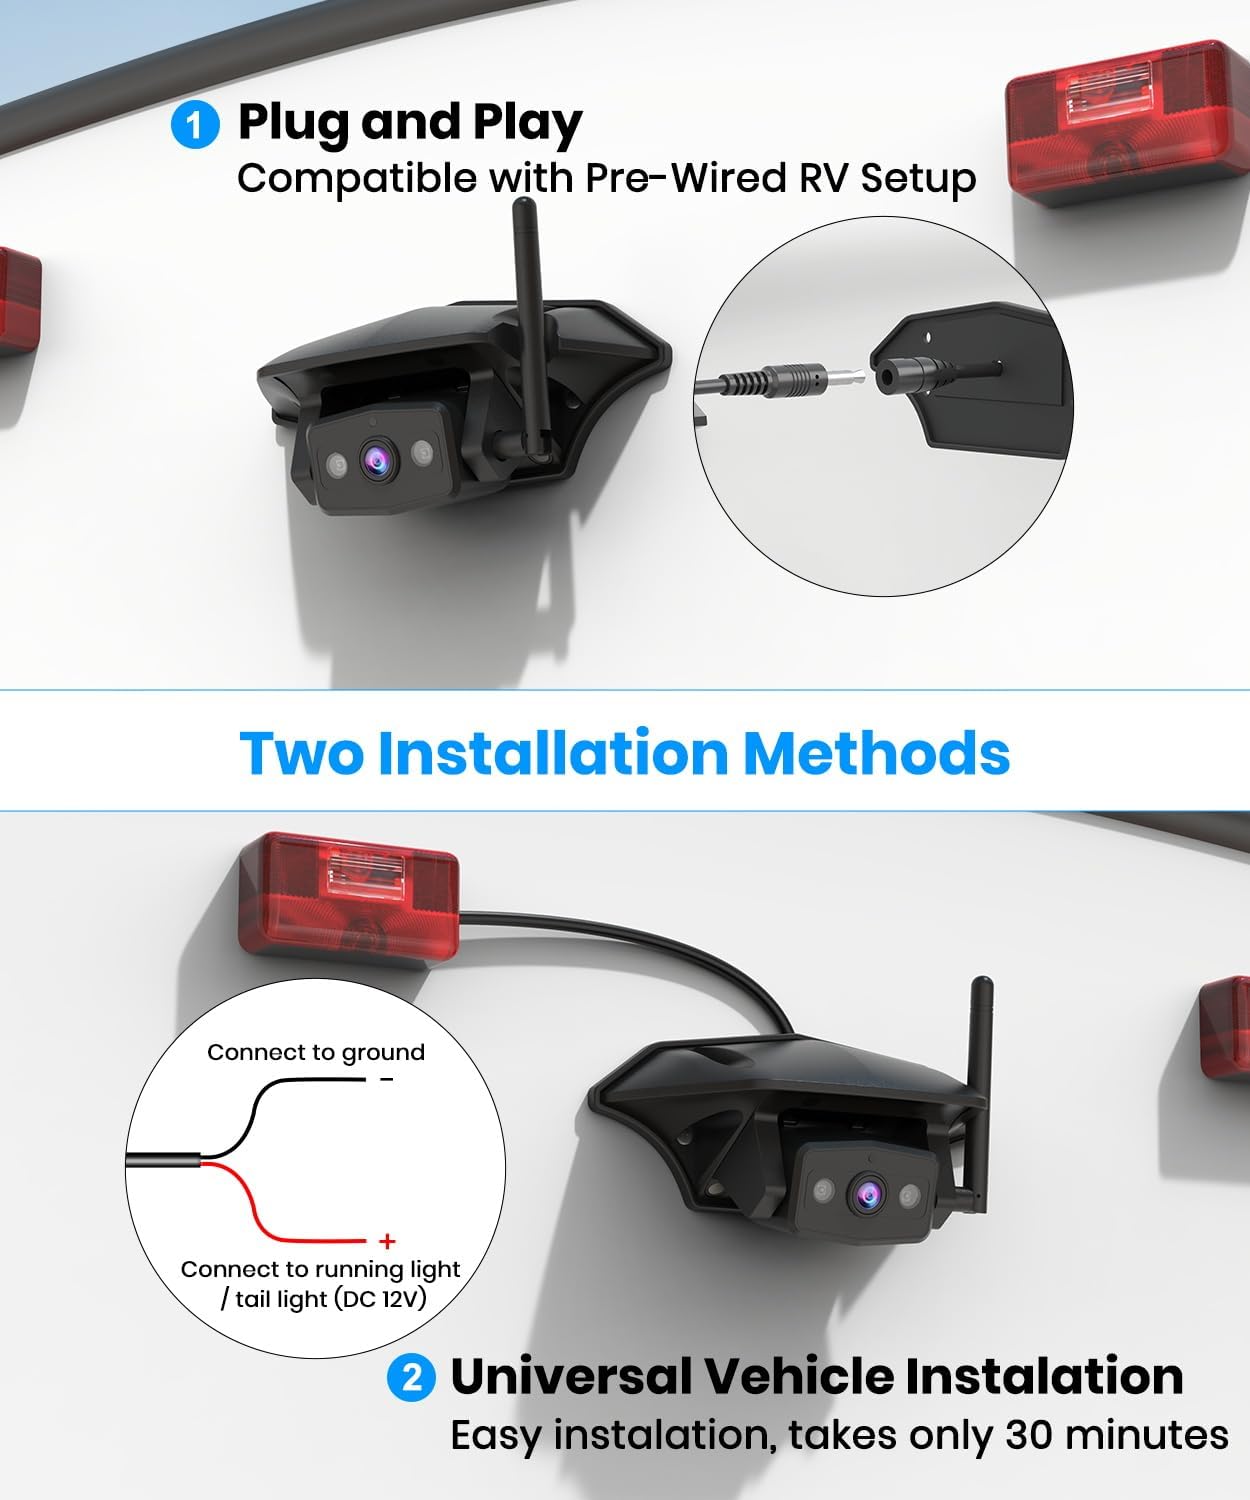
Image 4.1: Illustration of the two installation methods: Plug and Play for pre-wired RVs and universal wiring to tail lights.
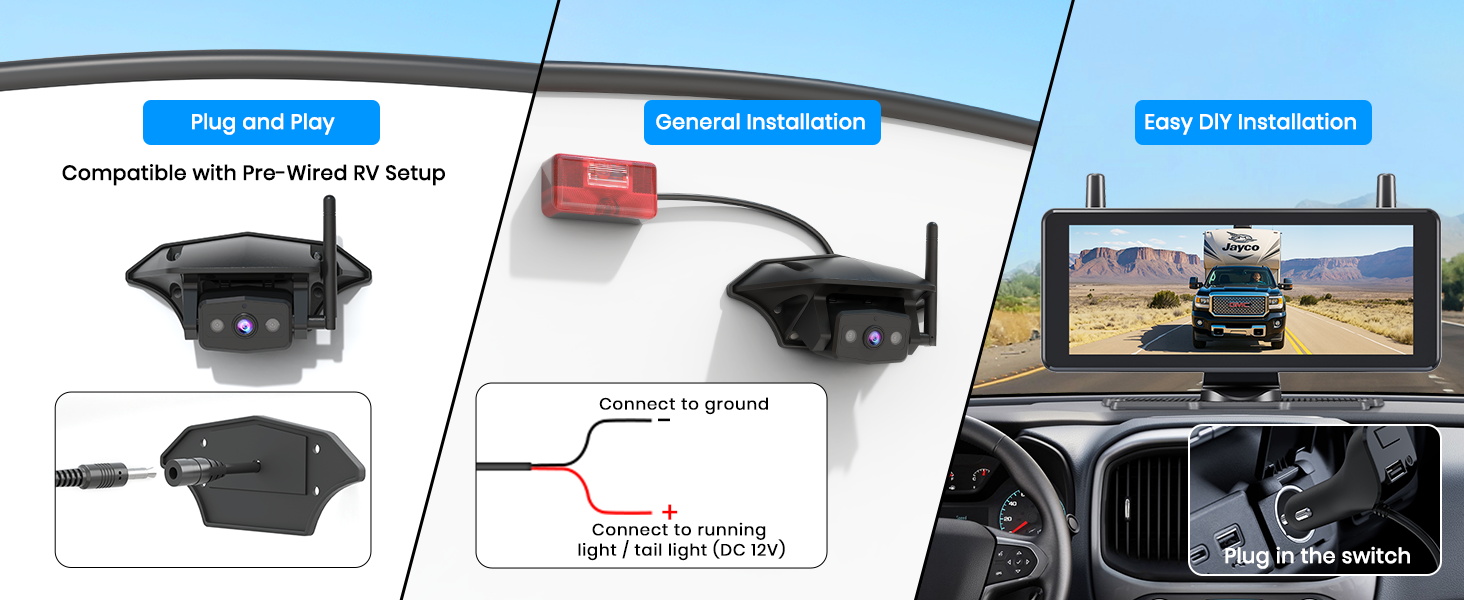
Image 4.2: Overview of installation options, including pre-wired, general wiring, and monitor power connection.
5. Operating Instructions
5.1. Monitor Functions
The 7.2-inch widescreen monitor provides a clear view of the camera feed. It is designed to maximize your rear view without obstructing your forward vision.
- Power On/Off: The monitor typically powers on automatically when the vehicle's ignition is turned on or when the camera receives power.
- Menu Navigation: Use the buttons on the monitor to access settings such as brightness, contrast, parking lines, and channel selection.

Image 5.1: The 7.2-inch monitor providing a wide and clear view from the rear of an RV.
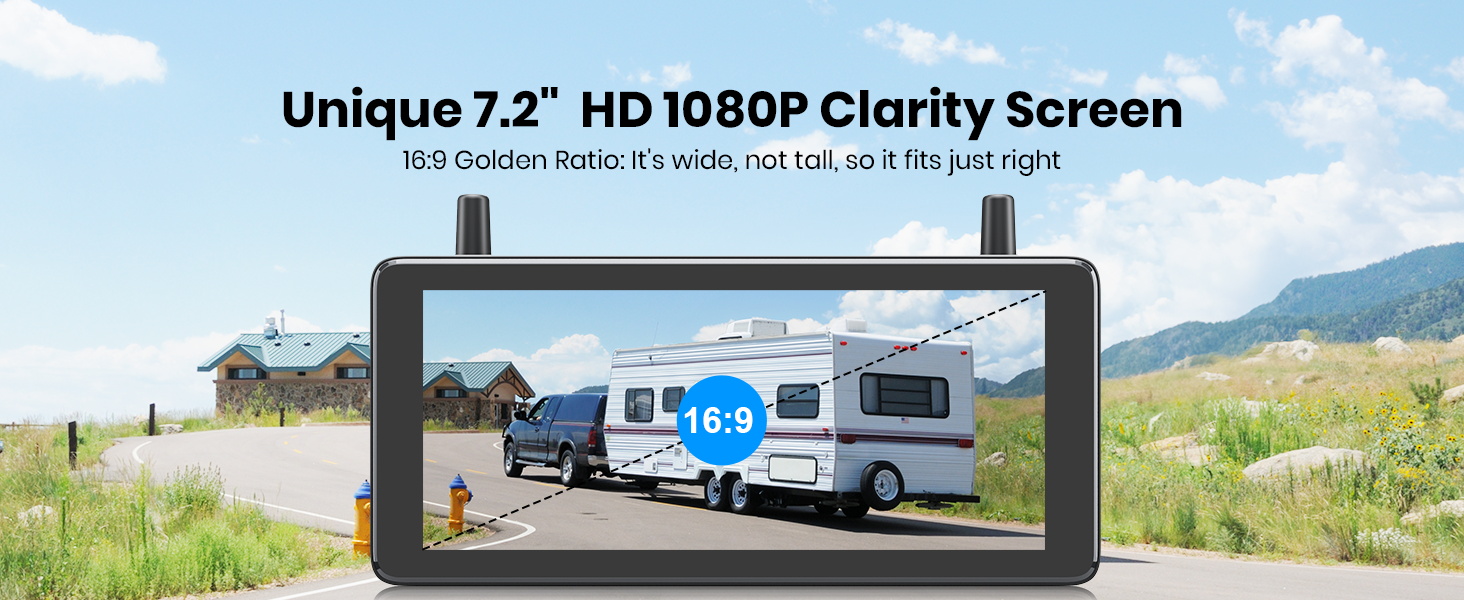
Image 5.2: The 7.2-inch HD 1080P monitor with a 16:9 aspect ratio for clear display.
5.2. DVR Loop Recording
The system includes DVR functionality to record your journeys. A 32GB SD card is provided for storage.
- Recording Activation: Recording typically starts automatically when the system is powered on.
- Loop Recording: The system uses loop recording, meaning older files are overwritten when the SD card is full.
- Playback: Recorded footage can be reviewed directly on the monitor or by removing the SD card and viewing it on a computer.

Image 5.3: Monitor showing DVR loop recording in action, with an SD card slot for storage.
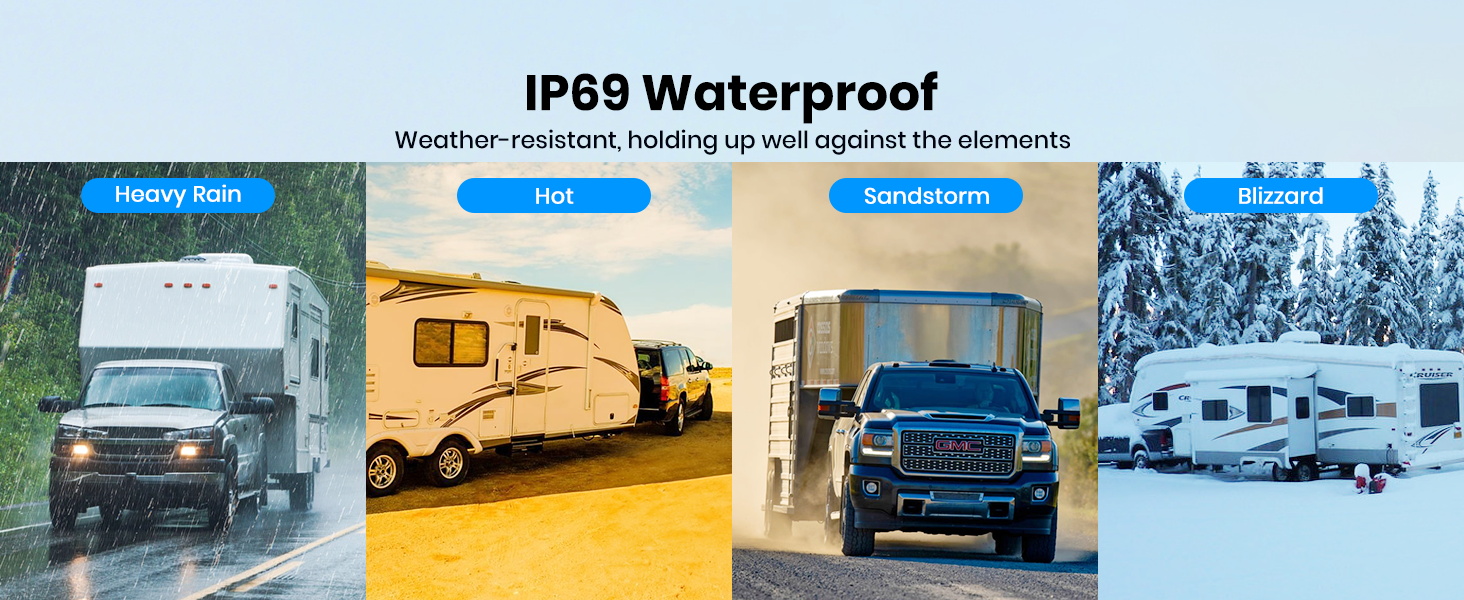
Image 5.4: Loop recording feature with included 32GB SD card for capturing journey moments.
5.3. Super IR Night Vision
The camera is equipped with infrared night vision to provide clear images in low-light or dark conditions, enhancing safety during nighttime maneuvers or when monitoring your surroundings.

Image 5.5: Night vision capability showing a clear view of an RV campsite in darkness.
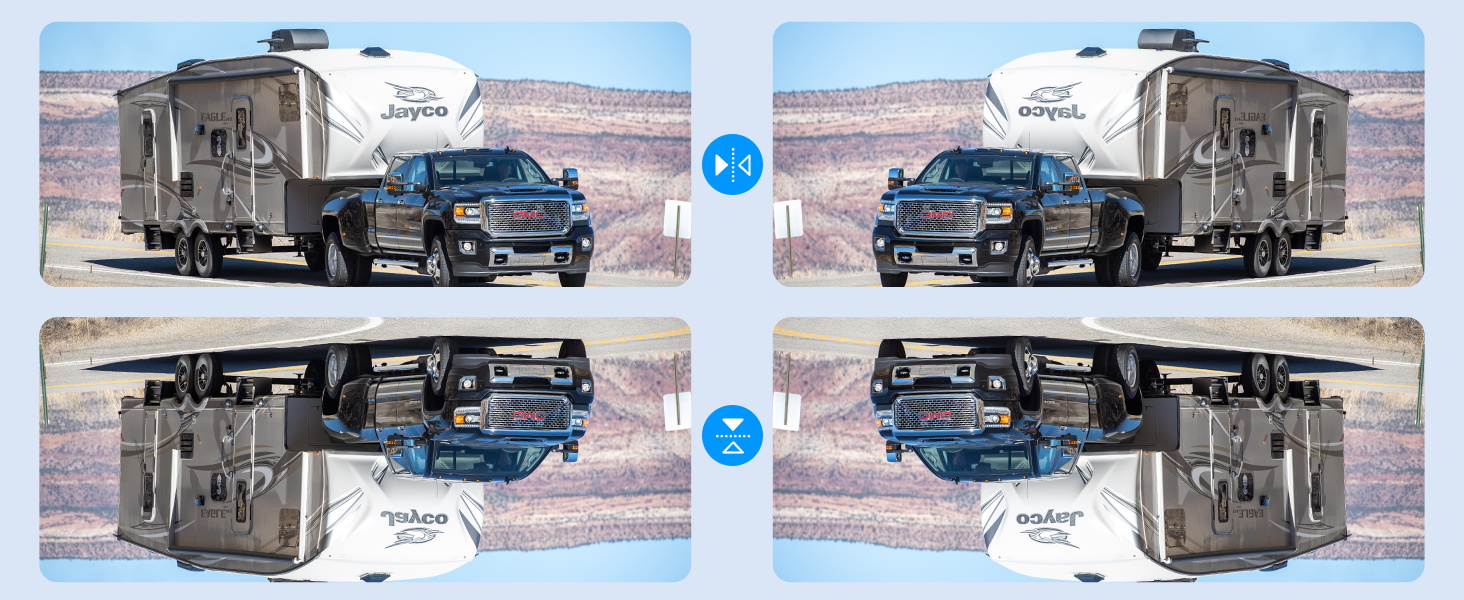
Image 5.6: Powerful IR lights providing extended night vision range for parking assistance.
5.4. Multi-Channel Support
The system can be expanded to support up to three cameras, providing a comprehensive view of your vehicle's surroundings. This is particularly useful for eliminating blind spots on large RVs.
- Channel Switching: The monitor allows you to switch between camera views (CAM1, CAM2, CAM3) or display multiple views simultaneously (split screen or three-screen mode).
- Firmware Update: A firmware update may be required to enable full 3-channel functionality. Contact AUTO-VOX support for assistance.

Image 5.7: Monitor displaying various multi-channel views, including split screen and three-screen options.
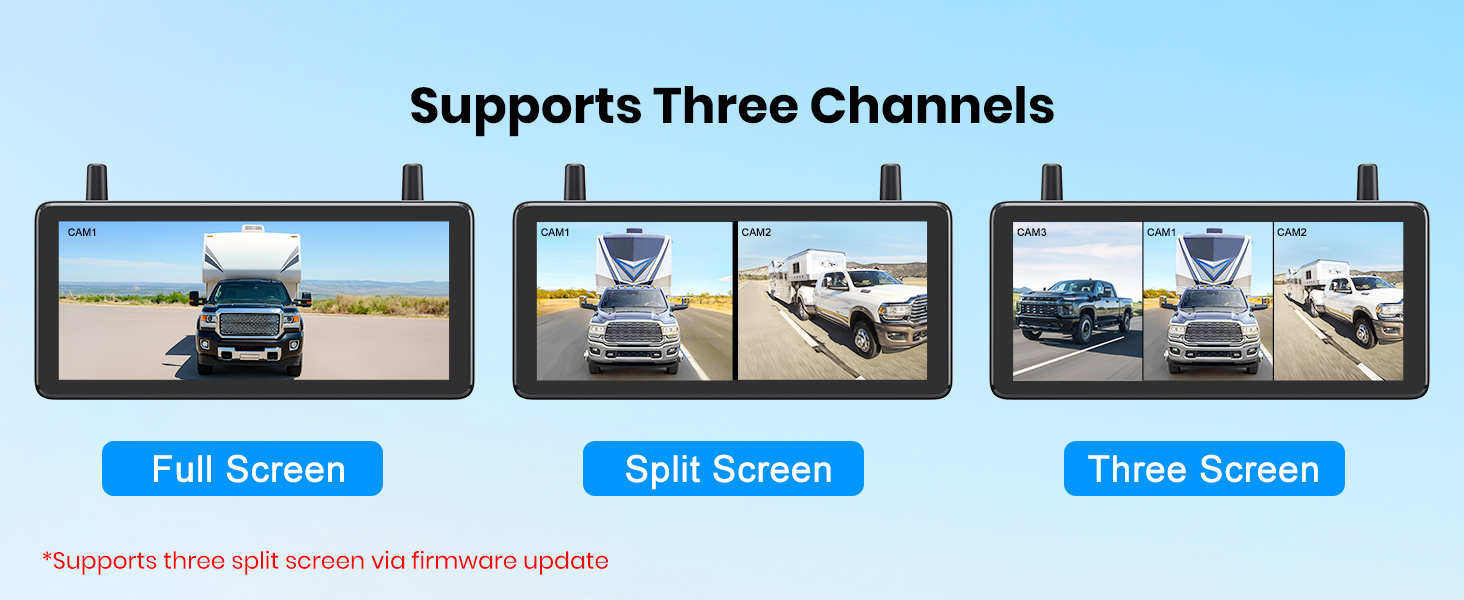
Image 5.8: Examples of full screen, split screen, and three-screen display modes.
5.5. Parking Assistance
Adjustable parking guidelines are available on the monitor to assist with precise maneuvering and parking.
- Guideline Adjustment: Access the monitor's menu to enable, disable, or adjust the position and width of the parking lines.
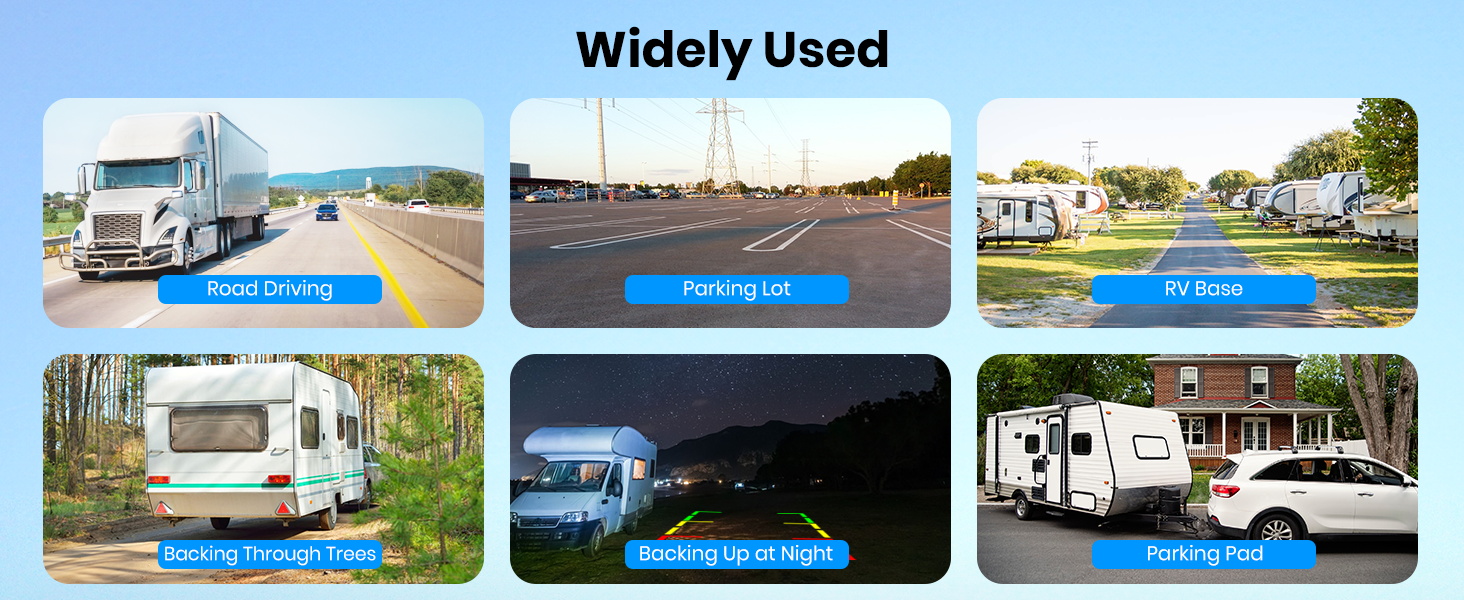
Image 5.9: Wide view with adjustable parking guidelines for easier parking.
5.6. Signal Transmission
The wireless system utilizes advanced technology and dual antennas to ensure a stable and strong signal transmission, even over long distances (up to 500ft), minimizing lag or dropouts.

Image 5.10: Strong signal transmission up to 500ft, suitable for various large vehicles.
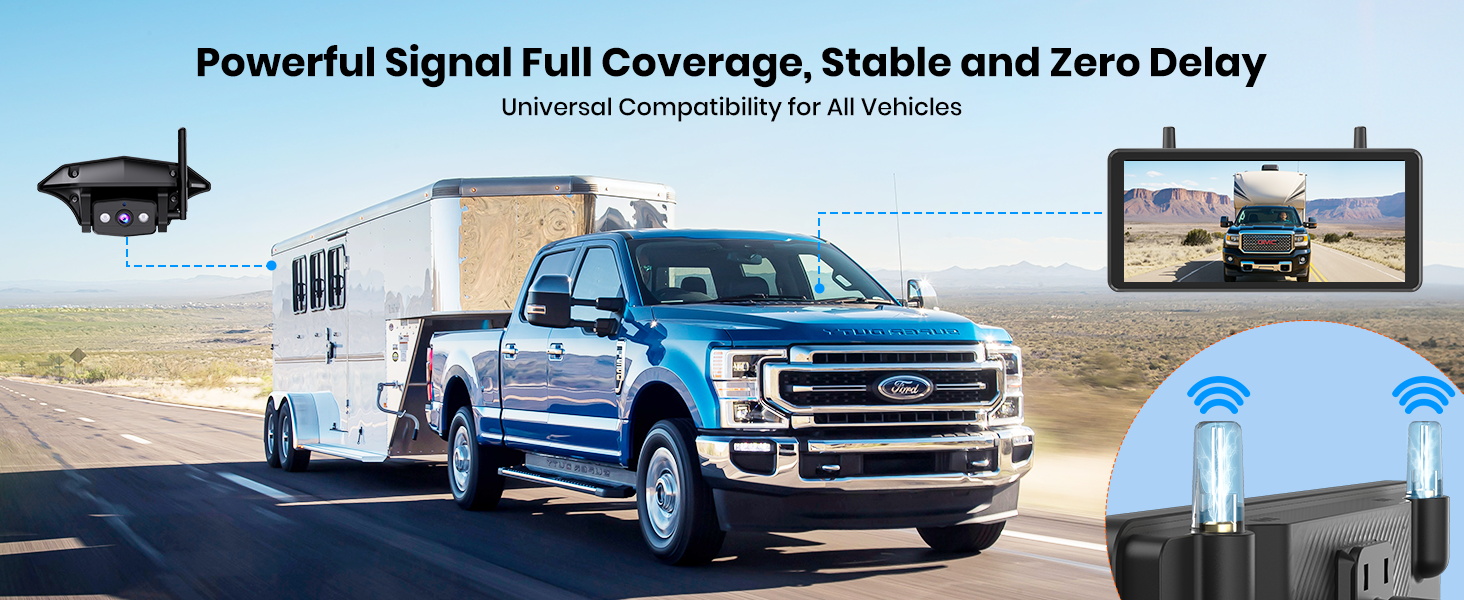
Image 5.11: Powerful signal coverage ensuring stable and delay-free operation.
6. Maintenance
- Cleaning: Regularly clean the camera lens and monitor screen with a soft, damp cloth. Avoid abrasive cleaners.
- Cable Inspection: Periodically check all cables and connections for wear, damage, or loose contacts.
- Firmware Updates: Check the AUTO-VOX website or contact support for any available firmware updates to ensure optimal performance and access to new features.
- SD Card Management: Format the SD card periodically to maintain optimal recording performance. Back up important footage before formatting.
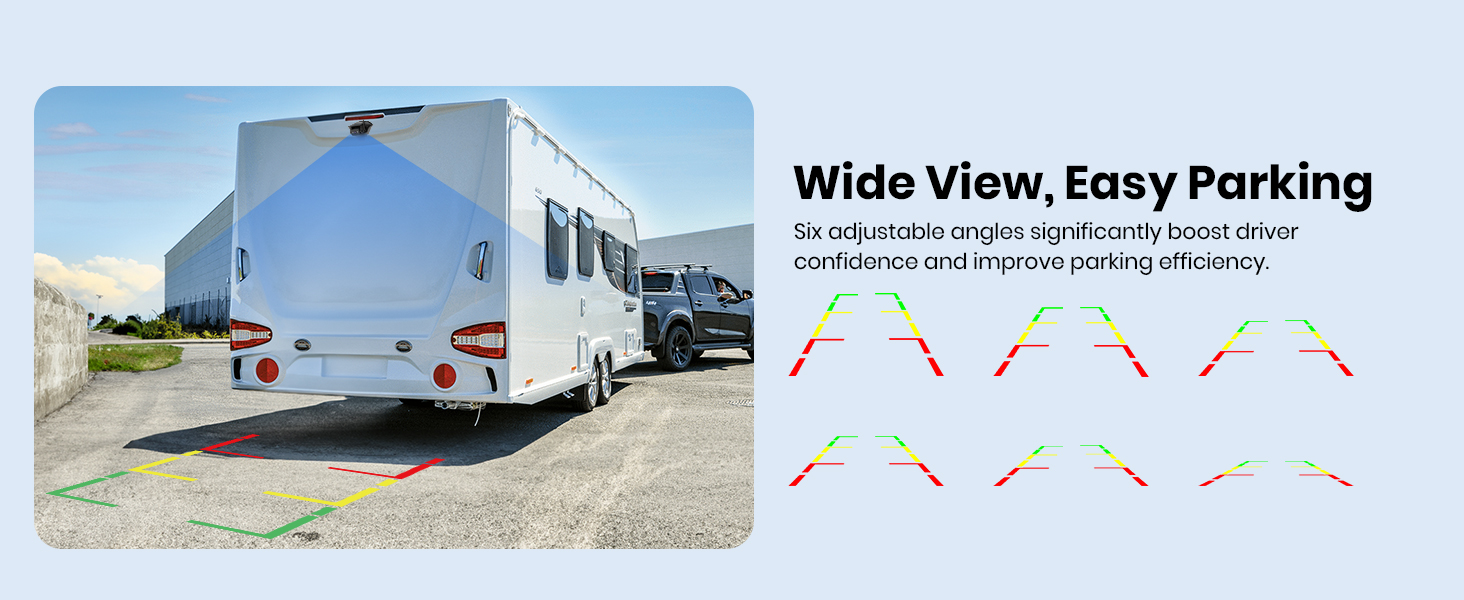
Image 6.1: The IP69 waterproof rating ensures durability against various weather conditions.
7. Troubleshooting
- No Image on Monitor:
- Ensure both the camera and monitor are receiving power.
- Check all cable connections for security.
- Verify that the camera and monitor are paired correctly (refer to pairing instructions in the full manual if needed).
- Ensure antennas are securely attached to both units.
- Flickering or Unstable Image:
- Check for potential sources of interference (e.g., other wireless devices, strong electrical fields).
- Ensure the camera and monitor are within the effective transmission range (up to 500ft).
- Reposition antennas for better signal reception.
- DVR Not Recording:
- Ensure the 32GB SD card is properly inserted.
- Check if the SD card is full; format it if necessary (after backing up data).
- Verify recording settings in the monitor's menu.
- Parking Lines Incorrect:
- Adjust the parking line settings in the monitor's menu.
8. Specifications
| Feature | Specification |
|---|---|
| Product Dimensions | 20.08 x 16.34 x 12.24 inches |
| Item Weight | 1.83 pounds |
| Model Number | WF1 |
| Display Size | 7.2 inches |
| Video Resolution | HD 1080P |
| Night Vision | IR Night Vision (up to 30ft) |
| Wireless Range | Up to 500ft |
| Channels Supported | 3 (expandable) |
| DVR Recording | Yes (32GB SD Card Included) |
| Waterproof Rating | IP69 (Camera) |
| Manufacturer | AUTO-VOX |
9. Warranty and Support
AUTO-VOX products are designed for reliability and performance. For specific warranty details, please refer to the warranty card included in your package or visit the official AUTO-VOX website. If you encounter any issues or require technical assistance, please contact AUTO-VOX customer support. Contact information can typically be found on the product packaging or the official website.
For firmware updates or additional accessories, please visit the AUTO-VOX official website or contact their support team.


