1. Product Overview
The ANNKE H500 3K PoE Security Camera System provides advanced surveillance capabilities for homes and businesses. This system includes an 8-channel Network Video Recorder (NVR) with a pre-installed 4TB Hard Disk Drive (HDD) and two 3K PoE cameras. Designed for ease of use, the system features Power over Ethernet (PoE) for simplified installation, H.265+ video compression for efficient storage, and intelligent human and vehicle detection.
Key Features:
- 3K Super HD Resolution: Captures clear and detailed video footage.
- PoE Connectivity: Single Ethernet cable for both power and data transmission.
- H.265+ Video Compression: Reduces bandwidth and storage requirements without compromising video quality.
- 8-Channel NVR with 4TB HDD: Supports up to 8 cameras and provides ample storage for continuous recording.
- Color Night Vision: Enhanced low-light performance for clear color images at night.
- IP67 Weatherproof Cameras: Durable design for outdoor use in various weather conditions.
- Human & Vehicle Detection 2.0: Advanced motion detection to minimize false alarms.
- Remote Monitoring: Access live view and playback via the ANNKE Vision App.

Image 1.1: Overview of the ANNKE H500 system, showing the NVR, two PoE cameras, and the 4TB HDD.
2. Package Contents
Verify that all items listed below are included in your package. If any items are missing or damaged, please contact ANNKE customer support.
- 1 x 8-Channel 6MP NVR with 4TB HDD
- 2 x 8MP PoE Cameras
- 1 x 30m Ethernet Cable
- 1 x 18m Ethernet Cable
- 1 x USB Mouse
- 1 x Power Adapter (for NVR)
- 1 x 1.8m HDMI Cable
- 1 x User Manual (for NVR)
- 1 x Wall Sticker
- 2 x Screws (for camera mounting)

Image 2.1: Visual representation of all components included in the ANNKE H500 system package.
3. Setup and Installation
3.1 NVR Initial Setup
- Connect Monitor: Connect the NVR to a monitor using the provided HDMI cable.
- Connect Mouse: Plug the USB mouse into a USB port on the NVR.
- Connect Power: Connect the power adapter to the NVR and plug it into a power outlet. The NVR will power on automatically.
- Initial Configuration: Follow the on-screen wizard to set up basic NVR settings, including language, date/time, and password.
3.2 Camera Installation
The ANNKE H500 cameras utilize Power over Ethernet (PoE), simplifying installation as a single Ethernet cable provides both power and data.
- Mounting Location: Choose a suitable location for each camera, ensuring optimal viewing angles and coverage. The cameras are IP67 weatherproof, suitable for both indoor and outdoor environments.
- Secure Mounting: Use the provided screws to securely mount the cameras to a wall or ceiling.
- Connect Ethernet Cable: Connect one end of an Ethernet cable (provided) to the camera's PoE port and the other end to an available PoE port on the NVR.
- Camera Detection: The NVR will automatically detect and configure the connected PoE cameras. The camera feed should appear on the connected monitor.

Image 3.1: Diagram illustrating the simple Plug & Play PoE connection between the camera, NVR/PoE Switch, and router.
3.3 Network Connection for Remote Access
To enable remote viewing and notifications, connect the NVR to your local network.
- Connect NVR to Router: Connect the NVR's network interface (RJ45) to your router using an Ethernet cable.
- Network Configuration: Access the NVR's network settings via the monitor and mouse. Ensure DHCP is enabled or configure a static IP address if required by your network setup.
- Download ANNKE Vision App: Download the free ANNKE Vision App from the Apple App Store or Google Play Store on your smartphone or tablet.
- Add Device: Open the app, create an account, and follow the in-app instructions to add your NVR by scanning the QR code or manually entering the device ID.

Image 3.2: The ANNKE Vision App interface on a smartphone, demonstrating easy remote access and sharing capabilities.
4. Operation
4.1 Live View
After successful setup, the live view of all connected cameras will be displayed on the monitor connected to the NVR or via the ANNKE Vision App.
- NVR Monitor: Use the USB mouse to navigate the NVR interface, switch camera views, and access settings.
- ANNKE Vision App: Select the desired camera to view its live feed. The app allows for digital zoom, snapshot capture, and video recording directly to your mobile device.

Image 4.1: Example of 3K resolution video displayed on a mobile device, highlighting detailed image capture.
4.2 Recording
The NVR supports continuous recording, scheduled recording, and motion-triggered recording.
- Configuration: Access the NVR's recording settings to customize recording schedules and modes for each camera.
- H.265+ Compression: The NVR utilizes H.265+ compression to maximize storage efficiency on the 4TB HDD, allowing for longer recording periods.
- Micro SD Card (Camera): Each camera supports a built-in microSD/SDHC/SDXC slot up to 256 GB for local storage, independent of the NVR.
4.3 Motion Detection 2.0
The system features advanced Human & Vehicle Detection 2.0, which intelligently distinguishes between human and vehicle movement and other environmental factors, reducing false alarms.
- Enable Detection: Configure motion detection settings for each camera via the NVR interface or ANNKE Vision App.
- Alerts: Receive push notifications on your mobile device when human or vehicle motion is detected.

Image 4.2: Illustration of Human & Vehicle Detection 2.0, showing bounding boxes around detected individuals and vehicles.
4.4 Night Vision
The cameras are equipped with infrared LEDs and advanced imaging technology to provide clear surveillance even in complete darkness.
- Color Night Vision: In low-light conditions, the cameras can capture color images, providing more detail than traditional black-and-white infrared.
- Night Vision Distance: Up to 100 ft (30 m) effective night vision range.
- 120 dB WDR & 3D DNR: Wide Dynamic Range and Digital Noise Reduction optimize image quality in challenging lighting conditions.

Image 4.3: Comparison showing the clarity of day vision versus Starlight Color Night Vision.
4.5 Audio Recording
Each camera includes a built-in microphone, enabling simultaneous video and audio recording.
- Enable Audio: Ensure audio recording is enabled in the NVR settings for the respective camera channels.
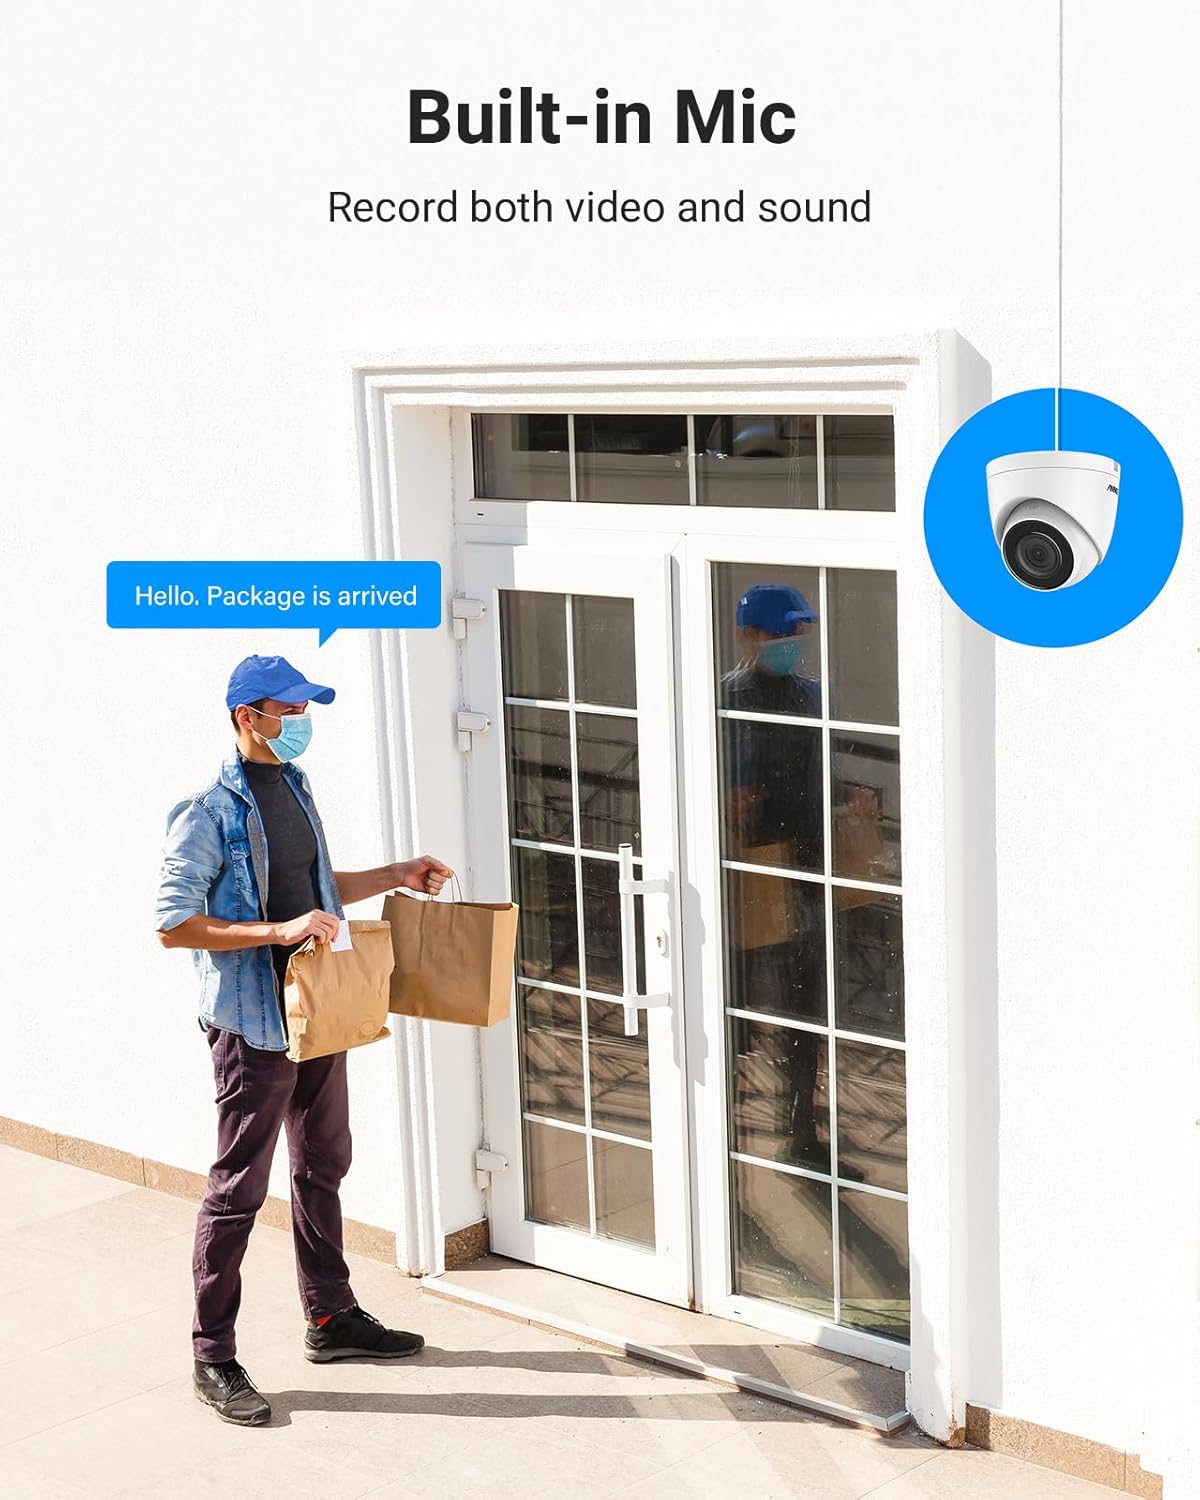
Image 4.4: Illustration of a camera with a built-in microphone, capable of recording both video and sound.
5. Maintenance
5.1 General Cleaning
- Camera Lenses: Gently wipe camera lenses with a soft, damp cloth to remove dust or smudges. Avoid abrasive cleaners.
- NVR Unit: Keep the NVR unit free from dust by periodically wiping its exterior with a dry cloth. Ensure ventilation openings are clear.
5.2 Firmware Updates
Periodically check the ANNKE official website for firmware updates for your NVR and cameras. Firmware updates can provide new features, improve performance, and enhance security.
- Download: Download the latest firmware files to a USB drive.
- Update Process: Follow the specific instructions provided with the firmware update on the ANNKE website or through the NVR's system menu.
5.3 Hard Drive Management
The NVR comes with a 4TB HDD. The system supports up to 6TB capacity.
- Automatic Overwrite: By default, the NVR is configured to overwrite the oldest recordings when the HDD is full.
- HDD Health Check: Regularly check the HDD status in the NVR's system settings to ensure optimal performance.
6. Troubleshooting
This section addresses common issues you might encounter with your ANNKE H500 system.
6.1 No Video Display
- Check Power: Ensure the NVR is powered on and the power adapter is securely connected.
- Monitor Connection: Verify the HDMI cable connection between the NVR and the monitor. Try a different cable or monitor if possible.
- Camera Connection: For individual cameras, check the Ethernet cable connection to both the camera and the NVR's PoE port. Ensure the cable is not damaged.
- NVR Status: Check the NVR's status indicators. Refer to the NVR's specific user manual for LED interpretations.
6.2 Remote Access Issues
- Network Connection: Ensure the NVR is properly connected to your router and has internet access. Check the network cable and router status.
- App Login: Verify your ANNKE Vision App login credentials.
- Device Status: In the app, check if the NVR device is online. If offline, re-add the device or check NVR network settings.
- Firewall/Router Settings: Ensure your router's firewall is not blocking the NVR's access to the internet. Port forwarding may be required in some complex network setups.
6.3 Recording Problems
- HDD Status: Check the HDD status in the NVR's system settings. Ensure it is detected and healthy.
- Recording Schedule: Verify that the recording schedule is correctly configured for the desired cameras and times.
- Motion Detection Settings: If using motion-triggered recording, ensure motion detection is enabled and sensitivity is appropriately set.
7. Specifications
7.1 NVR Specifications
| IP Video Input | 8 Channels PoE |
| Max Recording Resolution | Up to 6MP |
| Video Output | HDMI & VGA Up to 1080P |
| Video Compression | H.265+/H.265/H.264+/H.264 |
| HDD Capacity | 4TB (Included), Up to 6TB supported |
| Operating Power | DC48V |
| Network Interface | RJ45 x 1 (10/100 M) |
| USB Ports | 2 x USB 2.0 |
| Operating Temperature | 14 °F ~ 131 °F (-10 °C ~ +55 °C) |
| Dimensions (L x W x H) | 10.43 x 8.86 x 1.89 inches |
7.2 Camera Specifications
| Max Resolution | 3K (3072*1728) |
| Lens | 2.8 mm (Wide Angle) |
| Image Sensor | 1/3" Progressive Scan CMOS |
| Night Vision Distance | Up to 100 ft (30 m) |
| Wide Dynamic Range (WDR) | 120 dB WDR |
| Image Enhancement | BLC, HLC, 3D DNR |
| Local Storage | Built-in microSD/SDHC/SDXC Slot, up to 256 GB |
| Audio Input | Built-in Microphone |
| Angle of View | Horizontal FOV 76°, Vertical FOV 41°, Diagonal FOV 90° |
| Motion Detection | Human & Vehicle Detection 2.0 |
| Operating Temperature | -22 °F ~ 140 °F (-30 °C ~ 60 °C) |
| Ingress Protection | IP67 Weatherproof |

Image 7.1: The IP67 weatherproof camera is designed to withstand extreme temperatures and is suitable for various environments including home, office, store, and warehouse.
8. Warranty and Support
ANNKE products are designed for reliability and performance. For specific warranty details, please refer to the warranty card included in your product packaging or visit the official ANNKE website.
For technical assistance, troubleshooting, or product inquiries, please contact ANNKE customer support through their official website or the contact information provided in your product documentation.