Phanpy PH6XKZ179
Phanpy Portable Bottle Warmer PH6XKZ179 Instruction Manual
Model: PH6XKZ179 | Brand: Phanpy
1. Product Overview
The Phanpy Portable Bottle Warmer PH6XKZ179 is a versatile device designed for heating liquids and sterilizing small items on the go. It features a detachable 10000mAh battery, 100W fast heating capability, and a 17 oz capacity. This manual provides detailed instructions for safe and efficient use.
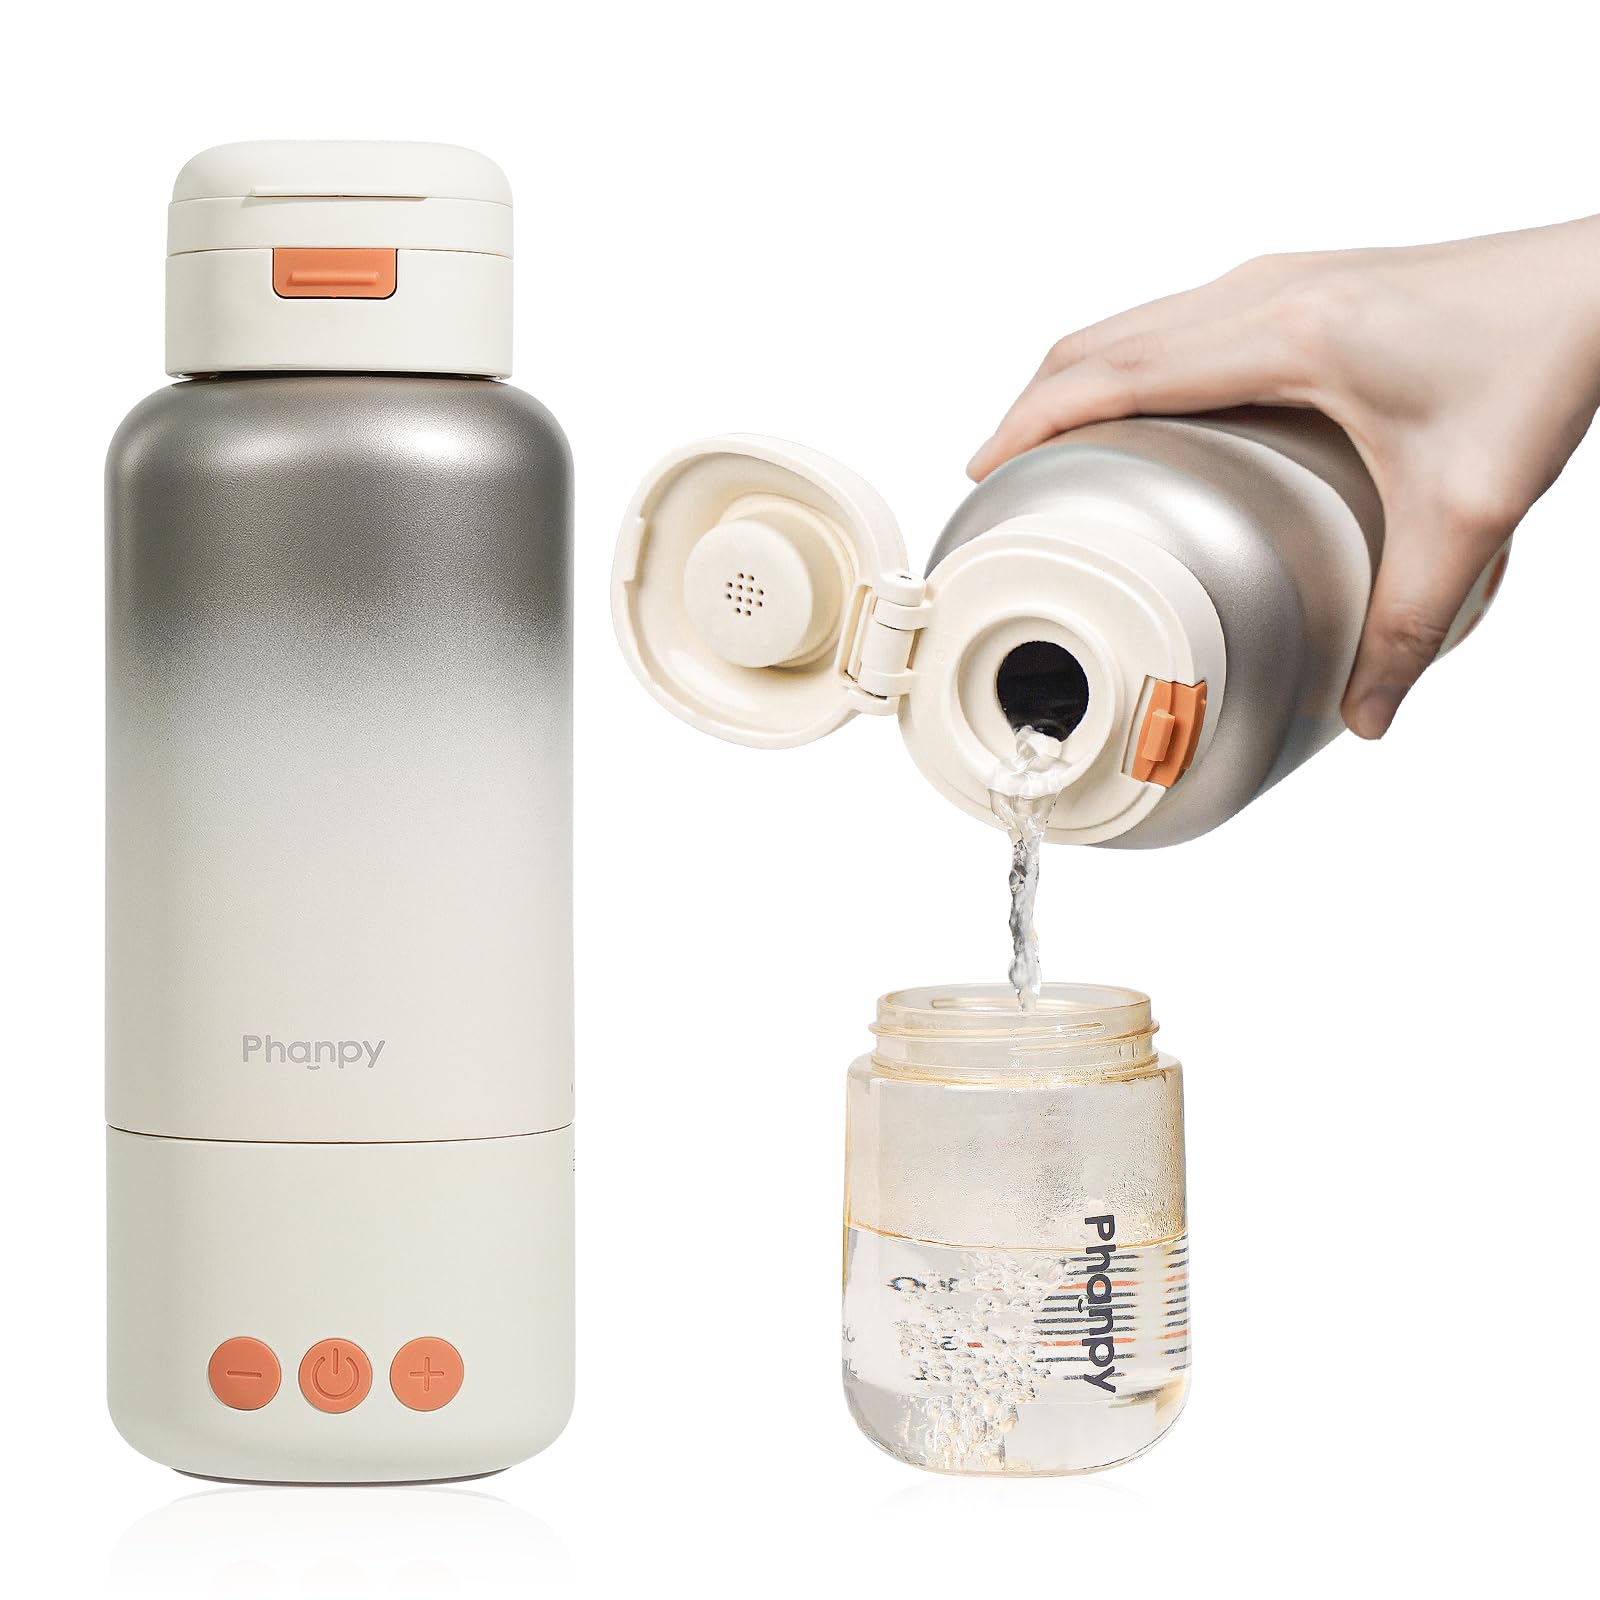
Image: The Phanpy Portable Bottle Warmer, showcasing its compact design and digital display.
2. Safety Precautions
Please read and understand all safety instructions before using the product to prevent injury or damage.
- To avoid burns, ensure the bottle cap is properly closed before using the product.
- After operation, the metal contact points and surrounding area may be hot. Do not touch them immediately.
- When boiling water, do not exceed the 7 oz (200ml) water level to prevent scalding from overflow.
- Do not heat the product in an inverted or tilted position.
- The battery base should not be submerged in water or soaked.
- Do not turn on the device when there is no liquid inside the bottle.
- When the product is heated, it is strictly prohibited to shake it to avoid internal pressure buildup.
- Do not use hot air above 140°F (60°C) to dry the cup body.
Video: Phanpy portable bottle warmer instruction for use. This video demonstrates important safety precautions and operational steps for the bottle warmer.
3. Package Contents
Verify that all items are present in the package:
- Phanpy Portable Bottle Warmer (Main Unit)
- Detachable Battery Base
- Power Adapter
- USB Charging Cable
- Lower Cover (for insulated cup mode)
- Instruction Manual (this document)

Image: The Phanpy Portable Bottle Warmer, its power adapter, and USB charging cable, as included in the box.
4. Product Features
- Fast Heating: Equipped with a 100W triple-heat system, it can warm 5 oz of milk to 104°F (40°C) in approximately 3 minutes. It offers 7 quick-touch preset temperatures ranging from 98°F (37°C) to 212°F (100°C).

Image: Visual representation of the bottle warmer's 3-minute quick heating capability, showing temperature control, full-area heat, 100W power, and 17 oz capacity.
- Detachable System: The 10,000mAh battery base is removable for easier and more thorough cleaning. The cup body is IPX6 waterproof and safe for dishwasher, UV sterilizer, and low-heat dryer use. When used without the battery base, the cup weighs 1.1 lbs, making it highly portable.

Image: The detachable system of the bottle warmer, highlighting its lighter weight when separated and ease of cleaning.
- 212°F Boiling & Sterilization: The warmer can safely heat water to 212°F (100°C) up to a 7 oz maximum fill line, suitable for steam cleaning pacifiers and bottle accessories. It can also be used for brewing coffee or oatmeal.

Image: Illustration of the bottle warmer's ability to reach 212°F for boiling and sterilization, showing its use for drinks, sterilization, and travel.
- Long-lasting Battery & Fast Charge: The 10000mAh battery supports 3-4 full 17 oz warming cycles or can boil 7 oz of water once. It can keep milk warm for up to 20 hours. The device recharges in 1.5 hours with a 36W adapter (car, power bank, or wall plug).

Image: Depiction of the bottle warmer's long-lasting battery, showing its internal battery cells and the process of pouring warmed liquid.

Image: Close-up of the charging port, illustrating 36W fast charging in 1.5 hours via USB, power supply, or car charger.
- High-Quality & Safety: Constructed with 316 stainless steel and food-grade PP materials, ensuring durability and safety. It features a leak-proof design with ventilation holes and is resistant to shaking and inversions.

Image: Highlights of the bottle warmer's high-quality and safety features, including 316 stainless steel interior, 3C-certified safeguards, and leak-proof design.
- Precise Temperature Control: Offers real-touch temperature sensing and 7 temperature levels for quick adjustment between 95-140°F (35-60°C).

Image: Detailed view of the precise temperature control interface, showing the digital display and adjustment buttons.
5. Setup
5.1 Assembling the Bottle Warmer
- Align the "●" mark on the cup body with the "●" mark on the battery base.
- Rotate the cup body clockwise until the "●" and "▲" marks are aligned.
- You will hear a click, indicating that the installation is complete.
Video: Phanpy portable bottle warmer instruction for use. This video demonstrates the assembly process of the bottle warmer, specifically from 0:27 to 0:34.
6. Operating Instructions
6.1 When Used as a Milk Warmer (Below 212°F / 100°C)
- Unscrew the cup lid.
- Add purified water (e.g., mineral water, purified water, or filtered water) to the cup. Do not pour in tap water. The liquid volume should not exceed 17 oz (500ml).
- Screw the lid back on tightly.
- Press and hold the power button (⏻) for 1 second to turn on the device. The buzzer will beep once.
- The default initial temperature is 113°F (45°C) for the first use. The last set temperature will be automatically remembered for subsequent uses.
- Briefly press the power button (⏻) to quickly select the desired temperature from the 7 available levels: 99°F (37°C), 104°F (40°C), 113°F (45°C), 120°F (49°C), 131°F (55°C), 140°F (60°C), or 212°F (100°C). The temperature display will flicker during adjustment.
- After no operation for 3 seconds, the buzzer will beep once, the device will start working, and the real-time temperature will be displayed.
- When the selected set temperature is between 95-140°F (35-60°C), the temperature can be adjusted by short pressing the "+" or "-" buttons (adjustment range 95-140°F / 35-60°C), adjusting one degree per press.
- After heating is completed, the buzzer will beep to remind you. The warmed liquid can then be poured out for use.
Important Note: Do not turn on the machine when there is no liquid in the bottle.
6.2 When Used for Boiling (212°F / 100°C)
- Follow steps 1-3 from Section 6.1.
- When adjusting the temperature to 212°F (100°C), only purified water sources are applicable. Do not exceed 7 oz (200ml) water level at this setting.
- Select 212°F (100°C) using the power button (⏻).
- The device will begin boiling. After boiling is complete, the buzzer will beep.
Important Note: When adjusting the temperature to 212°F (100°C), the temperature can only be adjusted through the power button (⏻). If plugged in, it will automatically shut down after 24 hours.
6.3 Turning Off the Device
- Press and hold the power button (⏻) for 1 second to turn off the device. The buzzer will beep once.
6.4 When Used as a Regular Insulated Cup
- To remove the battery base, rotate the cup body counter-clockwise to align with the "●" and "▲" marks. The base can then be removed.
- Install the provided lower cover onto the cup body. Ensure the bottom buckle of the cup body is completely closed. Turn clockwise to install successfully.
- The cup can now be used as a regular insulated thermos, keeping liquids warm for up to 8 hours even when not powered on, thanks to its vacuum insulation.
Video: Phanpy portable bottle warmer instruction for use. This video demonstrates the operation of the bottle warmer, including temperature adjustment and conversion to an insulated cup, specifically from 0:35 to 1:40.
7. Charging the Device
The Phanpy Portable Bottle Warmer can be charged using the provided power adapter and USB cable.
- Standard Charging (15W): Takes approximately 5 hours for a full charge.
- Fast Charging (36W): Takes approximately 2 hours for a full charge.
- The device can be charged via a car charger, power bank, or wall plug.
Video: Phanpy portable bottle warmer overview. This video provides an overview of the product, including charging details, specifically from 0:38 to 0:41.
8. Cleaning and Maintenance
Proper cleaning and maintenance ensure the longevity and hygiene of your bottle warmer.
- Detachable Design: The removable battery base allows for easier and more thorough cleaning of the cup body.
- Cup Body: The cup body is IPX6 waterproof and can be safely cleaned in a dishwasher, UV sterilizer, or low-heat dryer.
- Battery Base: Do not submerge the battery base in water. Wipe it clean with a damp cloth. Ensure it is completely dry before reattaching to the cup body or charging.
- Descaling: If mineral deposits build up inside the cup, use a descaling solution suitable for stainless steel appliances, following the manufacturer's instructions. Rinse thoroughly after descaling.
- Store the device in a cool, dry place when not in use.
9. Troubleshooting
If you encounter issues with your Phanpy Portable Bottle Warmer, refer to the following common problems and solutions:
| Problem | Possible Cause | Solution |
|---|---|---|
| Device does not turn on. | Low battery; incorrect assembly; no liquid in bottle. | Charge the battery; ensure cup body and base are correctly aligned and clicked into place; add liquid to the bottle. |
| Liquid is not heating. | Insufficient liquid; incorrect temperature setting; device not turned on. | Ensure liquid level is above minimum; verify desired temperature is set; press power button to activate heating. |
| Water boiling over. | Exceeded maximum fill line for boiling. | Ensure water level does not exceed 7 oz (200ml) when boiling. |
| Temperature display is in Celsius. | Device displays temperature in Celsius by default. | Refer to the conversion chart in the manual or use the provided Fahrenheit equivalents for settings. |
| Device is leaking. | Lid not tightened properly; product shaken while hot. | Ensure the lid is securely tightened. Avoid shaking the device when it contains hot liquid. |
10. Specifications
| Feature | Detail |
|---|---|
| Model Number | PH6XKZ179 |
| Battery Capacity | 10000mAh Lithium Polymer |
| Heating Power | 100W |
| Capacity | 17 oz (500ml) total; 7 oz (200ml) max for boiling |
| Temperature Range | 95°F - 212°F (35°C - 100°C) |
| Materials | 316 Stainless Steel liner, Food-grade PP |
| Item Weight | 2.53 pounds (total) |
| Package Dimensions | 13.39 x 4.8 x 4.76 inches |
11. Warranty and Support
For warranty information or technical support, please refer to the product packaging or contact Phanpy customer service through the retailer where the product was purchased. Keep your purchase receipt as proof of purchase for warranty claims.