
Whubefy HP380
Whubefy 5-in-1 Heat Press Machine User Manual
Model: HP380, 15x15 inch
1. Important Safety Instructions
Please read and understand all safety instructions before operating the Whubefy 5-in-1 Heat Press Machine. Failure to follow these instructions may result in injury or damage to the equipment.
- Electrical Safety: Ensure the machine is connected to a grounded power outlet with the correct voltage (110 Volts). Do not operate with wet hands or in damp conditions. Disconnect power before cleaning or maintenance.
- Hot Surfaces: The heating platen and attachments reach high temperatures (up to 482°F / 250°C). Always use heat-resistant gloves when handling hot components or materials. Avoid direct contact with hot surfaces.
- Burn Prevention: The 360° swing-away and slide-out design helps reduce burn risk by providing ample workspace away from the hot platen. Always utilize these features for safe material placement and removal.
- Ventilation: Operate the machine in a well-ventilated area to dissipate any fumes that may be produced during the heat transfer process.
- Automatic Shutdown: This machine is equipped with an automatic shutdown feature. Do not rely solely on this feature; always monitor the machine during operation.
- Children and Pets: Keep children and pets away from the machine during operation and when it is cooling down.
- Stable Surface: Place the heat press on a stable, heat-resistant surface that can support its weight (approximately 37.2 pounds).
2. Product Overview
The Whubefy HP380 is a versatile 5-in-1 heat press machine designed for various heat transfer applications. It includes multiple attachments for customizing different items.
Key Features:
- 5-in-1 Combo: Includes a 15x15-inch flat heat platen, a 30oz tumbler heat press, a cap/hat press, and 6-inch/8-inch plate heating accessories.
- Dual-Tube Heating System: Provides 1200W power for quick and even heating, ensuring consistent temperature across the platen.
- Enhanced Safety Design: Features a 360° swing-away upper platen and a slide-out bottom platen for safe and easy operation.
- Upgraded Control Box: Digital display with 3 pre-set modes for temperature and time, and a counting function to track transfers.
- Teflon-Coated Platen: Offers high-temperature resistance and anti-adhesion properties.
- Automatic Shutdown: For added safety and peace of mind.

Figure 2.1: Overview of the Whubefy 5-in-1 Heat Press Machine and its various attachments.
Video 2.1: A brief overview demonstrating the Whubefy Heat Press Machine and its various components for T-shirts and tumblers.
3. Setup and Assembly
This section guides you through the initial setup and assembly of the heat press machine and its attachments.
3.1 Unboxing and Initial Inspection
- Carefully remove all components from the packaging.
- Inspect for any shipping damage. Contact customer support immediately if any damage is found.
- Ensure all listed components are present.
3.2 Main Unit Setup
- Place the main heat press unit on a sturdy, level, and heat-resistant workbench.
- Ensure adequate clearance around the machine for the swing-away and slide-out functions.
- Connect the power cord to the machine and then to a grounded 110V power outlet.
3.3 Attaching Accessories
The machine comes with interchangeable attachments. To change an attachment:
- Ensure the machine is powered off and cooled down.
- Carefully remove the currently installed attachment by loosening any securing screws or clips.
- Align the desired attachment (e.g., tumbler press, hat press, plate press) with the mounting points on the main unit.
- Secure the attachment using the provided screws or clips. Ensure it is firmly in place before operation.
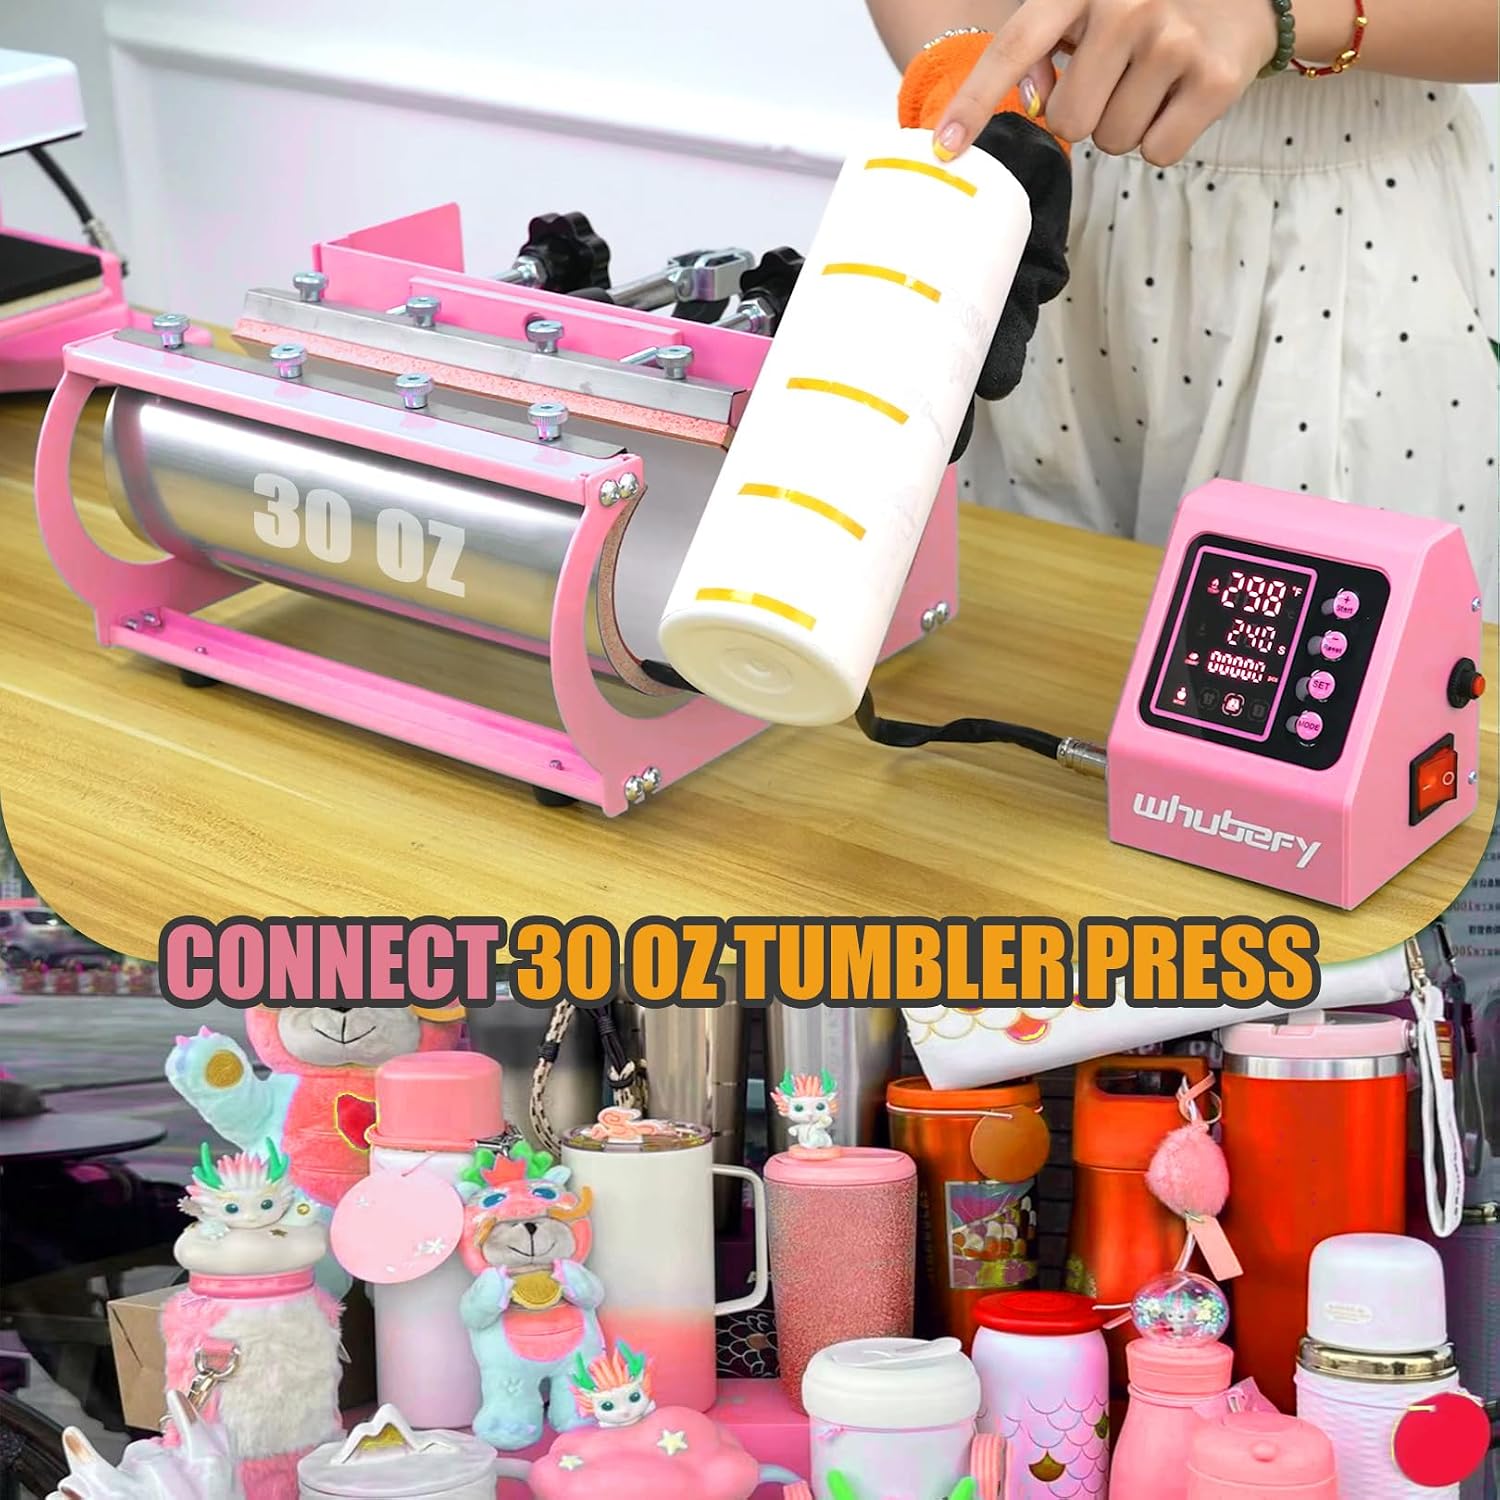
Figure 3.1: Illustration of connecting the 30oz tumbler press attachment to the main unit.

Figure 3.2: Illustration of connecting the hat press attachment to the main unit.

Figure 3.3: Illustration of connecting the plate press attachment to the main unit.
4. Operating Instructions
This section details how to operate your Whubefy Heat Press Machine for various transfer types.
4.1 Control Panel Overview
The digital control box allows precise setting of temperature and time.

Figure 4.1: The digital control panel with temperature, time, preset, and counting functions.
- Temperature Setting: Use the '+' and '-' buttons to adjust the desired temperature. The maximum temperature is 482°F (250°C).
- Time Setting: Use the '+' and '-' buttons to adjust the desired pressing time.
- Preset Function: The machine features 3 pre-set modes. Press the 'MODE' button to cycle through and select a saved temperature and time setting. To save a setting, adjust temperature and time, then press and hold the 'MODE' button until it confirms.
- Counting Function: The 'COUNT' display tracks the number of completed transfers, useful for batch production.
- Start/Stop: Use the 'START' button to begin the heating cycle or pressing timer.
4.2 Adjusting Pressure
The pressure knob located on top of the machine allows you to adjust the downward force of the platen. Adjust pressure when the machine is cold and off.
- Turn the pressure adjustment knob clockwise to increase pressure, and counter-clockwise to decrease pressure.
- Test the pressure with your project material (e.g., T-shirt, tumbler) before heating the unit. The platen should close with firm, even pressure.
4.3 General Heat Transfer Steps
- Power On: Turn on the main power switch.
- Set Parameters: Use the control panel to set the desired temperature and time according to your transfer material's specifications.
- Preheat: Allow the machine to reach the set temperature. The indicator light will typically change or a beep will sound when ready.
- Prepare Item: Place your item (e.g., T-shirt, tumbler) on the bottom platen. For garments, pre-press for 5-10 seconds to remove moisture and wrinkles.
- Position Design: Place your transfer design onto the item. Secure with heat-resistant tape if necessary.
- Press: Swing the upper platen over the item or slide the bottom platen in, then lower the handle to apply pressure. The timer will begin.
- Remove Item: Once the timer completes, lift the handle, swing the upper platen away, or slide out the bottom platen. Carefully remove the item using heat-resistant gloves.
- Peel Transfer: Follow the transfer paper's instructions for hot or cold peel.
5. Maintenance
Proper maintenance ensures the longevity and optimal performance of your heat press machine.
- Cleaning the Platen: Allow the heating platen to cool completely. Wipe it with a soft, damp cloth. For stubborn residue, use a specialized heat press platen cleaner. Avoid abrasive cleaners or tools that could damage the Teflon coating.
- Cleaning Attachments: Clean all attachments (tumbler, hat, plate presses) similarly after they have cooled.
- General Cleaning: Wipe down the exterior of the machine with a dry or slightly damp cloth to remove dust and debris.
- Storage: Store the machine in a dry, dust-free environment when not in use.
- Regular Inspection: Periodically check all cables and connections for wear or damage. Ensure all screws are tight.
6. Troubleshooting
This section addresses common issues you might encounter with your heat press machine.
| Problem | Possible Cause | Solution |
|---|---|---|
| Machine does not power on | Power cord not connected; Power switch off; Outlet issue; Internal fuse blown. | Check power cord connection; Ensure power switch is ON; Test outlet with another device; Contact customer support if fuse is suspected. |
| Uneven heating or cold spots | Faulty heating element; Incorrect pressure adjustment. | Ensure even pressure distribution; Contact customer support if heating element is suspected. |
| Transfer not adhering properly | Incorrect temperature/time; Insufficient pressure; Material not pre-pressed; Incorrect peel method. | Verify temperature and time settings for your material; Adjust pressure; Pre-press items to remove moisture; Follow transfer paper instructions for hot/cold peel. |
| Digital display not working | Loose connection; Control box malfunction. | Check connections to the control box; Contact customer support for further assistance. |
If you encounter a problem not listed here or if the suggested solutions do not resolve the issue, please contact Whubefy customer support for assistance.
7. Specifications
| Feature | Specification |
|---|---|
| Model | HP380 |
| Main Platen Size | 15 x 15 inches |
| Tumbler Press Capacity | 30 oz |
| Upper Temperature Rating | 482°F (250°C) |
| Voltage | 110 Volts |
| Wattage | 1200 Watts |
| Product Dimensions | 15 x 19.3 x 16.5 inches |
| Item Weight | 37.2 pounds |
| Material | Aluminum alloy, Sheet Metal Spray Coating, PA66+30%GF Plastic |
| UPC | 661954250622 |
8. Warranty and Support
For warranty information, please refer to the documentation included with your purchase or contact the seller directly. Keep your proof of purchase for warranty claims.
If you require technical support, have questions about operation, or need replacement parts, please contact Whubefy customer service. Provide your product model number (HP380) and a detailed description of your issue for efficient assistance.
Ask a question about this manual
Ask about setup, troubleshooting, compatibility, parts, safety, or missing instructions. Manuals+ will review the question and use this page’s manual context to help answer it.