1. Introduction
This manual provides essential instructions for the proper setup, operation, and maintenance of the Generic See-Through CPR Simulator, Model 8009-0751-01. This specialized training tool is designed to enhance CPR education by allowing users to visualize underlying anatomy during chest compressions. It is compatible with E Series, R Series, and ZOLL Pro defibrillators and is intended for medical training purposes with adult subjects.
2. Safety Information
Please read all safety instructions before using the CPR Simulator. Failure to follow these instructions may result in damage to the product or improper training outcomes.
- Intended Use: This simulator is for medical training purposes only. It is not a medical device and should not be used on live subjects.
- Adult Use: The simulator is designed for adult CPR training scenarios.
- Supervision: Always use the simulator under the supervision of a qualified instructor.
- Cleaning: Refer to the Maintenance section for proper cleaning procedures. Use only recommended cleaning agents to avoid material degradation.
- Storage: Store the simulator in a clean, dry environment away from direct sunlight and extreme temperatures.
- Damage: Do not use the simulator if it appears damaged. Contact support for assistance.
3. Setup
3.1 Unpacking
- Carefully open the shipping box.
- Remove the CPR Simulator and any accompanying materials.
- Inspect the simulator for any signs of damage during transit. Report any damage to your supplier immediately.
- Retain the original packaging for future storage or transport.
3.2 Initial Placement
Place the CPR Simulator on a stable, flat surface suitable for CPR training. Ensure adequate space around the simulator for trainees to perform compressions and ventilations comfortably.
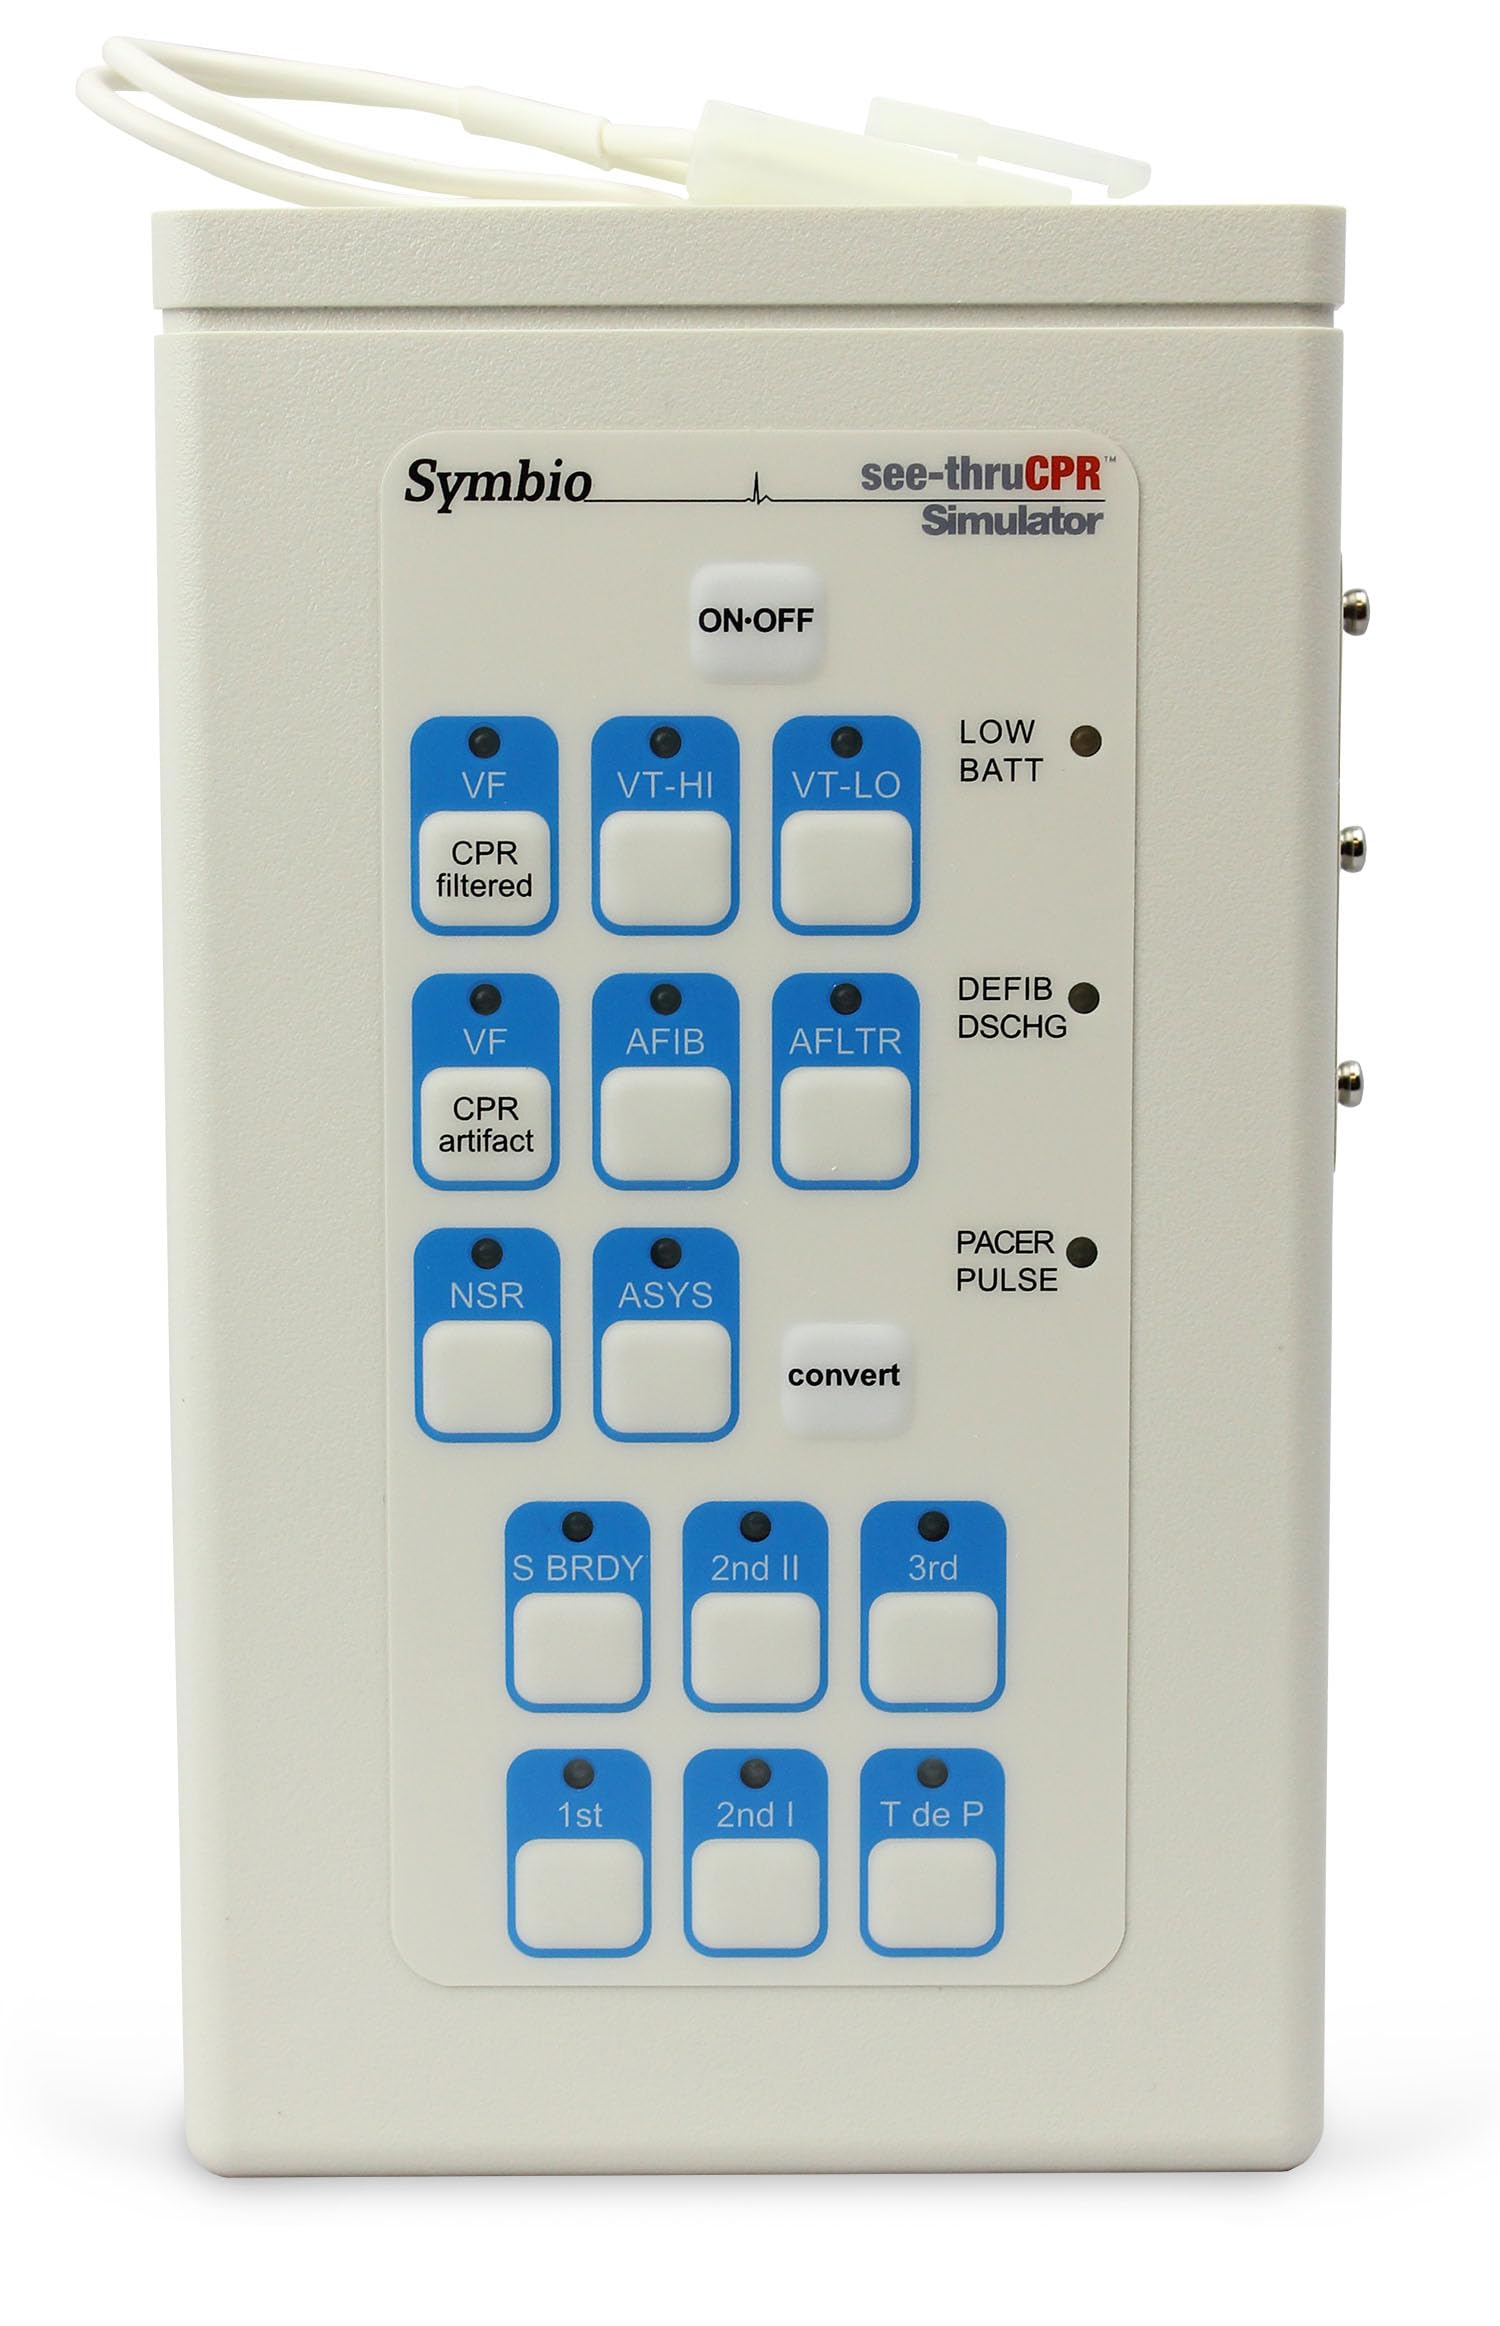
Figure 1: The See-Through CPR Simulator ready for use. Note the transparent chest area designed for visualizing internal CPR mechanics.
4. Operating Instructions
4.1 Understanding See-Through CPR Technology
The primary feature of this simulator is its See-Through CPR technology. The transparent chest allows trainees and instructors to observe the internal mechanics of chest compressions, including lung inflation and chest recoil, providing immediate visual feedback on technique effectiveness.
4.2 Compatibility
This simulator is designed for use with E Series, R Series, and ZOLL Pro defibrillators. Ensure proper connection and compatibility with your specific training equipment as per the defibrillator's own user manual.
4.3 Performing CPR Simulation
- Positioning: Place the simulator on a firm, flat surface. Ensure the head is slightly tilted back to open the airway if mouth-to-mouth ventilation is being practiced.
- Chest Compressions: Perform chest compressions according to current CPR guidelines. Observe the internal components through the transparent chest to verify correct depth and recoil. The simulator provides tactile feedback for proper compression depth.
- Ventilations (if applicable): If the simulator supports ventilations, ensure a proper seal and deliver breaths. Observe lung inflation through the transparent chest.
- Defibrillator Connection: If using with a compatible defibrillator (E Series, R Series, ZOLL Pro), attach training pads to the designated areas on the simulator. Follow the defibrillator's instructions for operation.
- Feedback: Utilize the visual feedback from the See-Through design to refine CPR technique. Instructors can provide real-time guidance based on observed internal actions.
5. Maintenance
5.1 Cleaning
- After each use, wipe down the simulator's exterior with a soft cloth dampened with mild soap and water or a disinfectant solution recommended for medical training equipment.
- Avoid abrasive cleaners, solvents, or harsh chemicals, as these can damage the plastic material.
- Ensure the simulator is completely dry before storage.
5.2 Storage
Store the simulator in its original box or a protective case in a cool, dry place. Avoid exposing it to direct sunlight, extreme temperatures, or high humidity, which can affect material integrity over time.
5.3 Inspection
Periodically inspect the simulator for any signs of wear, cracks, or damage. Pay close attention to the transparent chest area and any moving parts. If damage is found, discontinue use and contact customer support.
6. Troubleshooting
| Problem | Possible Cause | Solution |
|---|---|---|
| Difficulty observing internal mechanics | Poor lighting; incorrect compression technique. | Ensure adequate lighting in the training area. Review CPR compression guidelines and adjust technique. |
| Simulator feels stiff or unresponsive | Improper storage conditions (e.g., extreme cold); material wear. | Allow simulator to reach room temperature. If issue persists, inspect for damage and contact support. |
| Difficulty connecting to defibrillator | Incompatible training pads; incorrect connection. | Ensure you are using training pads compatible with the simulator and your defibrillator model. Refer to the defibrillator's manual for connection instructions. |
7. Specifications
- Model Number: 8009-0751-01
- Design: See-Through CPR technology
- Compatibility: E Series, R Series, ZOLL Pro
- Material: Durable Plastic
- Item Weight: 3.8 Pounds
- Age Range Description: Adult
- Number of Pieces: 1
- Container Type: Box
- Recommended Use: Medical Training
- Color: Clear
- Manufacturer: Symbio
8. Warranty and Support
8.1 Warranty Information
Specific warranty details for the Generic See-Through CPR Simulator are not provided in this manual. Please refer to the product packaging or contact your point of purchase for warranty terms and conditions. Keep your purchase receipt as proof of purchase.
8.2 Customer Support
For technical assistance, troubleshooting, or inquiries regarding your CPR Simulator, please contact the manufacturer or your supplier. Contact information is typically found on the product packaging or the supplier's website.


