1. Product Overview
This document provides instructions for the installation, operation, and maintenance of the Generic Refrigerator Ice Maker Assembly, designed as a replacement part for various Samsung refrigerator models.
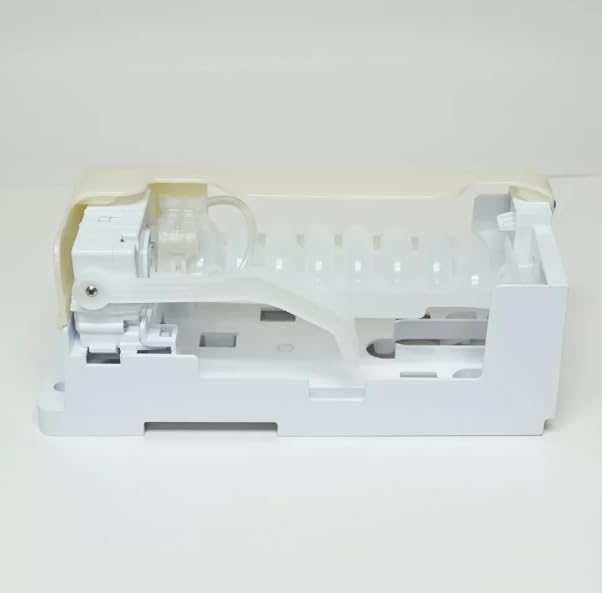
Image 1.1: Front view of the Refrigerator Ice Maker Assembly. This image shows the main body of the ice maker, including the ice mold and the ice ejector mechanism.
Package Contents:
- 1x Refrigerator Ice Maker Assembly
Compatibility:
This ice maker assembly is compatible with a range of Samsung refrigerator models. Please verify your refrigerator's model number against the list below or consult your refrigerator's original manual for part compatibility.
Key Compatible Models:
- RF263AERS/XAA, RF263AERS/XAC
- RF263AEPN/XAA
- RF263AEBP/XAA
- RF262BEAESR/AA
- RF261BIAESR/AA
- RF260BEAESR/AA
- RF261BEAESR/AA
- And other models listed in the product description.
2. Setup and Installation
Proper installation is crucial for the correct function of your new ice maker. If you are unsure about any step, it is recommended to consult a qualified technician or refer to your refrigerator's service manual.
Safety Precautions:
- Always disconnect power to the refrigerator before beginning any installation or maintenance.
- Wear appropriate personal protective equipment, such as gloves, if necessary.
- Ensure the water supply to the refrigerator is turned off.
Installation Steps:
- Prepare the Refrigerator: Disconnect the refrigerator from the power supply and turn off the water supply valve.
- Access the Ice Maker Compartment: Open the freezer door and locate the existing ice maker or the designated area for installation. You may need to remove the ice bucket and any covers.
- Remove the Old Ice Maker (if applicable): Carefully disconnect any wiring harnesses and water lines attached to the old ice maker. Unscrew any mounting screws and remove the old unit.
- Install the New Ice Maker: Position the new ice maker assembly in the compartment. Align it with the mounting points and secure it with the appropriate screws.
- Connect Wiring and Water Line: Reconnect the electrical wiring harness to the new ice maker. Ensure the connection is secure. If applicable, reconnect the water fill tube.
- Replace Covers and Ice Bucket: Reinstall any covers or panels that were removed. Place the ice bucket back into position.
- Restore Power and Water: Turn on the water supply valve to the refrigerator. Plug the refrigerator back into the power outlet.
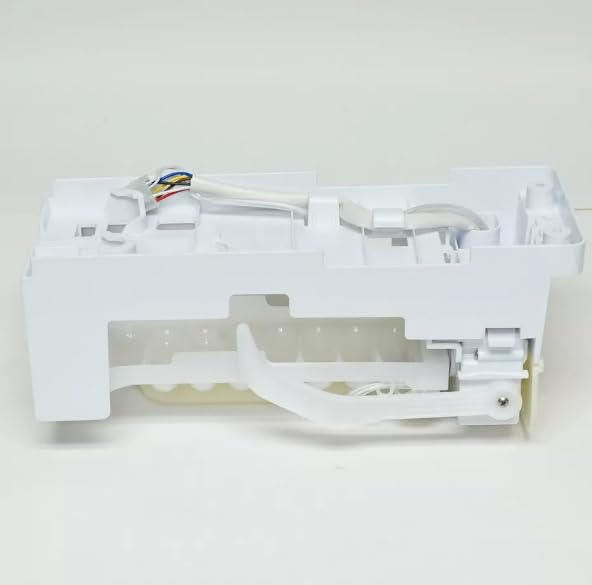
Image 2.1: Side view of the ice maker assembly, showing the electrical wiring harness. Ensure these connections are properly made during installation.

Image 2.2: Close-up view of the ice maker's connection points, highlighting where the wiring harness attaches.
3. Operating Instructions
Once installed and power is restored, the ice maker will begin its operation cycle.
Initial Operation:
- After installation, it may take 12 to 24 hours for the ice maker to produce its first full batch of ice.
- The first few batches of ice should be discarded to ensure any manufacturing residues or air in the water line are cleared.
- Ensure the ice maker's shut-off arm (if present) is in the down position to allow ice production. If the ice bucket is full, the arm will automatically raise to stop production.
Normal Operation:
The ice maker will automatically produce ice as needed, refilling the ice bucket until it is full. The freezer temperature should be set appropriately (typically 0°F / -18°C) for optimal ice production.
4. Maintenance
Regular maintenance helps ensure the longevity and efficient operation of your ice maker.
Cleaning the Ice Bin:
- Periodically remove the ice bucket and empty any old ice.
- Wash the ice bucket with mild soap and warm water. Rinse thoroughly and dry completely before returning it to the freezer.
- Do not use abrasive cleaners or harsh chemicals on the ice maker or ice bucket.
Water Filter (Refrigerator Specific):
If your refrigerator has a water filter, ensure it is replaced according to the manufacturer's recommendations. A clogged water filter can reduce water flow to the ice maker, affecting ice production.
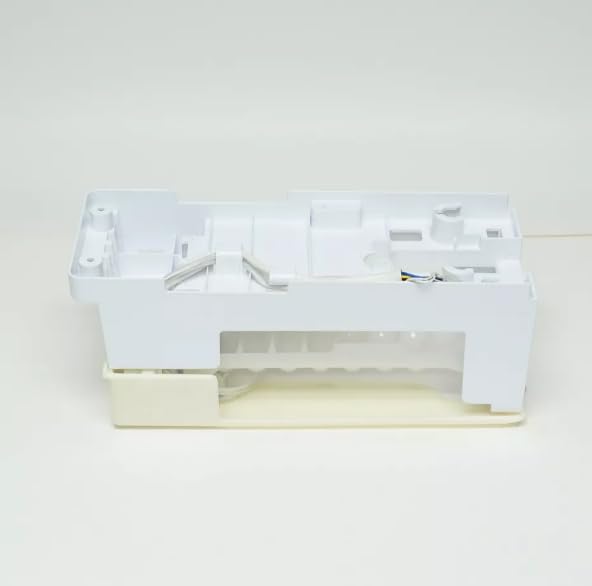
Image 4.1: Bottom view of the ice maker assembly. Regular cleaning of the ice bin helps maintain hygiene.
5. Troubleshooting
If your ice maker is not functioning as expected, review the common issues and solutions below before seeking professional assistance.
Common Issues and Solutions:
| Problem | Possible Cause | Solution |
|---|---|---|
| No ice production |
|
|
| Slow ice production |
|
|
| Ice has an unusual taste or odor |
|
|
| Ice cubes are small or hollow |
|
|
If troubleshooting steps do not resolve the issue, please contact customer support.
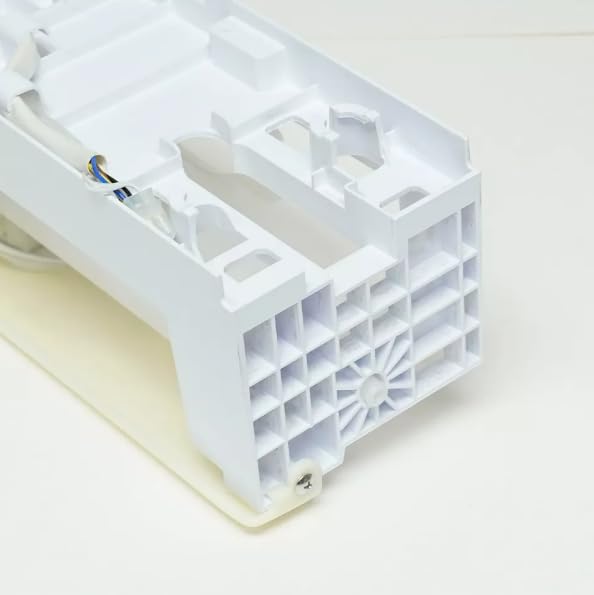
Image 5.1: Rear view of the ice maker assembly, showing a fan grill which is part of the cooling mechanism. Ensure this area is not obstructed.
6. Specifications
| Brand: | Generic |
| Model Name: | Ice Maker Assembly |
| Product Dimensions (D x W x H): | 1"D x 1"W x 1"H (Approximate) |
| Capacity: | 1 Cubic Feet (Ice Storage) |
| Included Components: | Ice Maker |
| Compatibility: | Replacement for various Samsung refrigerator models (e.g., RF263AERS series) |
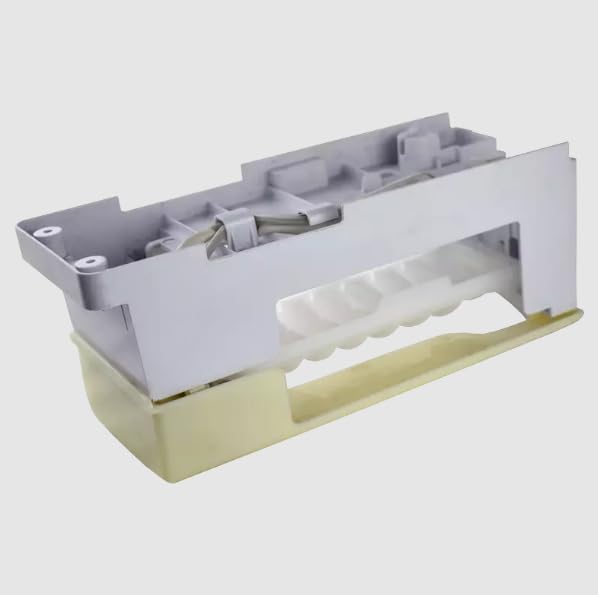
Image 6.1: Top-down view of the ice maker assembly, providing a comprehensive look at its structure.
7. Warranty and Support
Warranty Information:
Specific warranty details for this product are not provided in this manual. Please refer to the product listing or contact the seller directly for information regarding warranty coverage and terms.
Customer Support:
For any questions regarding compatibility, installation, operation, or troubleshooting that are not covered in this manual, please contact the seller for assistance. The seller aims to resolve issues within 24 hours.
When contacting support, please have your product details (ASIN: B0DYR7MDRS) and refrigerator model number readily available.