Introduction
This manual provides essential information for the safe and efficient operation of your Beko BTL1WFP10724ES top-load washing machine. Please read these instructions carefully before using the appliance and keep them for future reference. This washing machine is designed to offer superior washing performance with maximum efficiency, featuring a 7 kg capacity suitable for small to medium-sized families.
Safety Information
Always adhere to the following safety guidelines to prevent injury or damage to the appliance:
- Ensure the washing machine is properly grounded.
- Do not allow children to play with or near the appliance.
- Never force the lid open during operation.
- Unplug the appliance before cleaning or maintenance.
- Do not wash items that have been cleaned in, washed with, soaked in, or spotted with combustible or explosive substances.
- Keep ventilation openings clear of obstruction.
Product Overview
Familiarize yourself with the main components of your Beko BTL1WFP10724ES washing machine.
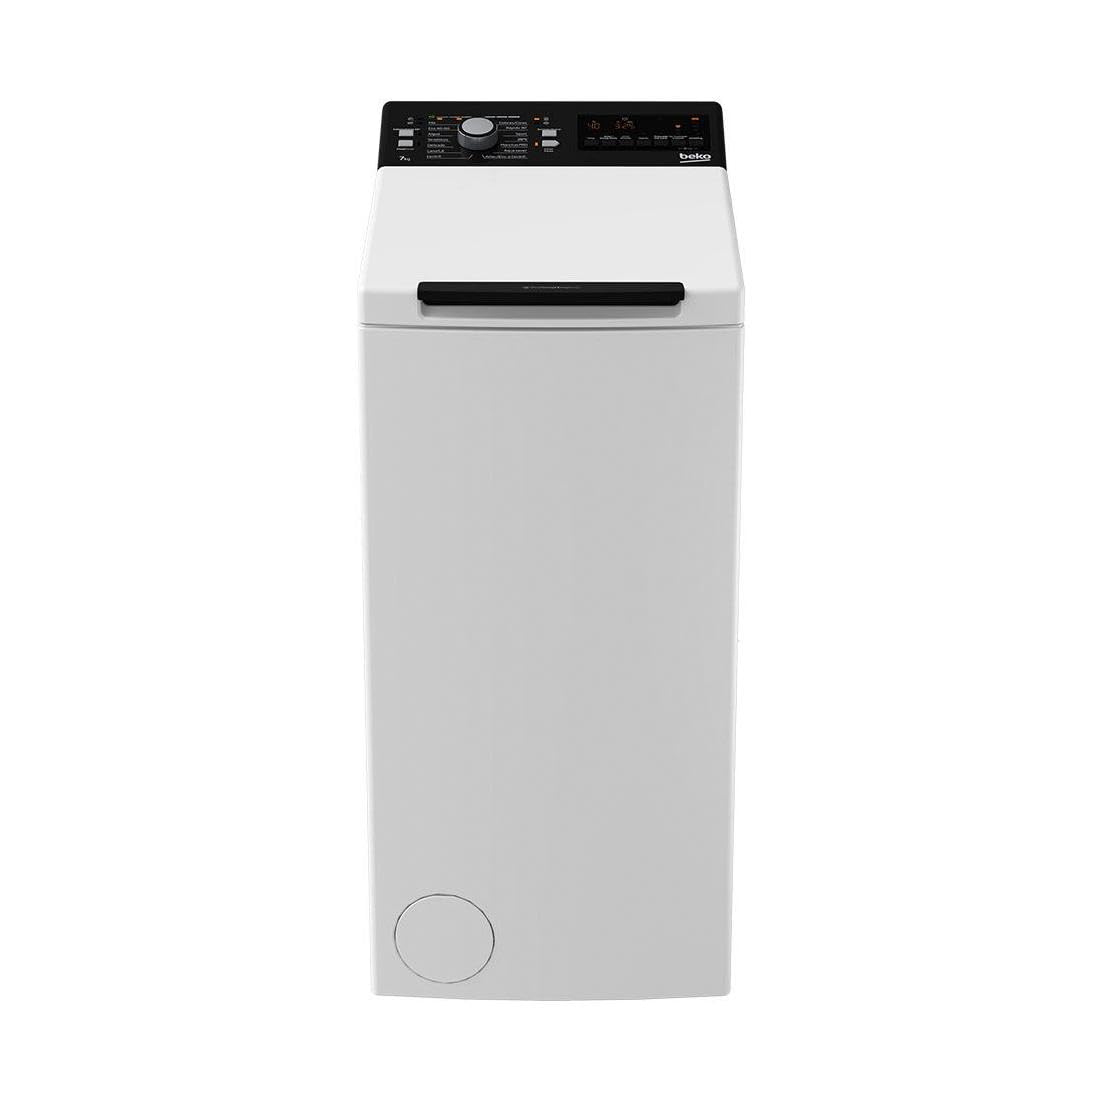
Figure 1: Front view of the Beko BTL1WFP10724ES top-load washing machine. This image displays the front of the Beko BTL1WFP10724ES washing machine. It is a white, top-loading model with a black control panel at the top, featuring a central program selection knob, various buttons, and a digital display. The lid handle is also black.
Control Panel Features:
- Program Selection Knob: Used to select the desired wash program.
- Digital Display: Shows remaining time, error codes, and program settings.
- Function Buttons: For adjusting temperature, spin speed, delay start, and other options.
- Start/Pause Button: To begin or temporarily stop a wash cycle.
Setup and Installation
Proper installation is crucial for the performance and longevity of your washing machine.
1. Unpacking:
- Remove all packaging materials, including the transport bolts located at the rear of the machine. Keep these bolts for future transport.
- Inspect the machine for any damage.
2. Positioning and Leveling:
- Place the washing machine on a firm, level floor.
- Adjust the leveling feet until the machine is stable and level in all directions. Use a spirit level for accuracy.
3. Water Connection:
- Connect the cold water inlet hose to the cold water tap and the corresponding inlet valve on the machine.
- Ensure all connections are tight to prevent leaks.
4. Drain Connection:
- Securely place the drain hose into a standpipe or over the edge of a sink, ensuring it is not kinked and is at the correct height (typically between 60-100 cm from the floor).
5. Electrical Connection:
- Plug the power cord into a grounded electrical outlet. Do not use extension cords or adapters.
Operating Instructions
Follow these steps for a typical wash cycle:
1. Loading Laundry:
- Open the top lid and load laundry into the drum. Do not overload the machine; leave enough space for clothes to tumble freely.
- Close the lid securely.
2. Adding Detergent and Softener:
- Pull out the detergent dispenser drawer.
- Add the appropriate amount of detergent to the main wash compartment and fabric softener to its designated compartment.
- Close the dispenser drawer.
3. Selecting a Program:
- Turn the Program Selection Knob to choose the desired wash program (e.g., Cotton, Synthetics, Delicates, Quick Wash).
- The digital display will show the default settings for the selected program.
4. Adjusting Settings (Optional):
- Use the function buttons to adjust temperature, spin speed, or add extra rinses if needed.
5. Starting the Wash:
- Press the Start/Pause button to begin the wash cycle.
- The machine will automatically lock the lid and start filling with water.
6. End of Cycle:
- Once the cycle is complete, the machine will signal with an audible alert and the display will indicate 'End'.
- Open the lid and remove your laundry.
Maintenance and Care
Regular maintenance ensures optimal performance and extends the life of your washing machine.
1. Cleaning the Detergent Dispenser:
- Remove the dispenser drawer and rinse it under running water to remove any detergent residue.
- Clean the housing of the dispenser with a brush.
2. Cleaning the Drum:
- Run a maintenance wash cycle (e.g., a hot wash with no laundry and a descaling agent) periodically to prevent odor and limescale buildup.
3. Cleaning the Water Inlet Filters:
- Periodically check and clean the filters at the water inlet hose connection points to prevent blockages.
4. Cleaning the Pump Filter:
- Locate the pump filter (usually at the bottom front of the machine).
- Drain any residual water, then unscrew and clean the filter of lint and foreign objects.
5. Exterior Cleaning:
- Wipe the exterior surfaces with a soft, damp cloth. Do not use abrasive cleaners or solvents.
Troubleshooting
Before contacting service, try these solutions for common issues:
| Problem | Possible Cause | Solution |
|---|---|---|
| Machine does not start | Power cord unplugged, lid not closed, program not selected, Start/Pause not pressed. | Check power, ensure lid is closed, select program, press Start/Pause. |
| No water intake | Water tap closed, inlet hose kinked, water supply cut off, inlet filter clogged. | Open tap, straighten hose, check water supply, clean inlet filter. |
| Water not draining | Drain hose kinked or blocked, pump filter clogged. | Straighten/clear drain hose, clean pump filter. |
| Excessive vibration/noise | Transport bolts not removed, machine not level, uneven load. | Remove transport bolts, level machine, redistribute laundry. |
| Poor washing results | Too much/too little detergent, incorrect program, overloaded machine. | Adjust detergent, select appropriate program, reduce load size. |
Specifications
| Feature | Detail |
|---|---|
| Brand | Beko |
| Model Number | BTL1WFP10724ES |
| Type | Top-Load Washing Machine |
| Capacity | 7 kg |
| Maximum Spin Speed | 1200 rpm |
| Weight | 60 kg |
| Material | Steel |
| Color | White |
| Dimensions (H x W x D) | Typical washing machine dimensions apply. Please refer to product packaging for exact measurements. |
Warranty Information
Your Beko BTL1WFP10724ES washing machine comes with a manufacturer's warranty. Please refer to the warranty card included with your purchase for specific terms, conditions, and duration. Keep your proof of purchase for any warranty claims.
Support
For further assistance, technical support, or to schedule a service appointment, please contact Beko customer service. Contact details can typically be found on the Beko official website or on your warranty documentation.
Online Resources: Visit the official Beko website for FAQs, additional manuals, and support information.