
Introduction
The Rockville RD600.1 is a high-efficiency Class-D mono amplifier designed to provide powerful and clean bass for your car audio system. This amplifier delivers 600W RMS at 1 Ohm and features advanced tuning controls, including adjustable low pass and subsonic filters, and a bass boost function. Its compact design and robust protection circuitry ensure reliable performance. This manual provides essential information for the proper installation, operation, and maintenance of your RD600.1 amplifier.

Image: Top view of the Rockville RD600.1 Class-D Mono Car Amplifier.
Safety Instructions
- Always disconnect the vehicle's negative battery terminal before beginning any installation.
- Professional installation is recommended for optimal performance and safety.
- Ensure proper ventilation around the amplifier to prevent overheating.
- Use appropriate gauge wiring for power, ground, and speaker connections as specified in the setup section.
- Avoid mounting the amplifier in areas exposed to moisture or excessive vibration.
- Do not attempt to repair the unit yourself. Refer all servicing to qualified personnel.
Included Components
The following items are included with your Rockville RD600.1 amplifier:
- RD600.1 Amplifier
- Metal Bass Remote with Clip Indicator
- Owner's Manual
- Mounting Screws
- Warranty Card
Setup
Proper installation is crucial for the performance and longevity of your amplifier. Follow these steps carefully.
Mounting the Amplifier
Choose a secure location with adequate ventilation. Ensure the mounting surface is solid and can support the amplifier's weight. Use the provided mounting screws to secure the unit.
Power Connections
Connect the power, ground, and remote turn-on wires as follows:
- Power (BATT+): Connect a heavy-gauge wire (e.g., 4-gauge) directly from the positive terminal of your vehicle's battery to the amplifier's BATT+ terminal. Install an in-line fuse holder within 18 inches of the battery.
- Ground (GND): Connect a heavy-gauge wire from the amplifier's GND terminal to a clean, unpainted metal surface on the vehicle's chassis. Ensure a solid, low-resistance connection.
- Remote (REM): Connect a smaller gauge wire (e.g., 18-gauge) from the amplifier's REM terminal to the remote turn-on output of your head unit. This wire turns the amplifier on and off with your stereo.

Image: Side view of the RD600.1 amplifier showing power, ground, remote, and speaker terminals.
RCA Input Connection
Connect RCA cables from the pre-amp outputs of your head unit to the RCA INPUT terminals on the amplifier. Ensure left and right channels are correctly matched.
Speaker Connection
Connect your subwoofer(s) to the amplifier's speaker output terminals. The RD600.1 is a mono amplifier, designed for single-channel output. Ensure the total impedance of your subwoofer(s) matches the amplifier's stable operating impedance (1 Ohm, 2 Ohm, or 4 Ohm).

Image: Side view of the RD600.1 amplifier showing RCA input terminals and control knobs.
Bass Remote Connection
Connect the included metal bass remote to the dedicated remote port on the amplifier. This allows for convenient adjustment of bass levels from the driver's seat.
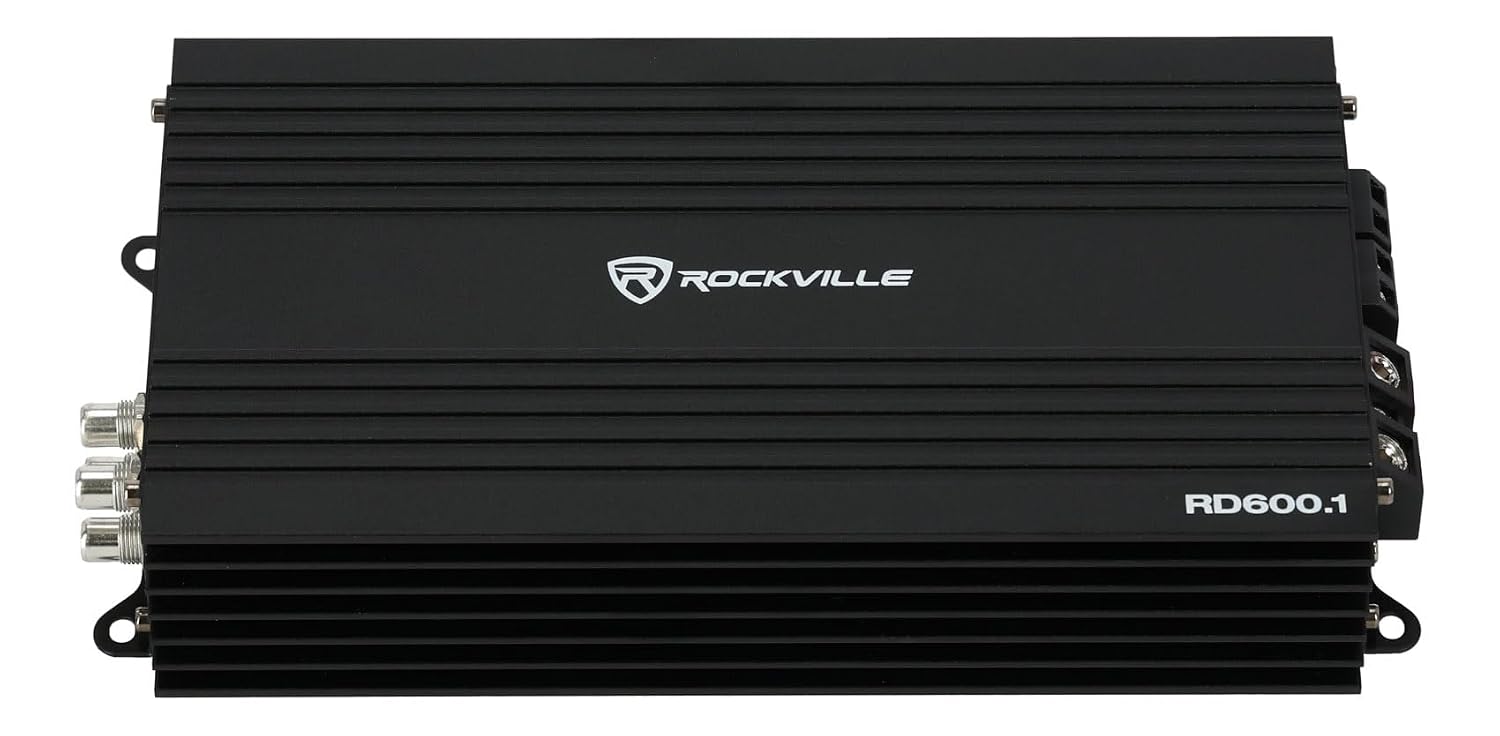
Image: The Rockville RD600.1 amplifier shown with its included metal bass remote control.
Setup Video Guide
For a visual guide on setting up a Rockville amplifier, please refer to the video below. While the video title references the RD1000.1, the general setup principles are applicable to the RD600.1 model.
Video: A detailed explanation of how to set up a Rockville mono amplifier, demonstrating wiring and initial configuration.
Operating
Once installed, the amplifier's performance can be optimized using its control panel features.
Control Panel Overview
- GAIN/LEVEL Control: Adjusts the input sensitivity of the amplifier to match the output voltage of your head unit. Start with the gain at minimum and slowly increase until desired volume is achieved without distortion.
- LOW PASS FILTER (LPF): This control allows you to set the upper frequency limit for the amplifier's output, typically between 50Hz and 200Hz. Frequencies above this setting will be filtered out, ensuring only bass frequencies reach your subwoofer.
- SUBSONIC FILTER: This filter removes extremely low frequencies (10Hz to 50Hz) that are inaudible and can cause damage to subwoofers. Setting this correctly protects your subwoofer and improves sound quality.
- BASS BOOST: Provides an adjustable boost (0dB to 12dB) at 45Hz to enhance low-frequency output. Use sparingly to avoid distortion.
Bass Remote with Clip Indicator
The included bass remote allows for real-time adjustment of the subwoofer's output level. The integrated clip indicator light illuminates when the audio signal is distorting, helping you prevent damage to your speakers and amplifier by reducing the gain or bass level.
Controls Explanation Video Guide
For a detailed explanation of the inputs, outputs, and controls on a Rockville amplifier, please refer to the video below. While the video title references the RD1000.1, the control functions are generally similar for the RD600.1 model.
Video: An overview of the input, output, and control features found on Rockville mono amplifiers.
Maintenance
Regular maintenance helps ensure the longevity and optimal performance of your amplifier.
- Cleaning: Periodically wipe the amplifier's exterior with a soft, dry cloth to remove dust and debris. Do not use harsh chemicals or abrasive cleaners.
- Connection Checks: Annually inspect all power, ground, remote, and speaker connections to ensure they are secure and free from corrosion. Loose connections can lead to poor performance or damage.
- Ventilation: Ensure that the amplifier's cooling fins are not obstructed. Proper airflow is essential to prevent overheating.
- Environmental Factors: Protect the amplifier from extreme temperatures and moisture.
Troubleshooting
If you experience issues with your RD600.1 amplifier, refer to the following common problems and solutions:
| Problem | Possible Cause | Solution |
|---|---|---|
| No Power / No Indicator Light | Blown fuse, loose power/ground connection, no remote signal. | Check in-line fuse and amplifier fuses. Verify power, ground, and remote wire connections. Ensure head unit is on and sending a remote signal. |
| No Sound Output | RCA cables disconnected, speaker wires disconnected, gain too low, head unit volume down. | Check RCA and speaker connections. Adjust gain. Increase head unit volume. |
| Distorted Sound | Gain set too high, improper filter settings, poor speaker connection, damaged speaker. | Reduce gain. Adjust LPF/Subsonic filters. Check speaker wiring. Inspect speakers for damage. |
| Amplifier Overheating / Protection Mode | Insufficient ventilation, impedance too low, prolonged high output. | Ensure proper airflow around the amplifier. Verify speaker impedance. Reduce listening volume or duration. |
| Bass Remote Clip Indicator On | Input signal clipping, amplifier overdriven. | Reduce head unit volume, amplifier gain, or bass boost until the indicator turns off. |
Specifications
- RMS Power Ratings:
- 1 Ohm: 600W x 1 Channel (<1% THD+N, 75% efficient)
- 2 Ohm: 400W x 1 Channel (<1% THD+N, 85% efficient)
- 4 Ohm: 250W x 1 Channel (<1% THD+N, 90% efficient)
- Peak Power:
- 1 Ohm: 2400W x 1 Channel
- 2 Ohm: 1600W x 1 Channel
- 4 Ohm: 1000W x 1 Channel
- Bass Boost:
- 0dB - 12dB @ 45Hz
- Low Pass Filter (LPF):
- Adjustable from 50Hz to 200Hz
- Subsonic Filter:
- Adjustable from 10Hz to 50Hz
- Frequency Response:
- 10Hz - 200Hz
- Signal to Noise Ratio (SNR):
- -91.9dBA (per CEA 2006 Standard)
- Damping Factor:
- >150 @ 100Hz
- Fuse Protection:
- 2 x 30 Amp Maxi Fuses (built-in)
- Input Voltage Range:
- 264mV – 8.0V
- Battery Voltage Range:
- 8V to 16.1V
- Dimensions (W x H x L):
- 9.6” x 4.9” x 1.8”
- Number of Channels:
- 1
- Item Weight:
- 5.85 Pounds
Warranty & Support
Your Rockville RD600.1 amplifier is covered by a 1 Year Manufacturer Warranty. For warranty claims or technical support, please contact Rockville customer service. Keep your purchase receipt as proof of purchase for warranty service.
For additional assistance, visit the official Rockville website or consult authorized service centers.