1. Product Overview
This manual provides instructions for the installation of the SRJTEK LCD Display Touch Screen Digitizer Assembly Replacement for Blackview A52 and Blackview A52 Pro smartphones.
The replacement screen is designed to resolve various display issues, including cracks, dead pixels, touch response problems, color inaccuracies, and non-functional screens, restoring your device's visual and touch functionality.
Compatibility: This screen replacement is exclusively designed for Blackview A52 and Blackview A52 Pro models. Please ensure your device model matches before proceeding with installation.
Important Note: After replacing the screen, the fingerprint function may no longer be usable. Please consider this before purchasing and installing.

Image 1.1: Overview of the SRJTEK LCD screen replacement for Blackview A52/A52 Pro, highlighting key specifications such as Grade A quality, 16M color depth, 100% RGB, 720x1600 resolution, 270 ppi density, and 6.5-inch size.
2. Setup and Pre-Installation
2.1 Package Contents
The package includes:
- 1x LCD Touch Screen Assembly Replacement
- 1x Free Double-sided Adhesive Tape
- 1x Set of Installation Tools (professional opening kits)
2.2 Pre-Installation Checks and Precautions
- Product Inspection: Before installation, carefully check the product for any physical damage. Ensure it is in good condition.
- Test Before Installation: It is strongly recommended to test the screen functionality before full installation. Do not remove any protective films or labels during this testing phase.
- Static Electricity: Be aware of static electricity. Static discharge can damage electronic components. Consider using an anti-static wrist strap if available.
- Fragile Component: The screen is made of glass and is very fragile. Handle with extreme care to prevent breakage.

Image 2.1: Front and back views of the LCD display assembly without the phone frame, showing the display surface and the flex cable connections.

Image 2.2: A comprehensive set of tools provided for the screen replacement, including screwdrivers, prying tools, suction cup, SIM ejector, and adhesive strips.
3. Operating (Installation Steps)
This section outlines the general steps for screen replacement. For detailed visual guidance, it is recommended to search for relevant installation videos on platforms like YouTube for your specific phone model (Blackview A52 or A52 Pro).
- Power Off Device: Ensure your Blackview A52/A52 Pro is completely powered off before beginning any disassembly.
- Remove SIM Tray: Use the provided SIM ejector tool to remove the SIM card tray.
- Open Back Cover: Carefully use the prying tools to open the back cover of the phone. This may require gentle heat application to soften adhesive.
- Disconnect Battery: Locate and disconnect the battery connector to prevent short circuits during the repair.
- Disconnect Old Screen: Disconnect the flex cables connecting the old screen to the motherboard.
- Remove Old Screen: Carefully remove the old, damaged screen from the phone frame. This may involve removing screws and gently prying it off.
- Clean Frame: Clean any old adhesive residue from the phone frame.
- Connect New Screen (Test): Before applying adhesive, connect the new screen's flex cables to the motherboard. Reconnect the battery and power on the phone to test the display and touch functionality. If the screen works correctly, power off the device and disconnect the battery again.
- Apply Adhesive: Apply the new double-sided adhesive tape to the phone frame where the screen will sit.
- Install New Screen: Carefully place the new screen into the frame, ensuring proper alignment.
- Reconnect Components: Reconnect the battery, then reattach the back cover and SIM tray.
3.1 Cable Handling
Do not bend the flex cable excessively. During installation and testing, ensure the LCD cable is not bent beyond its natural curve. Curvatures greater than 90 degrees can result in a black screen or display malfunction.
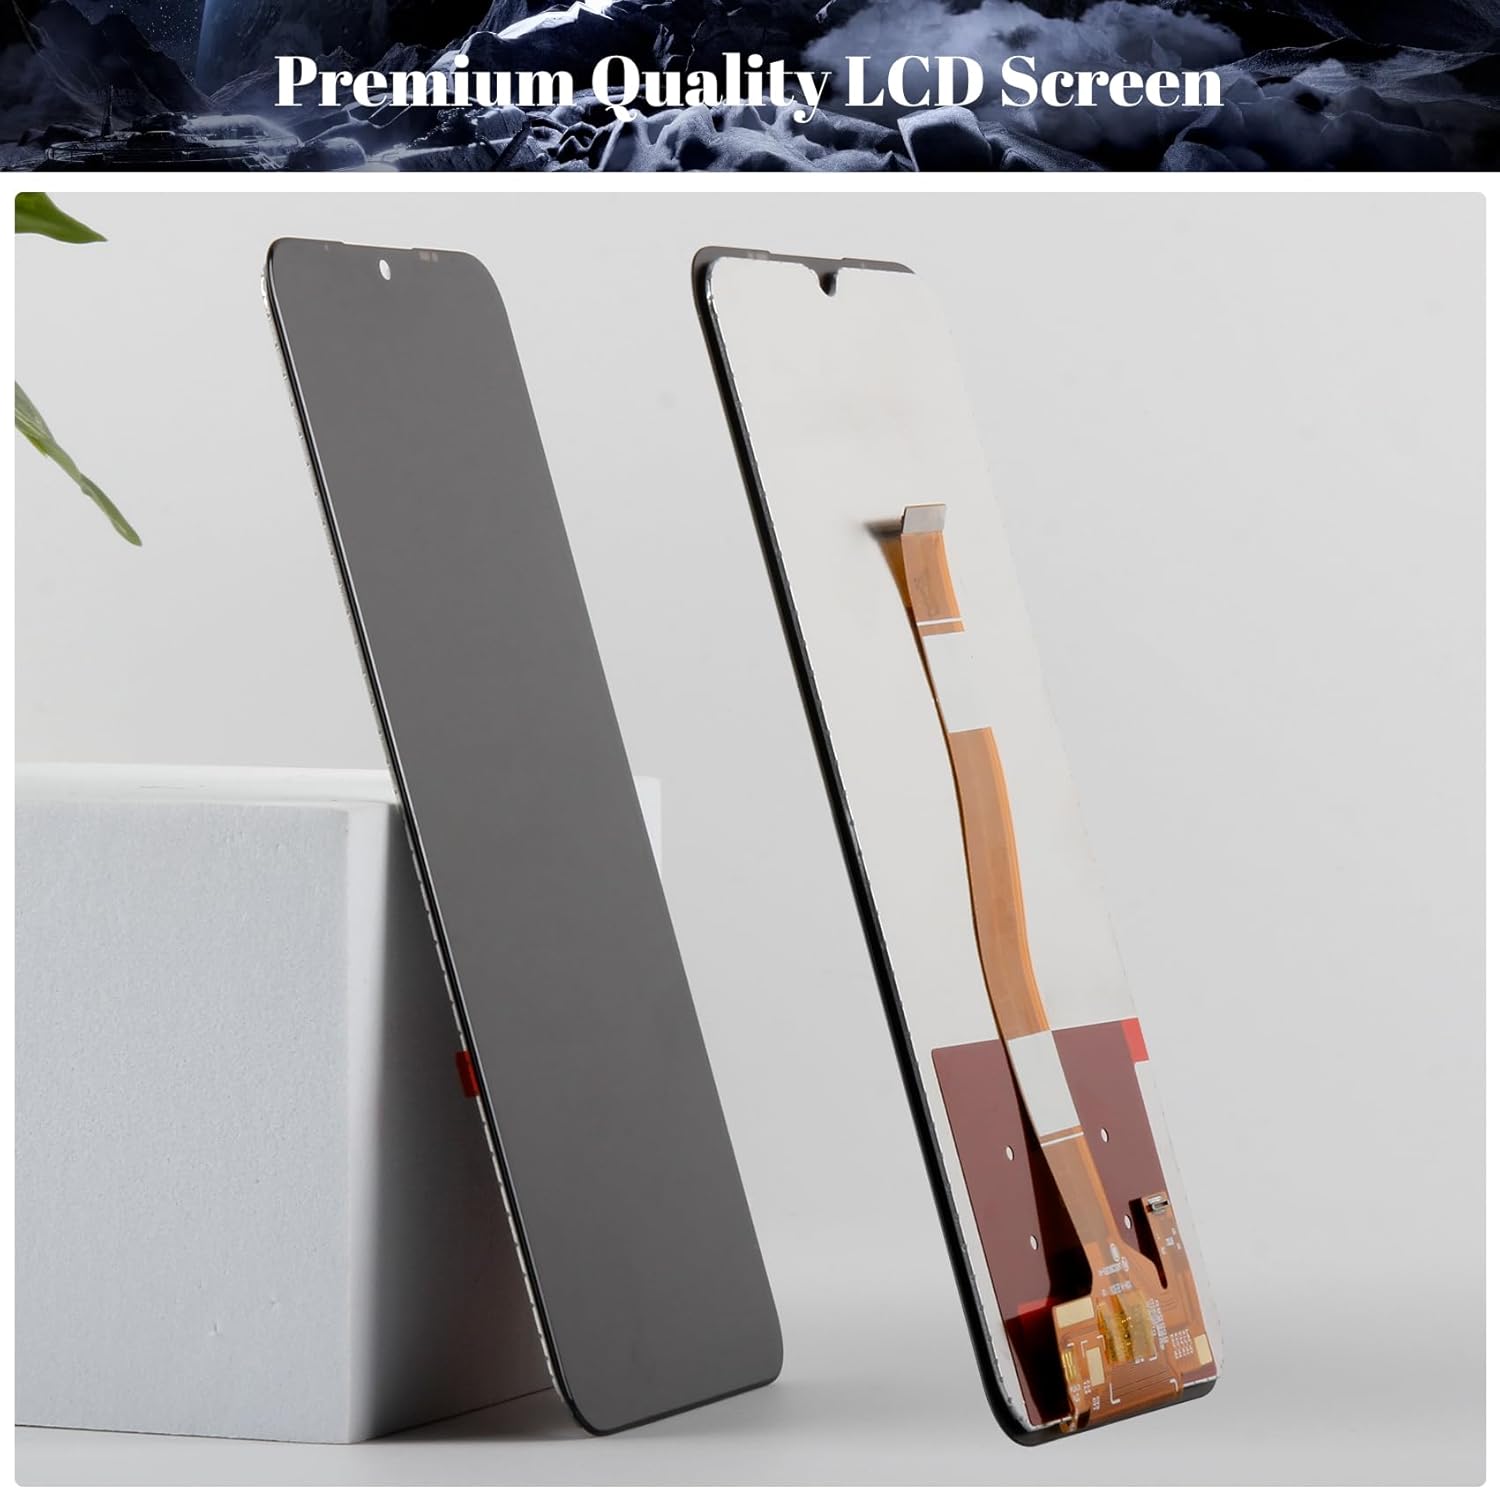
Image 3.1: Visual guide illustrating the sequence of steps for replacing a phone screen, from opening the device to installing the new display.
4. Maintenance
No specific maintenance is required for the screen itself beyond general care for your smartphone. To prolong the life of your new screen:
- Avoid dropping the device or subjecting it to strong impacts.
- Use a screen protector for added scratch resistance.
- Clean the screen with a soft, lint-free cloth, avoiding harsh chemicals.
5. Troubleshooting
5.1 Common Issues and Solutions
- Black Screen After Installation: If your phone displays a black screen after installation, press and hold the power key and volume key simultaneously. If the phone vibrates, it indicates that the main flex cable may not be properly installed. Power off the device and carefully reinstall the screen assembly, ensuring all connections are secure.
- Touch Not Responding: Ensure all flex cables are correctly seated and not damaged. Re-test the screen.
- Display Anomalies (Lines, Discoloration): This could indicate a damaged flex cable or an issue with the screen itself. Recheck connections. If the issue persists, contact support.
5.2 Professional Assistance
If you lack experience in repairing electronic equipment or are not confident in performing the replacement yourself, it is highly recommended to seek assistance from a professional repair shop. This can help save time and prevent further damage to your device.
6. Specifications
| Feature | Specification |
|---|---|
| Material | IPS LCD |
| Compatible Models | Blackview A52, Blackview A52 Pro |
| Screen Size | 6.5 inches |
| Resolution | 720 x 1600 pixels |
| Pixel Density | 270 ppi |
| Color Depth | 16 Million Colors |
| RGB Coverage | 100% |
| Quality Level | Grade A+ |
| Item Weight | 0.32 ounces |
| Manufacturer | SRJTEK |

Image 6.1: Side view of the premium quality LCD screen, showcasing its slim profile and construction.
7. Warranty and Support
SRJTEK screens undergo rigorous quality control checks to ensure high performance standards. If you encounter any damage or defects that affect normal use, please contact us immediately.
We offer complimentary after-sales service and our professional technicians are available to provide guidance and support for any challenges you may face during installation or use.
For support, please refer to the contact information provided with your purchase or on the SRJTEK official store page.