Introduction
This manual provides comprehensive instructions for the setup, operation, and maintenance of your EliteBloom ECR-100 Electronic POS Cash Register. Please read this manual thoroughly before using the device to ensure proper functionality and longevity.
Product Overview
The EliteBloom ECR-100 is an automatic electronic POS cash register designed for efficient transaction processing. It features a 47-key keyboard, a 1-station thermal printer, and a cash drawer. Key functionalities include member management, multi-tax options, and comprehensive reporting.
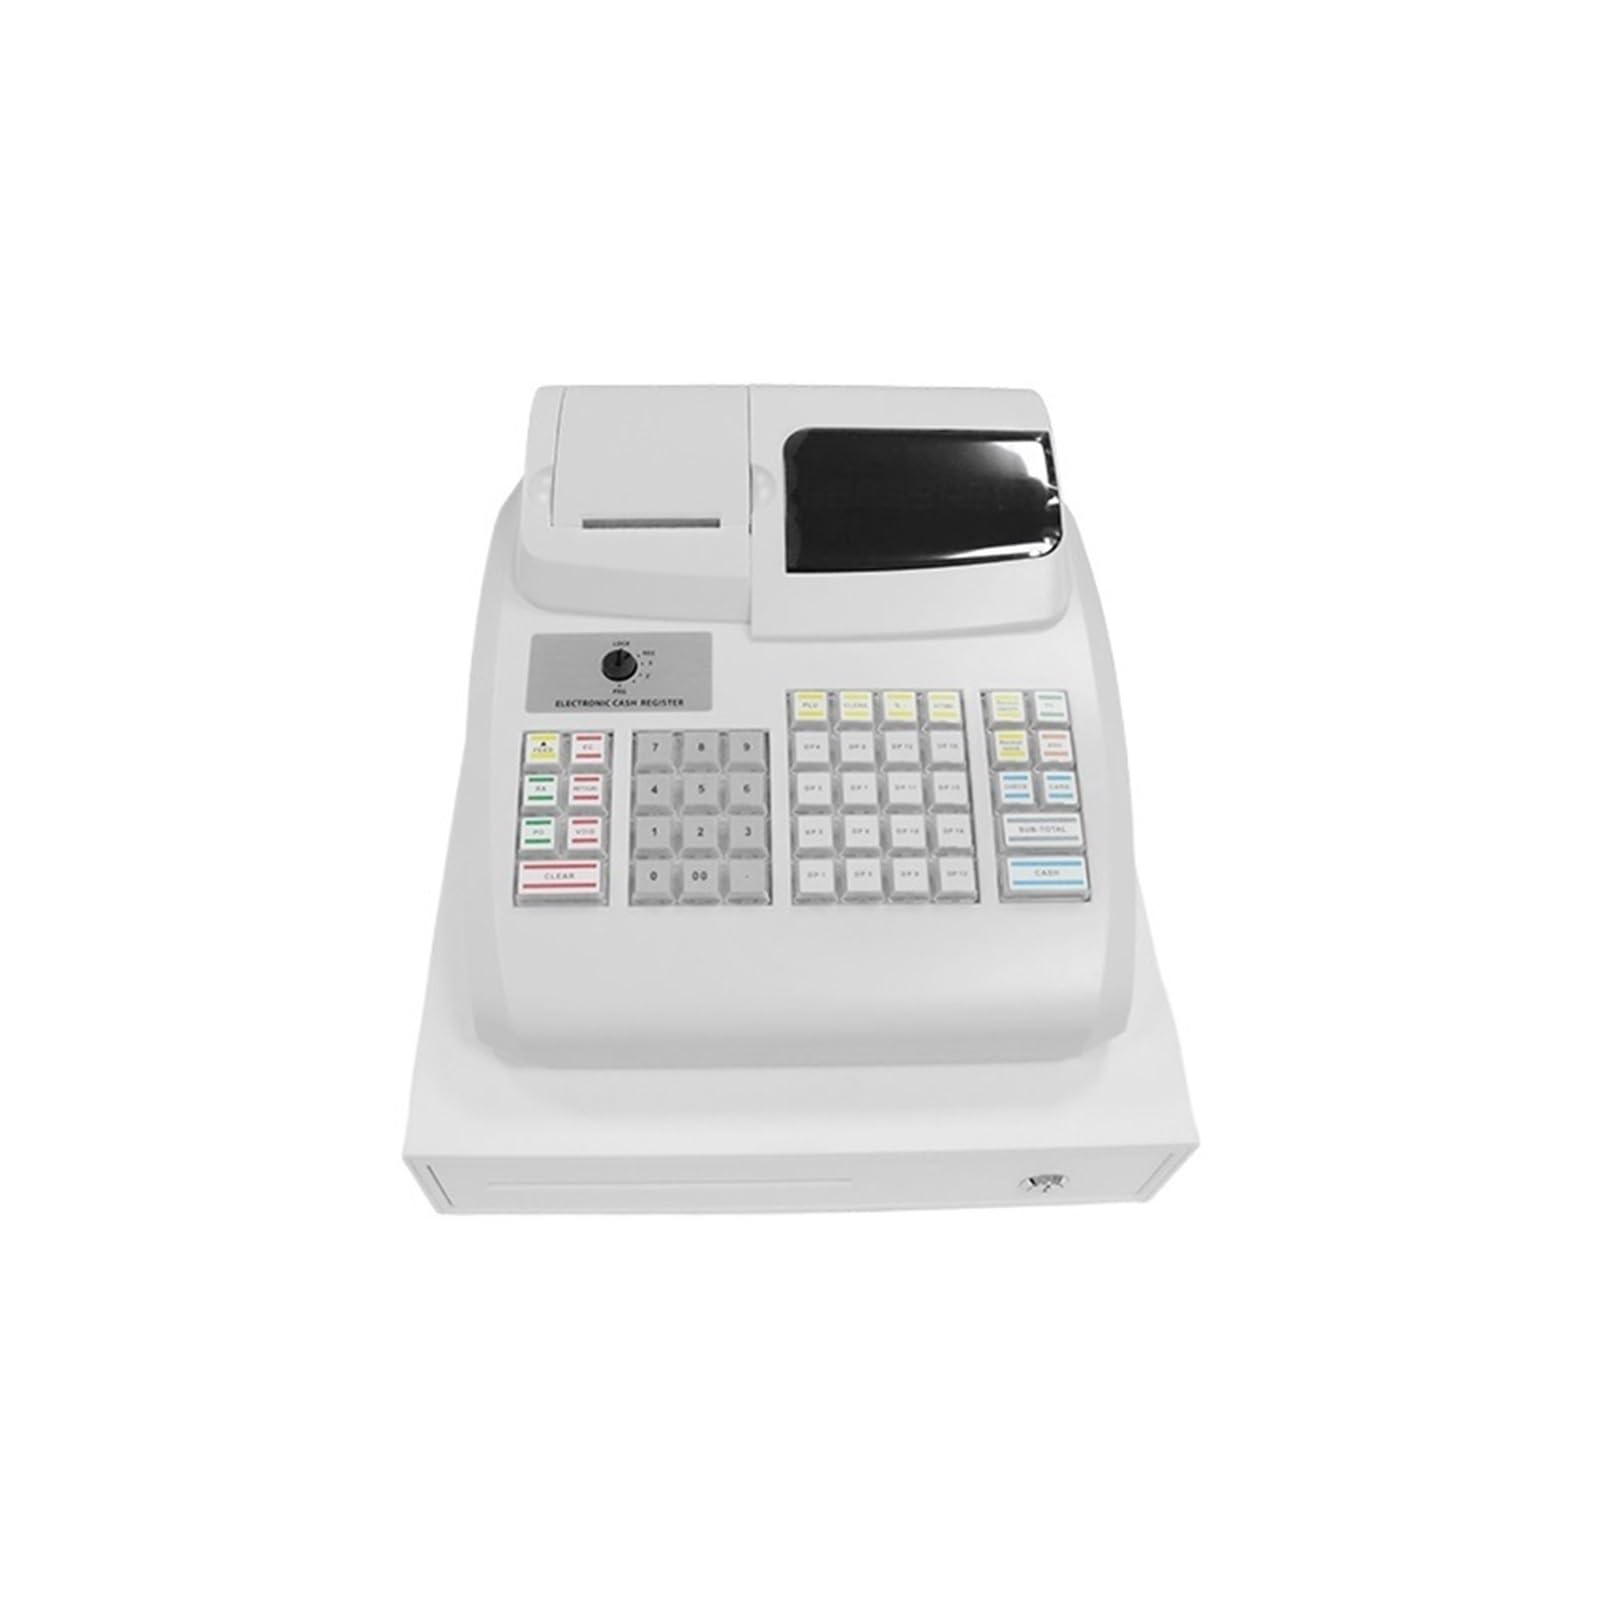
Figure 1: EliteBloom ECR-100 Electronic POS Cash Register with cash drawer open, showing the printer, display, and keyboard.
Setup
1. Unboxing and Component Check
Carefully remove all components from the packaging. Verify that all items are present:
- ECR-100 Cash Register Unit
- Power Adapter
- Thermal Paper Roll
- Cash Drawer Key
- User Manual (this document)
Video 1: Overview of the Electronic Cash Register and its components during unboxing.
2. Power Connection
- Connect the power adapter to the power input port on the back of the cash register.
- Plug the power adapter into a standard electrical outlet.
- Turn on the cash register using the power switch, usually located on the side or back.
3. Thermal Paper Loading
- Open the printer cover by lifting the latch.
- Insert a new thermal paper roll (58mm width) into the compartment, ensuring the paper feeds from the bottom and the leading edge extends slightly past the printer slot.
- Close the printer cover firmly until it clicks into place.
4. Cash Drawer Connection
The cash drawer connects to the cash register via a 9V cash drawer interface cable. Connect the cable from the cash drawer to the designated port on the back of the cash register.

Figure 2: Front view of the cash register, showing the receipt printer and cash drawer.
Operating Instructions
1. Keypad Overview
The cash register features a 47-key keyboard. Familiarize yourself with the layout:
- Numeric Keys (0-9, 00): For entering quantities and prices.
- Department Keys (DP1-DP16): For assigning items to specific departments.
- PLU Keys: For Price Look-Up items.
- Function Keys (e.g., FEED, EC, RA, RETURN, PO, VOID, CLEAR, SUB-TOTAL, CASH): For various transaction operations.
- Key Lock: Controls operational modes (REG, PGM, Z, X, S).

Figure 3: Detailed view of the cash register keyboard and key lock for mode selection.
2. Basic Sales Transaction
- Ensure the key is set to the REG (Register) position.
- Enter the item price using the numeric keys.
- Press the corresponding Department Key (e.g., DP1) or PLU Key.
- Repeat for all items.
- Press SUB-TOTAL to view the total.
- Enter the cash amount received from the customer.
- Press CASH to complete the transaction and print the receipt. The cash drawer will open.
Video 2: Demonstration of a basic sales transaction, including item entry, receipt printing, and cash drawer operation.
3. UV Detection for Counterfeit Currency
The cash register includes a UV detection feature to help identify counterfeit banknotes. To use this feature:
- Place the banknote under the UV light source, typically located near the cash drawer opening.
- Observe the banknote for security features that fluoresce under UV light, such as security threads or specific fibers.
Video 3: Demonstration of the UV detection feature for verifying currency authenticity.
4. Advanced Functions
- Commodity Data Management: Create or edit commodity data using either the ECR keyboard or dedicated PC software.
- System Configuration: Modify system settings and configurations more conveniently via PC software.
- Multi-Selling Ways: Supports various selling methods, including price changes, holding bills, and refunds.
- Restaurant Functions: Features options for dishes with taste variations and meal set selling.
- Reporting: Generate comprehensive reports such as PTD (Period-To-Date) reports, stock reports, shortage reports, and configuration reports for any time period.
Maintenance
1. Cleaning
- Regularly wipe the exterior of the cash register with a soft, damp cloth.
- Avoid using abrasive cleaners or solvents.
- Clean the printer head gently with a specialized printer cleaning pen or isopropyl alcohol on a cotton swab to ensure clear print quality.
2. Paper Roll Replacement
Replace the thermal paper roll when it runs out or when print quality deteriorates. Refer to the "Thermal Paper Loading" section under Setup for detailed steps.
3. General Care
- Keep the cash register away from direct sunlight, excessive heat, and moisture.
- Do not place heavy objects on top of the unit.
- Ensure proper ventilation around the device.
Troubleshooting
| Problem | Possible Cause | Solution |
|---|---|---|
| Cash Register does not power on. | Power cable disconnected; Power outlet faulty; Power switch off. | Check power cable connection; Try a different outlet; Ensure power switch is ON. |
| Printer not printing or printing blank. | No paper; Paper loaded incorrectly; Printer head dirty; Non-thermal paper used. | Load new thermal paper; Re-load paper correctly; Clean printer head; Ensure thermal paper is used. |
| Cash drawer does not open. | Drawer not connected; Key lock in wrong position; Drawer jammed. | Check cash drawer cable connection; Ensure key lock is in REG mode; Clear any obstructions. |
| Display shows error message. | Operational error; System fault. | Refer to the specific error code in the full manual (if available) or restart the device. Contact support if persistent. |
Specifications
| Feature | Detail |
|---|---|
| CPU | ARM 7 |
| Printer Head | 1-Station Thermal |
| Printing Speed | Max: 60mm/s |
| Paper Supply Method | Easy-Loading paper |
| Paper Width | 58mm |
| Operator Display | Numeric display (9-character LED) |
| Customer Display | 6 digits LED |
| Keyboard | 47 Keys |
| Departments | 16 |
| Clerks | 8 |
| Interface | 1×RS232, 1× Cash Drawer |
| Cash Drawer | 9V cash drawer |
| Power Supply | Switch power |
| PLUs | Max. 7000 (72 shortcut PLU) |
| Memory Billing | Yes |
| Customer Management | No |
| Stock Management | Yes |
| Profit Analysis | Yes |
| Back-up Battery | No |
| Dimensions (W*L*H) | 295 x 345 x 250mm |
Note: Some specifications, such as PLU capacity, may vary slightly based on software version or specific model configuration. The video mentions 7000 PLU and 72 shortcut PLU, while the product description states Max. 200 PLUs. Please refer to your specific product packaging for the most accurate information.
Warranty and Support
For warranty information, technical support, or service inquiries, please refer to the official EliteBloom website or contact their customer service department. Keep your purchase receipt as proof of purchase.


