YITAHOME MAYIHbXoIc
YITAHOME Polycarbonate 6x8FT Greenhouse User Manual
Model: MAYIHbXoIc
Brand: YITAHOME
Introduction
This manual provides instructions for the assembly, operation, maintenance, and troubleshooting of your YITAHOME Polycarbonate 6x8FT Greenhouse. Please read this manual thoroughly before assembly and use to ensure safe and efficient operation.
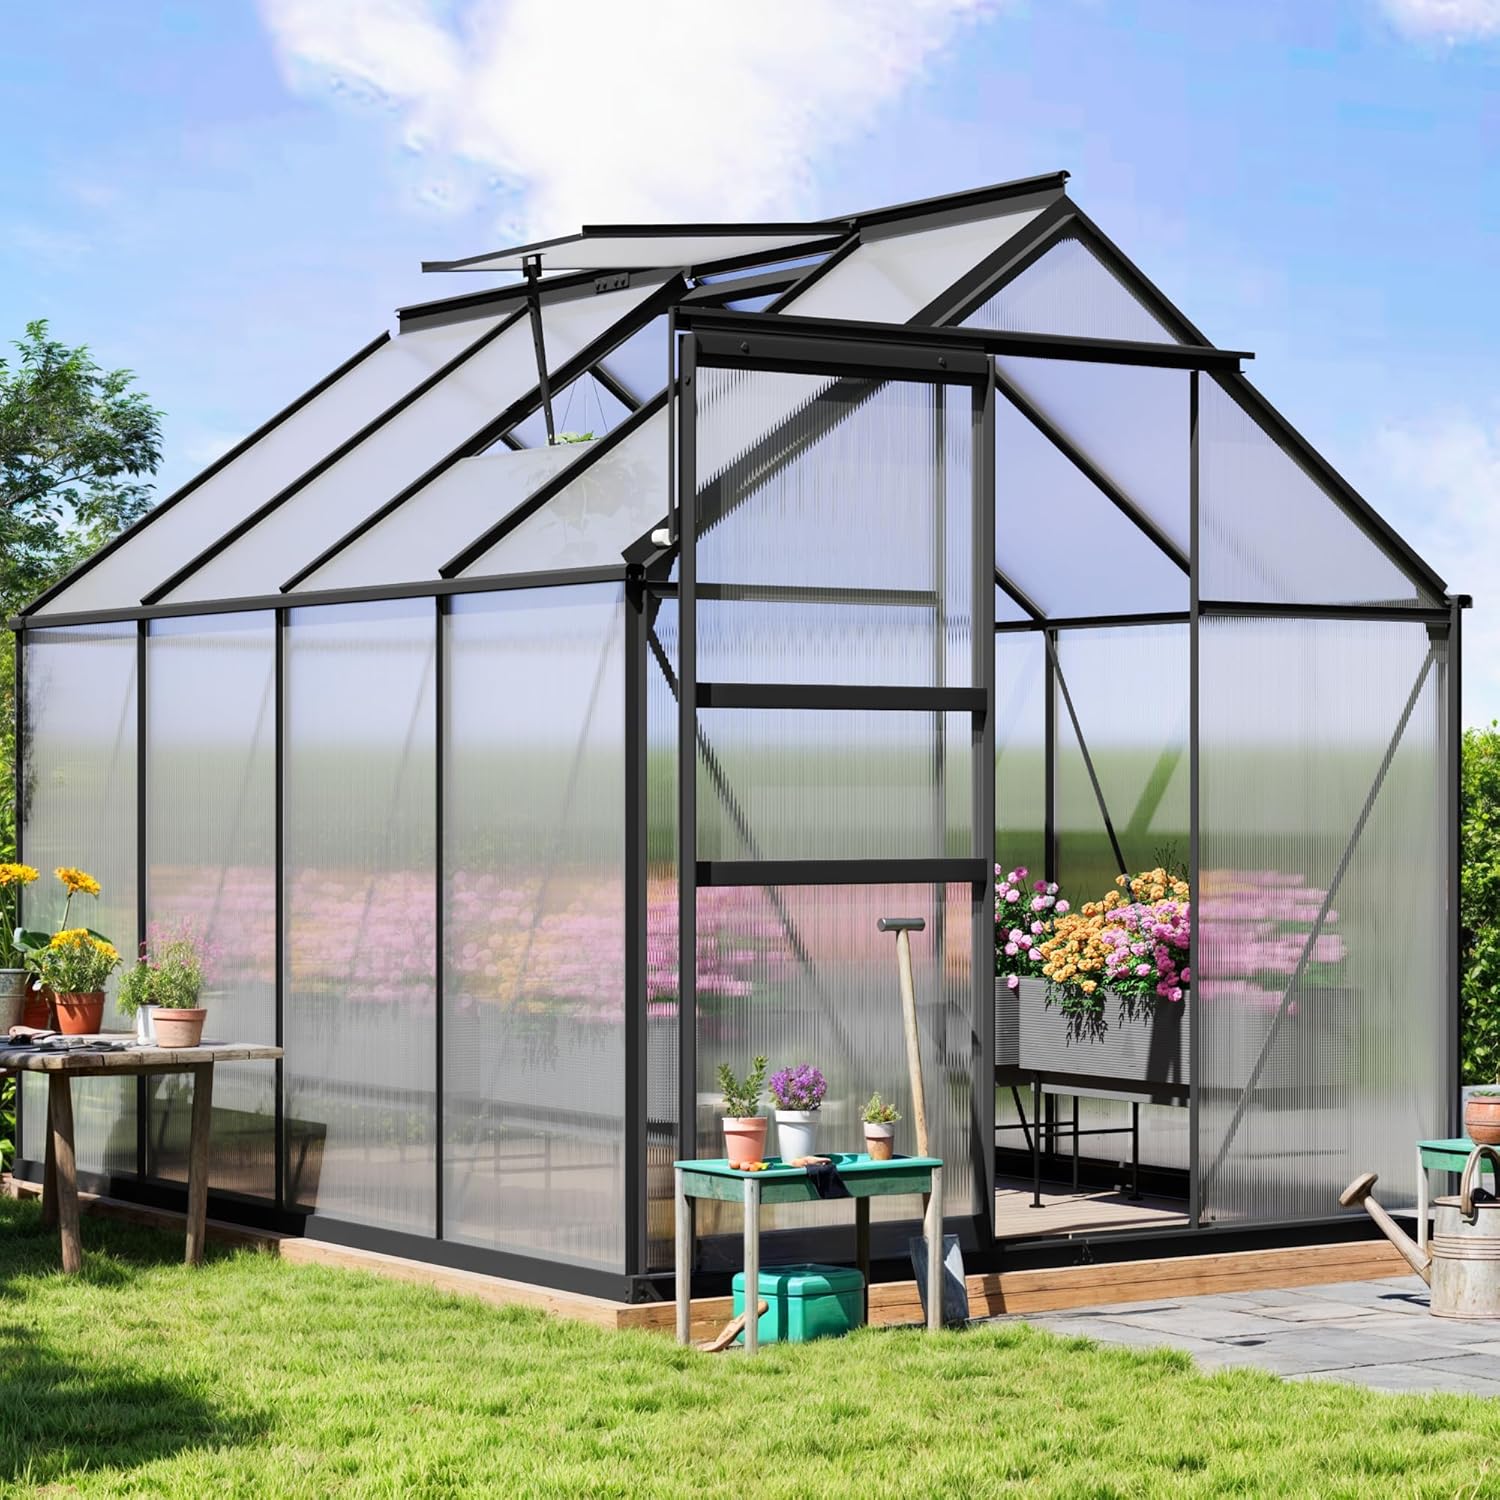
Image: The YITAHOME 6x8FT Polycarbonate Greenhouse, black frame with clear panels, situated in a green backyard with plants inside and around it.
Important Safety Information
- Ensure the greenhouse is securely anchored to the ground.
- Apply glass glue to the connections between the polycarbonate boards and the frame for better water protection.
- Remove precious items during bad weather to avoid property loss.
- Do not use the greenhouse during storms.
- This product is divided into 2 packages and may not arrive together. Please wait patiently for all packages before beginning assembly.

Image: Visual guide illustrating methods to enhance greenhouse stability and wind resistance, such as anchoring the base, staking interior corners, using extra spikes, and sealing panel joints.
Product Features
- Upgraded Materials: Constructed with a premium aluminum alloy frame and double-wall polycarbonate boards (4mm UV protection) for enhanced sturdiness and 99% UV radiation blocking.
- Custom Adjustment: Features adjustable skylights for optimal air circulation and an innovative sliding door for space-saving access.
- All Season Greenhouse: Top tilt angle design provides effective wind resistance and drainage, suitable for year-round plant cultivation.

Image: A comparative graphic illustrating the superior features of the YITAHOME greenhouse, including thicker polycarbonate panels, reinforced bracing, and a sliding door, contrasted with a basic greenhouse.

Image: Detailed view of the greenhouse structure, highlighting the robust aluminum alloy frame, enhanced internal support, and the functional sliding door mechanism.
Product Specifications
| Feature | Detail |
|---|---|
| Brand | YITAHOME |
| Model Number | MAYIHbXoIc |
| Size | 6x8ft (99.2"L x 75"W x 76.7"H) |
| Cover Material | Polycarbonate (PC) |
| Frame Material | Aluminum |
| Number of Doors | 1 (Sliding Door) |
| Number of Vents | 1 |
| Item Weight | 76.7 pounds |
| Color | Black |
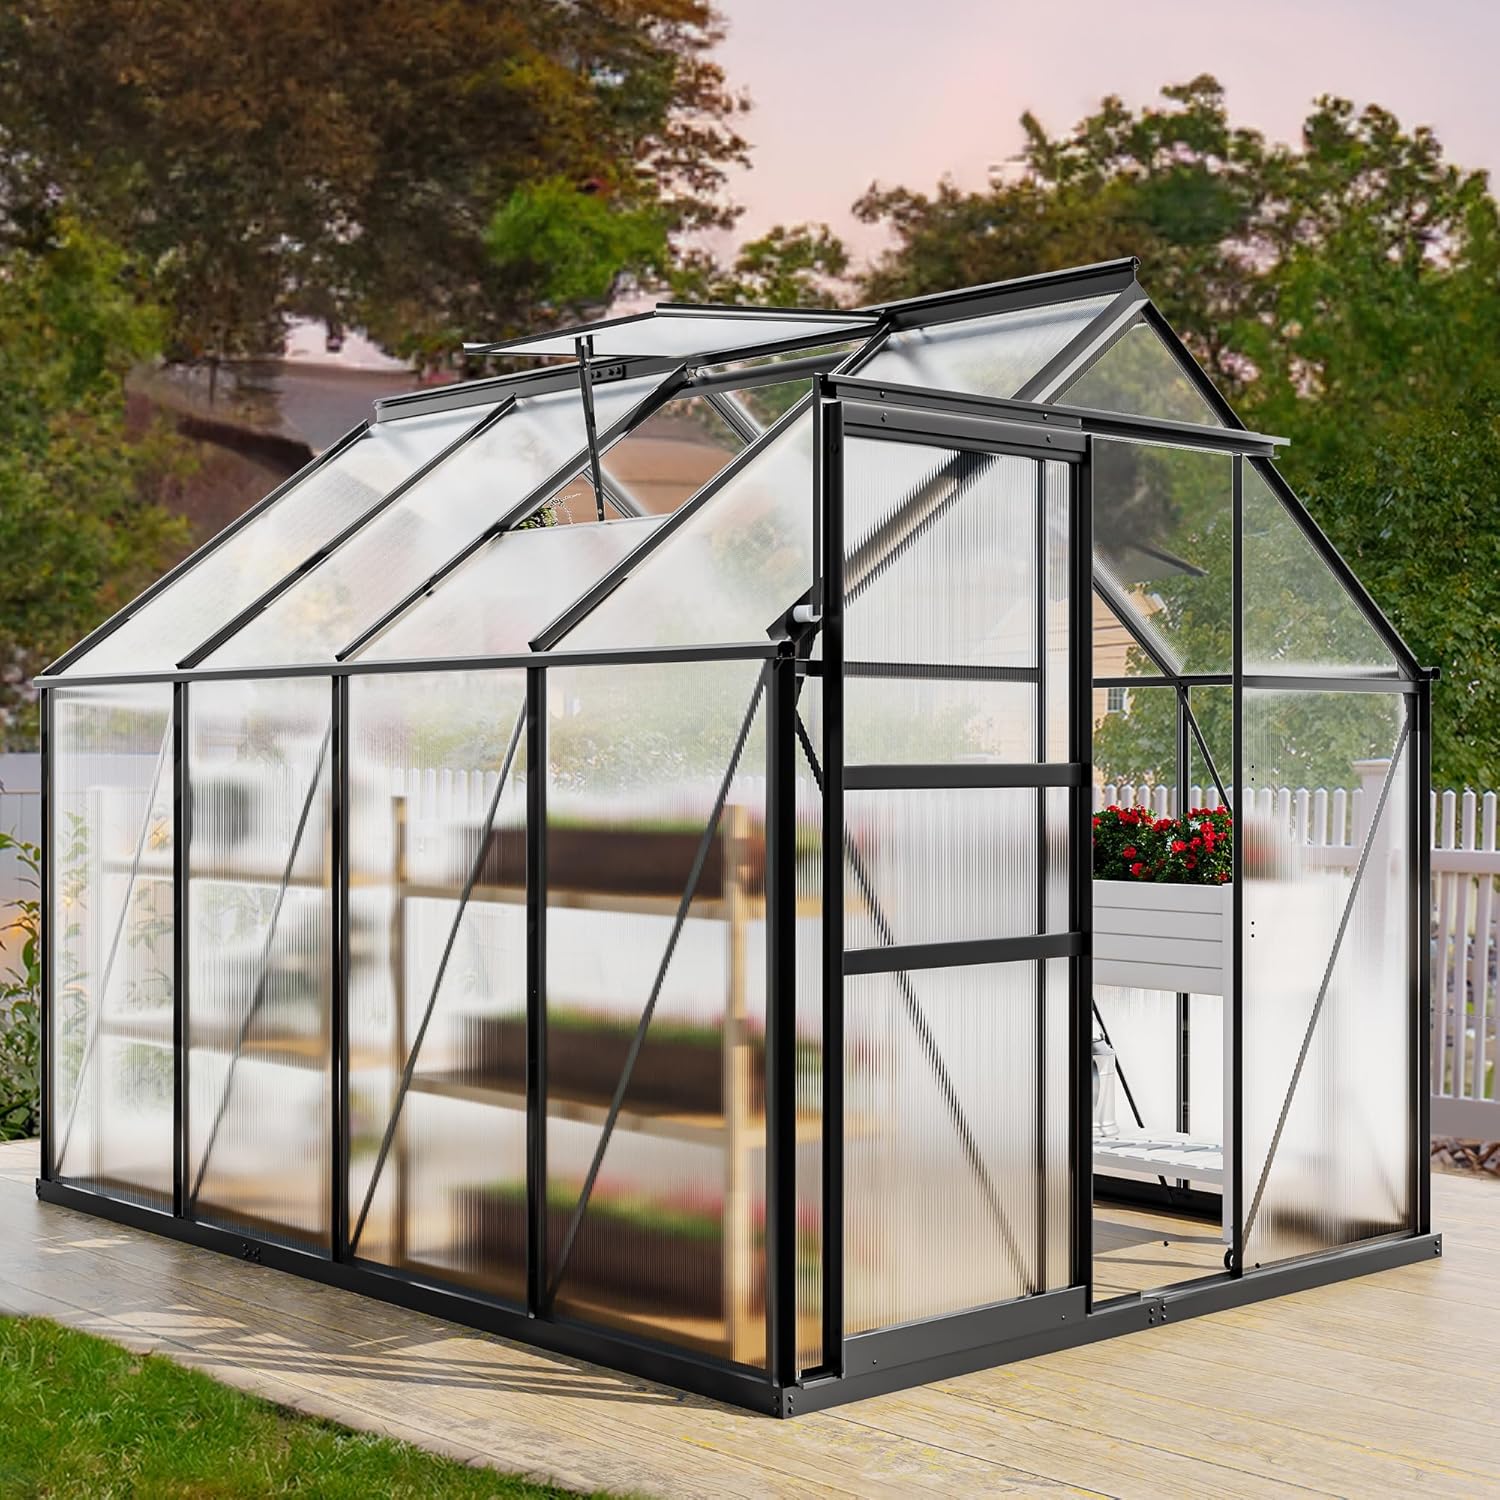
Image: Technical drawing with key dimensions of the 6x8ft greenhouse, indicating its overall size and specific measurements for height, width, and length.
Setup and Installation
The YITAHOME Polycarbonate Greenhouse is designed for easy installation. Please follow the included instructions carefully.
Pre-Installation Checks
- Ensure all packages have arrived. The product is divided into 2 packages.
- Verify all components are present and undamaged against the parts list in the separate assembly guide.
- Choose a level and stable location for your greenhouse.
Anchoring and Stability
For greater stability and wind resistance, it is recommended to:
- Place the bottom frame in a pre-dug trench.
- Secure the base with expansion screws (included) to the ground or a wooden foundation.
- Consider additional stabilization with extra spikes, especially in windy areas.

Image: Visual instructions for securing the greenhouse base to the ground using expansion screws and applying glass adhesive for waterproofing.
Operating Instructions
Ventilation
The greenhouse features adjustable skylights to control internal ventilation.
- Adjust the skylights to various opening angles to create optimal air circulation.
- This helps sustain indoor ventilation and cooling, crucial for plant health.
- The ventilation volume is controlled by adjusting the gear position, offering 5-level adjustments for balanced temperature, air ventilation, and UV protection.
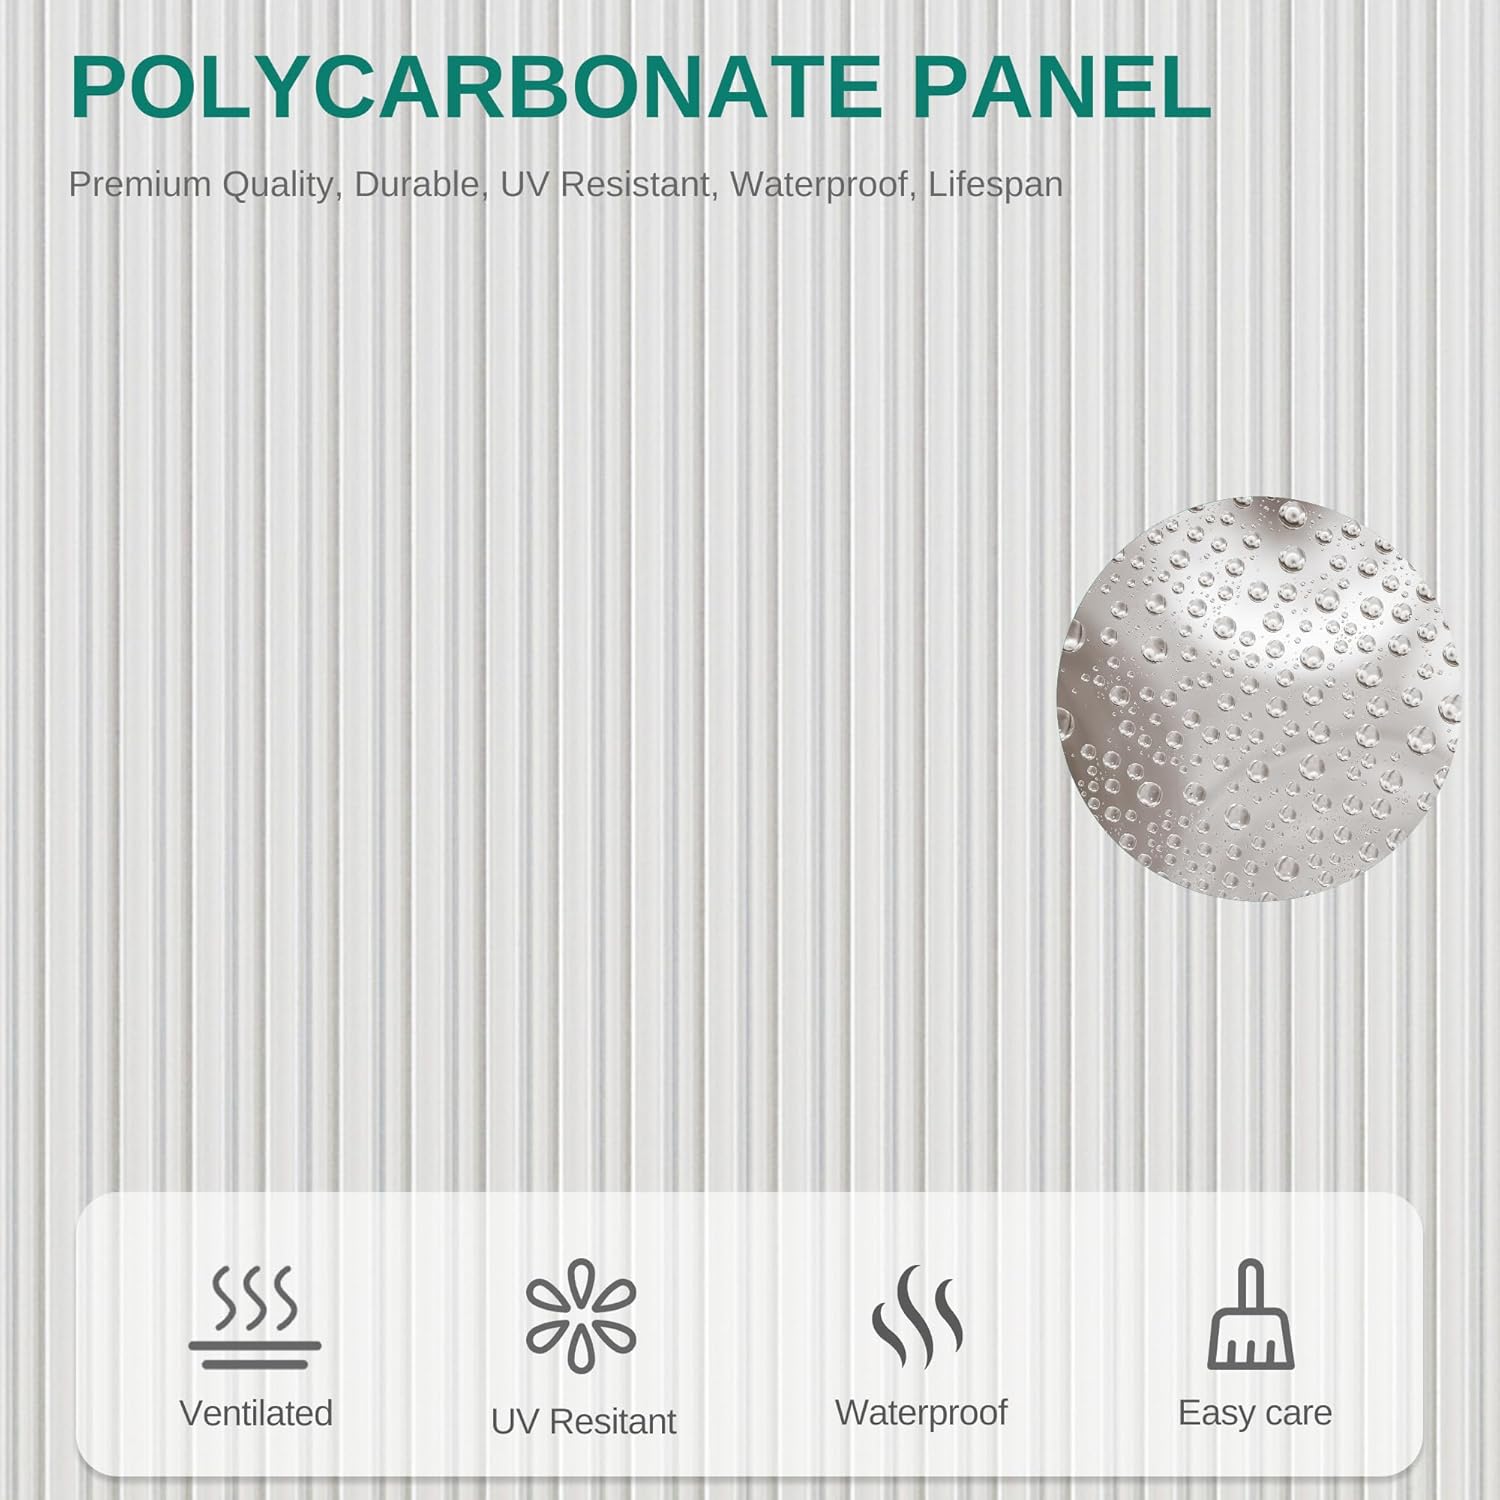
Image: Close-up of the greenhouse's adjustable skylight, demonstrating its 5-level gear adjustment system for controlling ventilation and maintaining balanced internal conditions.
Door Operation
The innovative sliding door allows for seamless opening and closing, saving space compared to traditional hinged doors.
- Gently slide the door along its track to open or close.
- A lock can be added for enhanced protection (not included).
Maintenance
- Cleaning: Regularly clean the polycarbonate panels with mild soap and water to maintain light transmission. Avoid abrasive cleaners.
- Sealing: Periodically inspect the connections between the PC boards and the frame. Reapply glass glue if any gaps or leaks are observed to ensure water protection.
- Frame Inspection: Check the aluminum alloy frame for any signs of damage or loosening. Tighten any loose screws or bolts.
- Drainage: Ensure the drainage tank design is clear of debris to allow for effective water runoff.

Image: The greenhouse demonstrating its sun-proof and drizzle-resistant capabilities, with an inset showing the integrated drainage tank design for efficient water management.
Troubleshooting
Common Issues and Solutions
- Issue: Water leakage
- Solution: Inspect all panel-to-frame connections. Apply or reapply glass adhesive to seal any gaps. Ensure the base is properly anchored and sealed.
- Issue: Poor ventilation
- Solution: Check if the skylight is fully open or adjusted to an appropriate level. Clear any obstructions around the vent.
- Issue: Greenhouse instability in wind
- Solution: Verify that the base is securely fixed to the ground with expansion screws. Consider adding extra spikes or further anchoring measures. Ensure all frame connections are tight.
- Issue: Panels appear cloudy or dirty
- Solution: Clean polycarbonate panels with mild soap and water. Avoid harsh chemicals or abrasive materials that could scratch the surface.
Warranty and Support
YITAHOME products are designed for durability and performance. For specific warranty details, please refer to the documentation included with your purchase or visit the official YITAHOME website.
- Returns: This product typically offers 30-day easy returns.
- Customer Support: For assistance with assembly, parts, or any other inquiries, please contact YITAHOME customer support.
- Online Resources: Visit the YITAHOME Store on Amazon for more information and products.
Ask a question about this manual
Ask about setup, troubleshooting, compatibility, parts, safety, or missing instructions. Manuals+ will review the question and use this page’s manual context to help answer it.