
1. Introduction
This manual provides essential information for the installation, maintenance, and specifications of the SERBNOPG Metal Front and Rear Drive Shaft CVD Dogbone Kits. These components are designed as upgrade and replacement parts for SCY 16101, 16102, 16103, and 16201 Pro 1/16 scale RC cars, aiming to enhance durability and performance.
2. Package Contents
The package includes a complete set of metal front and rear drive shaft CVD dogbone kits. Please verify that all components listed below are present upon opening the package:
- 2 x Front CVD Drive Shafts
- 2 x Rear CVD Drive Shafts
- 2 x Front Output Cups / Axle Shafts
- 2 x Rear Output Cups / Axle Shafts
- 4 x Wheel Nuts
- 4 x Pins
- 1 x Cross Wrench
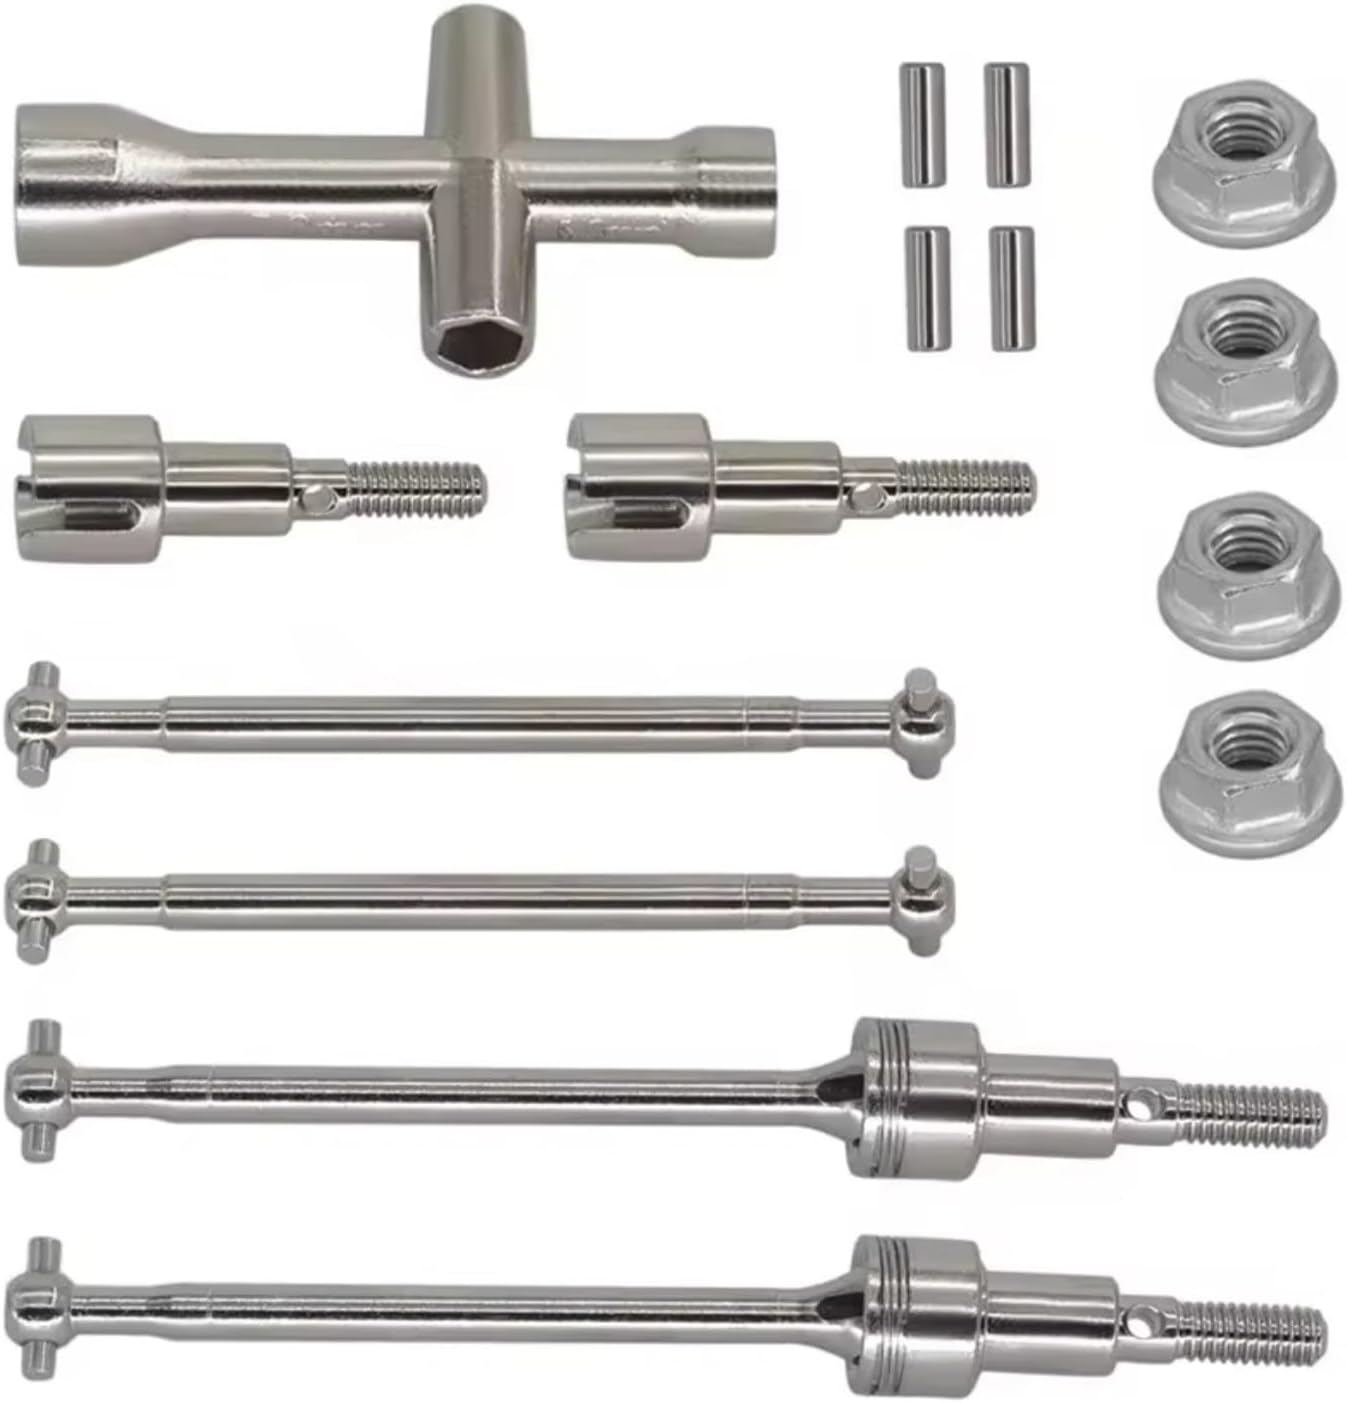
Figure 2.1: Overview of all components included in the SERBNOPG Metal Front and Rear Drive Shaft CVD Dogbone Kits.
3. Installation
Installation of these upgrade parts requires careful disassembly and reassembly of your RC car's drivetrain. It is recommended to refer to your specific SCY RC car's original instruction manual for detailed steps on accessing and removing the existing drive shafts and related components.
3.1 Required Tools
- Included Cross Wrench
- Small Phillips Head Screwdriver (not included)
- Pliers (not included)
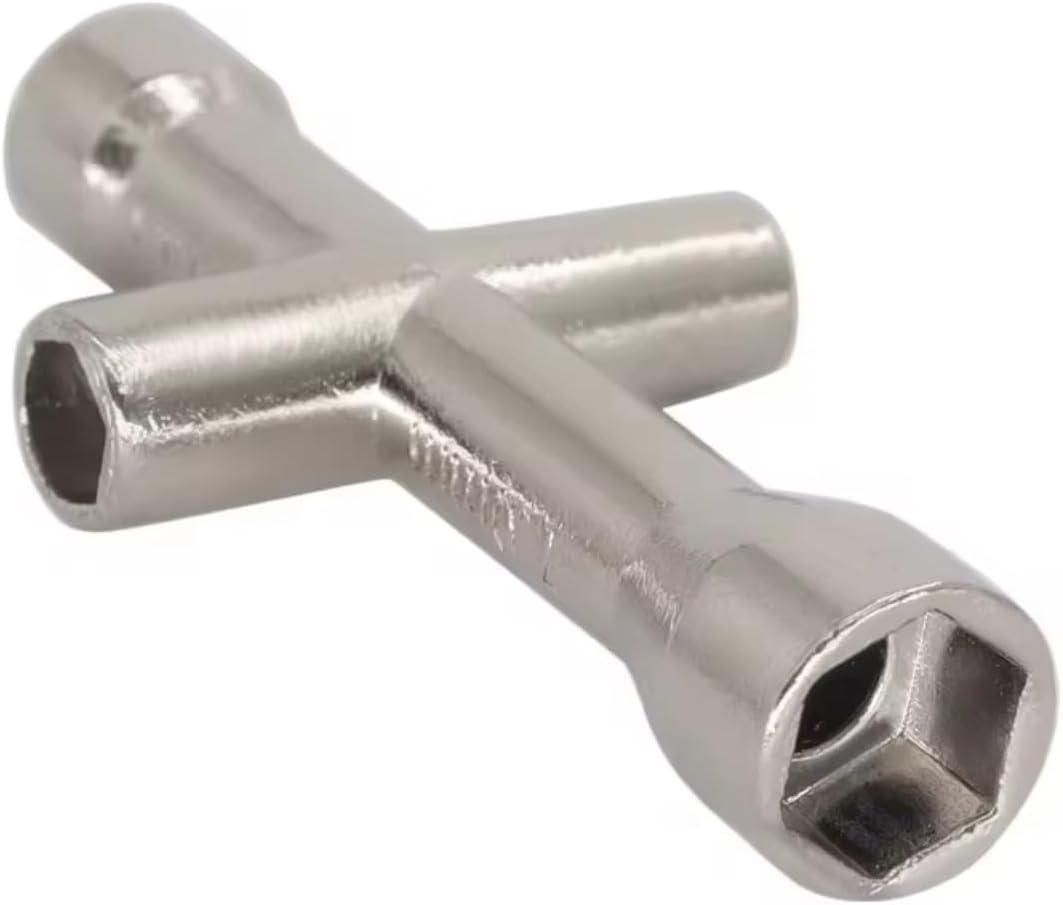
Figure 3.1: The metal cross wrench provided for installation.
3.2 General Installation Steps
- Prepare the RC Car: Ensure the RC car is powered off and the battery is disconnected. Place it on a stable surface.
- Access Drivetrain: Carefully remove any body panels or covers necessary to access the front and rear drivetrain components.
- Remove Old Components: Using appropriate tools, detach the wheels, then remove the existing drive shafts, output cups, and any associated pins or fasteners. Keep track of all removed parts.
- Install New Output Cups: Attach the new metal output cups/axle shafts to the differential outdrives. Secure them with the provided pins and ensure they are seated correctly.
- Install New Drive Shafts: Connect the new metal CVD drive shafts between the output cups and the wheel hubs. Ensure the pins are properly engaged in both ends of the CVDs.
- Secure Wheels: Reattach the wheels and secure them with the provided wheel nuts using the cross wrench. Do not overtighten.
- Reassemble Car: Reattach any removed body panels or covers.
- Test Functionality: Before operating, manually rotate the wheels to ensure smooth movement and proper engagement of all drivetrain components. Check for any binding or unusual resistance.

Figure 3.2: Front Output Cups / Axle Shafts with key dimensions.

Figure 3.3: Shorter CVD Drive Shafts (e.g., for front) with key dimensions.

Figure 3.4: Longer CVD Drive Shafts (e.g., for rear) with key dimensions.
4. Maintenance
Regular maintenance ensures the longevity and optimal performance of your metal drive shaft components.
- Inspection: Periodically inspect the drive shafts, CVD joints, and output cups for any signs of wear, bending, or damage. Check for loose pins or fasteners.
- Cleaning: After use, especially in dirty or dusty conditions, clean the components to remove dirt, debris, and grime. A soft brush and compressed air can be effective. Avoid harsh chemicals that may damage the metal finish.
- Lubrication: For CVD joints, a small amount of appropriate grease or lubricant can be applied to reduce friction and wear. Consult your RC car's manual for recommended lubricants.
- Fastener Check: Ensure all screws, pins, and wheel nuts are securely tightened. Loose fasteners can lead to component failure or loss.
5. Troubleshooting
If you experience issues after installing the new drive shaft components, consider the following:
- Unusual Noises or Binding:
- Check for proper alignment of the drive shafts and output cups.
- Ensure all pins are fully seated and not protruding.
- Verify that no foreign objects are interfering with the rotation of the components.
- Reduced Performance or Power Loss:
- Inspect for any loose connections or stripped gears in the drivetrain.
- Confirm that the drive shafts are fully engaged at both ends.
- Component Damage:
- If a component appears bent or broken, it will need to be replaced.
- Ensure the damage is not a symptom of a larger issue with the RC car's setup or driving style.
6. Specifications
| Feature | Detail |
|---|---|
| Product Name | Metal Front and Rear Drive Shaft CVD Dogbone Kits |
| Brand | SERBNOPG |
| Model Number | caoxv |
| Material | Metal |
| Compatibility | SCY 16101, 16102, 16103, 16201 Pro 1/16 RC Cars |
| Front Output Cup Length | Approx. 22mm (total length 32mm) |
| Shorter CVD Drive Shaft Length | Approx. 60mm |
| Longer CVD Drive Shaft Length | Approx. 84mm |
| Shaft Diameter (Shorter CVD) | Approx. 3.5mm |
| Pin Size | Approx. 2mm x 9mm |
| Package Dimensions | 1.18 x 0.79 x 0.39 inches |
| Item Weight | 14.9 ounces |
7. Customer Support
Should you encounter any issues or have questions regarding the SERBNOPG Metal Front and Rear Drive Shaft CVD Dogbone Kits, please contact our customer support team. We are committed to assisting you and ensuring your satisfaction with our products.
For support, please refer to the contact information provided by your retailer or on the product packaging.