1. Introduction
This manual provides comprehensive instructions for the safe and effective operation of your Janome Cat Fancy Easy-to-Use Sewing Machine (Model: 001FANCY). Designed with beginners in mind, this machine offers a range of features to support various sewing projects, from garment creation to home decor and quilting.
Please read this manual thoroughly before using the machine to ensure proper setup, operation, and maintenance. Keep this manual for future reference.
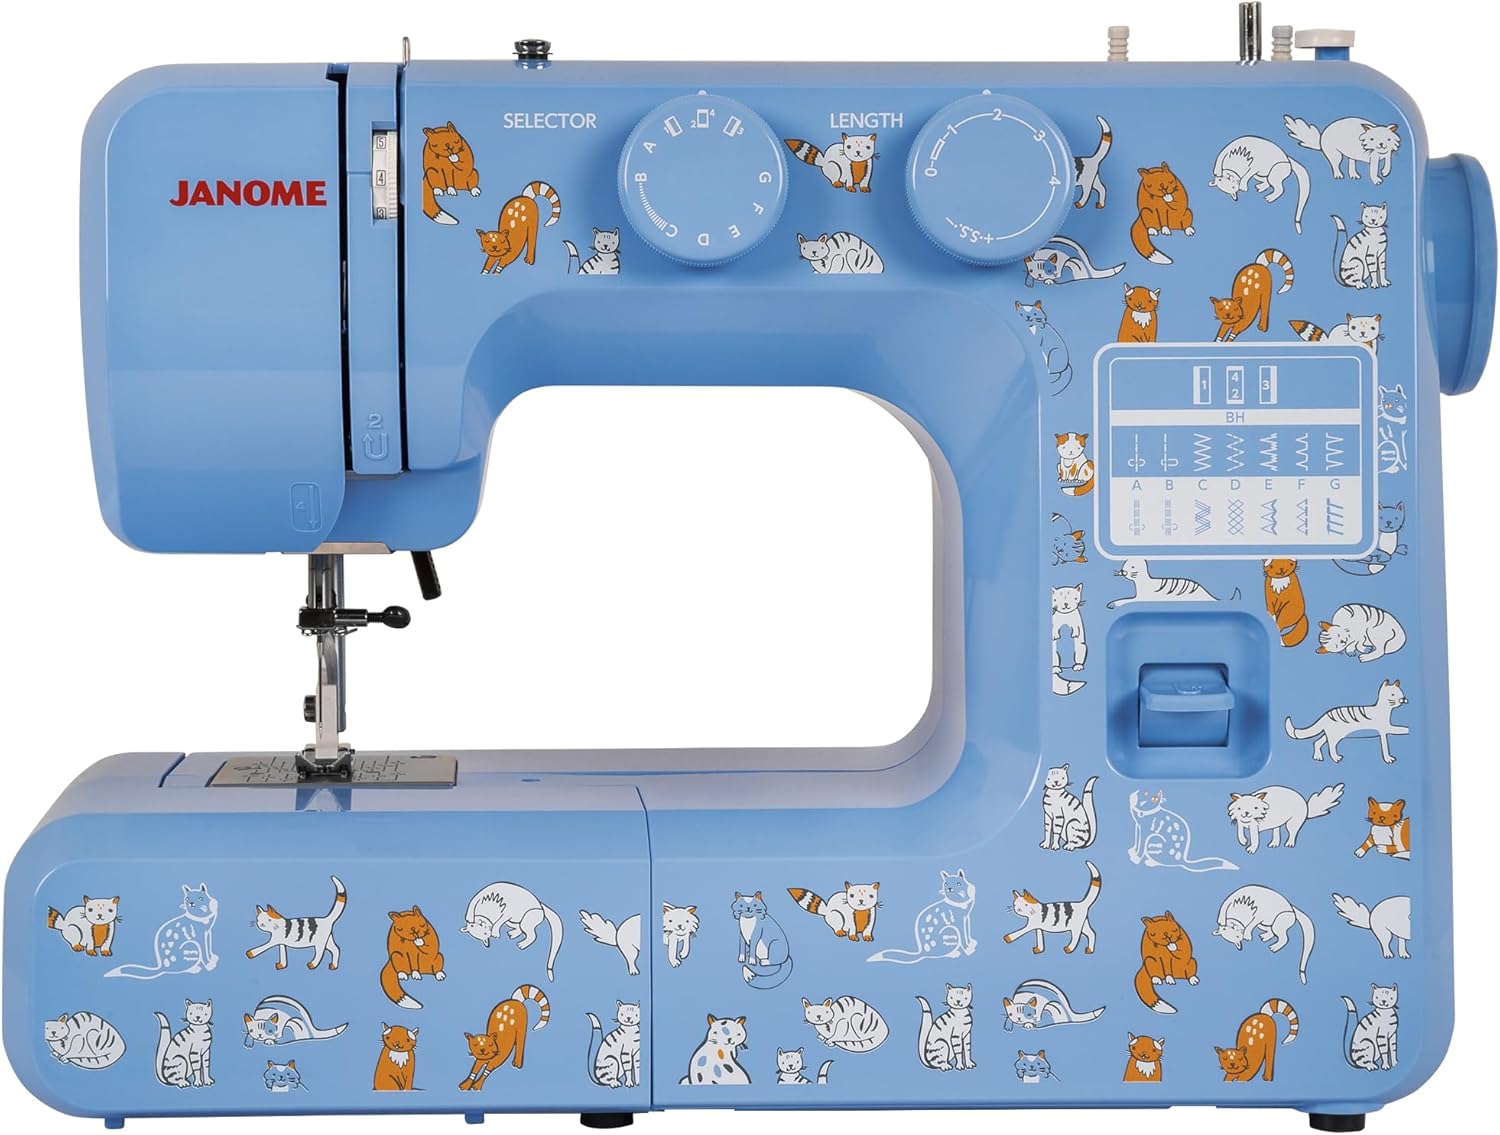
Figure 1: Janome Cat Fancy Sewing Machine, Multi-Color. This image displays the overall front-side view of the sewing machine with its distinctive multi-color cat pattern.
2. Important Safety Instructions
When using an electrical appliance, basic safety precautions should always be followed, including the following:
- Read all instructions before using this sewing machine.
- Keep fingers away from all moving parts. Special care is required around the sewing machine needle.
- Always use the proper needle plate. The wrong plate can cause the needle to break.
- Do not use bent needles.
- Do not pull or push fabric while stitching. This may deflect the needle causing it to break.
- Switch the sewing machine off when making any adjustments in the needle area, such as threading the needle, changing the needle, threading the bobbin, or changing the presser foot.
- Always unplug the sewing machine from the electrical outlet when removing covers, lubricating, or when making any other user servicing adjustments mentioned in the instruction manual.
- Never drop or insert any object into any opening.
- Do not use outdoors.
- Do not operate where aerosol (spray) products are being used or where oxygen is being administered.
- To disconnect, turn all controls to the off position, then remove plug from outlet.
- Do not unplug by pulling on cord. To unplug, grasp the plug, not the cord.
3. Setup and Initial Preparation
3.1 Unpacking the Machine
Carefully remove the sewing machine from its packaging. Ensure all accessories listed in the "Included Components" section of the specifications are present. Retain packaging for storage or transport.
3.2 Power Connection
Connect the power cord to the machine and then to a suitable electrical outlet. Ensure the machine is switched off before connecting to power.
3.3 Spool Pin Setup
Place your thread spool onto one of the dual retractable spool pins located on top of the machine. Extend the spool pin fully for stable thread feeding.

Figure 2: Top view showing the dual retractable spool pins and tension dials. Ensure the thread spool is securely placed on the pin.
3.4 Winding the Bobbin
Proper bobbin winding is crucial for consistent stitching. Follow the built-in bobbin loading guide for easy winding.
- Place an empty bobbin onto the bobbin winder spindle.
- Guide the thread from the spool pin through the tension disc for bobbin winding.
- Wrap the thread a few times around the bobbin.
- Push the bobbin winder spindle to the right to engage.
- Gently press the foot pedal (or start/stop button) to begin winding. Stop when the bobbin is full.
- Cut the thread and push the spindle back to the left to disengage.
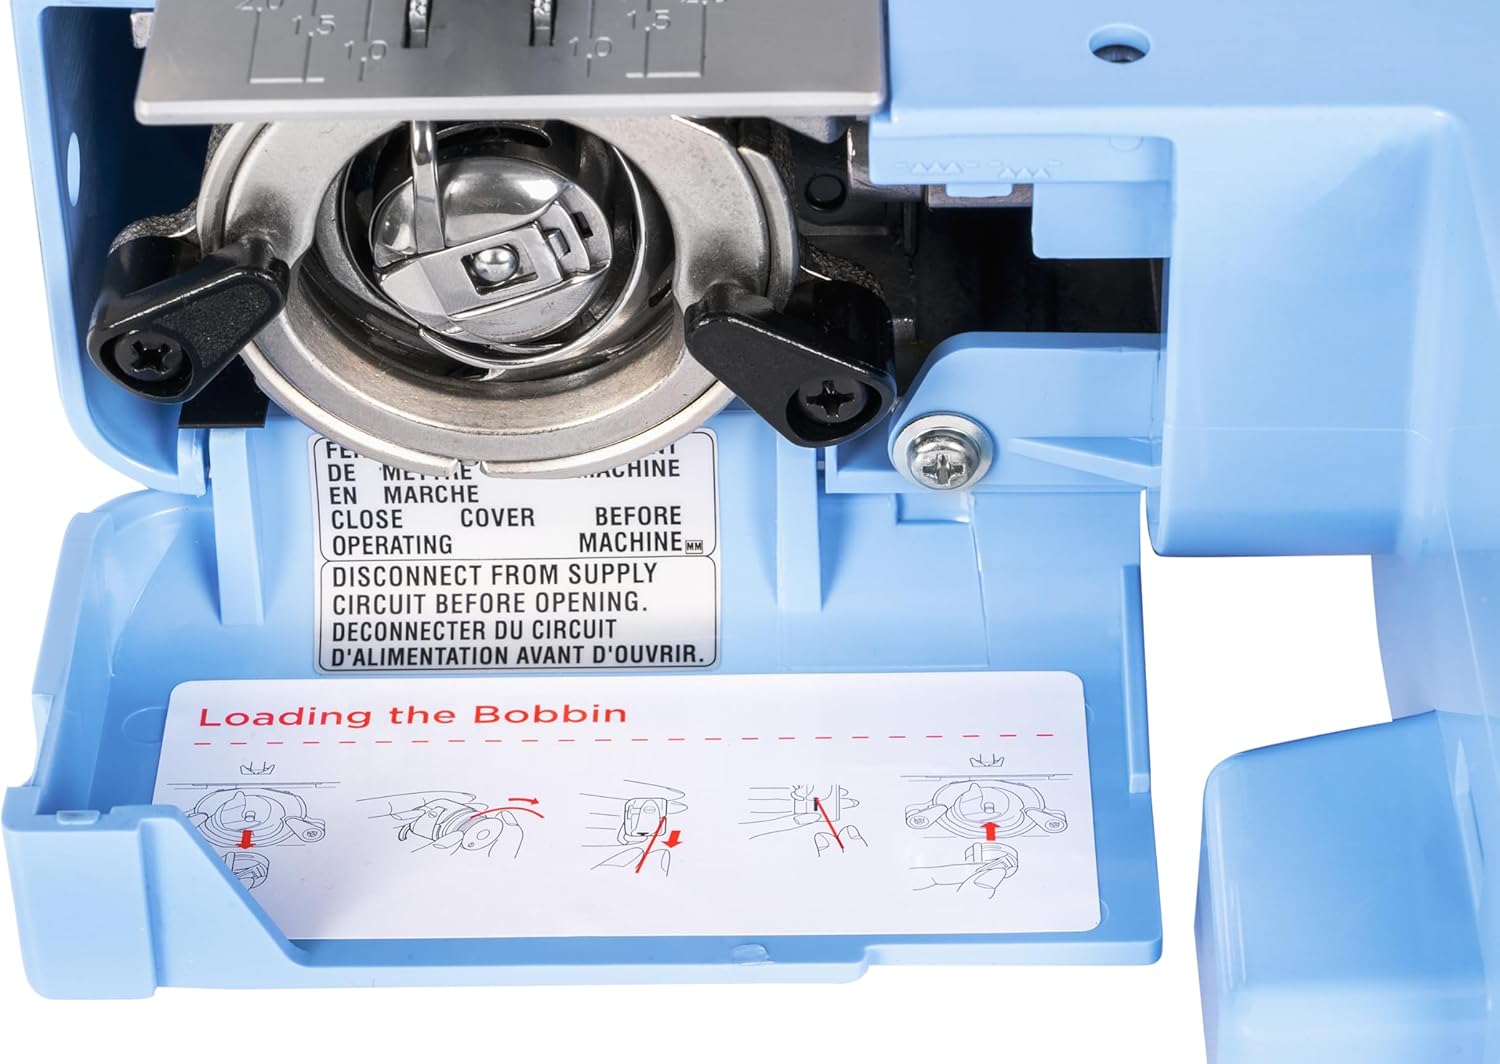
Figure 3: Close-up of the bobbin loading area, featuring a clear diagram for easy bobbin winding and insertion.
For a visual guide on bobbin winding, refer to the official tutorial video:
Video 1: "Meow! Have fun with the Janome Cat Fancy Sewing Machine!" This short video demonstrates basic operation and features of the Janome Cat Fancy sewing machine, including bobbin winding.
3.5 Threading the Machine
Follow the numbered threading path indicated on the machine. Ensure the presser foot is raised before threading to allow the thread to seat correctly in the tension discs.
- Guide the thread from the spool pin through the upper thread guide.
- Follow the numbered path down the front of the machine, around the tension discs, and up to the take-up lever.
- Thread the take-up lever from right to left.
- Continue guiding the thread down to the needle bar area.
- Use the built-in needle threader (if available) or manually thread the needle from front to back.
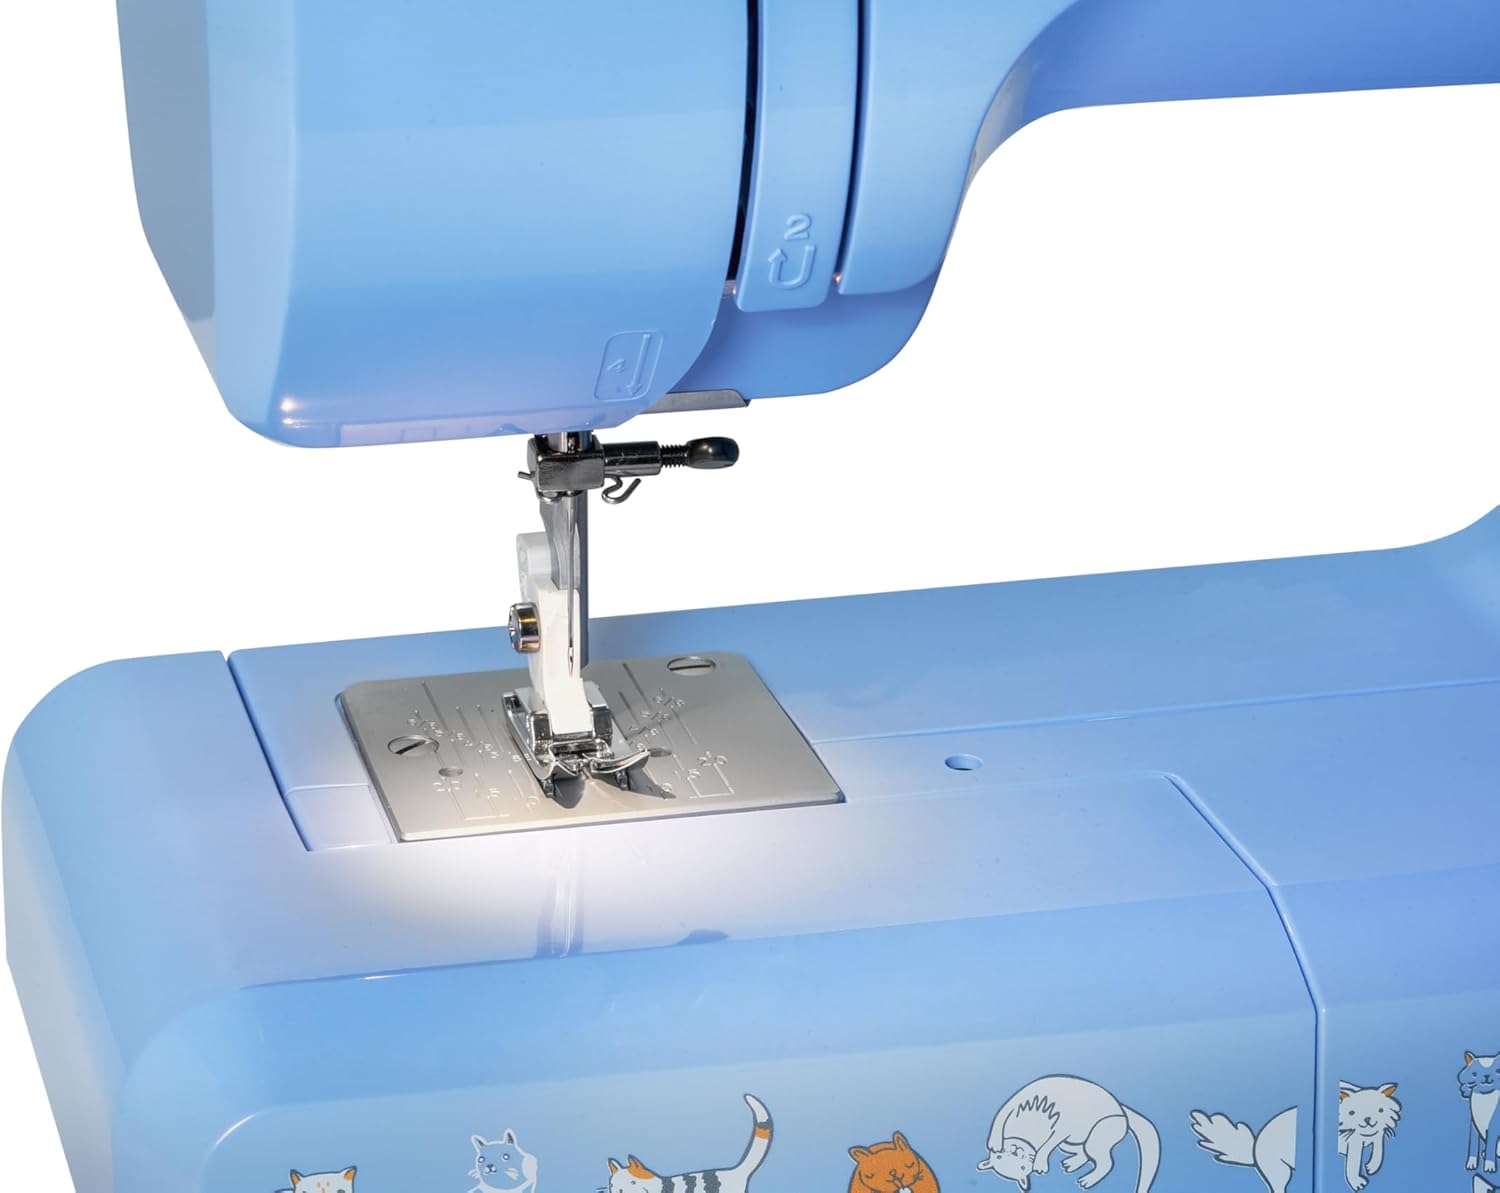
Figure 4: Close-up view of the needle and presser foot area, illuminated by the built-in sewing light. The threading path is partially visible.
4. Operating Instructions
4.1 Selecting Stitches
Your machine offers 15 built-in stitches, including a 4-step buttonhole. Use the stitch selector dial to choose your desired stitch. The stitch chart on the machine body provides a visual reference for each stitch.
Figure 5: Close-up of the stitch selector dial and stitch length dial. The stitch chart is clearly visible on the machine's front panel.
4.2 Adjusting Stitch Length and Width
The stitch length and zigzag width can be adjusted using their respective dials. Experiment with different settings on a scrap piece of fabric to achieve the desired look for your project.
4.3 Sewing Basics
- Place your fabric under the presser foot.
- Lower the presser foot using the lever on the back of the machine.
- Gently press the foot pedal to begin sewing. Control your speed by varying the pressure on the pedal.
- To reverse stitch (for securing seams), press and hold the reverse lever.
- When finished, raise the needle to its highest position, lift the presser foot, and gently pull the fabric away. Cut the threads using the thread cutter on the side of the machine.
Video 2: "Easy Applique with the Janome Easy-to-Use Sewing Machines!" This video demonstrates how to perform applique using the Janome sewing machine, showcasing its ease of use for various sewing techniques.
4.4 Using the Free Arm
The removable free arm is ideal for sewing cylindrical items like sleeves, pant hems, and cuffs. To access the free arm, slide off the accessory storage compartment.

Figure 6: The Janome Cat Fancy Sewing Machine with the accessory storage compartment removed, revealing the free arm for sewing tubular items.
5. Maintenance
Regular maintenance ensures the longevity and optimal performance of your sewing machine.
- Cleaning: Regularly clean lint and dust from the bobbin area and feed dogs using a small brush. Always unplug the machine before cleaning.
- Needle Replacement: Replace needles frequently, especially when sewing different types of fabric or if the needle becomes dull or bent. Use the correct needle type and size for your fabric.
- Lubrication: Refer to the detailed instruction manual for specific lubrication points and frequency.
- Storage: When not in use, cover the machine to protect it from dust. Store in a dry, cool place.
6. Troubleshooting
This section addresses common issues you might encounter. For more detailed troubleshooting, consult the full instruction manual.
| Problem | Possible Cause | Solution |
|---|---|---|
| Skipped Stitches | Incorrect needle insertion, bent needle, wrong needle type, improper threading. | Reinsert needle correctly, replace needle, use appropriate needle, rethread machine. |
| Thread Breaking | Improper threading, tension too tight, bent/dull needle, poor quality thread. | Rethread machine, adjust tension, replace needle, use good quality thread. |
| Fabric Puckering | Tension too tight, incorrect stitch length, wrong needle size. | Adjust tension, adjust stitch length, use correct needle size. |
| Machine Not Starting | Power cord not connected, foot pedal not connected, machine switched off. | Check power connections, ensure foot pedal is plugged in, turn machine on. |
7. Specifications
- Model Number: 001FANCY
- Brand: Janome
- Product Dimensions: 7"D x 16"W x 12"H
- Item Weight: 12 pounds
- Built-In Stitches: 15 (including 4-step buttonhole)
- Bobbin System: Front-Loading
- Frame: Heavy Duty Interior Metal Frame
- Spool Pins: Dual Retractable
- Included Components: General Purpose Foot, Blind Hem Foot, 4-Step Buttonhole Foot, Zipper Foot, Bobbins, Needles, Seam Ripper, Darning Plate, Quick Start Guide, Instruction Manual
- UPC: 732212489747
8. Warranty & Support
Your Janome Cat Fancy Sewing Machine is covered by a 25-Year Limited Warranty. Please refer to the warranty card included with your purchase for full terms and conditions.
For technical support, service, or questions regarding your machine, please contact Janome customer service or visit the official Janome website. A quick start guide and additional tutorial videos are also available online to assist you.
For further assistance, you may find helpful resources on the Janome Store on Amazon.