1. Introduction
The ICY BOX IB-MS103-W Single Monitor Arm is designed to enhance your workspace by providing a flexible and ergonomic solution for mounting a single monitor. This wall-mounted arm helps declutter your desk, improve posture, and optimize viewing angles for increased comfort and productivity during long working hours. It features robust construction, easy cable management, and compatibility with standard VESA mounts.

Figure 1: Overview of the ICY BOX IB-MS103-W Single Monitor Arm.
2. Setup and Installation
Follow these steps carefully to ensure proper and secure installation of your monitor arm.
2.1. Package Contents

Figure 2: Included components for the monitor arm assembly.
Before beginning, verify that all components are present:
- Monitor Arm Assembly
- Wall Mounting Plate
- VESA Plate
- Hardware Kit (screws, anchors, washers)
- Tools (Allen keys, wrench)
2.2. Wall Mounting
The monitor arm is designed for wall mounting. Choose a sturdy wall location capable of supporting the weight of the arm and your monitor. It is recommended to mount the arm to a wall stud for maximum stability.
- Mark the desired mounting height on the wall. Ensure the height allows for comfortable viewing and adjustment range.
- Place the wall mounting plate against the wall at the marked location and use a pencil to mark the drill holes.
- Drill pilot holes into the wall using an appropriate drill bit size for the provided anchors/screws. If drilling into a stud, use wood screws directly.
- Insert wall anchors (if applicable) into the drilled holes.
- Secure the wall mounting plate to the wall using the provided screws. Ensure it is level and tightly fastened.

Figure 3: Illustrates the wall mounting of the monitor arm base.
2.3. Attaching the Monitor
The monitor arm supports VESA standard 75x75 and 100x100 mm mounting patterns.
- Carefully place your monitor face down on a soft, clean surface to protect the screen.
- Align the VESA plate from the monitor arm with the mounting holes on the back of your monitor.
- Secure the VESA plate to the monitor using the appropriate screws from the hardware kit. Do not overtighten.
- Once the VESA plate is attached to the monitor, slide the monitor (with the attached VESA plate) onto the arm's VESA flange. The slotted holes simplify this process.
- Secure the monitor to the arm using any locking mechanisms or screws provided.
2.4. Cable Management
The IB-MS103-W features integrated cable management to keep your workspace tidy.
- Route your monitor's power and video cables through the designated channels or clips located under the monitor arm.
- Ensure cables have enough slack to allow for full range of motion without tension.
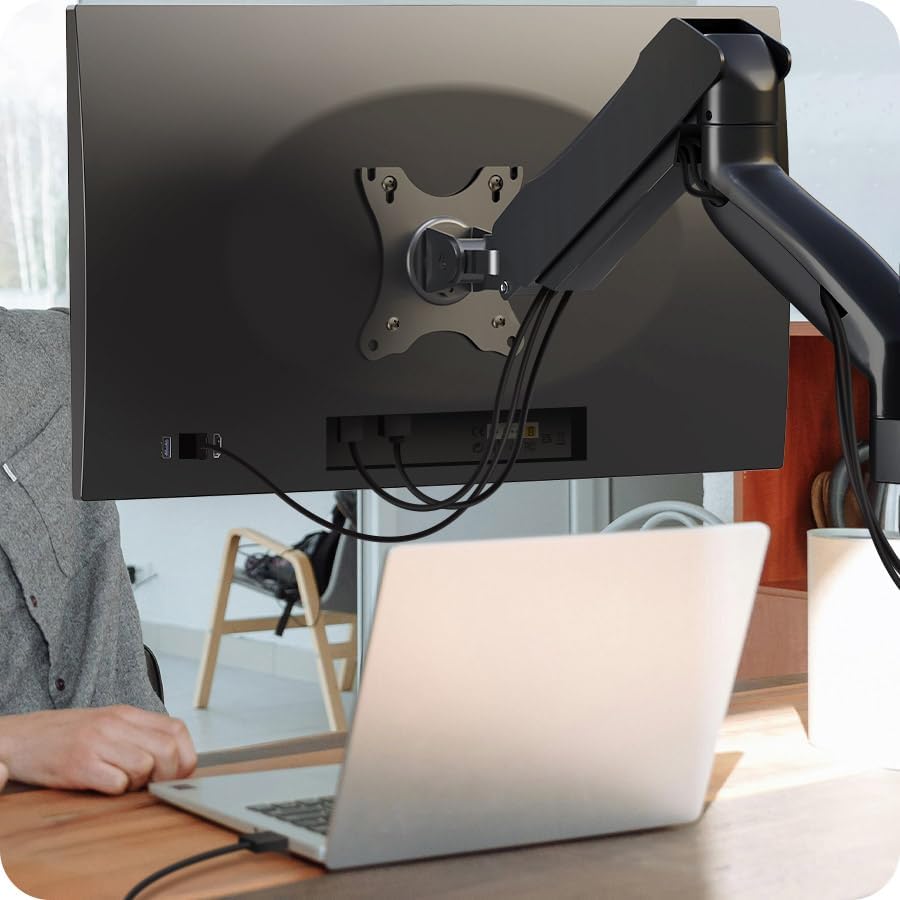
Figure 4: Cables routed neatly through the arm's management system.
3. Operating and Adjusting
The ICY BOX monitor arm offers various adjustments for an ideal ergonomic setup.
3.1. Height Adjustment
The arm features comfortable height adjustment thanks to mechanical spring support. Gently push or pull the monitor up or down to your desired height. The Smart Torque Adjust feature allows the arm to be adjusted to different monitor weights, ensuring stable positioning.
3.2. Tilt and Swivel
You can tilt your monitor up or down and swivel it left or right to reduce glare and achieve optimal viewing angles. The VESA plate allows for easy manipulation of the screen's orientation.
3.3. Rotation
Rotate your monitor from landscape to portrait mode as needed for different tasks or content viewing.

Figure 5: The monitor arm provides flexible positioning for various tasks.

Figure 6: Proper monitor positioning can improve posture and reduce strain.
4. Maintenance
Regular maintenance ensures the longevity and optimal performance of your monitor arm.
- Cleaning: Wipe the arm with a soft, damp cloth. Avoid abrasive cleaners or solvents that could damage the finish.
- Check Connections: Periodically check all screws and mounting points to ensure they remain tight and secure. Retighten if necessary.
- Lubrication: The arm's joints are designed for smooth operation and typically do not require lubrication. If you notice any stiffness, consult the manufacturer's support.
5. Troubleshooting
If you encounter issues with your monitor arm, refer to the following common problems and solutions:
- Monitor is not stable or sags:
- Ensure your monitor's weight is within the arm's load capacity (2 - 9 kg).
- Adjust the tension of the spring mechanism. Refer to the arm's specific adjustment points, usually indicated by '+' and '-' signs.
- Verify that all mounting screws are securely tightened.
- Difficulty adjusting the arm:
- Check if the arm's tension is set correctly for your monitor's weight.
- Ensure no cables are snagged or preventing movement.
- Monitor does not fit the VESA plate:
- Confirm your monitor's VESA pattern is 75x75 mm or 100x100 mm.
- Ensure you are using the correct screws for your monitor's mounting holes.
6. Specifications
| Feature | Specification |
|---|---|
| Brand | ICY BOX |
| Model Number | IB-MS103-W |
| Max. Monitor Size | 32 inches |
| Load Capacity | 2 - 9 kg |
| VESA Standard Support | 75x75 mm, 100x100 mm |
| Number of Monitors | 1 |
| Mounting Type | Wall Mount |
7. Warranty and Support
For warranty information, technical support, or replacement parts, please contact ICY BOX customer service. Keep your purchase receipt as proof of purchase.
For further assistance, visit the official ICY BOX website or contact their support channels directly.