
LEONC Design LE-SF150RGB-AMZ-LXY
LEONC RGB+CCT Smart Floor Lamp User Manual
Model: LE-SF150RGB-AMZ-LXY
Brand: LEONC Design
Introduction
This manual provides detailed instructions for the assembly, operation, and maintenance of your LEONC RGB+CCT Smart Floor Lamp. Please read this manual thoroughly before use to ensure proper function and safety.
Safety Information
- Ensure the power supply voltage matches the lamp's requirements.
- Do not disassemble or modify the lamp. Contact qualified personnel for repairs.
- Keep the lamp away from water and high humidity environments.
- Avoid direct eye exposure to the LED light source for prolonged periods.
- Place the lamp on a stable, level surface to prevent tipping.
- Unplug the lamp from the power outlet before cleaning or maintenance.
What's in the Box
Verify that all components are present before assembly:
- 2 x Smart LED Bulbs
- 1 x Adapter
- 1 x Power Cable
- 1 x Remote Control
- 1 x User Manual
- Lamp Shade (Dupont Tyvek)
- Metal Base and Support Rods (Tubes A, B, C, D, E)
- Foot Pads
- Threaded Pipes (Short & Long)
- Gasket and Spring
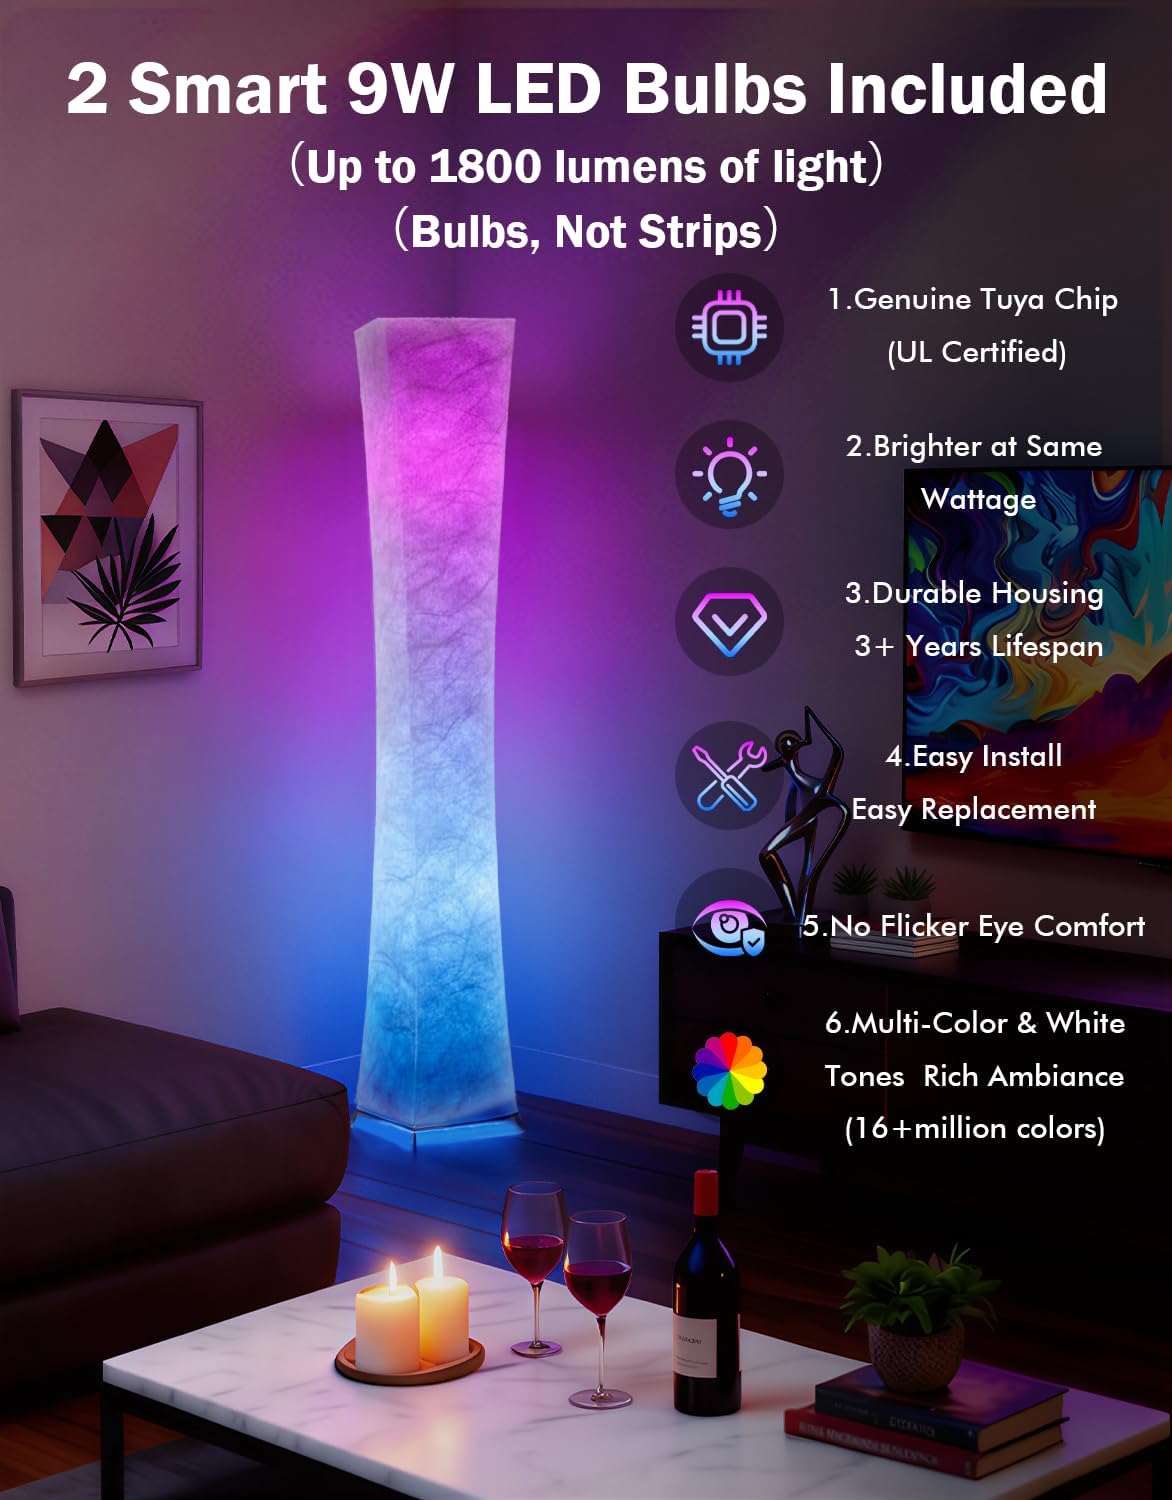
Image: All components of the LEONC RGB+CCT Smart Floor Lamp laid out on a table for assembly.
Assembly Instructions
Follow these steps to assemble your LEONC RGB+CCT Smart Floor Lamp:
Step 1: Assemble the Lamp Pole
- Connect Tube A to Tube B by twisting them together. Ensure the power cord is not tangled.
- Slide the Tube Belt over Tube B to secure the power cord.
- Connect Tube C to Tube B, twisting to secure.
- Slide another Tube Belt over Tube C.
- Connect Tube D to Tube C, twisting to secure.
- Slide the Lamp Holder over Tube E.
- Gently pull the power cord to straighten it along the assembled tubes.
- Screw both smart LED bulbs into the lamp holders.
Video: Step-by-step guide on how to install the LEONC Design floor lamp, including unboxing and pole assembly.
Step 2: Attach the Lampshade Base
- Screw the 4 foot rods into the matching holes at the base of the lampshade.
- Slide the protective caps onto all 4 foot rods to protect your floor.
Step 3: Install the Lampshade
- Insert the assembled lamp pole through the base of the lampshade from below.
- Screw the Short Pipe into the base of the lamp tube to secure the bottom of the lampshade.
- Stand the lamp upright. Align the tube with the holes at the top of the lampshade.
- Screw the Long Ball Pipe into the top tube to secure the top of the lampshade.
- Ensure the lampshade appears taut and wrinkle-free. If not, adjust the installation.
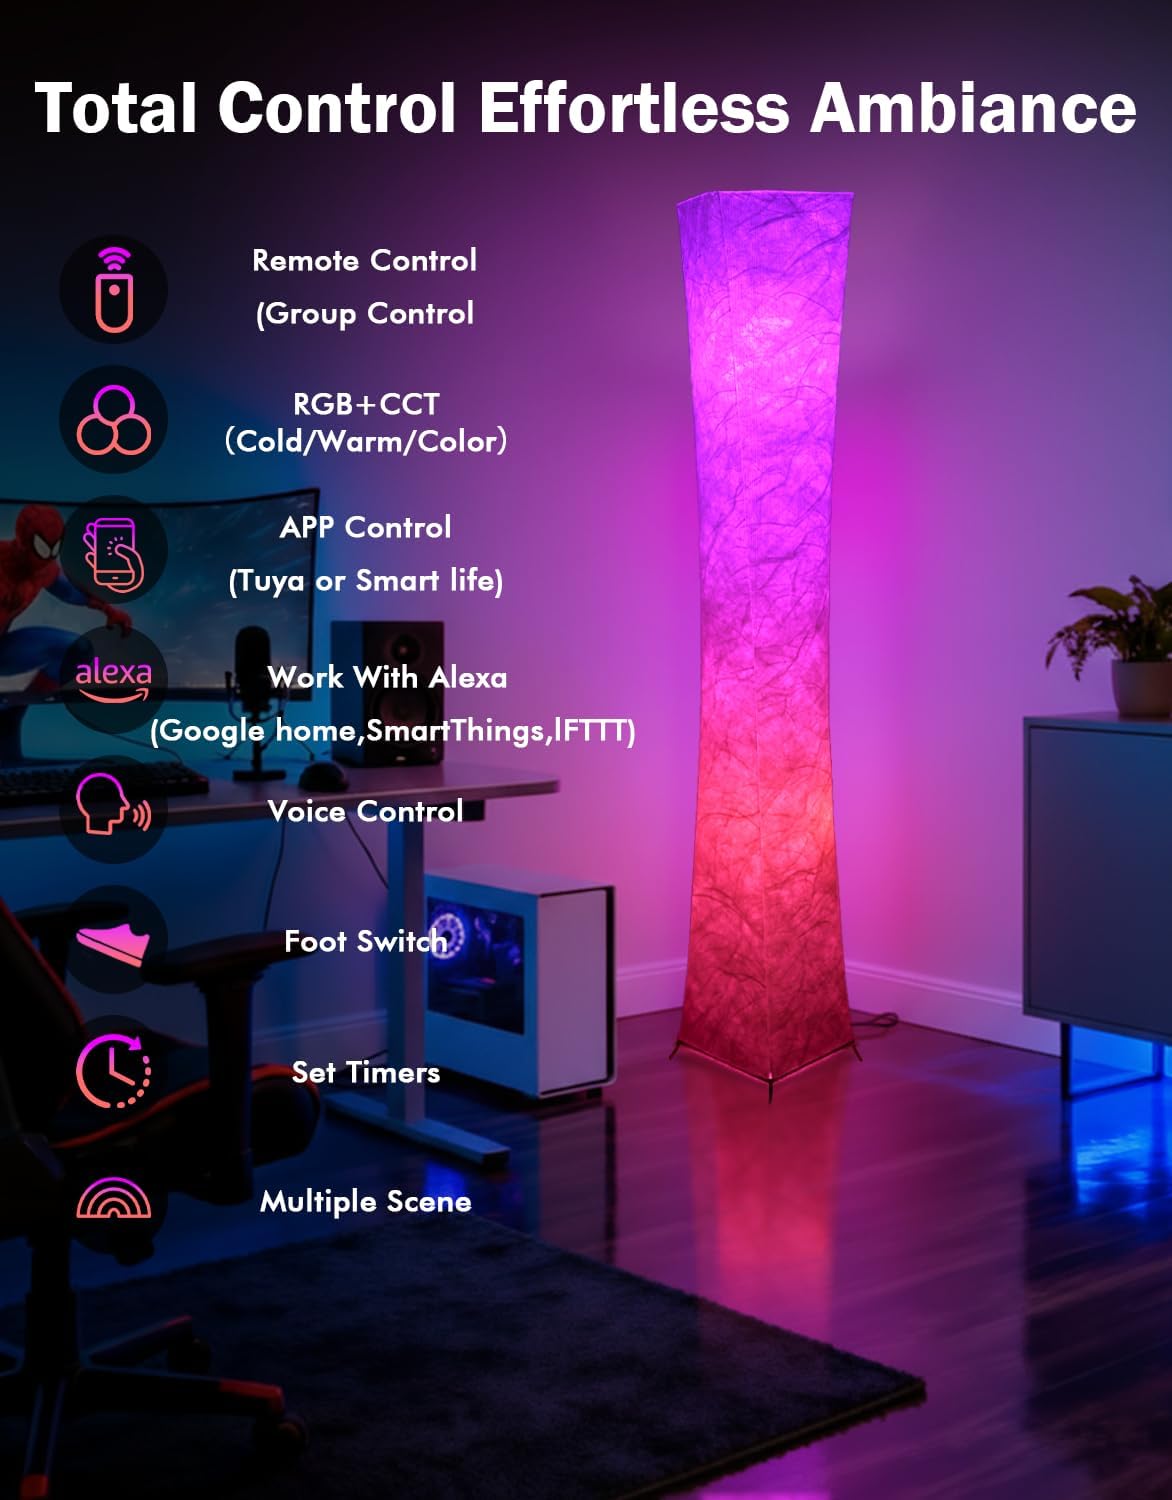
Image: A fully assembled LEONC floor lamp, demonstrating the tautness of the lampshade after correct installation.
Operating Instructions
Power On/Off
The lamp can be turned on or off using the foot switch on the power cord, the remote control, or the mobile application.
Remote Control Operation
The included 2.4 GHz remote control allows for effortless adjustment of the lamp's settings.
- On/Off: Press the power button.
- Brightness Adjustment: Use the '+' and '-' buttons to increase or decrease brightness (0.1% to 100%).
- Color Selection: Use the color wheel or preset color buttons to change the light color.
- Color Temperature: Adjust white light from 2500K (warm) to 6500K (cool).
- Group Control: The remote supports controlling multiple lamps or individual bulbs within a lamp if paired to different groups.
- Timer: Set 30 or 60-minute timers.
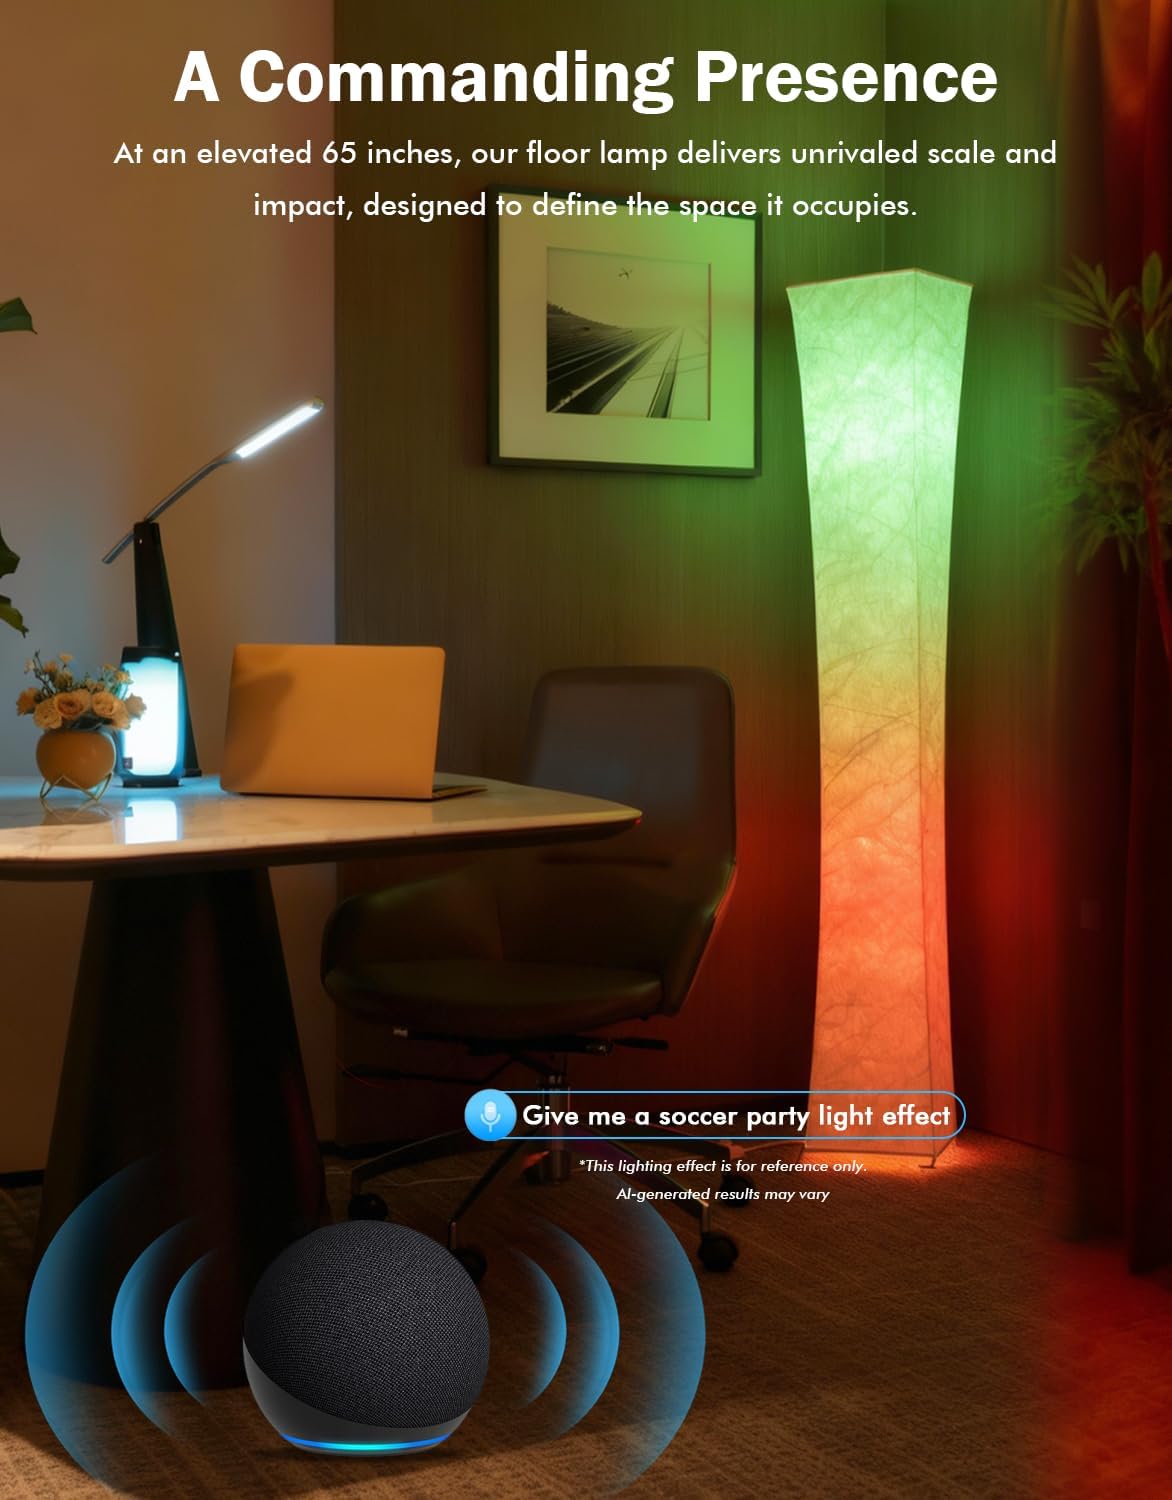
Image: The remote control for the LEONC Smart Floor Lamp, illustrating its various functions.
Remote Pairing/Unpairing Individual Bulbs
This lamp uses two bulbs. You can control them individually or as a group. To unpair a bulb from a group (e.g., move Bulb B from Group 1 to Group 2):
- Remove Bulb A from the lamp, leaving only Bulb B inside.
- Press the foot switch once to turn off Bulb B.
- Wait for 10 to 30 seconds.
- Press the foot switch once more to turn on Bulb B.
- Rapidly press the "Group 1 Sun" button on the remote 5-10 times. Bulb B will flash, indicating its code has been successfully cleared from Group 1.
To pair Bulb B to a new group (e.g., Group 2):
- Press the foot switch once to turn off Bulb B.
- Press and hold the "Group 2 Sun" button on the remote.
- While holding the button, press the foot switch once to turn on Bulb B.
- Continue holding the "Group 2 Sun" button until Bulb B flashes, indicating successful pairing.
You can now re-install Bulb A. Group 1 will control Bulb A, and Group 2 will control Bulb B.
Video: Instructions on how to control two bulbs separately using the remote control, including unpairing and pairing steps.
App Control (Tuya/Smart Life)
Download the Tuya or Smart Life app from your smartphone's app store. This enables advanced control features:
- 16 Million Colors: Access a full spectrum of colors.
- Dynamic Lighting Modes: Choose from various preset scenes or create custom ones.
- Music Sync: Synchronize light effects with music.
- Scheduling & Timers: Set schedules for automatic on/off times.
- Memory Function: The lamp remembers your last settings.
App Pairing/Unpairing Bulbs
- Connect your smartphone to a 2.4 GHz Wi-Fi network.
- Open the Tuya/Smart Life app and tap "Add Device".
- The app will search for nearby devices. Wait for two bulb icons to appear.
- Tap on the bulb icons, enter your Wi-Fi password, and automatic pairing will begin.
- Once the color turns yellow, pairing is successful.
- To unpair, simply tap the "X" next to the bulb in the app to remove it.
- To re-pair after unpairing, press the foot switch 3 times consecutively until the bulb shows a white flickering light (indicating it's in an unpaired state). Then, tap "Add Device" again and repeat the pairing process.
Video: Guide on how to use the app to pair and unpair bulbs, especially when experiencing issues.
Voice Control
The lamp is compatible with HomeKit, Alexa, and Google Assistant. Once connected via the app, you can use voice commands to control the lamp (e.g., "Alexa, turn the floor lamp red," "Hey Google, dim the floor lamp to 50%").

Image: The LEONC Smart Floor Lamp responding to voice commands through a smart assistant, changing its color.
Maintenance
- Cleaning: Use a soft, dry cloth to wipe the lampshade and base. Do not use abrasive cleaners or solvents.
- Bulb Replacement: If a bulb needs replacement, ensure the lamp is unplugged. Replace with compatible E27 smart LED bulbs.
- Storage: If storing the lamp, disassemble it and pack it in its original packaging to prevent damage.
Troubleshooting
| Problem | Possible Cause | Solution |
|---|---|---|
| Lamp does not turn on. | Power cord not properly connected; power outlet malfunction; bulb loose or faulty. | Check power connections. Test outlet with another device. Tighten or replace bulbs. |
| Remote control not working. | Batteries are dead or incorrectly inserted; remote not paired with lamp. | Replace remote batteries. Ensure correct battery polarity. Re-pair the remote as per instructions. |
| App control not working. | Lamp not connected to Wi-Fi; incorrect Wi-Fi password; app not updated. | Ensure lamp is connected to 2.4 GHz Wi-Fi. Verify Wi-Fi password. Update the app. Re-pair bulbs via app. |
| Lampshade is wrinkled or sagging. | Incorrect assembly of the support rods or lampshade. | Review assembly steps, especially for the top and bottom rings and screw pipes, to ensure proper tension. |
Specifications
| Feature | Detail |
|---|---|
| Model Number | LE-SF150RGB-AMZ-LXY |
| Dimensions | 12"D x 12"W x 65"H |
| Item Weight | 3.74 Pounds |
| Light Source Type | LED |
| Wattage | 18 watts (9W x 2 bulbs) |
| Brightness | 1800 Lumens (900lm per bulb) |
| Color Temperature | 2500K-6500K (Adjustable) |
| Light Color | 16 Million DIY Colors (RGB+CCT) |
| Control Methods | Remote, Foot Switch, App (Tuya/Smart Life), Voice (Alexa, Google Assistant, HomeKit) |
| Shade Material | Dupont Tyvek |
| Base Material | Metal |
| Indoor/Outdoor Usage | Indoor Only |
| Special Features | Adjustable Color Temperature, Color Changing, Corded, Memory Function, Timer, Music Sync |
Warranty and Support
LEONC Design products are manufactured with quality and care. For warranty information or technical support, please refer to the contact details provided on the product packaging or the official LEONC Design website. Keep your purchase receipt for warranty claims.
Ask a question about this manual
Ask about setup, troubleshooting, compatibility, parts, safety, or missing instructions. Manuals+ will review the question and use this page’s manual context to help answer it.