Introduction
This manual provides detailed instructions for the setup, operation, and maintenance of your EliteBloom TX628 WiFi Fingerprint Time Attendance Machine. Please read this manual thoroughly before using the device to ensure proper functionality and to maximize its features. The TX628 offers a user-friendly interface, fast verification, and robust data management capabilities for efficient time tracking.
Product Overview
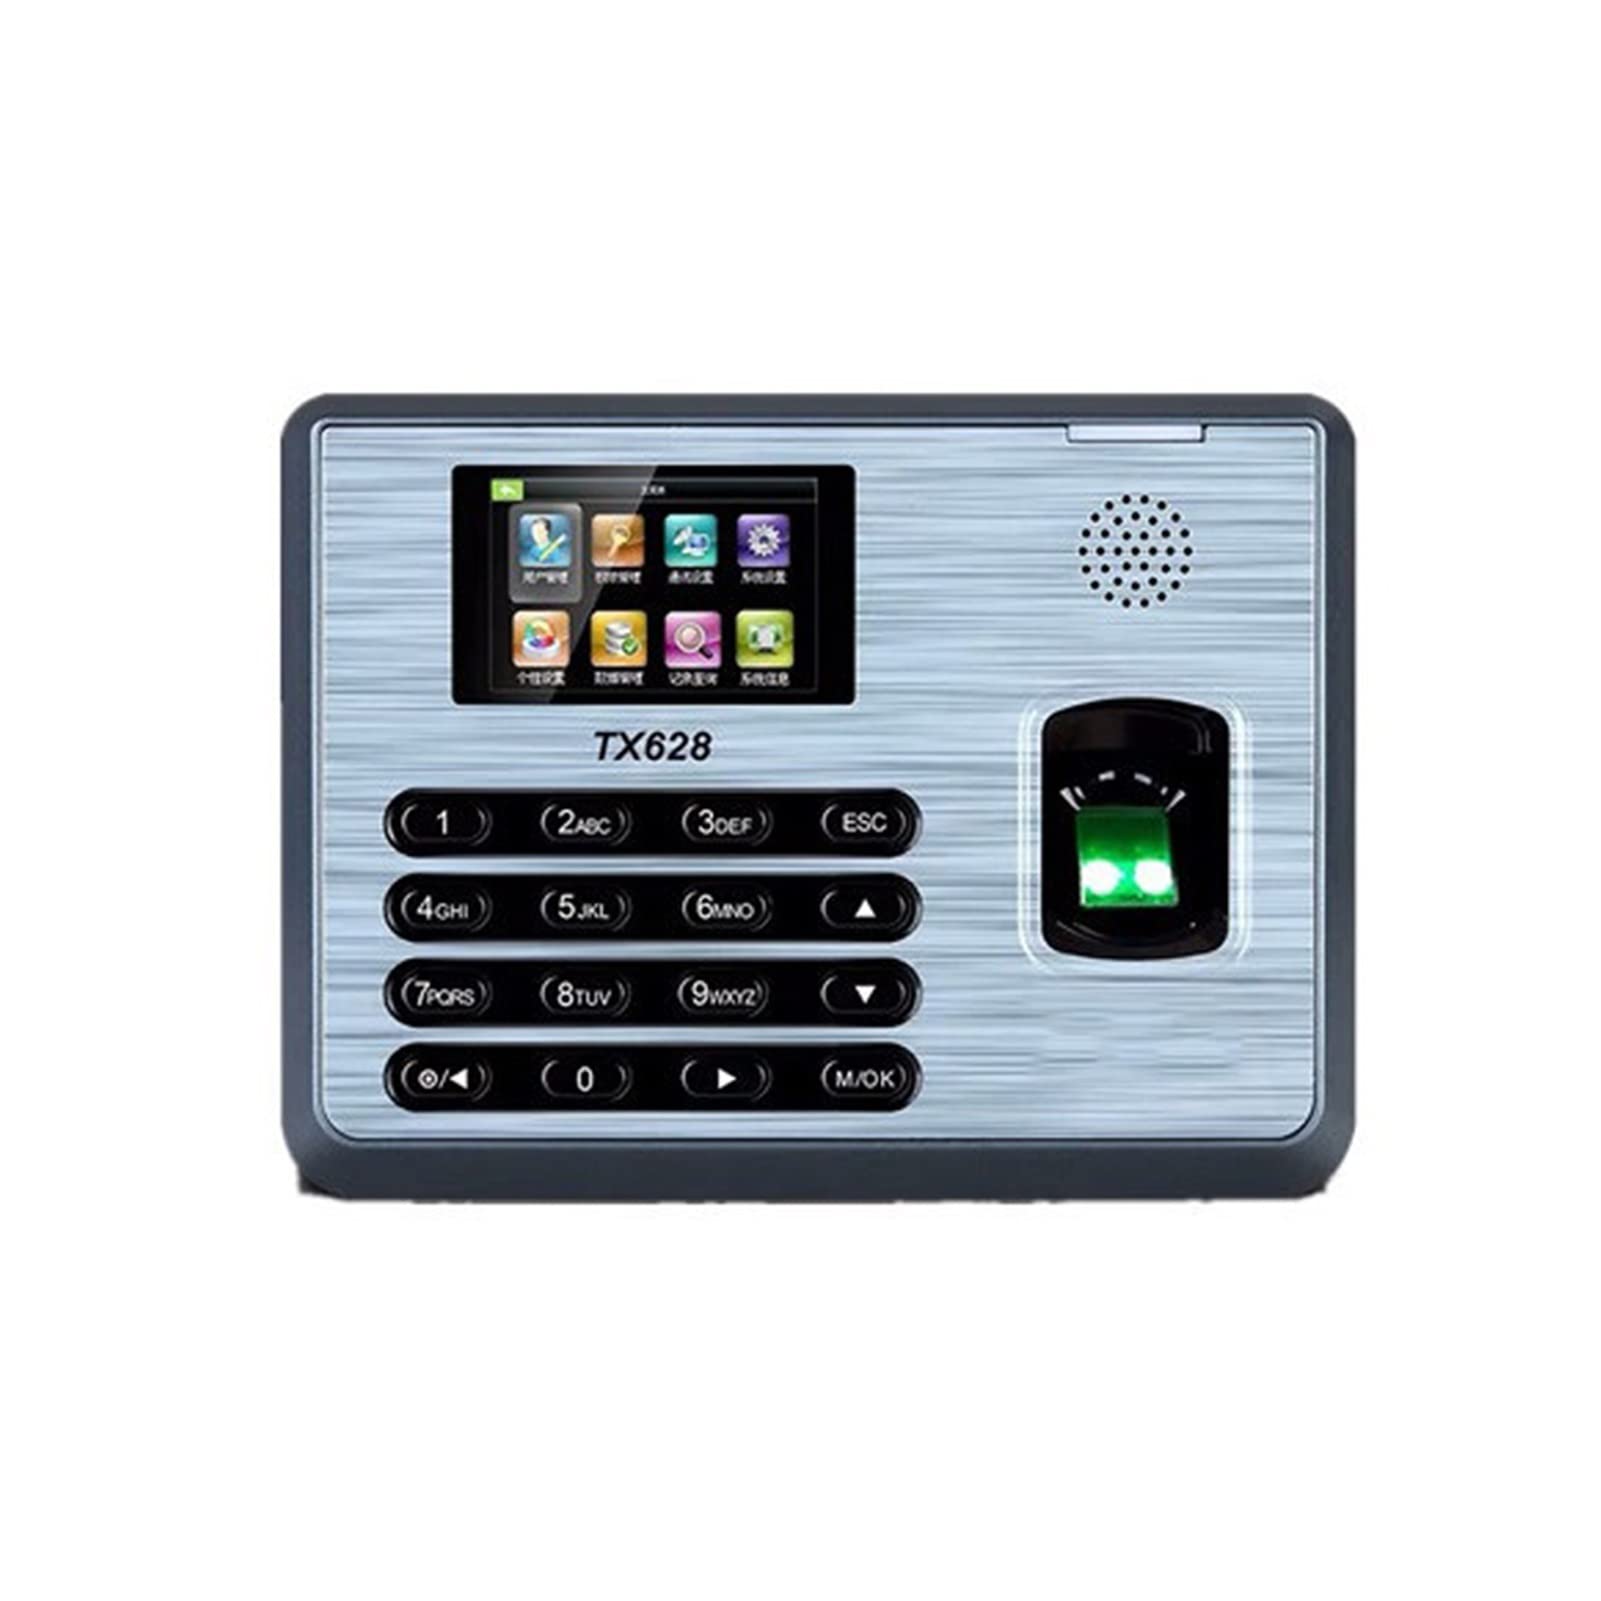
This image displays the front panel of the EliteBloom TX628 Time Attendance Machine. It features a color display screen at the top, showing a graphical user interface with various icons. Below the screen is the model number 'TX628'. A numeric keypad with additional function keys (ESC, M/OK, arrow keys) is centrally located. To the right of the keypad is the fingerprint scanner, illuminated with green light, indicating readiness for a scan. A speaker grille is visible in the upper right corner.
The EliteBloom TX628 is a versatile time attendance machine designed for accurate employee time tracking. It supports multiple verification methods including fingerprint and password, and offers connectivity via TCP/IP and USB. Key features include a 3-inch display, voice broadcast, and data backup capabilities.
Setup
1. Unpacking and Placement
- Carefully remove the device from its packaging.
- Choose a suitable location for installation, such as a wall near an entrance/exit. Ensure the location is dry, stable, and away from direct sunlight or extreme temperatures.
- Ensure there is access to a power outlet and network connection (if using TCP/IP).
2. Power Connection
- Connect the provided DC 5V 0.8A power adapter to the device's power input port.
- Plug the adapter into a standard electrical outlet. The device will power on automatically.
3. Network Connection (Optional)
- For TCP/IP communication, connect an Ethernet cable from your network router/switch to the device's LAN port.
- Alternatively, configure WiFi settings through the device's menu for wireless network connectivity.
4. Initial Configuration
- Upon first power-on, the device may prompt for initial setup, including date, time, and administrator registration.
- Register an administrator fingerprint and password for secure access to device settings.
Operating Instructions
1. User Registration
- Access the main menu (usually by pressing 'M/OK' and entering administrator credentials).
- Navigate to 'User Management' or 'Enroll User'.
- Select 'Enroll Fingerprint' or 'Enroll Password'.
- Follow the on-screen prompts to register a new user's fingerprint (typically 3 times for accuracy) or set a password.
- Assign a unique 9-digit User ID to each employee.
2. Clocking In/Out
- To clock in or out, simply place your registered finger on the fingerprint scanner or enter your User ID and password on the keypad.
- The device will provide a voice broadcast confirming the success or failure of the clock-in/out, and display the employee's name on the screen.
- The device automatically tracks start time, rest time, lunch time, and end time.
3. Data Management
- Downloading Records: Connect a USB drive to the device's USB host port or use the TCP/IP connection with compatible software (e.g., Time 5.0, TimeNet 3.0, BioTime 8.0) to download attendance records.
- Data Backup: The device supports data backup and retrieval. Regularly back up your attendance data to prevent loss. The built-in backup protects data during power failures.
- Self-Service Query: Employees can query their own attendance records directly on the device using their fingerprint or password.
4. System Settings
- Access system settings via the administrator menu to configure network settings, date/time, automatic status switch, schedule bell, and other advanced functions.
- User validity settings can be adjusted to manage access permissions.
Maintenance
- Cleaning: Use a soft, dry cloth to clean the device's screen and fingerprint scanner. Avoid using abrasive cleaners or solvents.
- Fingerprint Scanner Care: Ensure the fingerprint scanner is free from dust, dirt, or moisture for optimal performance.
- Software Updates: Periodically check for firmware updates from the manufacturer to ensure the device operates with the latest features and security enhancements.
- Data Backup: Regularly back up attendance data to an external storage device or connected software to prevent data loss.
Troubleshooting
- Device does not power on:
- Check if the power adapter is securely connected to both the device and the power outlet.
- Verify that the power outlet is functional. - Fingerprint verification fails frequently:
- Ensure your finger is clean and dry.
- Place your finger flat on the scanner, covering the entire surface.
- Re-enroll your fingerprint if issues persist, ensuring a clear scan during registration.
- Clean the fingerprint scanner surface with a soft cloth. - Cannot connect to network (TCP/IP or WiFi):
- For TCP/IP, ensure the Ethernet cable is properly connected and the network settings (IP address, gateway) are correct.
- For WiFi, verify the WiFi password and network name (SSID) are entered correctly in the device settings. Ensure the device is within range of the WiFi router. - Attendance records are not saving:
- Check the device's record capacity. If full, download and clear old records.
- Ensure the device's internal clock is set correctly. - Voice broadcast is unclear or silent:
- Check the volume settings in the device's menu.
- Ensure the speaker grille is not obstructed.
Specifications
| Feature | Specification |
|---|---|
| Fingerprint Capacity | 3000 (1:N) |
| Card Capacity (125KHZ EM) | 10,000 |
| Record Capacity | 100,000 |
| Display | 3-inch Screen |
| Communication | TCP/IP, USB (host & client) |
| Standard Functions | Web Server, Short Message, Automatic Status Switch, Self-Service Query, Work Code, T9 input, 9 Digits User ID, DST, Schedule Bell |
| Optional Functions | Card, External Printer and Bell, Photo ID, ADMS |
| Software Compatibility | Time 5.0 (Free), TimeNet 3.0, BioTime 8.0 |
| Power Supply | DC 5V 0.8A |
| Verification Speed | Less than or equal to 0.5 seconds |
| Operating Temperature | 0 °C - 45 °C (32 °F - 113 °F) |
| Operating Humidity | 20% - 80% (non-condensing) |
Warranty and Support
For warranty information and technical support, please refer to the documentation provided with your purchase or contact EliteBloom customer service. Keep your purchase receipt as proof of purchase for warranty claims.