1. Introduction
This manual provides detailed instructions for the installation, operation, and maintenance of your LETOURWM M12-3 RV Tire Pressure Monitoring System. This system is designed to enhance driving safety by continuously monitoring tire pressure and temperature, providing real-time alerts for potential issues. Please read this manual thoroughly before using the product to ensure proper function and safety.
2. Safety Information
- Do not attempt to disassemble or modify the device or sensors.
- Ensure sensors are securely tightened to prevent air leakage.
- Always check tire pressure with a reliable gauge before long trips, even with the TPMS installed.
- Pay attention to audible and visual alerts from the system and address any issues promptly.
- Keep the display unit clear of obstructions to ensure proper solar charging and visibility.
3. Package Contents
Verify that all items are present in your package:
- 1x TPMS Display Unit
- 6x External Tire Pressure Sensors
- 1x USB Charging Cable
- 6x Anti-theft Nuts
- 1x Installation Wrench
- 1x User Manual (this document)

Figure 3.1: Complete LETOURWM M12-3 TPMS package contents.
4. Product Overview
The LETOURWM M12-3 TPMS consists of a display unit and six external sensors. The display unit provides real-time tire data and alerts, while the sensors transmit pressure and temperature readings wirelessly.
4.1 Display Unit Features
- Solar Panel: For continuous charging in sunlight.
- USB-C Port: For alternative charging.
- LCD Screen: High-definition display with automatic brightness adjustment.
- Control Buttons: Power, Mode (M), and navigation buttons.
- Voice Alerts: Audible notifications for critical tire conditions.

Figure 4.1: Display unit interface and dimensions.
4.2 External Sensors
- Waterproof and Dustproof: IP67 rated for all weather conditions.
- Anti-theft Design: Includes anti-theft nuts for secure installation.
- Battery Life: Up to 2 years, user-replaceable.
5. Setup
5.1 Charging the Display Unit
The display unit can be charged via solar power or USB-C cable.
- Solar Charging: Place the display unit on your dashboard in direct sunlight. The solar panel will automatically charge the internal battery.
- USB-C Charging: Connect the provided USB-C cable to the display unit and a 5V USB power source (e.g., car charger, computer USB port). This is recommended for initial charging or during periods of low sunlight.

Figure 5.1: Dual charging options for the display unit.
5.2 Sensor Installation
The external sensors are designed for quick and easy installation without removing the tire.
- Prepare: Ensure your tires are at the recommended pressure before installation.
- Install Anti-theft Nut: Screw an anti-theft nut onto the tire valve stem.
- Install Sensor: Screw the corresponding sensor (labeled 1-6) onto the valve stem until it is hand-tight.
- Lock Anti-theft Nut: Use the provided wrench to tighten the anti-theft nut against the sensor, securing it in place.
- Repeat: Install all 6 sensors on your vehicle's tires.
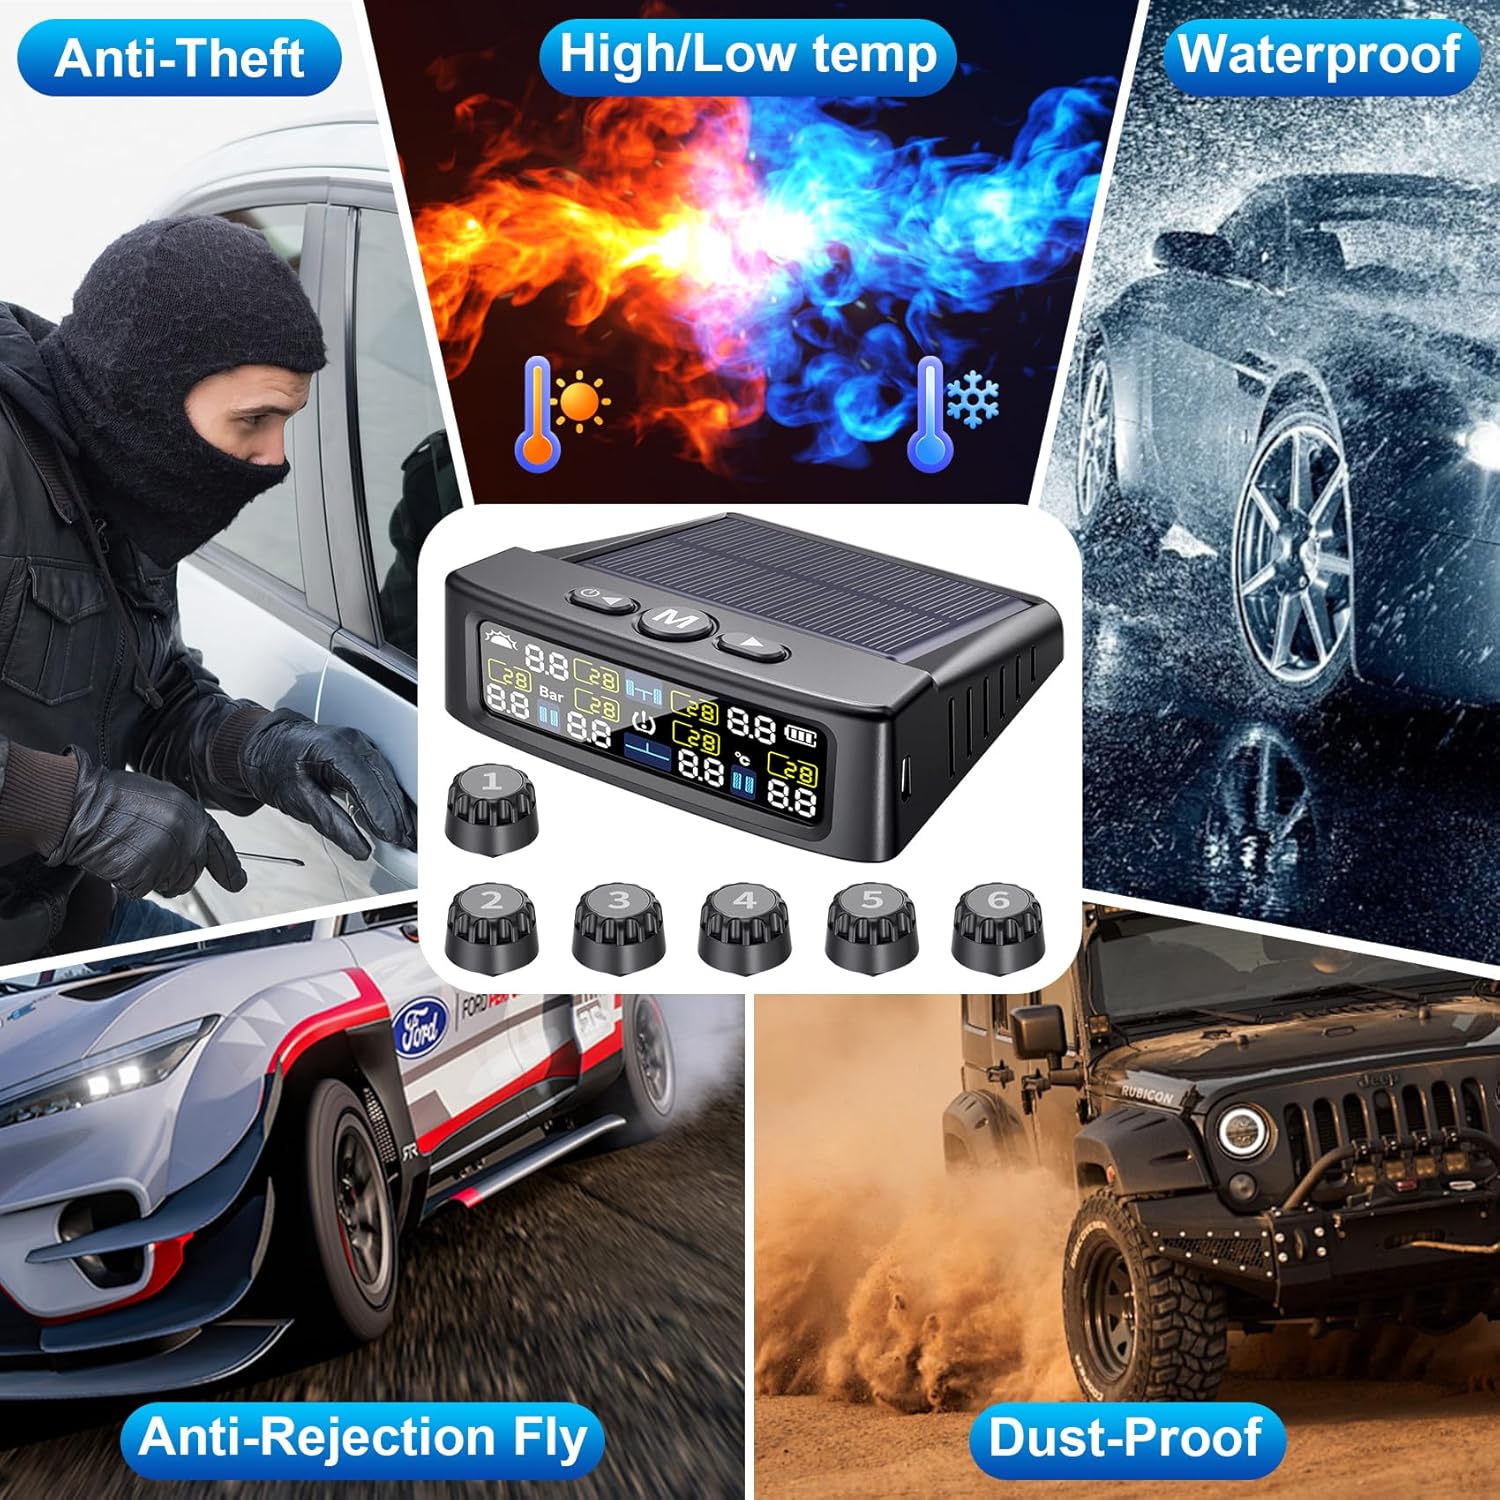
Figure 5.2: Step-by-step sensor installation process.
5.3 Sensor Pairing (If Needed)
Sensors are typically pre-paired at the factory. If a sensor is not displaying data or needs to be replaced, follow these steps to re-match it:
- Restart Receiver: Restart the display unit. Identify which wheel is not receiving data.
- Enter Match Mode: Press the right button 8 times to enter match mode.
- Select Tire: Press the right button to select the tire position that needs to be re-matched.
- Install Sensor: Screw the new sensor onto the tire valve. The display should show data.
- Save Data: Once tire pressure data is displayed, press and hold the 'M' button in the middle to save the data.

Figure 5.3: Instructions for customizing settings and matching sensors.
6. Operating Instructions
6.1 Power On/Off
The display unit features intelligent power management:
- Automatic On: The monitor automatically turns on when the vehicle starts moving.
- Automatic Off: The display automatically shuts off when the vehicle is stationary for an extended period.
- Manual On/Off: Press and hold the power button to manually turn the unit on or off.

Figure 6.1: Intelligent power management of the display unit.
6.2 Display Interface
The LCD screen shows real-time pressure and temperature for each tire, along with system status indicators.
- Pressure Value: Displays current tire pressure (e.g., 28 Bar/PSI).
- Temperature Value: Displays current tire temperature (e.g., 30°C).
- Battery Level: Indicates the display unit's battery charge.
- Solar Charging Indicator: Shows when the unit is charging via solar power.
- Tire Position Icons: Clearly identifies which tire's data is being displayed.

Figure 6.2: Clear visibility of the LCD screen in various lighting conditions.
6.3 Setting Parameters
You can customize pressure units, temperature units, and alarm thresholds.
- Enter Setting Mode: Press and hold the 'M' button for 3 seconds. The Bar/PSI interface will flash.
- Select Unit: Use the left and right keys to select the desired unit (Bar or PSI). Press 'M' to confirm and move to the next setting.
- Set Temperature Unit: The temperature unit will flash. Select °C or °F using the left/right keys. Press 'M' to confirm.
- Set Alarm Thresholds: The display will show high pressure, low pressure, and high temperature alarm values for each tire position. Use the left/right keys to adjust values and 'M' to move between settings and save.
- Exit Setting Mode: After setting all values, press and hold the 'M' button for 3 seconds to save and exit.
6.4 Alarm Modes
The system provides comprehensive alerts for various tire conditions:
- High Pressure Warning: Alerts when tire pressure exceeds the set high limit.
- Low Pressure Warning: Alerts when tire pressure falls below the set low limit.
- High Temperature Warning: Alerts when tire temperature exceeds the set high limit.
- Fast Leakage Warning: Alerts for rapid pressure drops.
- Sensor Failure: Indicates a sensor is not transmitting data.
- Low Battery: Alerts when a sensor's battery is low.

Figure 6.3: Overview of the system's alarm modes.
7. Maintenance
7.1 Sensor Battery Replacement
The external sensors use replaceable batteries (CR1632). When a sensor's battery is low, the display unit will indicate a low battery warning for that specific sensor.
- Unscrew the sensor from the tire valve.
- Carefully open the sensor casing.
- Remove the old CR1632 battery and insert a new one, ensuring correct polarity.
- Close the sensor casing securely and re-install it on the tire valve, following the installation steps in Section 5.2.
7.2 Cleaning
- Display Unit: Wipe with a soft, dry cloth. Avoid abrasive cleaners or solvents.
- Sensors: Clean any dirt or debris from the sensors periodically to ensure proper function and prevent corrosion.
7.3 Storage
If storing the system for an extended period, ensure the display unit is fully charged and store it in a cool, dry place.
8. Troubleshooting
Refer to the following common issues and solutions:
| Problem | Possible Cause | Solution |
|---|---|---|
| Display not turning on | Low battery; Unit off | Charge via USB or solar; Press power button to turn on. |
| Sensor not displaying data | Sensor battery low; Sensor not paired; Signal interference | Replace sensor battery; Re-pair sensor (Section 5.3); Relocate display unit. |
| Inaccurate pressure readings | Sensor not fully tightened; Calibration needed | Ensure sensor is tight; Compare with a reliable gauge and adjust settings if necessary. |
| Frequent alarms | Alarm thresholds set too narrow; Actual tire issue | Adjust alarm thresholds (Section 6.3); Inspect tires for damage or leaks. |
9. Specifications
| Feature | Specification |
|---|---|
| Brand | LETOURWM |
| Model | M12-3 6-Sensor |
| Pressure Range | 0-9.9 BAR / 0-144 PSI |
| Display Type | Color LCD |
| Charging Options | Solar, USB-C |
| Sensor Type | External |
| Waterproof Rating | IP67 (Sensors) |
| Operating Temperature | Refer to product packaging for specific range |
| Dimensions (Display) | 3.7 x 3.3 x 1.1 inches (approx.) |
| Item Weight | 8.1 ounces (approx.) |
10. Compatibility
The LETOURWM M12-3 TPMS is suitable for a wide range of vehicles, including:
- RV (Recreational Vehicles)
- Trailers
- Trucks (Pickup Trucks, Commercial Trucks)
- SUVs
- Sedans
- MPVs
- Off-road Vehicles

Figure 10.1: Vehicle compatibility examples.
11. Warranty and Support
LETOURWM products are designed for reliability and performance. For warranty information, technical support, or any questions regarding your TPMS system, please refer to the contact information provided with your purchase or visit the official LETOURWM website. Please retain your proof of purchase for warranty claims.


