LifePlus Ice Maker
LifePlus Commercial Ice Maker User Manual
Model: Ice Maker
1. Introduction
Thank you for choosing the LifePlus Commercial Ice Maker. This manual provides essential information for the safe and efficient operation, maintenance, and troubleshooting of your new ice machine. Please read this manual thoroughly before operating the appliance and retain it for future reference.
This freestanding ice maker is designed for commercial and home use, capable of producing up to 100 lbs of ice per day with a storage capacity of 15-20 lbs. It features adjustable ice cube thickness, an auto-clean function, and a 24-hour timer for convenience.
2. Important Safety Instructions
To reduce the risk of fire, electric shock, or injury when using your ice maker, follow these basic precautions:
- Read all instructions before using the appliance.
- Connect to a properly grounded outlet only.
- Do not immerse cord, plug, or appliance in water or other liquid.
- Unplug from outlet when not in use and before cleaning.
- Do not operate any appliance with a damaged cord or plug, or after the appliance malfunctions or has been damaged in any manner.
- Ensure proper ventilation around the unit.
- Do not store explosive substances such as aerosol cans with a flammable propellant in this appliance.
- This appliance is not intended for use by persons (including children) with reduced physical, sensory or mental capabilities, or lack of experience and knowledge, unless they have been given supervision or instruction concerning use of the appliance by a person responsible for their safety.
3. Product Components
Familiarize yourself with the main parts of your LifePlus Commercial Ice Maker:
- Control Panel: Features LED display, power button, timer, and ice thickness adjustment buttons.
- Ice Bin: Storage area for produced ice cubes (0.6 Cu.Ft capacity, 15-20 lbs). Note: This bin is not a freezer and will not keep ice frozen indefinitely.
- Ice Scoop: Included for hygienic ice retrieval.
- Water Inlet: Connection points for water supply (drinking water bottle or direct tap connection).
- Water Drain: Outlet for draining water from the unit.
- Refrigeration Compressor: High-performance component for efficient ice production.
- UV Light: Built-in blue UV light for maintaining a clean and hygienic ice bin.
- Thickened Foam Layer: Insulation for reduced ice melting and energy saving.

Figure 3.1: Front view of the LifePlus Commercial Ice Maker, showing the control panel and ice viewing window.
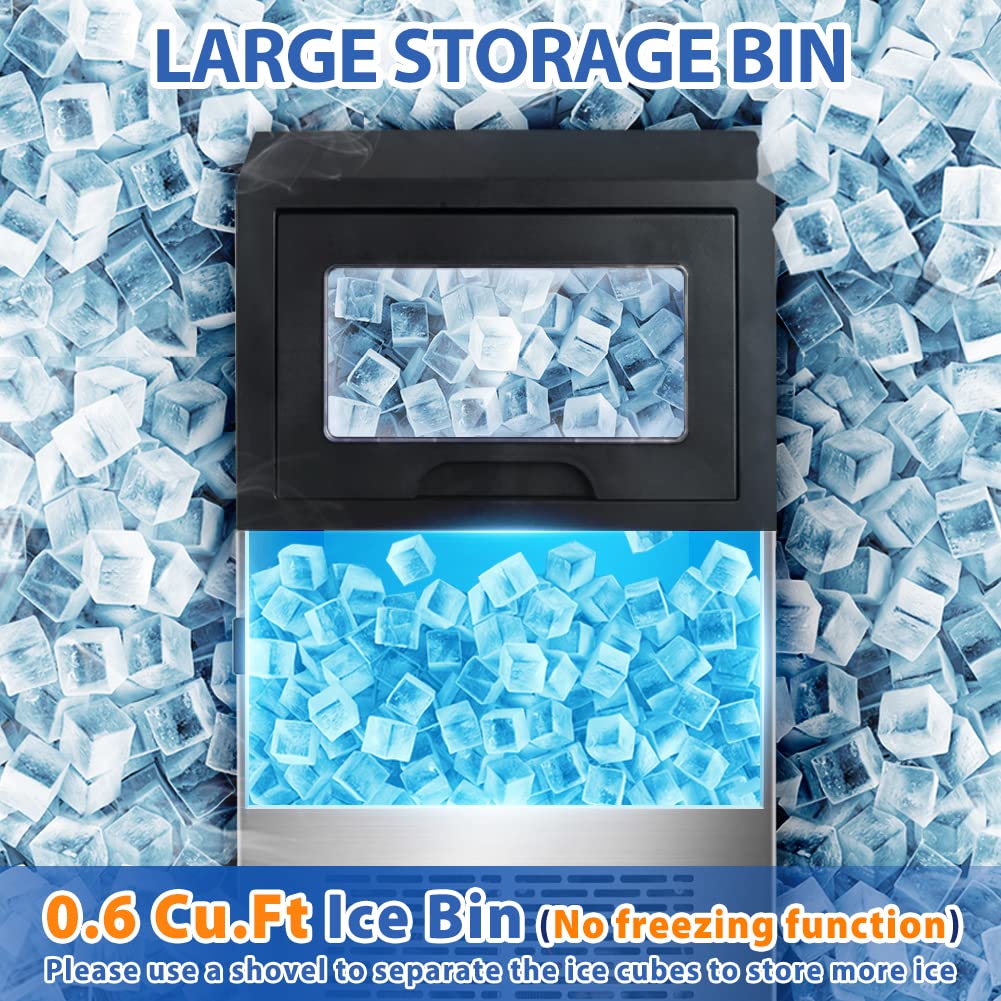
Figure 3.2: Top-down view of the ice maker's large storage bin, indicating its 0.6 Cu.Ft capacity.
4. Setup and Installation
4.1 Unpacking
Carefully remove all packaging materials. Inspect the ice maker for any shipping damage. If damage is found, do not operate the unit and contact customer support.
4.2 Placement
Place the ice maker on a flat, stable surface. Ensure there is adequate ventilation around the unit. Avoid direct sunlight or heat sources. The product dimensions are 16.5"D x 15"W x 29"H.
4.3 Water Supply Connection
The ice maker supports two methods for water supply:
- Drinking Water Bottle: Connect a standard drinking water bottle to the designated inlet.
- Direct Water Line: Connect the provided water supply tube (59 inches) to a potable water source. Ensure all connections are secure to prevent leaks.

Figure 4.1: Illustration of the two water supply methods: using a water bottle or a direct water line.
4.4 Water Drainage Connection
Connect the provided water drain tube (36 inches) to the drain outlet on the unit. Ensure the drain tube is routed to a suitable drain or container to prevent water accumulation.
4.5 Initial Cleaning
Before first use, it is recommended to clean the interior of the ice maker. Refer to the "Maintenance" section for detailed cleaning instructions.
5. Operating Instructions
5.1 Powering On
Once the water supply and drainage are connected, plug the ice maker into a grounded electrical outlet. Press the power button on the control panel to turn on the unit. The LED display will illuminate.
5.2 Ice Making Process
The ice maker will automatically begin the ice-making cycle. Each batch produces 45 ice cubes within 10-26 minutes, depending on ambient temperature and water quality. The unit can produce up to 100 lbs of ice per day.

Figure 5.1: Visual representation of the automatic ice making process: Water Input, Refrigeration, and Ice Frozen.
5.3 Adjusting Ice Cube Thickness
The ice maker allows for 3 levels of adjustable ice cube thickness. Use the "UP" button on the control panel to adjust the desired ice cube thickness by minutes. A longer time setting will result in thicker ice cubes. This feature allows you to balance ice flavor and production speed for various uses such as beverages, wine cooling, or food preservation.

Figure 5.2: Examples of ice cube thickness: thin for salads, medium for cold drinks, and thick for wine cooling.
5.4 Auto-Clean Function
The unit features a one-key auto-clean function. Refer to the "Maintenance" section for detailed instructions on how to activate and use this feature.
5.5 24-Hour Timer
Utilize the 24-hour timer function to schedule ice production. This allows you to have a full basket of ice cubes ready at a specific time, such as the start of your business day.
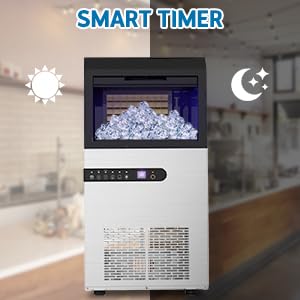
Figure 5.3: The smart timer allows scheduling ice production for convenience, day or night.
5.6 Indicator Lights and Alarms
The LED display panel provides status indicators:
- Ice Full Alarm: Indicates when the ice bin is full. The unit will pause ice production until ice is removed.
- Water Short Alarm: Indicates insufficient water supply. The unit will pause until water is replenished.
6. Maintenance and Cleaning
Regular cleaning and maintenance will ensure the longevity and optimal performance of your ice maker.
6.1 Auto-Clean Function
To activate the auto-clean function, press the designated button on the control panel. The unit will initiate a cleaning cycle, flushing the internal water lines. Follow the instructions on the LED display.
6.2 Interior Cleaning
The interior is composed of a food-grade PP injection liner. For manual cleaning:
- Unplug the unit from the power outlet.
- Drain any remaining water from the unit using the drain tube.
- Wipe the interior surfaces, including the ice bin and water tray, with a soft cloth dampened with a mild detergent solution.
- Rinse thoroughly with clean water.
- The built-in blue UV light helps maintain hygiene, but regular manual cleaning is still recommended.
6.3 Exterior Cleaning
The exterior is made of high-quality stainless steel. Wipe the exterior with a soft, damp cloth. For stubborn stains, use a stainless steel cleaner. Do not use abrasive cleaners or scouring pads.
6.4 Long-Term Storage
If the ice maker will not be used for an extended period, perform a thorough cleaning, drain all water, and ensure the unit is completely dry before storing in a cool, dry place.
7. Troubleshooting Guide
Before contacting customer service, please refer to the following common issues and their solutions:
| Problem | Possible Cause | Solution |
|---|---|---|
| Ice maker not producing ice. | No water supply; power issue; ambient temperature too high. | Check water connections and supply; ensure unit is plugged in; move to a cooler location. |
| "Water Short" alarm. | Insufficient water in reservoir or supply line. | Refill water bottle or check direct water line connection. |
| "Ice Full" alarm. | Ice bin is full. | Remove ice from the bin. |
| Ice cubes are too thin or too thick. | Ice thickness setting needs adjustment. | Adjust ice thickness using the "UP" button on the control panel. |
| Unusual noise during operation. | Unit not level; internal components vibrating. | Ensure unit is on a level surface; this may be normal operational noise. If excessive, contact support. |
8. Product Specifications
| Feature | Specification |
|---|---|
| Brand | LifePlus |
| Model Name | Ice Maker |
| Product Dimensions (D x W x H) | 16.5"D x 15"W x 29"H |
| Ice Production Capacity | Up to 100 LBS / 24H |
| Ice Storage Bin Capacity | 15-20 LBS (0.6 Cu.Ft) |
| Ice Cube Production Per Batch | 45 cubes |
| Cycle Time | 10-26 minutes per batch |
| Refrigerant | R134a |
| Water Inlet Options | Drinking water bottle or direct water line |
| Special Features | 3-level adjustable ice thickness, Auto-Clean, 24H Timer, Blue UV Light, Stainless Steel construction |
9. Warranty Information
Specific warranty details are not provided in the product information. Please refer to the product packaging or contact the manufacturer directly for warranty terms and conditions. Retain your proof of purchase for any warranty claims.
10. Customer Support
For technical assistance, troubleshooting beyond this guide, or inquiries regarding parts and service, please contact LifePlus customer support. Visit the official LifePlus store on Amazon for contact information or further resources:
Ask a question about this manual
Ask about setup, troubleshooting, compatibility, parts, safety, or missing instructions. Manuals+ will review the question and use this page’s manual context to help answer it.