GZLLWVNK hanyilan
Instruction Manual: Replacement Head Holder Frame for Philips 5000 Series Shaver
Model: hanyilan | Brand: GZLLWVNK
1. Product Overview
This product is a replacement head holder frame designed for specific Philips 5000 Series electric shavers. It is an essential component that securely holds the shaver blades, ensuring optimal contact with the skin for an efficient and comfortable shave. Replacing this part can restore your shaver's performance and extend its overall lifespan.

Image 1.1: Overview of the replacement head holder frame and its components.
2. Compatible Models
This replacement head holder frame is compatible with the following Philips 5000 Series shaver models:
- S5531, S5532, S5533, S5535, S5536
- S5585, S5587, S5588, S5618
- SU5799, SU5999
- S5830, S5831, S5832, S5835, S5836, S5898
- S5930
- S6632, S6830, S6831
- SU7366, S8055, S8850
Important Note:
Not all shaver models are explicitly listed. If you are uncertain about the compatibility of your specific shaver model with this head holder frame, please consult the product listing or contact customer support for verification before purchase.
3. Product Features
- Improved Shaving Performance: Replacing the shaver head with sharper blades, supported by a new frame, allows for a more thorough shave, effectively cutting the beard to achieve a cleaner and more complete result, reducing beard residue, and resulting in smoother facial skin.
- Extend Shaver Lifespan: Regularly replacing the shaver head components, including the head holder, can stabilize the overall performance of the shaver and significantly extend its operational lifespan.
- Increased User Comfort: A properly functioning shaver head makes shaving smoother and helps prevent beard snagging or pulling. This contributes to a more pleasant shaving experience and improves overall user satisfaction.
- Ensures Efficient Shaving: The replacement of the head holder allows for quick and effective shaving, saving time and being particularly suitable for busy mornings.
- Prevent Odor Formation: Old shaver heads can develop unpleasant odors with prolonged contact due to accumulated debris. Replacing the shaver head components can eliminate these odors, keeping the shaver fresh and clean.
4. Technical Specifications
| Specification | Detail |
|---|---|
| Product Name | Replacement Head Holder Frame |
| Material | LDPE (Low-Density Polyethylene) |
| Item Type | Shaver Part |
| Color | Head holder frame (Black) |
| Package Dimensions (L x W x H) | 2.54 x 2.54 x 2.54 cm (approx. 1 x 1 x 1 inch) |
| Package Weight | 50 Grams |
| Net Item Weight | 50 Grams |
5. Installation Instructions
Follow these steps to replace the head holder frame on your Philips 5000 Series shaver. Ensure the shaver is turned off and unplugged before beginning the installation process.
- Prepare the Shaver: Gently open the shaver head unit. Depending on your model, this may involve pressing a release button or simply pulling the head upwards.
- Remove Old Components: Carefully remove the existing shaver blades and retaining rings. Then, detach the old head holder frame. Note the orientation of all parts as you remove them.
- Clean the Shaver: Use a small brush or rinse under running water (if your shaver is waterproof) to clean any hair clippings or debris from the shaver body and the area where the head holder frame sits. Allow to dry completely if wet.
- Install New Head Holder Frame: Place the new head holder frame into position on the shaver body. Ensure it clicks securely into place.
- Reinstall Blades and Retaining Rings: Place the shaver blades back into their respective slots within the new head holder frame. Secure them with the retaining rings. Ensure each ring is properly seated and locked.
- Close the Shaver Head: Close the shaver head unit until it securely locks into place.
- Test Functionality: Turn on the shaver briefly to ensure all components are properly installed and the shaver operates smoothly.

Image 5.1: Disassembled shaver head components, including the head holder frame, blades, and retaining rings.

Image 5.2: A close-up view of the replacement head holder frame, showing its pentagonal design and openings for the blades.
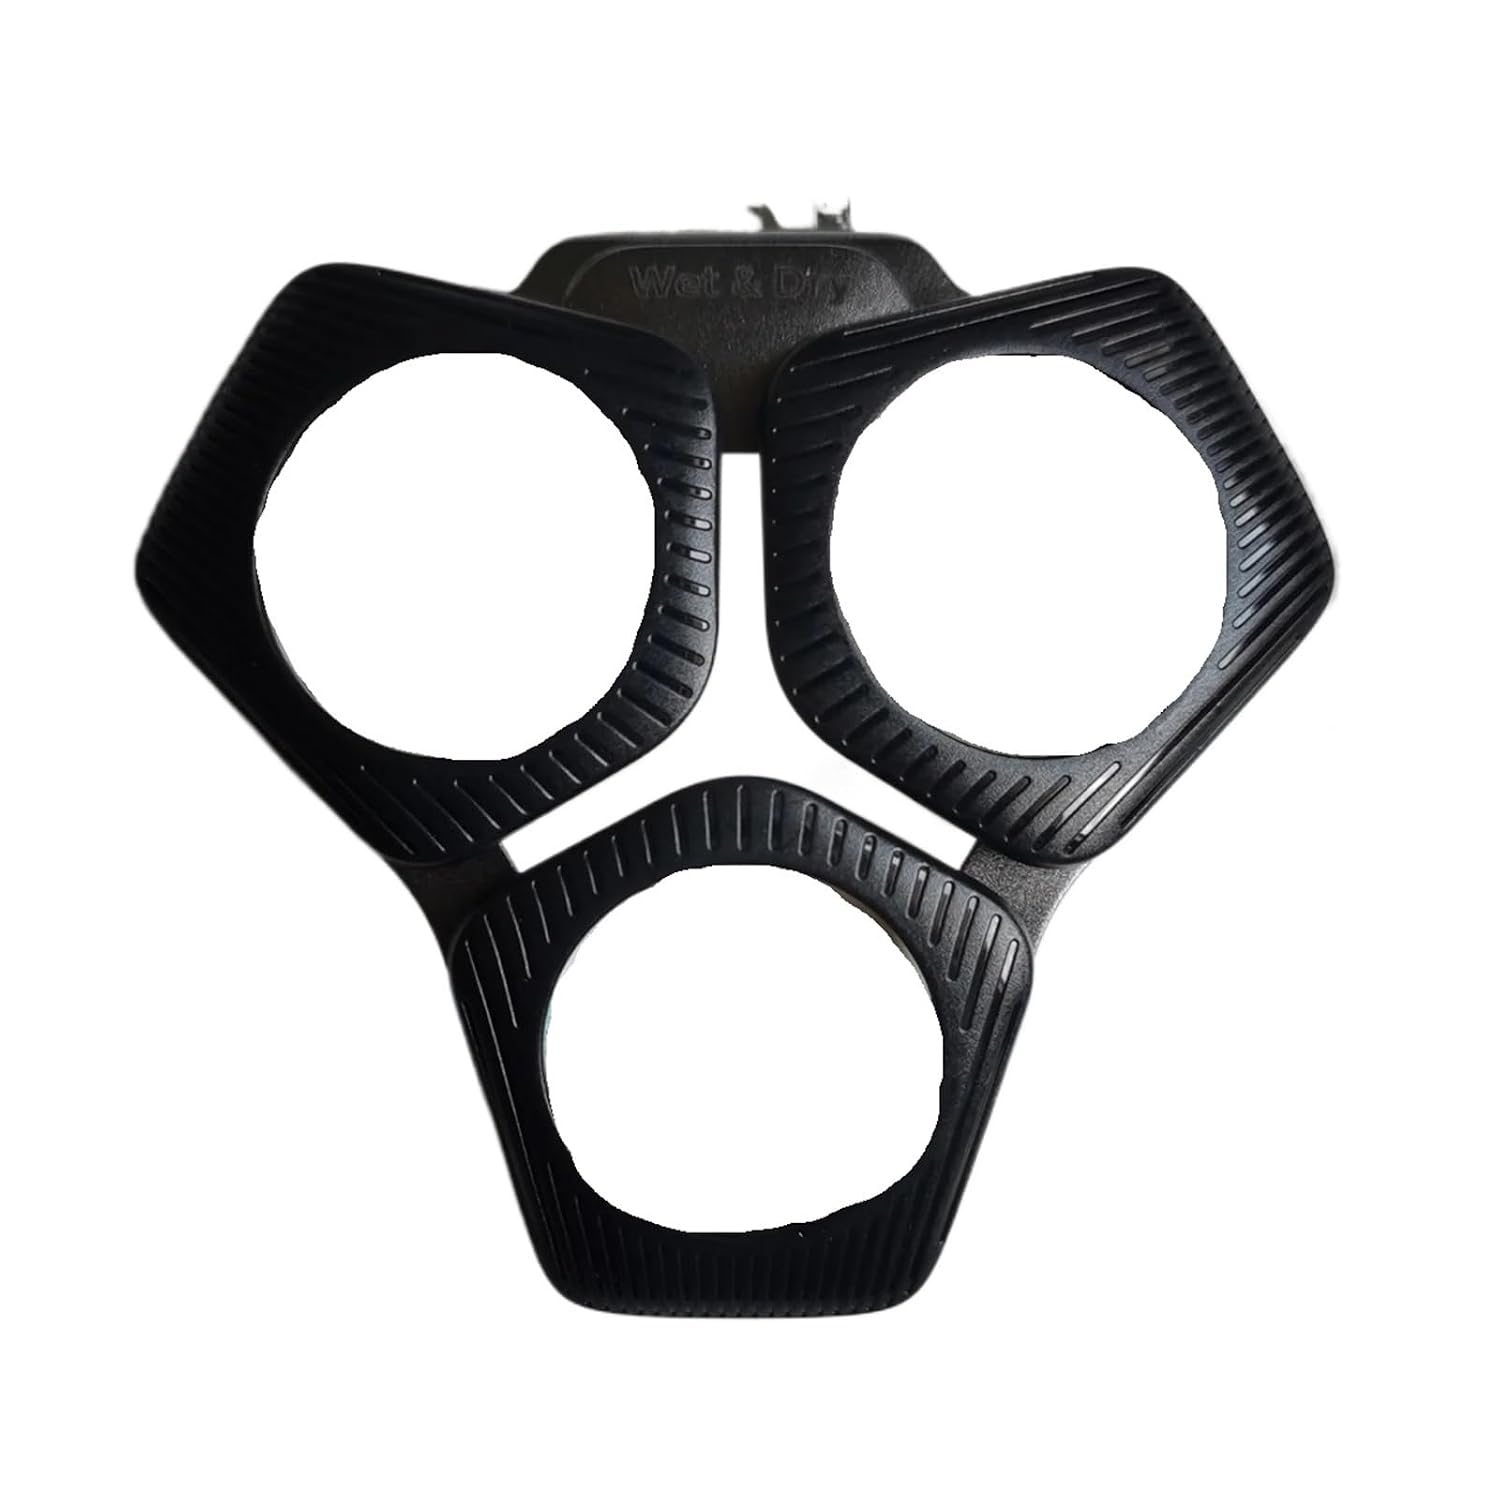
Image 5.3: Top view of the head holder frame, highlighting the textured surface and blade openings.

Image 5.4: Bottom view of the head holder frame, showing the internal mechanism and where the retaining rings connect.

Image 5.5: A single retaining ring, used to secure the shaver blade within the head holder frame.
6. Care and Maintenance
To ensure the longevity and optimal performance of your new head holder frame and shaver:
- Regular Cleaning: Clean the shaver head and its components after each use. Remove hair clippings and rinse under water if your shaver is waterproof.
- Air Dry: Always allow the head holder frame and blades to air dry completely before reassembling the shaver or storing it.
- Avoid Harsh Chemicals: Do not use abrasive cleaners or harsh chemicals on the head holder frame, as this can damage the material.
- Inspect Periodically: Periodically inspect the head holder frame for any signs of wear, cracks, or damage. Replace if necessary to maintain optimal shaving performance.
7. Troubleshooting
- Issue: The new head holder frame does not fit.
Solution: Double-check the compatibility list in Section 2 to ensure your shaver model is supported. Verify that you have the correct replacement part for your specific shaver series. If unsure, contact customer support with your shaver's model number.
- Issue: Shaving performance is poor after replacement.
Solution: Ensure the blades and retaining rings are correctly seated within the new head holder frame. Make sure the shaver head is securely closed. If the issue persists, the blades themselves might need replacement, or there could be an underlying issue with the shaver motor.
- Issue: Head holder feels loose after installation.
Solution: Re-open the shaver head and ensure the head holder frame is properly aligned and clicked into all attachment points. Apply gentle, even pressure to secure it. If it still feels loose, inspect for any damage to the shaver's attachment points or the frame itself.
8. Warranty and Customer Support
For any questions, concerns, or issues regarding this replacement head holder frame, please contact the seller or manufacturer directly through the platform where the product was purchased. Please refer to your purchase documentation for specific warranty details, if applicable. Your satisfaction is important to us, and we are here to assist you.
Ask a question about this manual
Ask about setup, troubleshooting, compatibility, parts, safety, or missing instructions. Manuals+ will review the question and use this page’s manual context to help answer it.