Patikuin LED Dresser with Charging Station
Patikuin 6-Drawer Dresser with LED Lights & Charging Station User Manual
Model: LED Dresser with Charging Station
1. Introduction
This user manual provides detailed instructions for the assembly, operation, and maintenance of your Patikuin 6-Drawer Dresser with LED Lights and Charging Station. Please read this manual thoroughly before assembly and use to ensure safe and proper functionality.
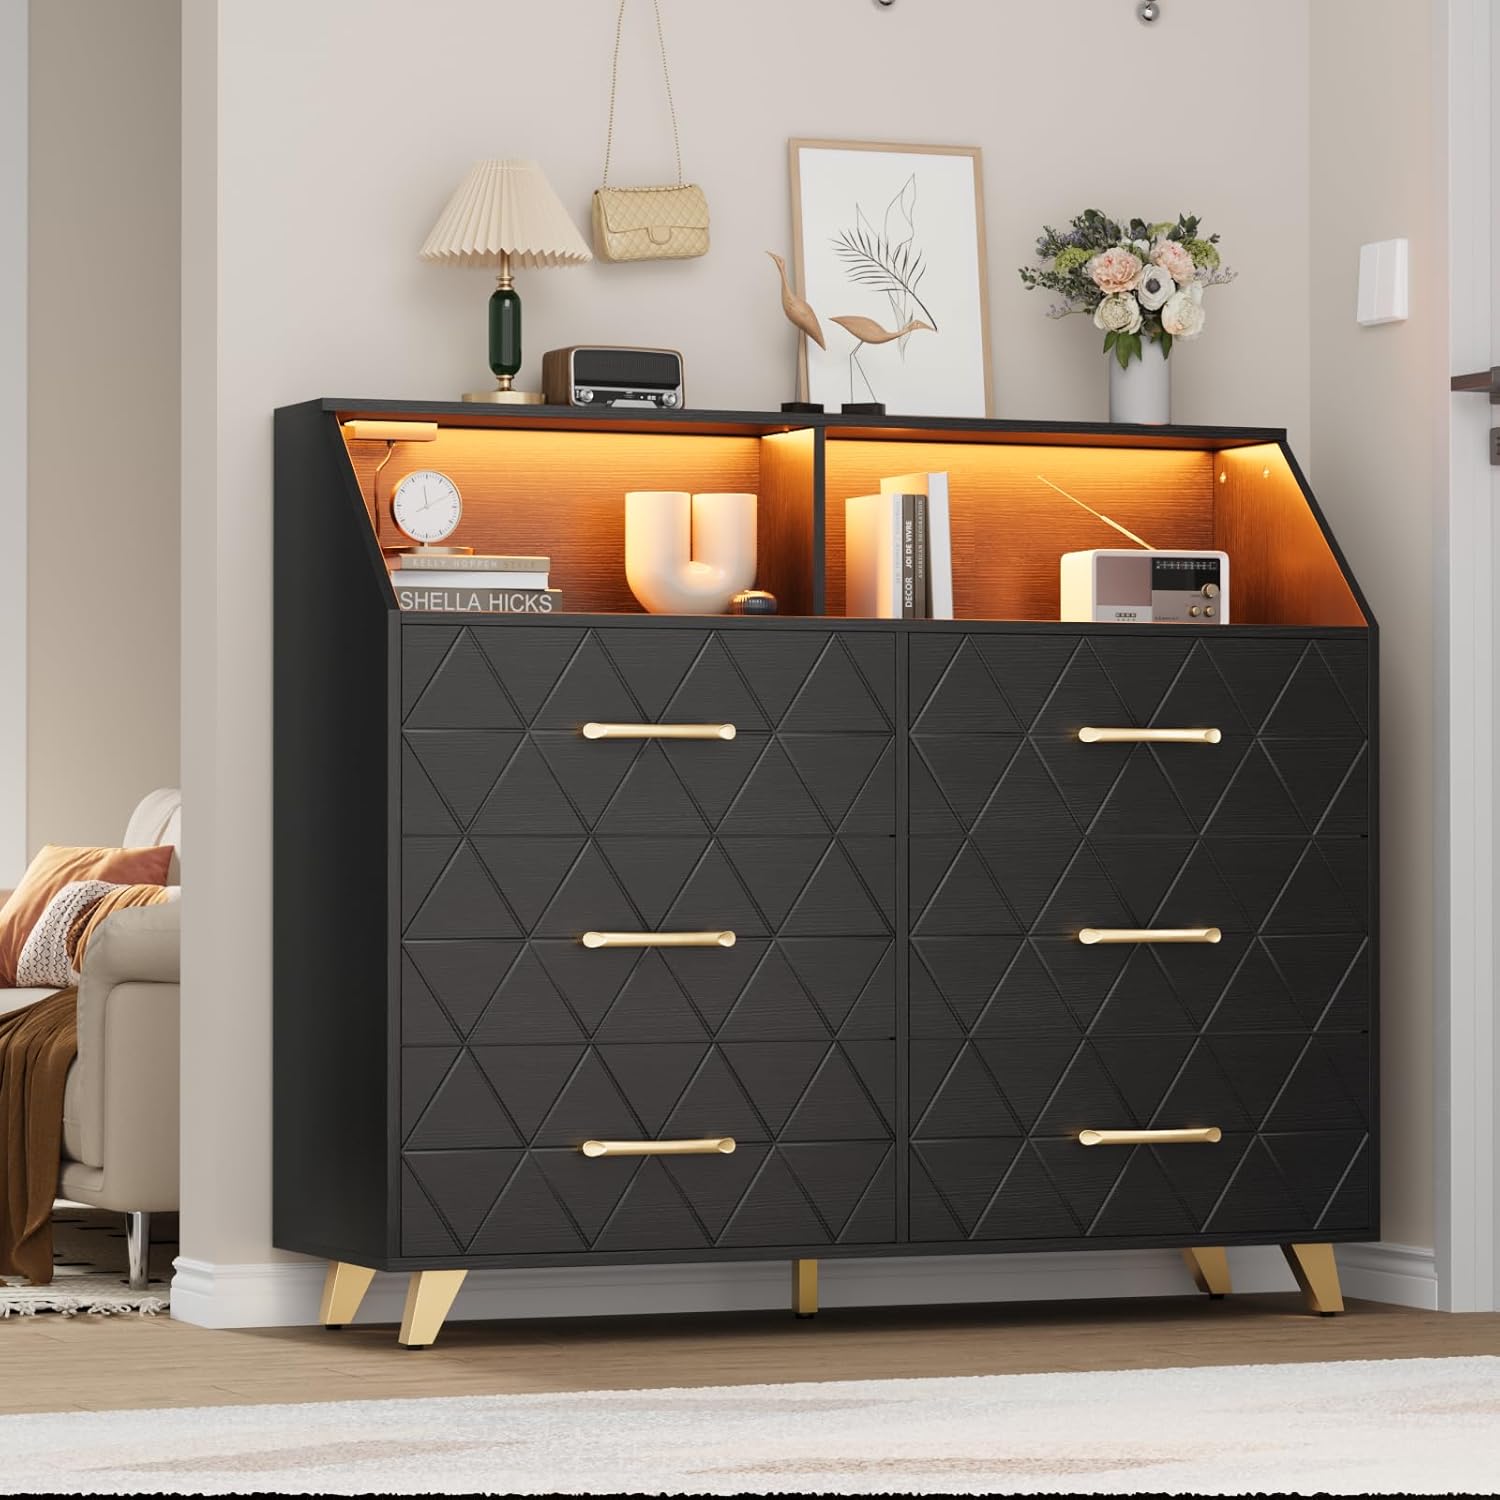
Figure 1: Patikuin 6-Drawer Dresser with LED Lights and Charging Station.
Product Features:
- Integrated Charging Station: Equipped with two AC outlets and two USB ports for convenient device charging.
- Adjustable LED Lighting: Features an LED light strip for customizable ambiance.
- Ample Storage: Six spacious drawers for organizing clothing and accessories.
- Durable Construction: Made from MDF wood and metal, designed for stability and longevity.
- Anti-Tip Device: Includes an anti-tip device for enhanced safety.
2. Safety Information
Please observe the following safety precautions to prevent injury or damage to the product.
- Anti-Tip Device: Always install the included anti-tip device to secure the dresser to a wall. This is crucial to prevent tipping and potential injury, especially in households with children.
- Weight Distribution: Distribute weight evenly across drawers and shelves. Avoid placing excessively heavy items on the top surface or in a single drawer.
- Electrical Safety: Ensure the charging station is connected to a properly grounded electrical outlet. Do not overload the outlets. Keep liquids away from the charging station.
- Assembly: Follow all assembly instructions carefully. Do not skip steps or use unauthorized parts.
- Placement: Place the dresser on a level surface to ensure stability.

Figure 2: Detail of the anti-tipping device and drawer construction.
3. Parts List
Before beginning assembly, verify that all components are present and undamaged. Refer to the separate assembly instruction sheet for a detailed list of parts and hardware. If any parts are missing or damaged, contact customer support immediately.
Typical components include:
- Dresser panels (top, bottom, sides, back)
- Drawer panels (front, back, sides, bottom)
- Drawer slides
- Hardware (screws, dowels, cam locks, etc.)
- Legs and mounting hardware
- Anti-tip kit
- LED light strip and power adapter
- Charging station unit
- Handles
4. Assembly Instructions
Assembly is required for this dresser. It is recommended that two adults assemble the unit. Please follow the step-by-step instructions provided in the separate assembly guide included in your package.
Key Assembly Steps:
- Unpack and Identify Parts: Lay out all parts on a clean, soft surface to prevent scratches. Compare with the parts list.
- Assemble the Main Frame: Connect the side panels, bottom panel, and back panel according to the diagrams.
- Install Drawer Slides: Attach the drawer slides to the dresser frame and drawer sides.
- Assemble Drawers: Construct each drawer box, ensuring the bottom panel is securely inserted.
- Install Legs and Handles: Attach the support legs to the base of the dresser and the handles to the drawer fronts.
- Install Charging Station: Secure the charging station into its designated slot on the top surface.
- Install LED Lights: Adhere the LED light strip to the designated area and connect its power adapter.
- Attach Anti-Tip Device: Securely fasten the anti-tip device to the back of the dresser and to a wall stud using appropriate hardware.
For detailed visual instructions, refer to the assembly manual provided in the packaging.

Figure 3: Product dimensions for planning placement.
5. Operating Instructions
5.1. Using the Charging Station
The dresser is equipped with a built-in charging station featuring two standard AC outlets and two USB ports.
- Connect the dresser's main power cord to a wall outlet.
- Plug your devices into the available AC outlets (125V/12A) or USB ports (5V/2A).
- Ensure devices are compatible with the provided power specifications.

Figure 4: Integrated charging station with AC and USB ports.
5.2. Controlling the LED Lights
The integrated LED light strip can be controlled via a dedicated app or a remote control (if included).
- Ensure the LED light strip is properly connected to its power adapter and the dresser's main power is on.
- App Control: Download the specified app (refer to the LED light instruction sheet for app name and QR code). Follow the app's instructions to pair with the LED lights.
- Remote Control: Use the provided remote control to turn the lights on/off, change colors, adjust brightness, and select lighting modes (e.g., music mode, timing function).

Figure 5: LED light control options (App and Remote).
6. Care and Maintenance
Proper care will help maintain the appearance and longevity of your dresser.
- Cleaning: Wipe surfaces with a soft, damp cloth. Avoid harsh chemicals, abrasive cleaners, or excessive moisture, which can damage the finish.
- Spills: Clean spills immediately with a dry cloth to prevent staining or water damage.
- Dusting: Regularly dust with a soft, dry cloth.
- Drawer Maintenance: Periodically check drawer slides for smooth operation. If needed, clean any debris and apply a silicone-based lubricant.
- Hardware: Periodically check and tighten all screws and fasteners to ensure stability.
- Sunlight Exposure: Avoid prolonged exposure to direct sunlight to prevent fading or discoloration.
7. Troubleshooting
If you encounter issues with your dresser, refer to the following common problems and solutions.
| Problem | Possible Cause | Solution |
|---|---|---|
| Dresser is wobbly or unstable. | Uneven floor; loose hardware; anti-tip device not installed. | Ensure dresser is on a level surface. Tighten all assembly hardware. Install the anti-tip device securely to a wall stud. |
| Drawers do not slide smoothly. | Misaligned drawer slides; debris in slides; incorrect assembly. | Check that drawer slides are correctly aligned and free of obstructions. Ensure drawers are assembled correctly. |
| Charging station is not working. | Not plugged into wall outlet; loose connection; power surge. | Verify the dresser's main power cord is securely plugged into a functional wall outlet. Check connections to the charging unit. Test with a different device. |
| LED lights are not turning on or changing colors. | LED power adapter not connected; remote battery dead; app not paired; faulty strip. | Ensure the LED power adapter is connected and receiving power. Replace remote battery. Re-pair the app with the LED lights. Check for any visible damage to the LED strip. |
| Missing parts during assembly. | Packaging error. | Carefully check all packaging materials. If parts are genuinely missing, contact Patikuin customer support with your purchase details. |
8. Product Specifications
| Feature | Detail |
|---|---|
| Brand | Patikuin |
| Model Name | LED Dresser with Charging Station |
| Product Dimensions (D x W x H) | 15.75"D x 47.24"W x 37.32"H |
| Color | Black |
| Material | MDF Wood, Metal |
| Item Weight | 88.2 Pounds |
| Number of Drawers | 6 |
| Drawer Type | Under Mounted Slide |
| Charging Station | 2 AC Outlets (125V/12A), 2 USB Ports (5V/2A) |
| LED Lights | App and Remote Control, Multiple Colors and Modes |
| Assembly Required | Yes |
| UPC | 199108475565 |
9. Warranty and Customer Support
For information regarding product warranty, please refer to the warranty card included with your purchase or contact Patikuin customer support directly.
If you have any questions, require assistance with assembly, or need to report missing/damaged parts, please contact Patikuin customer support.
- Manufacturer: Patikuin
- Online Store: Visit the Patikuin Store on Amazon
- Contact: Refer to your purchase documentation for specific contact methods (email, phone).
Please have your model number (LED Dresser with Charging Station) and purchase date available when contacting support.
Ask a question about this manual
Ask about setup, troubleshooting, compatibility, parts, safety, or missing instructions. Manuals+ will review the question and use this page’s manual context to help answer it.