AZZUNO AZZUNO MMA-90F Welder & AZNH-1097 Helmet
AZZUNO Handheld Stick Welding Machine & Welding Helmet User Manual
Model: AZZUNO MMA-90F Welder & AZNH-1097 Helmet
1. Introduction
Thank you for choosing the AZZUNO Handheld Stick Welding Machine and Auto-Darkening Welding Helmet. This comprehensive system is designed for portability and efficiency, suitable for various welding tasks. This manual provides essential information for the safe and effective operation, setup, and maintenance of your new welding equipment. Please read it thoroughly before use.
2. Safety Information
Welding can be dangerous. Always follow safety precautions to prevent injury or damage. This section outlines critical safety guidelines.
General Safety Precautions:
- Always wear appropriate personal protective equipment (PPE), including the welding helmet, welding gloves, and protective clothing.
- Ensure adequate ventilation in the work area to avoid inhaling welding fumes.
- Protect bystanders from arc rays and hot metal. Use welding screens or barriers.
- Never weld near flammable materials or liquids.
- Ensure all electrical connections are secure and properly grounded.
- Do not touch live electrical parts.
- Disconnect power before performing any maintenance or adjustments.
Welding Helmet Safety:
- Always inspect the helmet and lens for damage before each use. Replace damaged parts immediately.
- Ensure the auto-darkening function is working correctly by performing a test before welding.
- Do not use the helmet if the lens is cracked or scratched.
3. Package Contents
Verify that all items listed below are included in your package. If any items are missing or damaged, please contact AZZUNO customer support.

This image displays the complete package contents, including the handheld welding machine, auto-darkening welding helmet, welding rods, ground clamp, welding gloves, welding brush, and a storage toolbox.
Welding Machine Package:
- 1 x Handheld Arc Welder Machine
- 1 x Ground Clamp
- 1 x Welding Gloves
- 1 x Welding Brush
- 5 x Welding Rods
- 1 x Storage Bag
- 1 x Toolbox

This image shows the auto-darkening welding helmet along with its included accessories: replacement inner and outer lenses, a replacement lithium battery, and the helmet's user manual.
Welding Helmet Package:
- 1 x Folding Welding Helmet (battery included)
- 1 x Replacement Lithium Battery
- 1 x Outer Lens
- 3 x Inner Lenses
- 1 x User Manual (for helmet)
4. Product Overview
4.1 Handheld Stick Welding Machine

This image highlights the compact and portable design of the AZZUNO handheld welder, weighing only 3.3 lbs and measuring approximately 9.8 inches by 9.4 inches, making it easy for one-hand operation and transport.
The AZZUNO handheld arc welding machine is designed for portability and ease of use. Weighing just 3.3 lbs, its compact size (approx. 9.8" x 9.4") makes it ideal for tasks at elevated locations and home welding projects.

This image illustrates the digital display and single knob for current adjustment on the handheld welder. It also shows the copper clamp and indicates compatibility with E6013 and E7018 electrode rods ranging from 1/16" to 1/8" in diameter.
It features a clear digital screen and a single knob for stepless current adjustment from 0-90A. It is compatible with E6013 and E7018 electrodes, accommodating diameters from 1/16" to 1/8".

This image highlights the powerful cooling fan integrated into the welding machine, essential for efficient operation and heat dissipation. It also reiterates the current adjustment feature with the digital display.
The machine incorporates a powerful cooling fan to ensure efficient and stable operation during use.
4.2 Auto-Darkening Welding Helmet

This image details the key features of the AZZUNO auto-darkening welding helmet, including its 3.94" x 3.82" large viewing area, 1/1/1/1 true color lens, 1/10000s auto-darkening speed, and adjustable dark shade range (5-9/9-13/GRIND(4)).
The AZZUNO welding helmet features an expansive 3.94" x 3.82" true color lens, providing an ultra-clear viewing experience with 1/1/1/1 optical clarity. This large lens ensures a wider field of vision and accurate color representation.

This image provides a detailed view of the welding helmet's lens specifications, showing the placement of arc sensors, the UV/IR filter, a test button, and a low battery reminder. It also labels the control knobs for adjusting shade, sensitivity, mode, and delay settings.
Equipped with an innovative auto-darkening system supported by 4 premium arc sensors, the helmet enables quick transitions from light to dark (1/10000s response time) for seamless eye protection. It includes controls for shade (5-9/9-13/GRIND(4)), sensitivity, mode, and delay.
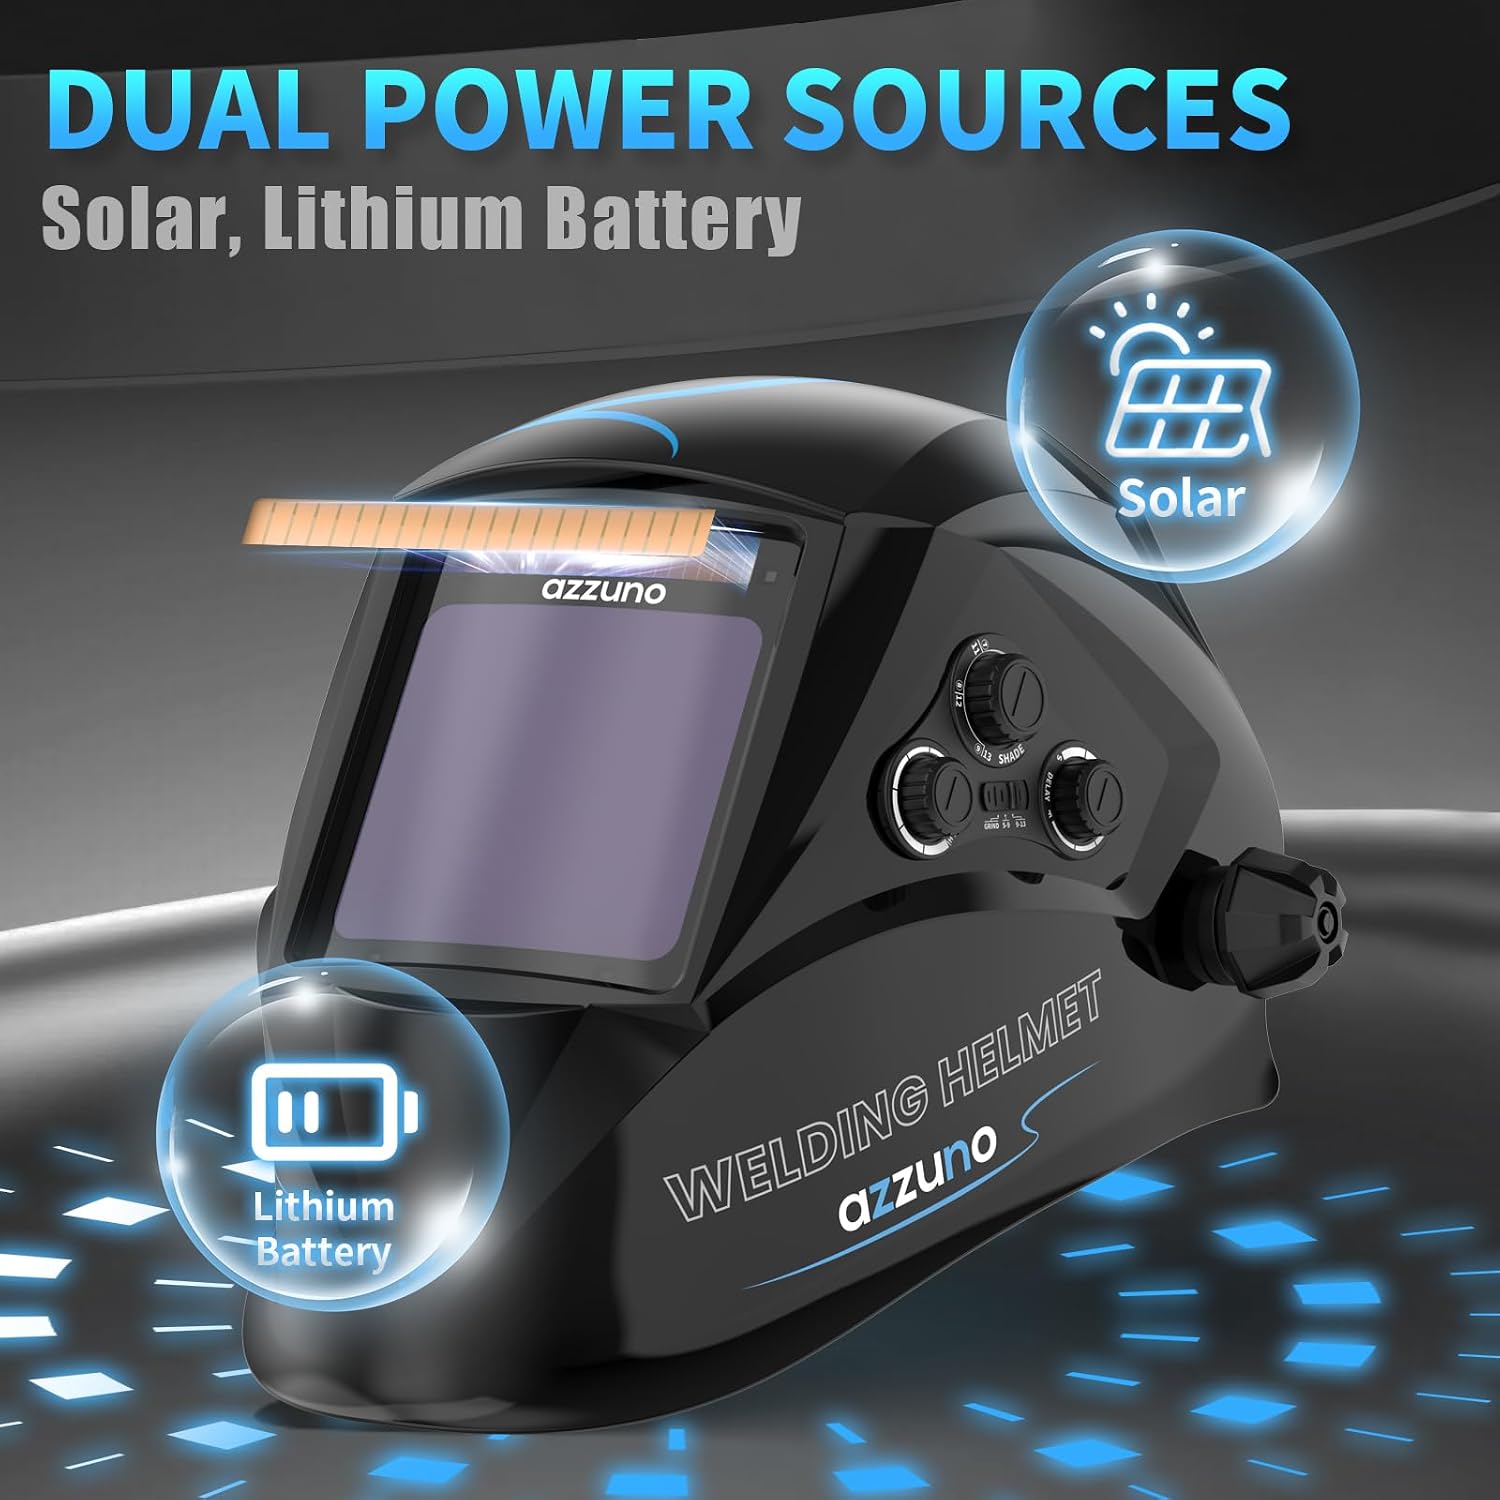
This image illustrates the dual power source capability of the welding helmet, utilizing both solar power and a replaceable lithium battery for extended operation and reliability.
The helmet is powered by dual sources: solar energy and a replaceable lithium battery, ensuring reliable operation.
5. Setup
5.1 Welding Machine Setup
- Unpack: Carefully remove all components from the packaging.
- Connect Ground Clamp: Attach the ground clamp cable to the appropriate terminal on the welding machine. Ensure a secure connection.
- Power Connection: Connect the welding machine to a suitable 110V power outlet. Ensure the power source matches the machine's requirements.
- Electrode Insertion: Insert the desired welding electrode (e.g., E6013 or E7018) into the electrode holder. Ensure it is firmly seated.
5.2 Welding Helmet Setup
- Battery Check: The helmet comes with a pre-installed battery. Check the low battery indicator. If needed, replace the lithium battery (CR2450) as per the helmet's user manual.
- Lens Protection Film: Remove any protective films from both sides of the inner and outer lenses.
- Fit Adjustment: Adjust the headgear for a comfortable and secure fit. Ensure the helmet sits properly on your head and can be flipped up and down smoothly.
- Function Test: Press the "TEST" button on the helmet to verify the auto-darkening function. The lens should momentarily darken and then return to clear. If it does not, check the battery and ensure the sensors are clean.
6. Operating Instructions
6.1 Welding Machine Operation
- Power On: Turn on the welding machine using the power switch. The digital display will illuminate.
- Current Adjustment: Use the single knob to adjust the welding current (0-90A) according to the electrode type and material thickness. Refer to electrode manufacturer guidelines for recommended current settings.
- Grounding: Securely attach the ground clamp to the workpiece or a clean, bare metal surface connected to the workpiece. A good ground connection is crucial for stable arc.
- Welding: With the welding helmet on and properly adjusted, strike an arc by touching the electrode to the workpiece and quickly lifting it slightly. Maintain a consistent arc length and travel speed for optimal results.
- Cooling: The internal cooling fan will operate during use to prevent overheating. Allow the machine to cool down after extended periods of welding.
6.2 Welding Helmet Operation
- Shade Adjustment: Adjust the shade level knob (5-9/9-13) based on the welding process and current. For grinding, select the GRIND(4) mode.
- Sensitivity Control: Adjust the sensitivity knob to control how easily the helmet detects the welding arc. Higher sensitivity is suitable for low-amp welding.
- Delay Control: Adjust the delay knob to set the time the lens remains dark after the arc stops. A longer delay is useful for tack welding or when the workpiece remains bright.
- Wearing the Helmet: Always wear the helmet in the down position when welding. The auto-darkening lens will automatically darken upon arc ignition.
7. Maintenance
7.1 Welding Machine Maintenance
- Cleaning: Regularly clean the exterior of the machine with a dry, soft cloth. Ensure ventilation openings are free from dust and debris.
- Cable Inspection: Periodically inspect all cables (power, ground, electrode holder) for cuts, fraying, or damage. Replace damaged cables immediately.
- Storage: Store the welding machine in a dry, clean environment, away from moisture and extreme temperatures. Use the provided storage bag and toolbox.
7.2 Welding Helmet Maintenance
- Lens Cleaning: Clean the outer and inner protective lenses regularly with a soft, lint-free cloth. Do not use abrasive cleaners or solvents.
- Lens Replacement: Replace scratched, pitted, or damaged outer and inner protective lenses promptly. Use only AZZUNO genuine replacement parts.
- Battery Replacement: Replace the lithium battery (CR2450) when the low battery indicator illuminates or if the auto-darkening function becomes unreliable.
- Sensor Cleaning: Keep the arc sensors on the front of the helmet clean and unobstructed for proper auto-darkening function.
- Storage: Store the helmet in a clean, dry place, away from direct sunlight and extreme temperatures.
8. Troubleshooting
This section addresses common issues you might encounter with your AZZUNO welding equipment.
| Problem | Possible Cause | Solution |
|---|---|---|
| Welding machine does not power on. | No power supply; loose connection; internal fault. | Check power outlet and cable connections. Ensure power switch is ON. If problem persists, contact support. |
| No arc or weak arc. | Poor ground connection; incorrect current setting; damp electrode; faulty electrode holder. | Ensure ground clamp is on clean metal. Adjust current. Use dry electrodes. Check electrode holder for damage. |
| Welding helmet does not darken. | Low battery; dirty/obstructed sensors; incorrect sensitivity setting; damaged lens. | Replace battery. Clean sensors. Adjust sensitivity. Perform test. Replace lens if damaged. |
| Helmet flickers or darkens intermittently. | Low battery; sensors obstructed; interference from other light sources. | Replace battery. Ensure sensors are clean and clear. Adjust sensitivity. Work in an area free from strong, flickering light. |
9. Specifications
9.1 Handheld Stick Welding Machine
- Model: MMA-90F
- Input Voltage: 110V
- Current Adjustment Range: 0-90A
- Compatible Electrodes: E6013, E7018
- Electrode Diameter: 1/16" - 1/8"
- Weight: Approximately 3.3 lbs
- Dimensions: Approximately 9.8" x 9.4"
- Technology: IGBT Inverter
9.2 Auto-Darkening Welding Helmet
- Model: AZNH-1097
- Optical Clarity: 1/1/1/1
- Viewing Area: 3.94" x 3.82"
- Arc Sensors: 4
- Light State: DIN 4
- Dark State: Variable 5-9 / 9-13
- UV/IR Protection: Up to DIN 16 at all times
- Switching Time: 1/10000s (Light to Dark)
- Delay Time: Adjustable (Short to Long)
- Sensitivity: Adjustable
- Power Supply: Solar Cell & Replaceable Lithium Battery (CR2450)
- Low Battery Indicator: Yes
- Grind Mode: Yes (DIN 4)
10. Warranty and Support
AZZUNO products are designed for durability and performance. For warranty information and customer support, please refer to the warranty card included in your package or visit the official AZZUNO website. Please retain your proof of purchase for warranty claims.
For technical assistance, troubleshooting beyond this manual, or to order replacement parts, please contact AZZUNO customer service through the contact information provided on our website or your purchase platform.