1. Product Overview
The HQcontL 7-inch Large Font Rain Gauge is designed for accurate measurement of rainfall in outdoor environments. It features a durable, thickened plastic tube with large, easy-to-read numbers and a stainless steel mounting rack for secure installation. The patented design ensures precise rainfall collection, making it suitable for gardens, yards, and lawns.
2. Package Contents
- 1 x 7-inch Rain Gauge Tube (Thickened Plastic)
- 1 x Stainless Steel Mounting Rack Holder
- 3 x Mounting Screws with Wall Plugs
- 1 x Cleaning Brush

Image 2.1: All components included in the package: rain gauge tube, stainless steel rack, mounting screws, and cleaning brush.
3. Setup and Installation
- Choose a Location: Select an open area in your yard, garden, or fence line that is free from overhead obstructions (trees, eaves, buildings) that could block rainfall or cause runoff into the gauge. The location should allow for accurate collection of precipitation.
- Mount the Rack: Position the stainless steel mounting rack at the desired height. Use the provided screws and wall plugs to securely attach the rack to a fence post, deck railing, or other stable surface. Ensure the rack is level to prevent inaccurate readings.
- Insert the Rain Gauge Tube: Carefully slide the thickened plastic rain gauge tube into the ring of the mounted stainless steel rack. The tube should sit firmly in place.
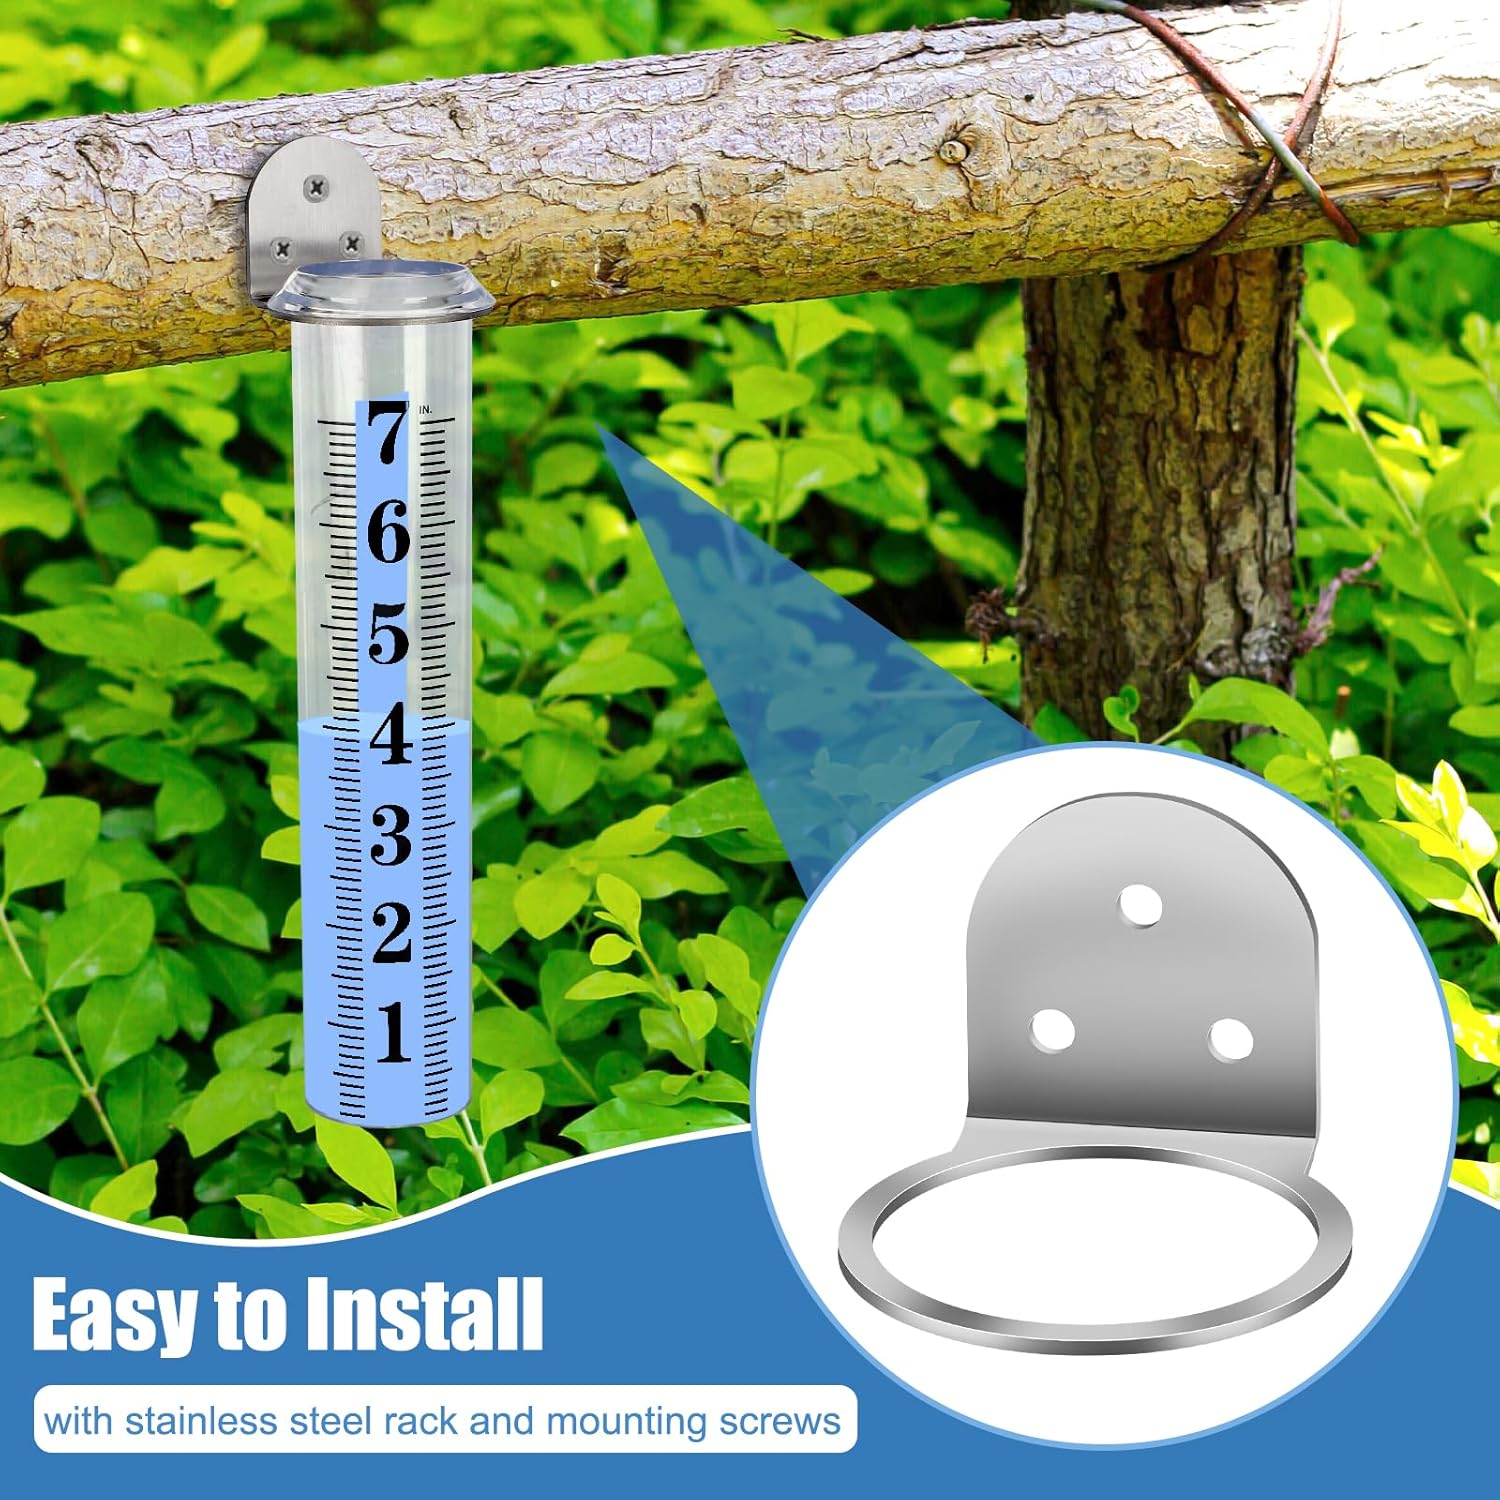
Image 3.1: The rain gauge mounted on a wooden fence using the stainless steel rack.
4. Operating Instructions
- Automatic Collection: Once installed, the rain gauge will automatically collect rainfall.
- Reading Rainfall: To read the accumulated rainfall, observe the water level in the tube. The gauge is marked in 0.1-inch increments, with large, clear numbers indicating full inches up to 7 inches. Read the measurement at the bottom of the meniscus (the curved surface of the water).
- Emptying the Gauge: After taking a reading, gently lift the plastic tube out of the stainless steel rack and pour out the collected water. Reinsert the tube into the rack to prepare for the next rainfall measurement.
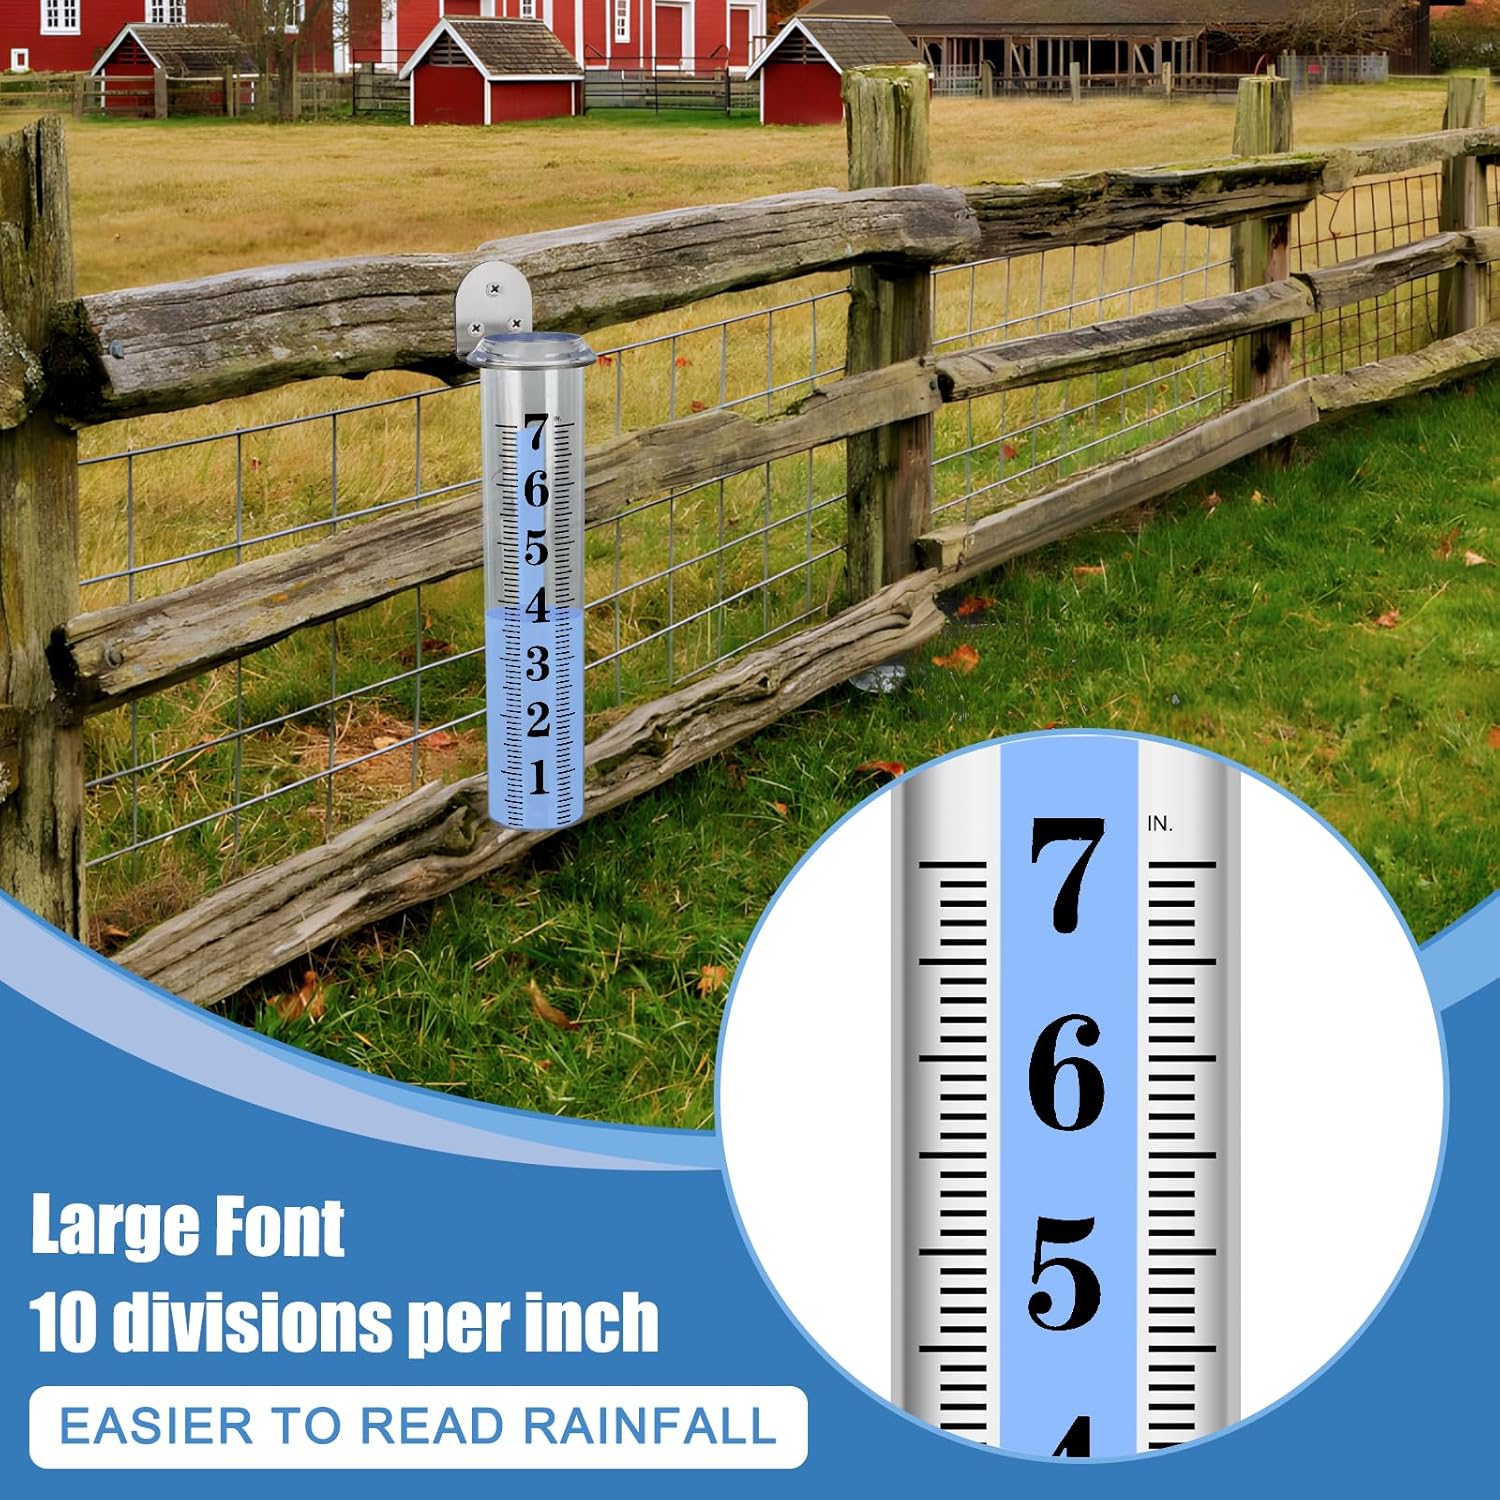
Image 4.1: Close-up view of the rain gauge showing large font and 0.1-inch divisions for easy reading.
5. Maintenance
- Cleaning: Periodically clean the inside of the rain gauge tube to remove dirt, debris, or algae buildup that could affect accuracy or readability. Use the provided cleaning brush with mild soap and water. Rinse thoroughly.
- Winter Care: While the thickened plastic is designed to resist freezing and cracking, in areas with prolonged extreme freezing temperatures, it is recommended to bring the plastic tube indoors during winter months to extend its lifespan.
- Inspection: Regularly check the mounting rack for stability and ensure the gauge tube is securely seated.
6. Troubleshooting
- Inaccurate Readings:
- Ensure the rain gauge is installed in an open area, away from any obstructions that might divert or block rainfall.
- Verify the gauge is level. An unlevel gauge can lead to incorrect measurements.
- Confirm the gauge tube is clean and free of debris.
- This rain gauge features an upgraded, patented tube mouth design that matches the body diameter to prevent over-collection and ensure accuracy, unlike some older designs.
- Difficulty Reading:
- Ensure the gauge is clean.
- The large font and 0.1-inch increments are designed for clear visibility. If still difficult, try adjusting your viewing angle or proximity.

Image 6.1: Comparison illustrating the accurate design of this rain gauge's tube mouth versus less accurate designs.
7. Specifications
| Product Dimensions | 10 x 2.5 x 0.7 inches (approximate) |
| Item Weight | 5.6 ounces |
| Capacity | 7 inches |
| Measurement Increments | 0.1 inches |
| Materials | Thickened Transparent Plastic (tube), Stainless Steel (rack) |
| Model Number | Rain Gauge Outdoor |
| Manufacturer | HQcontL |

Image 7.1: Diagram illustrating the dimensions of the rain gauge and its components.
8. Warranty and Support
For any questions, concerns, or support regarding your HQcontL Rain Gauge, please contact the manufacturer directly through your purchase platform or the contact information provided with your product. Please retain your proof of purchase for warranty claims, if applicable.