1. Introduction
This manual provides detailed instructions for the installation and proper use of the Generic FD-SS-04 16-Pin Android Wiring Harness and Canbus Box. This product is designed to facilitate the integration of an aftermarket Android car radio into specific Ford Raptor F-150 vehicles, ensuring proper communication between the vehicle's systems and the new head unit.
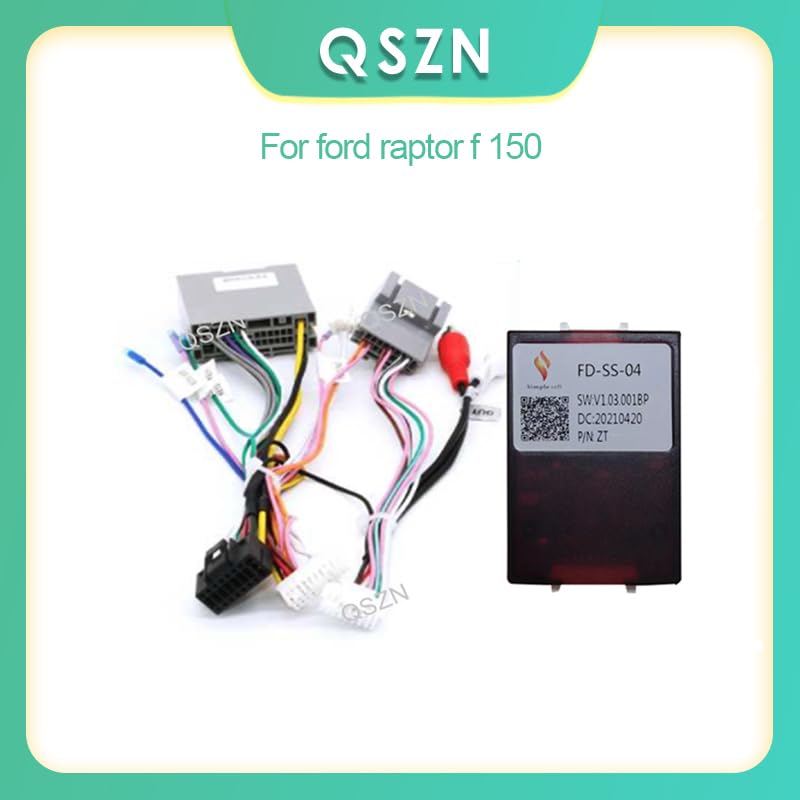
Figure 1: Overview of the FD-SS-04 wiring harness and Canbus box, indicating compatibility with Ford Raptor F-150.
2. Safety Information
Please read and understand all safety instructions before beginning installation. Failure to do so may result in damage to the product, vehicle, or personal injury.
- Always disconnect the vehicle's negative battery terminal before performing any electrical work.
- Ensure all connections are secure and properly insulated to prevent short circuits.
- Consult a professional automotive technician if you are unsure about any part of the installation process.
- Do not modify the wiring harness or Canbus box. Unauthorized modifications can void the warranty and create safety hazards.
3. Package Contents
Verify that all components are present before proceeding with installation:
- 1 x 16-Pin Android Wiring Harness
- 1 x FD-SS-04 Canbus Box
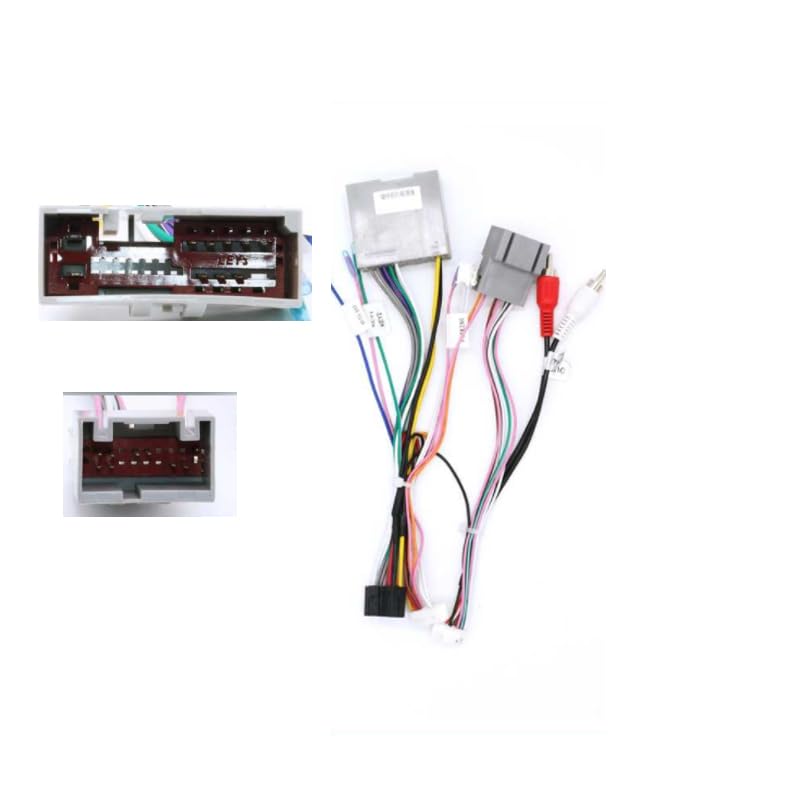
Figure 2: The complete Generic FD-SS-04 16-Pin Android Wiring Harness and Canbus Box components.
4. Setup and Installation
This section outlines the general steps for installing the wiring harness and Canbus box. Specific vehicle disassembly instructions are beyond the scope of this manual; refer to your vehicle's service manual for guidance on removing the factory radio.
4.1 Canbus Box Connection
The FD-SS-04 Canbus box is essential for translating vehicle data (such as steering wheel controls, door status, and ignition signals) for your aftermarket Android radio.
- Locate the dedicated connector on the wiring harness designed for the Canbus box.
- Align the pins and carefully insert the Canbus box connector into the harness connector until it clicks securely into place.
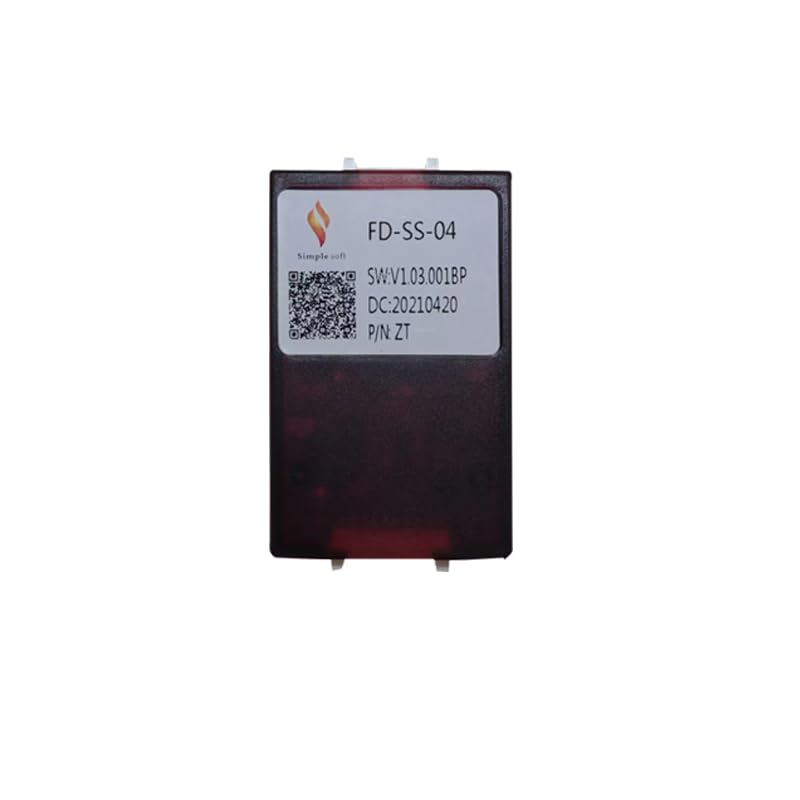
Figure 3: Front view of the FD-SS-04 Canbus box, showing its identification label.
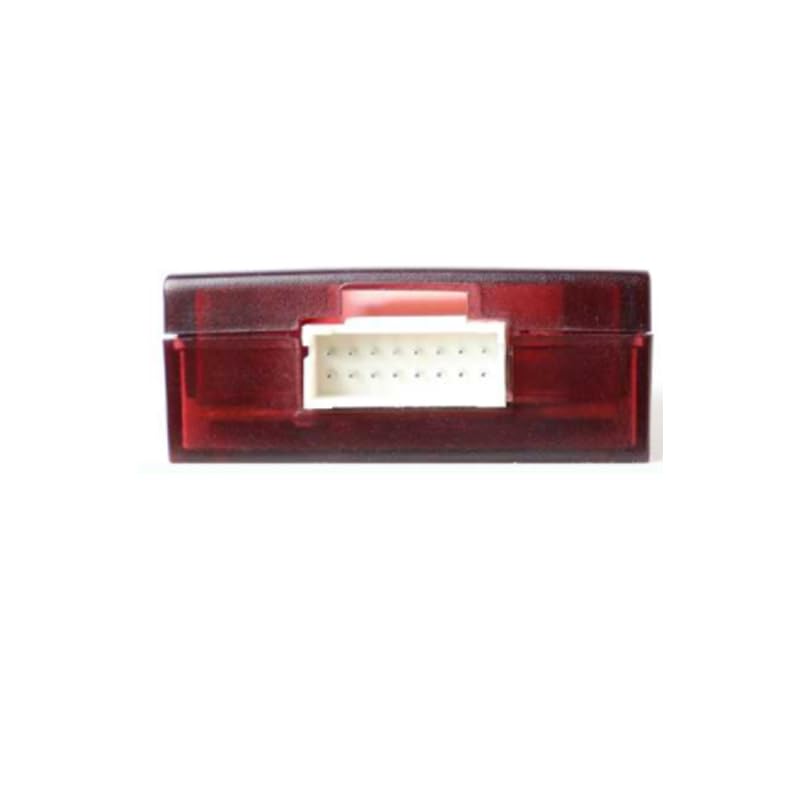
Figure 4: Close-up view of the Canbus box connector for proper alignment.
4.2 Vehicle and Radio Connections
- After removing the factory radio, connect the vehicle-specific end of the 16-pin wiring harness to the corresponding factory harness in your Ford Raptor F-150.
- Connect the 16-pin connector from the wiring harness to the back of your aftermarket Android car radio. Ensure all pins align correctly.
- Connect any additional wires (e.g., RCA outputs for amplifiers, camera inputs) as required by your specific Android radio and vehicle setup.
5. Wiring Diagram
Refer to the following diagram for detailed pin assignments and functions of the 16-pin connector. This diagram is crucial for understanding the signal flow and for troubleshooting any connection issues.
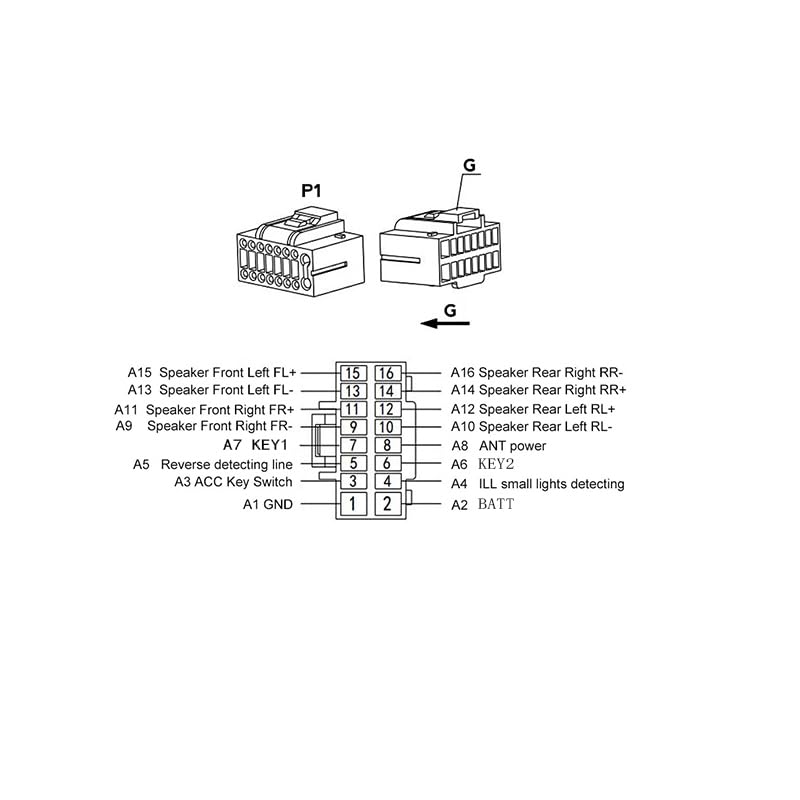
Figure 5: Detailed wiring diagram for the 16-pin harness.
Pin Assignments:
- A1 GND: Ground
- A2 BATT: Battery (Constant Power)
- A3 ACC Key Switch: Accessory Power (Switched)
- A4 ILL small lights detecting: Illumination Signal
- A5 Reverse detecting line: Reverse Gear Signal
- A6 KEY2: Steering Wheel Control Input 2
- A7 KEY1: Steering Wheel Control Input 1
- A8 ANT power: Antenna Power Output
- A9 Speaker Front Right FR-: Front Right Speaker Negative
- A10 Speaker Rear Left RL-: Rear Left Speaker Negative
- A11 Speaker Front Right FR+: Front Right Speaker Positive
- A12 Speaker Rear Left RL+: Rear Left Speaker Positive
- A13 Speaker Front Left FL-: Front Left Speaker Negative
- A14 Speaker Rear Right RR+: Rear Right Speaker Positive
- A15 Speaker Front Left FL+: Front Left Speaker Positive
- A16 Speaker Rear Right RR-: Rear Right Speaker Negative
6. Operating Instructions
Once the wiring harness and Canbus box are correctly installed, the Android car radio should power on and function. The Canbus box automatically translates vehicle data, enabling features such as:
- Steering Wheel Controls: Volume, track skip, mode, and other functions from your steering wheel will be transmitted to the Android radio.
- Ignition (ACC) Signal: The radio will turn on and off with the vehicle's ignition.
- Illumination Signal: The radio's backlight may dim or brighten in sync with your vehicle's headlights.
- Reverse Gear Detection: If connected, this signal can automatically switch the radio to a rearview camera display when the vehicle is in reverse.
Specific operation of your Android car radio will depend on its manufacturer and software. Refer to your radio's user manual for detailed operating instructions.
7. Troubleshooting
If you encounter issues after installation, consider the following troubleshooting steps:
- No Power to Radio: Check the main power (BATT) and accessory (ACC) connections. Ensure the vehicle's battery is connected and charged. Verify fuses.
- No Sound: Confirm all speaker wires are correctly connected to the radio and are not shorted. Check the radio's volume and mute settings.
- Steering Wheel Controls Not Working: Ensure the Canbus box is securely connected. Some Android radios require a software setting or learning function to recognize steering wheel controls. Refer to your radio's manual.
- Intermittent Functionality: Recheck all connections for looseness or poor contact. Ensure no wires are pinched or damaged.
- Incorrect Vehicle Data: If the radio displays incorrect information (e.g., door open status), verify the Canbus box is the correct model for your vehicle and that it is properly connected.
If problems persist, it is recommended to consult a qualified automotive audio installer.
8. Specifications
| Feature | Specification |
|---|---|
| Model Name | FD-SS-04 |
| Interface | Micro SD/TF (for potential firmware updates, not for user access) |
| Material Type | Plastic |
| Item Weight | 0.2 kg |
| Out Power | 5W (referring to Canbus box power consumption) |
| Voltage | 5V (operating voltage for Canbus box) |
| Compatibility | Ford Raptor F-150 |
9. Warranty and Support
Specific warranty information for this product is not provided in the available documentation. For warranty claims or technical support, please contact the seller or manufacturer directly through your purchase platform. Keep your proof of purchase for any warranty-related inquiries.