1. Introduction
This manual provides instructions for the installation and basic operation of the QSZN RP5-RN-101 Canbus Box Adaptor and Wiring Harness. This product is designed to facilitate the integration of an aftermarket Android car radio into specific Renault and Dacia vehicles, enabling communication between the vehicle's CAN bus system and the new head unit.
The Canbus box translates vehicle signals such as ignition, illumination, reverse gear, and steering wheel control commands, ensuring proper functionality of the Android car radio within the vehicle's electrical system.
2. Product Compatibility
The RP5-RN-101 Canbus Box Adaptor is compatible with the following vehicle models:
- Renault Clio: 2013-2015
- Renault Sandero: 2017 onwards, and 2015-2018 models
- Renault Duster: 2018, 2014-2017, and 2015 onwards models
- Renault Captur: 2018
- Renault Logan: 2015-2018
- Dacia vehicles with CAN BUS from 2015 onwards
Ensure your vehicle's make, model, and year match the compatibility list before proceeding with installation.
3. Components Overview
The package includes the following main components:
- RP5-RN-101 Canbus Box: The central module for signal translation.
- Wiring Harness: A set of cables with connectors designed to interface between the vehicle's wiring, the Canbus box, and the aftermarket Android car radio.
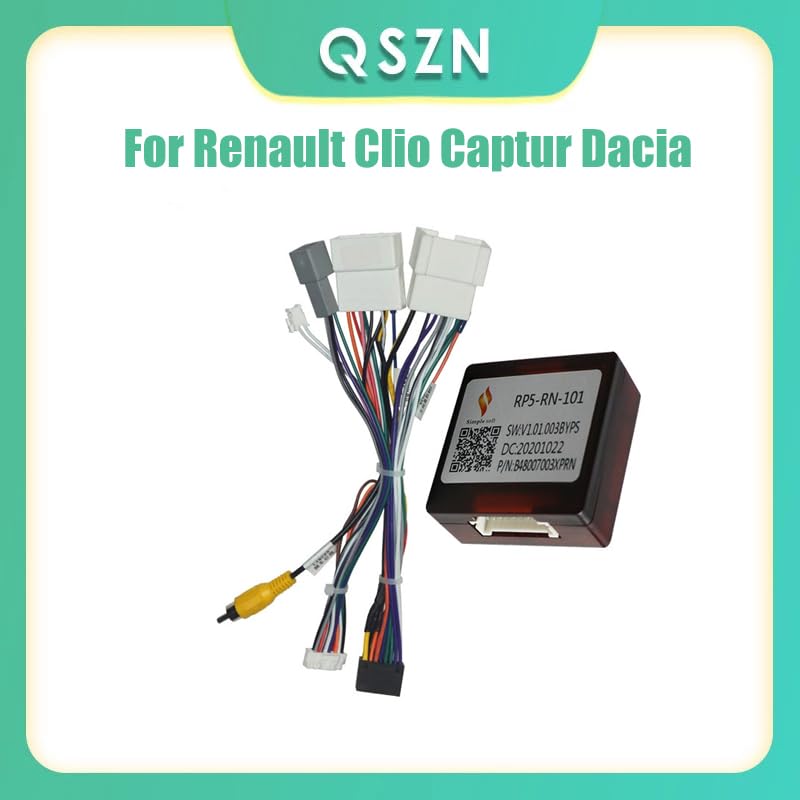
Figure 1: Overview of the QSZN RP5-RN-101 Canbus Box and its accompanying wiring harness. This image displays the main components included in the package, showing the compact Canbus module and the multi-pin wiring loom.
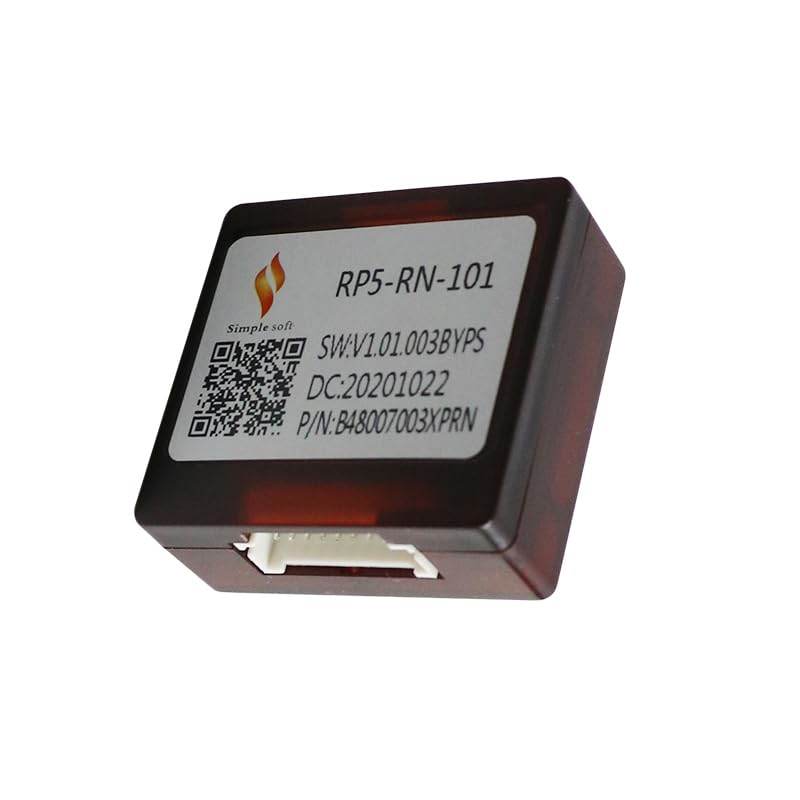
Figure 2: A detailed view of the RP5-RN-101 Canbus Box. The label on the box indicates the model number, software version (SW:V1.01.003BYPS), date code (DC:20201022), and part number (P/N:B48007003XPRN). This box is crucial for vehicle signal integration.
4. Setup and Installation
Important Safety Notice: Before beginning any installation, disconnect the vehicle's negative battery terminal to prevent electrical shorts and damage to components.
- Remove Existing Radio: Carefully remove the factory car radio from your vehicle. Refer to your vehicle's service manual for specific instructions on dashboard disassembly.
- Connect Canbus Box to Harness: Connect the RP5-RN-101 Canbus box to the designated connector on the wiring harness. Ensure the connection is secure.
- Connect Harness to Vehicle: Plug the vehicle-specific connectors of the wiring harness into the corresponding ports in your car's dashboard, which were previously connected to the factory radio. These typically include power, speaker, and CAN bus connectors.
- Connect Harness to Android Radio: Connect the other end of the wiring harness to your aftermarket Android car radio. The harness provides standard ISO or universal connectors for power, ground, speaker outputs, and accessory wires (e.g., ACC, ILL, Reverse, Steering Wheel Control). Match the wires according to your Android radio's wiring diagram.
- Verify Connections: Double-check all connections to ensure they are firm and correctly matched. Loose connections can lead to intermittent functionality or damage.
- Reconnect Battery: Once all connections are secure, reconnect the vehicle's negative battery terminal.
- Test Functionality: Turn on the vehicle ignition and power on the Android car radio. Test all functions, including audio, steering wheel controls, reverse camera input (if applicable), and illumination.
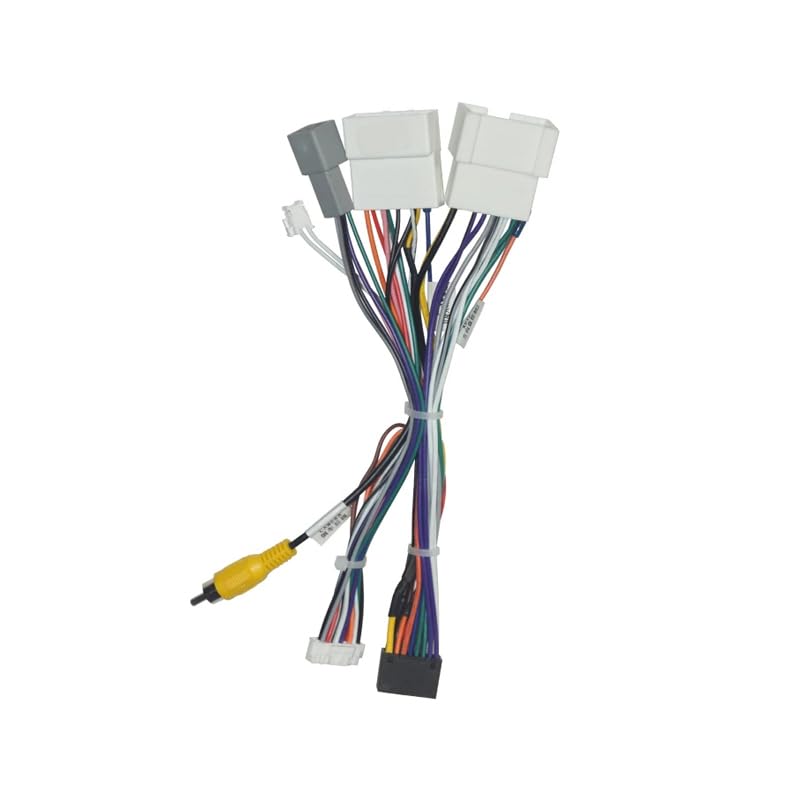
Figure 3: The wiring harness component. This image shows the various color-coded wires and connectors that facilitate the connection between the vehicle's electrical system, the Canbus box, and the aftermarket Android head unit. Proper connection of these wires is essential for correct operation.
5. Operating Instructions
The RP5-RN-101 Canbus Box operates automatically once correctly installed. It acts as an interface, translating signals between your vehicle and the Android car radio. There are no user-adjustable settings directly on the Canbus box itself.
Key functions enabled by the Canbus box include:
- Steering Wheel Controls: Allows the use of factory steering wheel buttons to control the Android radio (e.g., volume, track skip, mode). Configuration may be required within the Android radio's settings.
- Ignition (ACC) Signal: Provides the accessory power signal to turn the radio on and off with the vehicle's ignition.
- Illumination Signal: Dims the radio's display or activates night mode when vehicle headlights are turned on.
- Reverse Gear Signal: Activates the reverse camera input on the Android radio when the vehicle is shifted into reverse.
For specific operation of your Android car radio, refer to its dedicated instruction manual.
6. Maintenance
The QSZN RP5-RN-101 Canbus Box and wiring harness are designed for maintenance-free operation. No periodic servicing or user-replaceable parts are required.
- Keep Dry: Ensure the Canbus box and connections remain dry and free from moisture.
- Secure Connections: Periodically check that all wiring connections are secure and have not loosened due to vehicle vibrations.
- Avoid Physical Damage: Protect the components from physical impact or excessive force.
7. Troubleshooting
If you encounter issues after installation, review the following troubleshooting steps:
| Problem | Possible Cause | Solution |
|---|---|---|
| Android radio does not power on. | Loose power connection, blown vehicle fuse, incorrect wiring. | Check the main power and accessory (ACC) connections. Inspect vehicle fuses related to the radio. Ensure the harness is correctly wired to the radio. |
| Steering wheel controls do not function. | Canbus box not connected, incorrect wiring to radio, radio settings not configured. | Verify the Canbus box is securely connected to the harness. Ensure the steering wheel control wires from the harness are connected to the correct input on the Android radio. Access the Android radio's settings to program or learn the steering wheel controls. |
| No sound from speakers. | Loose speaker connections, incorrect speaker wiring. | Check all speaker wire connections between the harness and the Android radio. Ensure positive and negative terminals are not reversed. |
| Radio illumination does not dim with headlights. | Illumination wire not connected or incorrect. | Verify the illumination (ILL) wire from the harness is correctly connected to the Android radio. |
| Reverse camera does not activate. | Reverse signal wire not connected or incorrect. | Ensure the reverse signal wire from the harness is connected to the reverse input on the Android radio. Check the camera's power and video connections. |
If problems persist after following these steps, it is recommended to consult a professional car audio installer or contact the seller for further assistance.
8. Specifications
| Feature | Detail |
|---|---|
| Model Number | RP5-RN-101 |
| Brand | QSZN (Generic) |
| Input Voltage | 12V DC |
| Material Type | Plastic |
| Item Weight | Approximately 0.2 kg |
| Power Output (for accessories) | 12W |
| Compatibility | Renault Clio (2013-2015), Sandero (2017+, 2015-2018), Duster (2018, 2014-2017, 2015+), Captur (2018), Logan (2015-2018), Dacia (2015+) |
9. Warranty and Support
Specific warranty information for the QSZN RP5-RN-101 Canbus Box Adaptor is not provided in this manual. For details regarding warranty coverage, return policies, or technical support, please refer to the product listing on the retailer's website or contact the seller directly.
When contacting support, please have your product model number (RP5-RN-101) and purchase details readily available.


