SMAAIR 45 Inch
SMAAIR 45-Inch Flush Mount Ceiling Fan with LED Light and Remote Control User Manual
Model: 45 Inch
1. Introduction
This manual provides detailed instructions for the installation, operation, and maintenance of your SMAAIR 45-inch flush mount ceiling fan. Please read this manual thoroughly before installation and use to ensure safe and efficient operation. Keep this manual for future reference.
The SMAAIR 45-inch flush mount ceiling fan is designed to provide efficient air circulation and integrated lighting for various indoor spaces such as living rooms, bedrooms, kitchens, and offices. It features a modern design, durable ABS blades, a quiet DC motor, and an adjustable LED light, all controllable via a remote.

Image 1.1: SMAAIR 45-inch flush mount ceiling fan with its remote control.
2. Important Safety Instructions
Always follow basic safety precautions when installing and operating electrical appliances to reduce the risk of fire, electric shock, and personal injury.
- Read all instructions carefully before beginning installation.
- Ensure the power is turned off at the circuit breaker before installation or maintenance.
- All wiring must be in accordance with national and local electrical codes. If you are unfamiliar with wiring, consult a qualified electrician.
- The mounting structure must be capable of supporting the weight of the fan (approximately 12.1 pounds).
- Do not operate the fan with damaged blades or housing.
- Keep hands, clothing, and other objects away from the fan blades when the fan is in operation.
- This fan is designed for indoor use only.
3. Package Contents
Verify that all components are present and undamaged before proceeding with installation.
- Ceiling Fan Assembly (Motor, Blades, Light Kit)
- Remote Control
- Mounting Bracket
- Hardware Pack (screws, wire nuts, etc.)
- User Manual
Note: Specific quantities of hardware may vary. Refer to the included parts list in your package for exact details.
4. Installation Guide
Professional installation is recommended. Ensure all power is disconnected at the main circuit breaker before beginning installation.
- Prepare the Mounting Location: Ensure the electrical box is securely mounted to the building structure and can support the fan's weight.
- Install the Mounting Bracket: Attach the mounting bracket to the electrical box using the provided screws.
- Wire the Fan: Connect the fan's electrical wires to the household wiring according to the wiring diagram provided in the separate installation sheet. Ensure all connections are secure.
- Attach the Fan Body: Carefully lift the fan assembly and secure it to the mounting bracket.
- Install Fan Blades: Attach the ABS fan blades to the motor housing. Ensure they are firmly secured.
- Install the Light Kit: Connect the light kit wiring and secure the light kit to the fan body.
- Restore Power: Once installation is complete and all connections are checked, restore power at the circuit breaker.
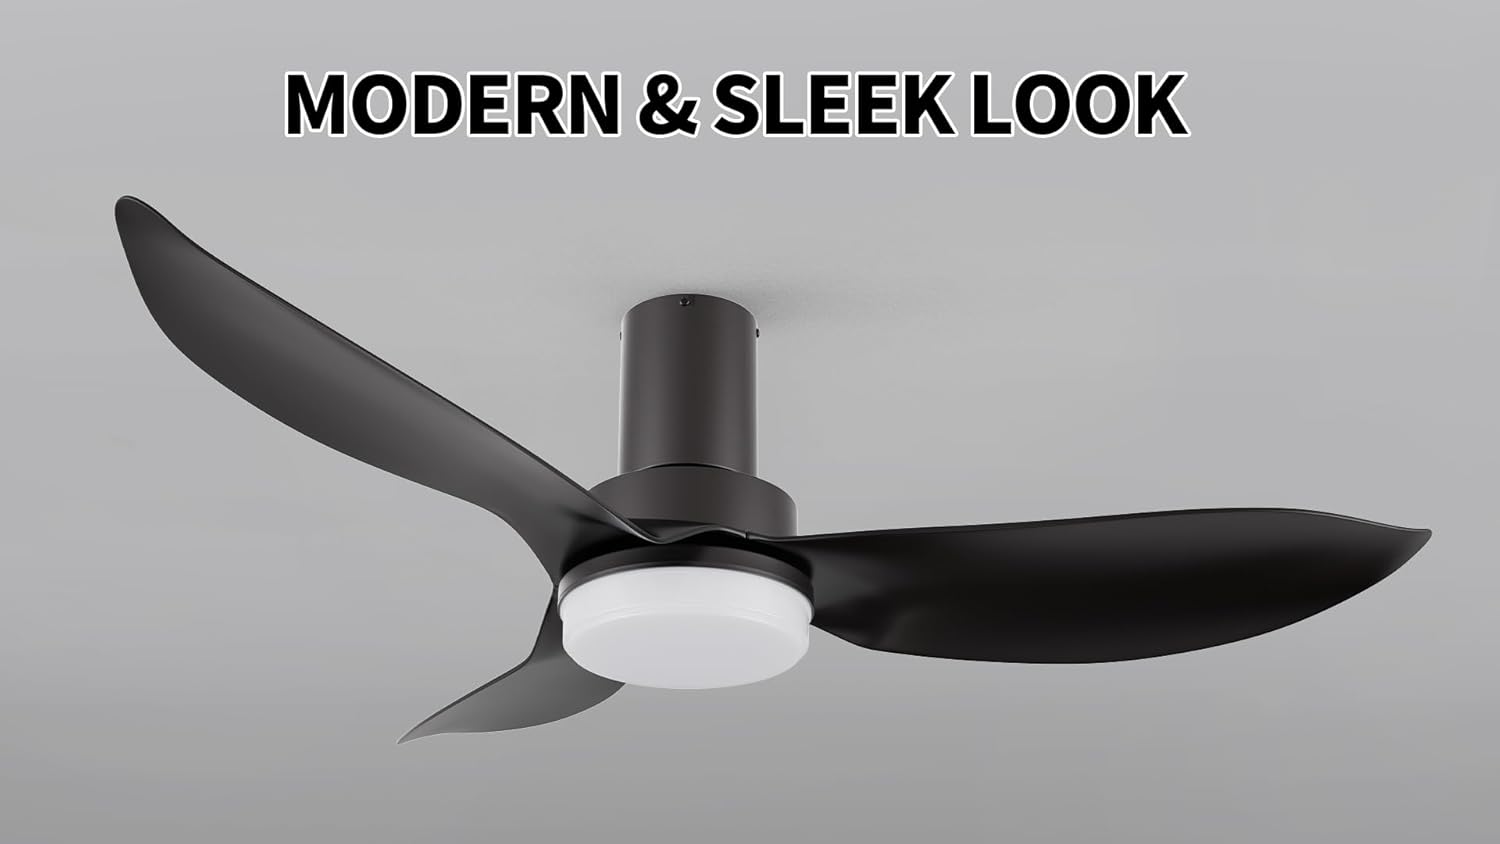
Image 4.1: The modern and sleek design of the SMAAIR ceiling fan, suitable for various interiors.
5. Operating Instructions
Your SMAAIR ceiling fan is controlled by the included remote control. Ensure batteries are installed correctly in the remote.
5.1 Fan Operation
- Power On/Off: Press the Fan On/Off button to turn the fan on or off.
- Speed Adjustment: Use the Speed Up and Speed Down buttons to select from 10 available fan speeds.
- Reversible Airflow: Press the Reverse button to change the direction of the fan blades.
- Summer Mode: Downward airflow creates a cooling effect.
- Winter Mode: Upward airflow circulates warm air trapped near the ceiling.
- Timer Function: Set the fan to turn off automatically after a specified period using the timer buttons (e.g., 1H, 2H, 4H, 8H).

Image 5.1: The fan offers 10 distinct wind speeds for customized comfort.

Image 5.2: Illustration of reversible airflow for summer cooling and winter heat circulation.
5.2 Light Operation
- Light On/Off: Press the Light On/Off button to toggle the light.
- Brightness Adjustment: Use the Brightness Up and Brightness Down buttons to adjust light intensity from 10% to 100%.
- Color Temperature Adjustment: Press the Color Temperature button to cycle through 3 light colors:
- 2700K Warm Light
- 3500K Natural Light
- 4000K Cool Light
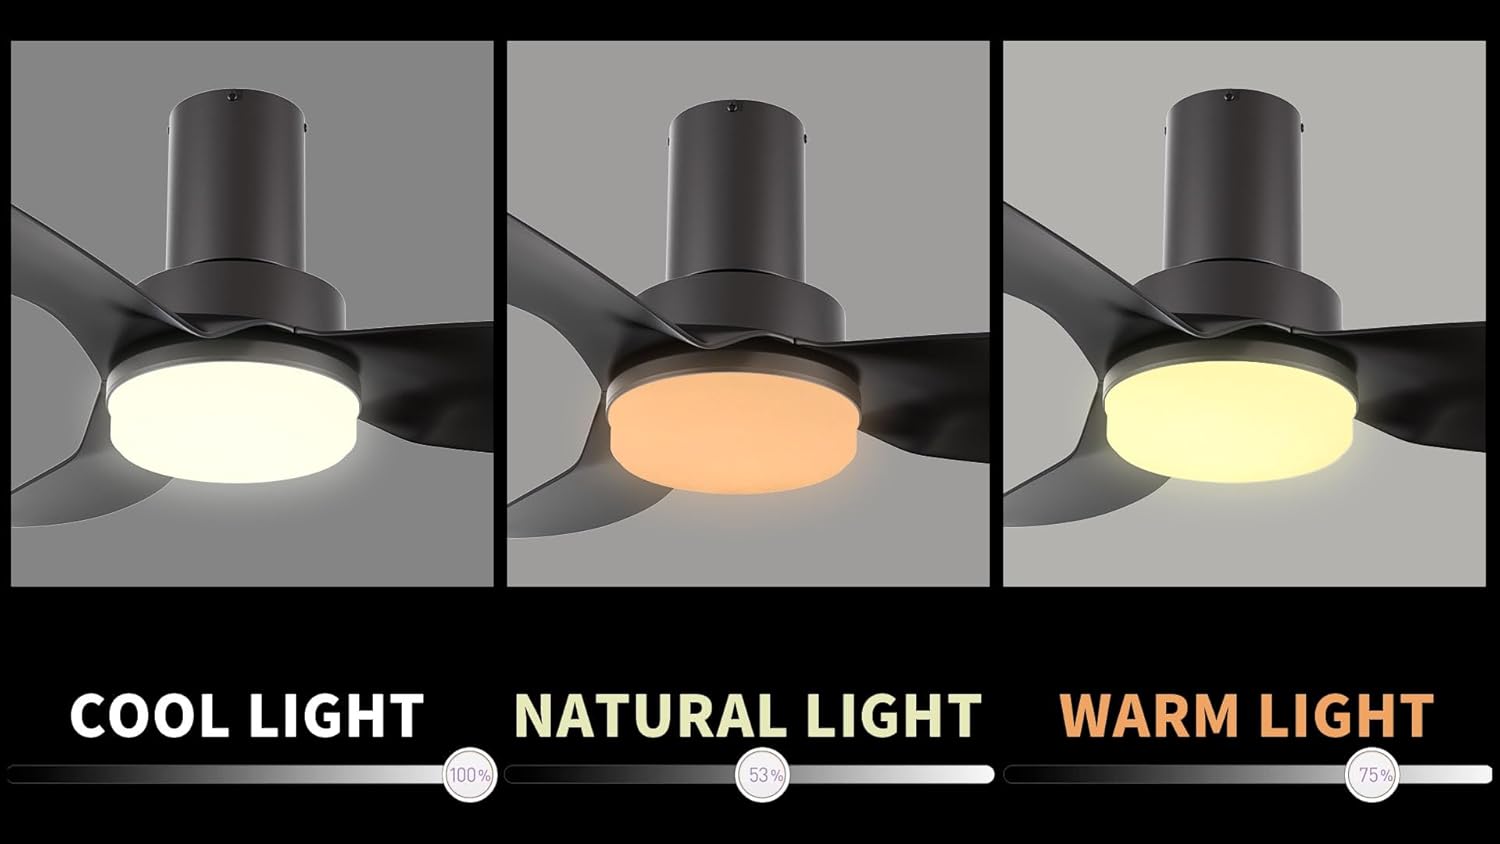
Image 5.3: The integrated LED light offers adjustable brightness and three color temperature options: cool, natural, and warm.
6. Care and Maintenance
Regular maintenance ensures optimal performance and extends the lifespan of your fan. Always disconnect power before cleaning or performing any maintenance.
- Cleaning: Use a soft, damp cloth to wipe down the fan housing and blades. Do not use abrasive cleaners or solvents, as they may damage the finish.
- Blade Care: The fan features strong ABS blades. Periodically check for dust accumulation and clean as needed.
- Motor: The DC motor is designed for quiet and stable operation and typically requires no lubrication.
- Light Kit: The integrated LED light source is designed for long life and is not user-replaceable.
- Tighten Fasteners: Periodically check all screws and fasteners for tightness.
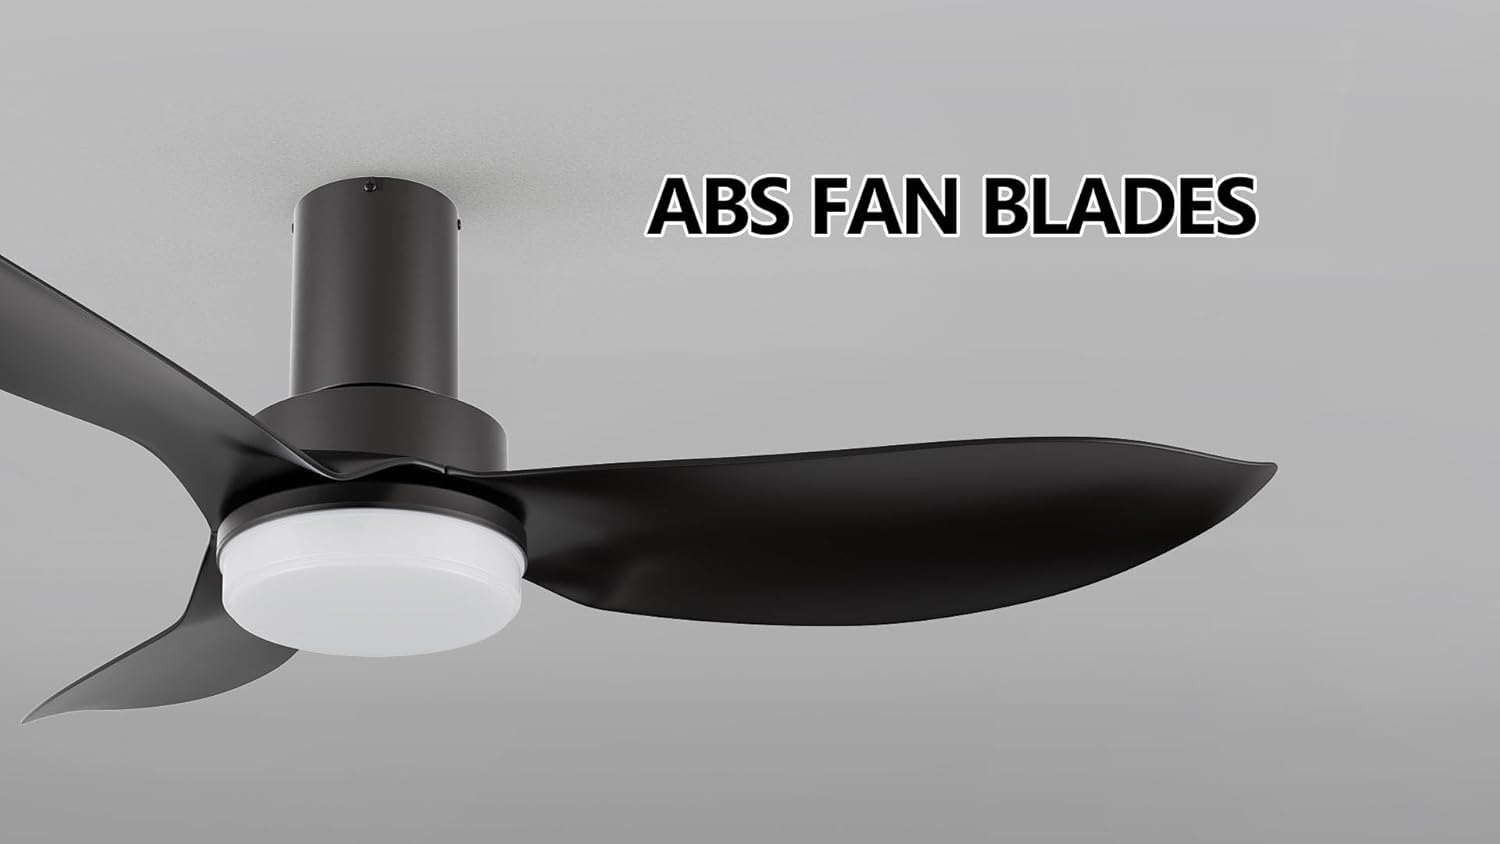
Image 6.1: The fan is equipped with durable ABS blades for efficient air movement.
7. Troubleshooting
If you experience issues with your fan, refer to the following common problems and solutions:
| Problem | Possible Cause | Solution |
|---|---|---|
| Fan does not start. | No power; loose wiring; remote control battery low. | Check circuit breaker; ensure all wiring connections are secure; replace remote control batteries. |
| Light does not work. | Loose wiring; remote control battery low; LED light kit failure. | Check wiring connections; replace remote control batteries; contact customer support if LED is faulty. |
| Fan wobbles. | Loose mounting screws; unbalanced blades. | Tighten all mounting screws; ensure blades are securely attached and balanced. |
| Excessive noise. | Loose screws; internal component issue. | Check and tighten all screws; if noise persists, contact customer support. |
| Remote control not working. | Low batteries; remote not paired. | Replace batteries; refer to remote pairing instructions (if applicable, usually in a separate sheet). |
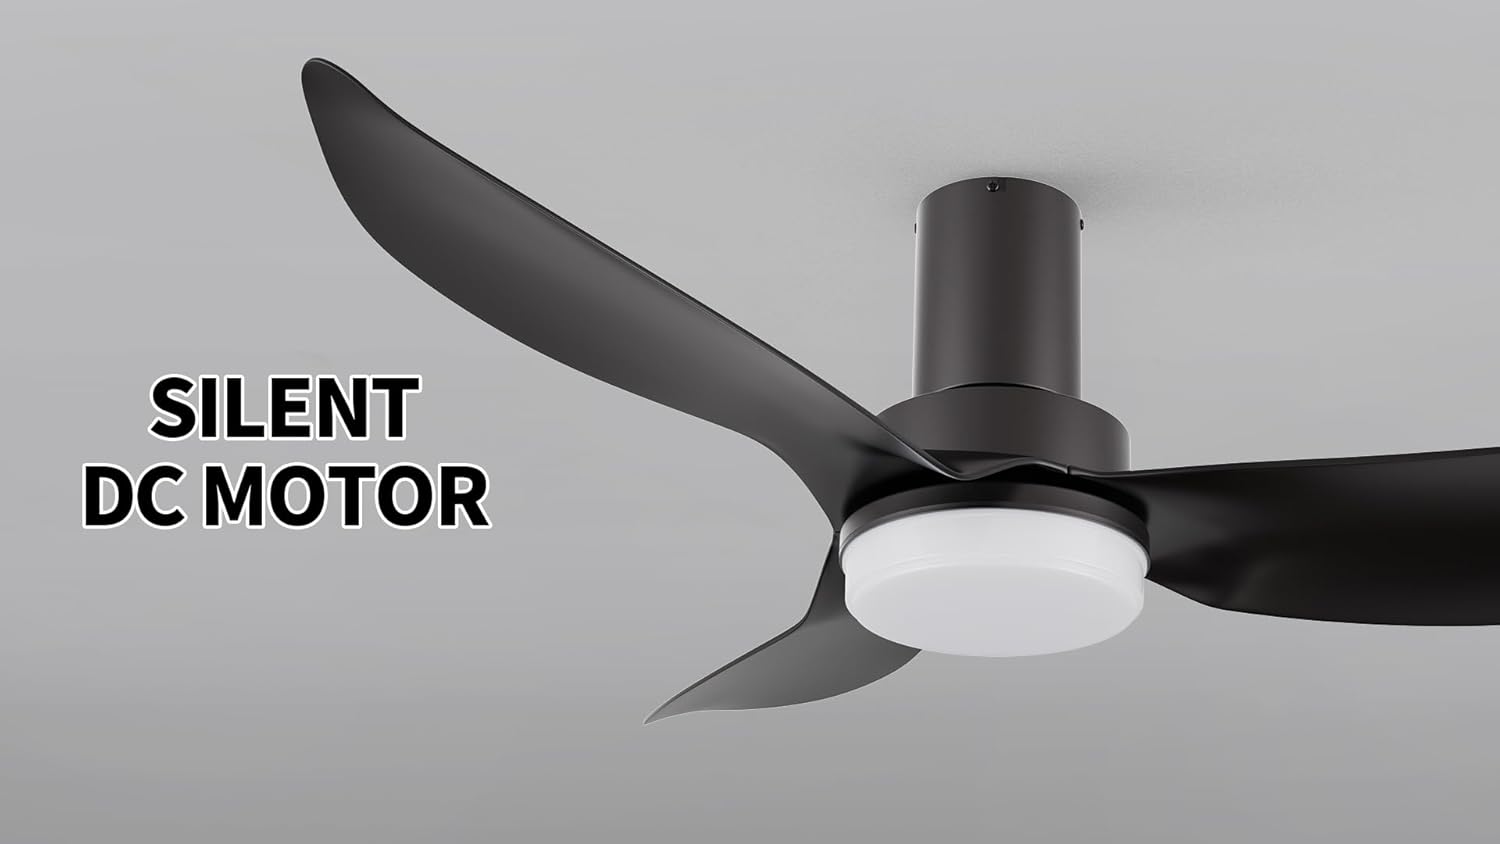
Image 7.1: The fan features a silent DC motor, designed for quiet operation.
8. Product Specifications
| Feature | Detail |
|---|---|
| Brand | SMAAIR |
| Model | 45 Inch Flush Mount Ceiling Fan |
| Dimensions | 45 x 45 x 10.9 inches |
| Item Weight | 12.1 pounds |
| Material | Acrylonitrile Butadiene Styrene (ABS) blades |
| Power Source | AC/DC |
| Voltage | 120 Volts |
| Control Method | Remote Control |
| Fan Speeds | 10 levels |
| Light Type | Integrated LED |
| Light Color Temperatures | 2700K (Warm), 3500K (Natural), 4000K (Cool) |
| Light Brightness | Adjustable from 10% to 100% |
| Special Features | Programmable, Reversible Airflow, Noiseless DC Motor |
| Room Type | Living Rooms, Bedrooms, Kitchen, Office |
| Certification | UL Listed |
9. Warranty and Support
SMAAIR products are manufactured to high-quality standards. For specific warranty details, please refer to the warranty card included with your product or visit the official SMAAIR website. Keep your purchase receipt as proof of purchase.
For technical support, troubleshooting assistance, or to inquire about replacement parts, please contact SMAAIR customer service through the contact information provided on the official SMAAIR website or your purchase platform.
Online Resources: For additional information and support, visit the SMAAIR Brand Store.
Ask a question about this manual
Ask about setup, troubleshooting, compatibility, parts, safety, or missing instructions. Manuals+ will review the question and use this page’s manual context to help answer it.