
Introduction
This manual provides detailed instructions for the installation, operation, and maintenance of your new incifum QLED Screen Stereo. Designed specifically for Dodge RAM 1500 Classic models from 2019 to 2024 equipped with manual AC, this unit offers advanced features including an Android operating system, wireless CarPlay and Android Auto, 4G LTE connectivity, and a vibrant 10-inch QLED display. Please read this manual thoroughly before installation and use to ensure proper function and safety.
Safety Information
- Always disconnect the vehicle's battery before beginning any electrical installation to prevent short circuits or damage.
- Professional installation is recommended. If you are unsure about any step, consult a qualified technician.
- Ensure all wiring connections are secure and properly insulated to prevent electrical hazards.
- Do not attempt to operate the unit in a way that distracts you from driving. Always prioritize road safety.
- Avoid exposing the unit to extreme temperatures, direct sunlight for prolonged periods, or excessive moisture.
Package Contents
Verify that all items listed below are included in your package:
- Android Car Radio (QLED Screen Stereo)
- Wiring Harness with CANBUS Box
- Dash-kit Frame
- GPS Module
- Antenna Adapter
- USB Ports (multiple)
- Microphone
- Camera Adapter
- Instruction Manual / User Manual
- Pry Tool

Image: All components included in the package for installation.
Video: Overview of components included in the radio upgrade package.
Setup & Installation
1. Pre-Installation Checks
- Confirm your vehicle is a Dodge RAM 1500 Classic (2019-2024) with Manual AC. This unit is not compatible with automatic AC systems.
- Gather all necessary tools: pry tool (included), Phillips head screwdriver, wire cutters/strippers (if needed).
- Disconnect the negative terminal of your vehicle's battery.
2. Removing the Factory Radio & Dash Panel
- Using the provided pry tool, carefully remove the top dash pocket cover.
- Unscrew the two visible screws beneath the pocket cover.
- Gently pull the entire factory dash panel (including the radio and AC controls) away from the dashboard. It is held by clips.
- Disconnect all electrical connectors from the back of the factory dash panel and radio. Note the location of each connector for reassembly.
- Remove the factory radio unit from the dash panel by unscrewing the mounting screws.
- Carefully detach the factory AC control module from the dash panel. This module will be transferred to the new unit's dash frame.
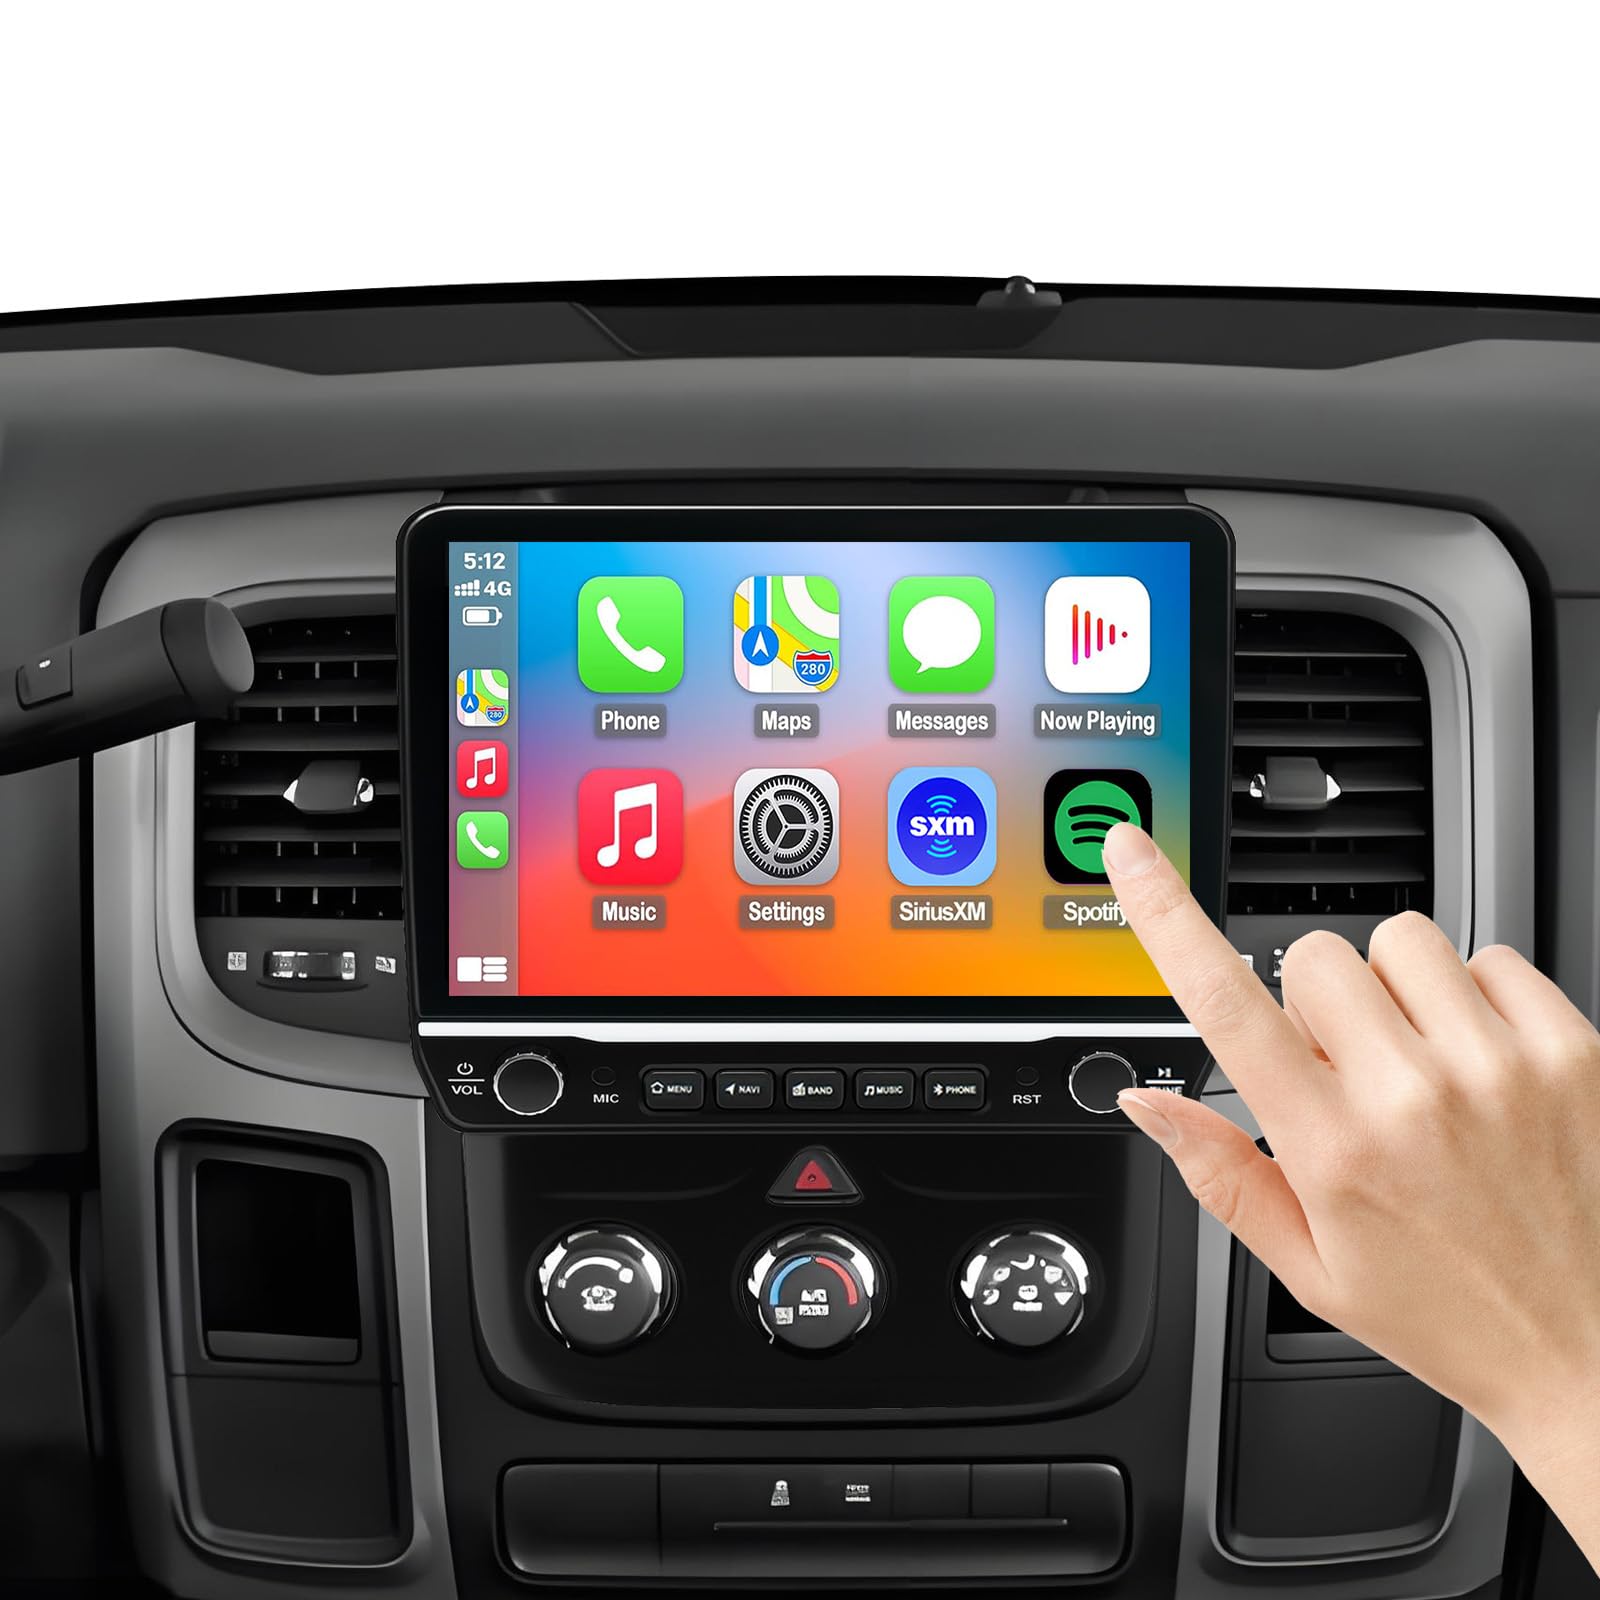
Image: Comparison of the dashboard before and after the radio upgrade.
Video: Detailed steps for removing the factory radio and dash panel.
3. Wiring Connections
Connect the new wiring harness and accessories to the QLED Screen Stereo unit. The wiring is designed for plug-and-play installation, matching existing vehicle connectors.
- Connect the main wiring harness (with CANBUS box) to the corresponding port on the new stereo unit.
- Attach the GPS module to the GPS input on the stereo. Position the GPS antenna in a location with a clear view of the sky (e.g., on the dashboard).
- Connect the antenna adapter to the radio antenna input on the stereo and to the vehicle's antenna cable.
- Connect the USB cables to the stereo's USB ports. Route these cables to your desired location (e.g., glove box, center console).
- If installing the included rearview camera, connect its video input cable to the stereo's camera input.
- Connect the external microphone if desired.
Video: Overview of wiring connections for the car stereo upgrade.
4. Installing the New Unit
- Mount the QLED Screen Stereo unit into the new dash-kit frame.
- Transfer the factory AC control module to the designated slot in the new dash-kit frame. Secure it with the original screws.
- Connect all the new wiring harness connectors to their corresponding ports on the vehicle's wiring.
- Carefully align the new dash panel assembly with the dashboard opening and push it firmly until all clips snap into place.
- Reinstall the two screws at the top of the dash pocket and replace the rubber cover.
- Reconnect the negative terminal of the vehicle's battery.

Image: Illustration of connecting to the original car port and retaining steering wheel controls.
Operating Instructions
1. Power On/Off & Basic Interface
- Turn on your vehicle's ignition. The stereo unit should power on automatically.
- The main screen displays various app icons. Swipe left or right to navigate through pages.
- Use the physical buttons on the side of the screen for quick access to AC controls, volume, and other functions.
Video: Demonstrates power-on sequence and basic menu navigation.
2. Air Conditioning Controls
The unit integrates with your vehicle's manual AC system. You can control fan speed, temperature, and air direction directly from the touchscreen interface or via the physical knobs.
Video: Shows how to operate the air conditioning controls via the touchscreen.
3. Wireless CarPlay & Android Auto
Connect your smartphone wirelessly for seamless integration of navigation, music, and communication apps.
- Ensure Bluetooth and Wi-Fi are enabled on your smartphone.
- On the stereo, go to the 'CarLink' app or similar.
- Follow the on-screen prompts to pair your phone via Bluetooth and establish the wireless CarPlay/Android Auto connection.

Image: Wireless CarPlay interface showing various smartphone applications.
Video: Demonstrates connecting and using wireless CarPlay.
4. Bluetooth Connectivity (for calls and music)
For direct Bluetooth connection without CarPlay/Android Auto:
- Go to 'Settings' on the stereo and select 'Bluetooth'.
- Enable Bluetooth and search for available devices on your phone.
- Select the stereo's Bluetooth name (e.g., 'SYU-Android') from your phone's list and pair.
- You can now make/receive calls and stream audio via Bluetooth.
Video: Steps for connecting a smartphone via Bluetooth for calls and music.
5. FM Radio
Access the 'Radio' app to listen to FM stations. You can manually tune or use the scan function to find stations.
Video: Demonstrates tuning and operating the FM radio function.
6. Media Playback (Music & Video)
Use the 'Music' or 'Video' apps to play media files stored on the unit or connected USB devices.

Image: Music playback interface with song details and 4G LTE status.
Video: Shows how to play music and videos on the unit.
7. Navigation
Utilize the pre-installed 'Maps' app or your preferred navigation app through CarPlay/Android Auto for turn-by-turn directions.

Image: Navigation map showing routes and points of interest.
8. Rearview Camera
When the vehicle is shifted into reverse, the screen will automatically display the rearview camera feed, providing parking guidelines.

Image: Rearview camera view with dynamic parking lines.
9. Sound Adjustment (EQ)
Access the 'EQ' or 'Equalizer' app to customize audio settings, including bass, treble, and sound balance.
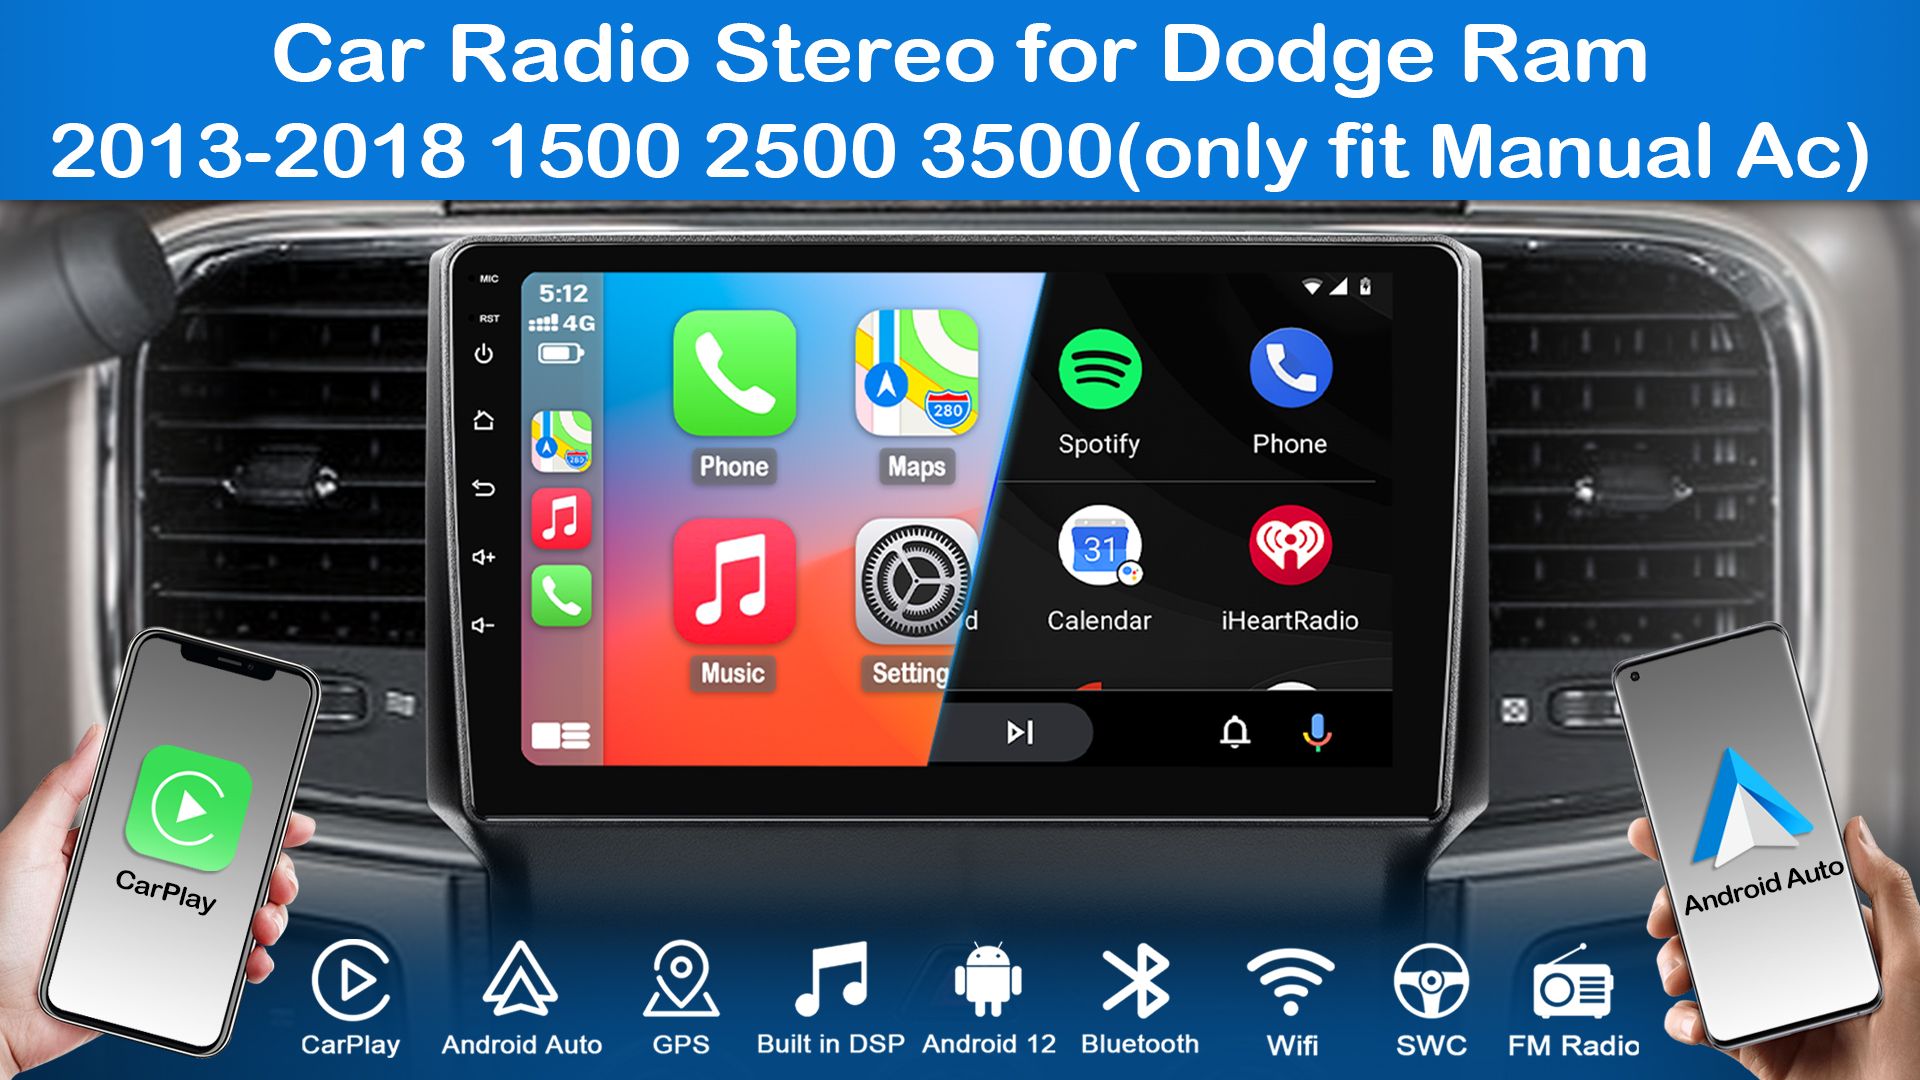
Image: Detailed equalizer settings for audio customization.
Video: Guide to adjusting the audio equalizer settings.
10. Split-Screen Display
The unit supports split-screen functionality, allowing you to run two applications simultaneously (e.g., navigation and music player).
Video: Demonstration of using the split-screen feature with multiple apps.
Maintenance
- Clean the QLED screen with a soft, lint-free cloth. Avoid abrasive cleaners or solvents.
- Keep the unit free from dust and debris.
- Regularly check for software updates to ensure optimal performance and access to new features.
Troubleshooting
- Android Auto/CarPlay not connecting or showing loading: Please check if your phone's Wi-Fi is on. This issue can also occur if your phone's software version is higher than what the unit currently supports. Contact customer support for potential update methods.
- No power: Ensure all power connections are secure and the vehicle's battery is properly connected. Check relevant fuses.
- No sound: Verify speaker connections and check audio settings (volume, mute, equalizer).
- Screen unresponsive: Try restarting the unit by pressing the reset button (if available) or disconnecting/reconnecting the battery.
Specifications
| Item Weight | 4 pounds |
| Package Dimensions | 14.2 x 13 x 5.5 inches |
| Display Size | 10 Inches |
| Screen Type | QLED Capacitive Touch Screen |
| CPU | 8 Core |
| RAM | 2GB |
| ROM | 32GB |
| Operating System | Android |
| Connectivity Technology | 4G LTE, Bluetooth, Carplay, USB, Wi-Fi |
| Special Features | 4G LTE, Bluetooth, Lane Assist, Touchscreen |
| Audio Output Mode | Stereo |
| Mounting Type | Dashboard Mount |
Warranty & Support
This incifum QLED Screen Stereo comes with a 6-month warranty from the date of purchase. For technical assistance, troubleshooting, or warranty claims, please contact our professional after-sales team. Support is available 24/7.
Contact information for support is typically provided in the included user manual or on the manufacturer's website.