Introduction
This user manual provides comprehensive instructions for the I·CODE OK to Wake Kids Alarm Clock and Travel Clock Kit. It covers setup, operation, maintenance, and troubleshooting to ensure optimal use of your device. This kit is designed to help children understand when it's time to wake up and sleep using visual cues, promoting better sleep habits for the whole family.
Key Features
- Time to Wake and Sleep Function: Utilizes color lights and emojis to indicate appropriate wake-up and sleep times, helping children develop healthy sleep routines.
- Sleep Trainer: Displays a "wake up" face with green light for wake time and a "sleep" face with red light for bedtime, providing clear visual cues.
- User-Friendly Interface: Clear icons and buttons for easy setup and operation.
- Power Options: Model A100 requires continuous plug-in power; Model A12 features a built-in 1200mAh battery for portability, offering 32-181 hours of use on a full charge.
- Multi-functional: Includes snooze, 12/24H format, nap timer, adjustable brightness, and adjustable volume.
- Night Light: Offers warm light and 10 color options to provide comfort and safety in the dark.
- Child Lock: For preventing accidental changes to settings.
Product Overview

Figure 1: I·CODE OK to Wake Kids Alarm Clock (left) and Travel Clock (right).
The I·CODE Kids Alarm Clock kit includes two distinct models: a larger, round alarm clock (A100) and a smaller, rectangular travel clock (A12). Both are designed with cat-like ears and a friendly face display to engage children. The larger clock features a prominent light ring around its display, while the smaller one is more compact for portability.
Setup
Powering the Device
- Model A100 (Larger Clock): This model must be continuously plugged in to operate. Connect the provided charger to the DC 5V port on the back of the clock and plug it into a standard wall outlet.
- Model A12 (Travel Clock): This model has a built-in 1200mAh rechargeable battery. Before first use, fully charge the clock using the provided charger. A full charge can provide 32-181 hours of operation.

Figure 2: Rear view of the I·CODE Alarm Clock showing power input and control buttons.
Ensure the clock is placed on a stable, flat surface. For optimal performance, avoid placing it near strong magnetic fields or direct sunlight.
Operating Instructions
Setting Time and Alarm
Refer to the clear icons and buttons on the clock for setting time, alarm, and other functions. Specific button labels include 'Color', 'Time', 'Wake', 'Sleep', 'Snooze', 'Warm', 'Up', 'Down', 'Nap', and 'Backlight'.
- Press the 'Time' button to enter time setting mode. Use 'Up' and 'Down' buttons to adjust hours and minutes. Press 'Time' again to confirm.
- To set the alarm, press the 'Wake' button. Adjust the desired wake-up time using 'Up' and 'Down'. Confirm by pressing 'Wake' again.
- To set the sleep time, press the 'Sleep' button. Adjust the desired sleep time using 'Up' and 'Down'. Confirm by pressing 'Sleep' again.
- When the alarm rings, press any button to turn it off.
Sleep Trainer Function (OK to Wake)

Figure 3: Visual cues for Wake Up and Sleep functions.
- Wake Up: When it's time for your child to wake up, the clock will display a "wake up" face (default smiling emoji) and illuminate with a green light. This green light typically lasts for 1 hour, signaling that it's okay to get out of bed.
- Sleep: At night, when it's time to stay in bed, the clock will display a "sleep" face (default sleeping emoji) and illuminate with a red light. This red light typically lasts for 13 hours.
Night Light and Brightness Adjustment
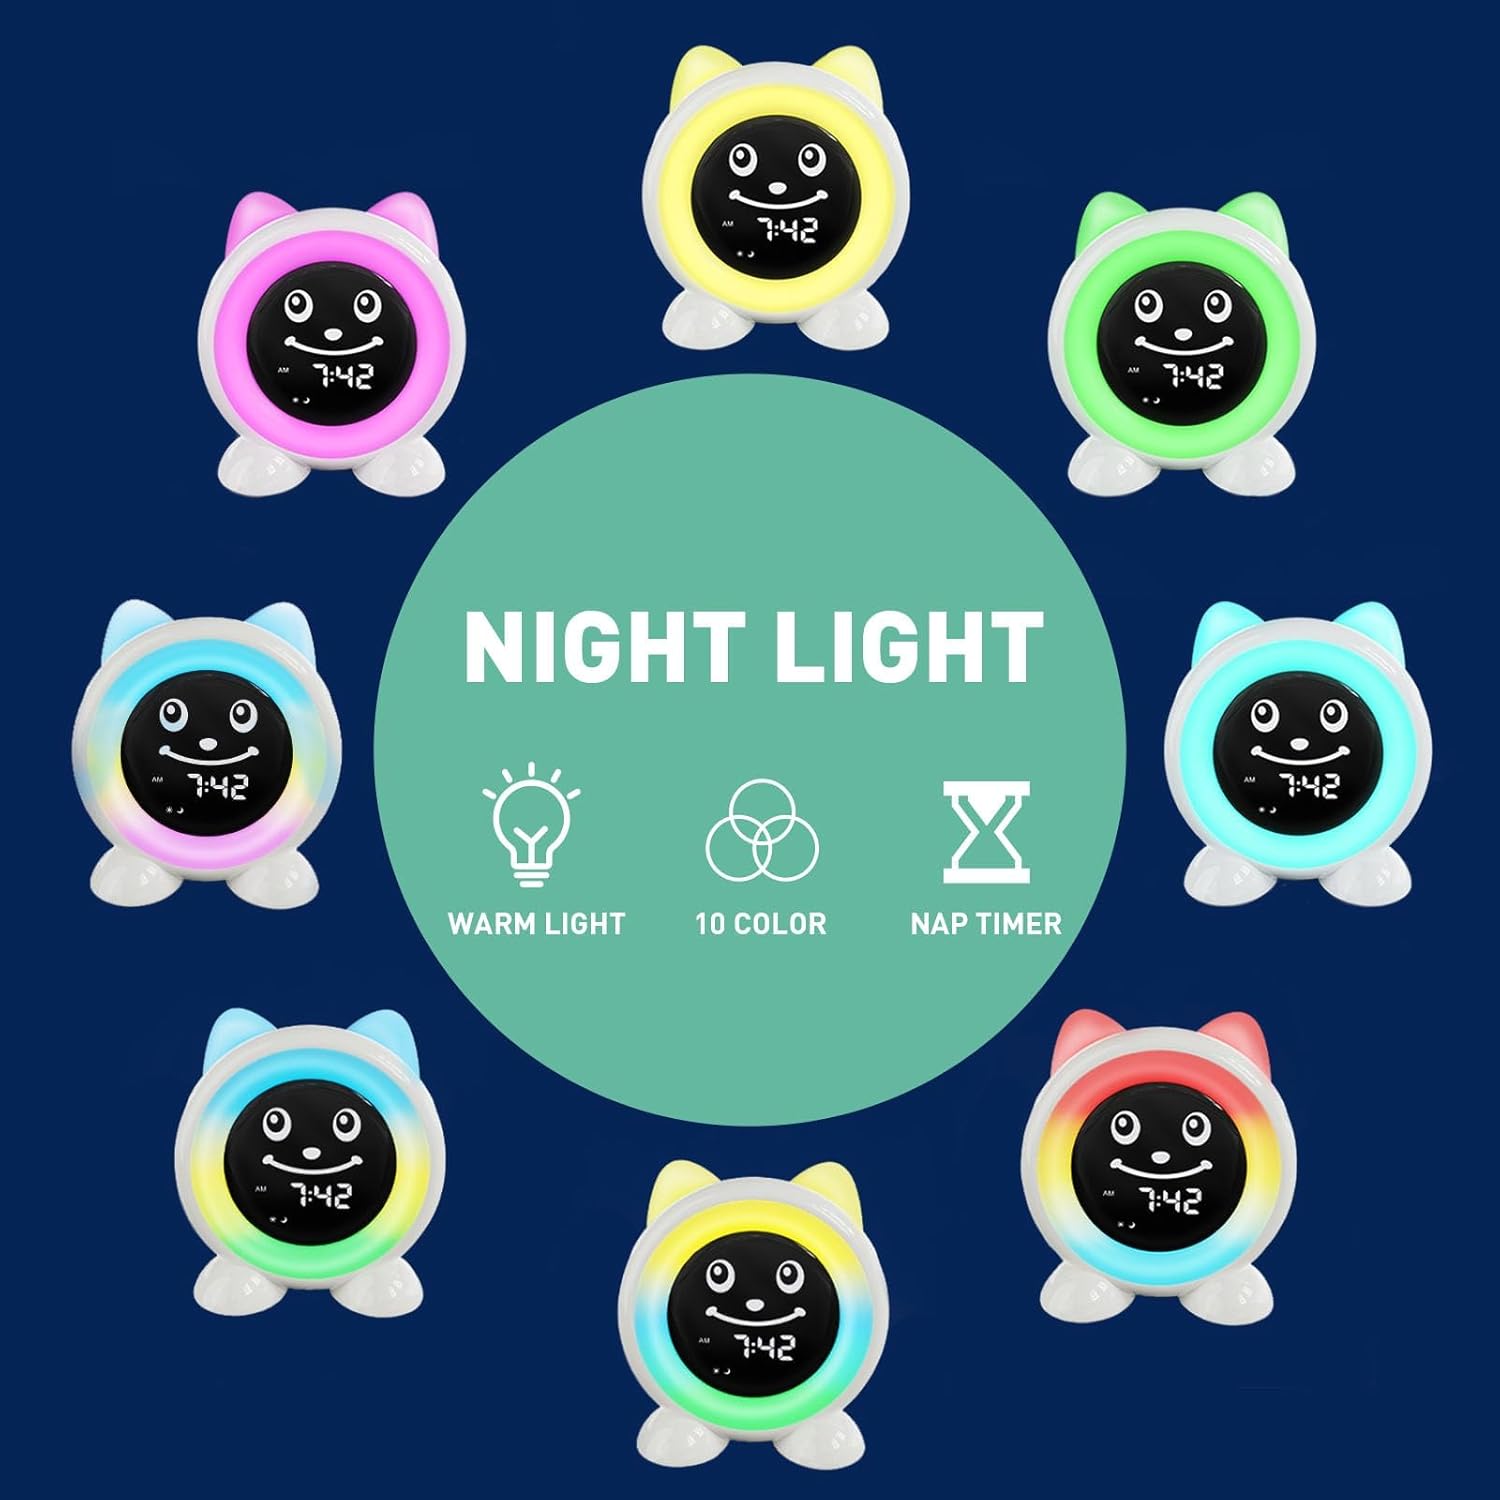
Figure 4: Night Light color options.
- Press the 'Color' button to cycle through the 10 available night light colors.
- Press the 'Warm' button to activate or adjust the warm light setting.
- Use the 'Up' and 'Down' buttons to adjust the brightness level of the display and night light.

Figure 5: Adjustable Warm Light and Brightness.
Nap Timer Function

Figure 6: Nap Timer in use for various activities.
The nap timer allows you to set a timed countdown for naps, game time, homework, or other activities. The light will automatically turn off once the timer expires.
- Press the 'Nap' button to activate the nap timer.
- Use the 'Up' and 'Down' buttons to set the desired duration (e.g., 15, 30, 60 minutes).
- The clock will count down, and the light will turn off when the timer finishes.
Child Lock
The child lock feature prevents accidental changes to the clock settings by little hands. Refer to the specific instructions included with your product for activating and deactivating the child lock, as this may vary slightly between models.

Figure 7: Overview of key features including Child Lock.
Maintenance
- Cleaning: Use a soft, dry cloth to gently wipe the surface of the clock. Do not use abrasive cleaners, solvents, or immerse the device in water.
- Storage: If storing the clock for an extended period, especially Model A12, ensure it is fully charged before storage and recharge it every few months to maintain battery health. Store in a cool, dry place away from direct sunlight.
- Battery Care (Model A12): To prolong battery life, avoid completely draining the battery frequently. Recharge when the low battery indicator appears.
Troubleshooting
| Problem | Possible Cause | Solution |
|---|---|---|
| Clock not turning on (Model A100) | Not plugged in or power adapter issue. | Ensure the clock is properly plugged into a working power outlet. Check the power adapter and cable for damage. |
| Clock not turning on (Model A12) | Battery is drained. | Connect the clock to the charger and allow it to charge for at least 30 minutes before attempting to turn it on. |
| Alarm not sounding or light not changing | Alarm/sleep trainer not set correctly or volume too low. | Verify alarm and sleep trainer settings. Increase volume if necessary. Ensure the child lock is not active. |
| Display is dim or unresponsive | Brightness setting is too low or a temporary software glitch. | Adjust brightness using the 'Up' button. If unresponsive, locate the 'RESET' button (often a small pinhole on the back) and gently press it with a paperclip to restart the device. |
| Child lock engaged, cannot change settings | Child lock feature is active. | Refer to your product's specific instructions for deactivating the child lock. This usually involves a long press of a specific button combination. |

Figure 8: The clock providing comfort in a dark room, emphasizing the need for power connection.
Specifications
| Product Name | I·CODE OK to Wake Kids Alarm Clock + Travel Clock Kit |
| Models | A100 (Plug-in), A12 (Battery Operated) |
| ASIN | B0DXKY4DW6 |
| Battery (Model A12) | 1200mAh (32-181 hours operating time) |
| Power Input | DC 5V (Charger included) |
| Features | Time to Wake/Sleep, Sleep Trainer, Snooze, 12/24H Format, Nap Timer, Adjustable Brightness, Adjustable Volume, Night Light (Warm + 10 Colors), Child Lock |
| Date First Available | February 18, 2025 |
Warranty and Support
For warranty information or technical support, please contact I·CODE customer service. Details are typically provided on the product packaging or through the seller's official channels. Please retain your proof of purchase for warranty claims.
You can visit the official I·CODE store on Amazon for more information and support: I·CODE Amazon Store.


