1. Introduction
This manual provides essential instructions for the safe and effective installation, operation, maintenance, and troubleshooting of the Skyworth F61090001 washing machine door seal ring. Please read this guide thoroughly before proceeding with installation or maintenance to ensure proper function and longevity of the part.
2. Safety Information
Always prioritize safety when working with appliances. Failure to follow these safety guidelines may result in injury or damage to the appliance.
- Disconnect Power: Before beginning any installation or maintenance, always unplug the washing machine from the power outlet or turn off the circuit breaker to prevent electrical shock.
- Wear Protective Gear: Use appropriate personal protective equipment, such as gloves, to protect your hands.
- Handle with Care: The door seal may have sharp edges or retaining clips. Handle with care to avoid cuts.
- Proper Tools: Use only the recommended tools for installation to avoid damaging the appliance or the new part.
- Professional Assistance: If you are unsure about any step, consult a qualified appliance technician.
3. Package Contents
Verify that all components are present and undamaged before proceeding with installation.
- 1 x Washing Machine Door Seal Ring (Skyworth F61090001 compatible)
4. Installation Instructions
This section outlines the general steps for replacing a washing machine door seal. Specific procedures may vary slightly depending on your washing machine model. Refer to your washing machine's service manual for detailed instructions if available.
4.1 Preparation
- Disconnect Power: Unplug the washing machine from the electrical outlet.
- Access the Seal: Open the washing machine door. You may need to remove the front panel of the washing machine to access the inner retaining ring.
4.2 Removing the Old Seal
- Remove Outer Retaining Ring: Locate the spring-loaded wire or clamp that holds the outer edge of the door seal to the front of the washing machine. Carefully pry it off using a flat-head screwdriver or pliers.
- Remove Inner Retaining Ring: Reach inside the drum and locate the inner retaining ring or clamp that secures the seal to the wash tub. Remove this clamp. This often requires reaching behind the seal.
- Remove Old Seal: Once both retaining rings are removed, carefully pull the old door seal out of the washing machine.
- Clean Area: Thoroughly clean the area where the old seal was seated, removing any debris, soap residue, or mold. This ensures a proper seal for the new part.
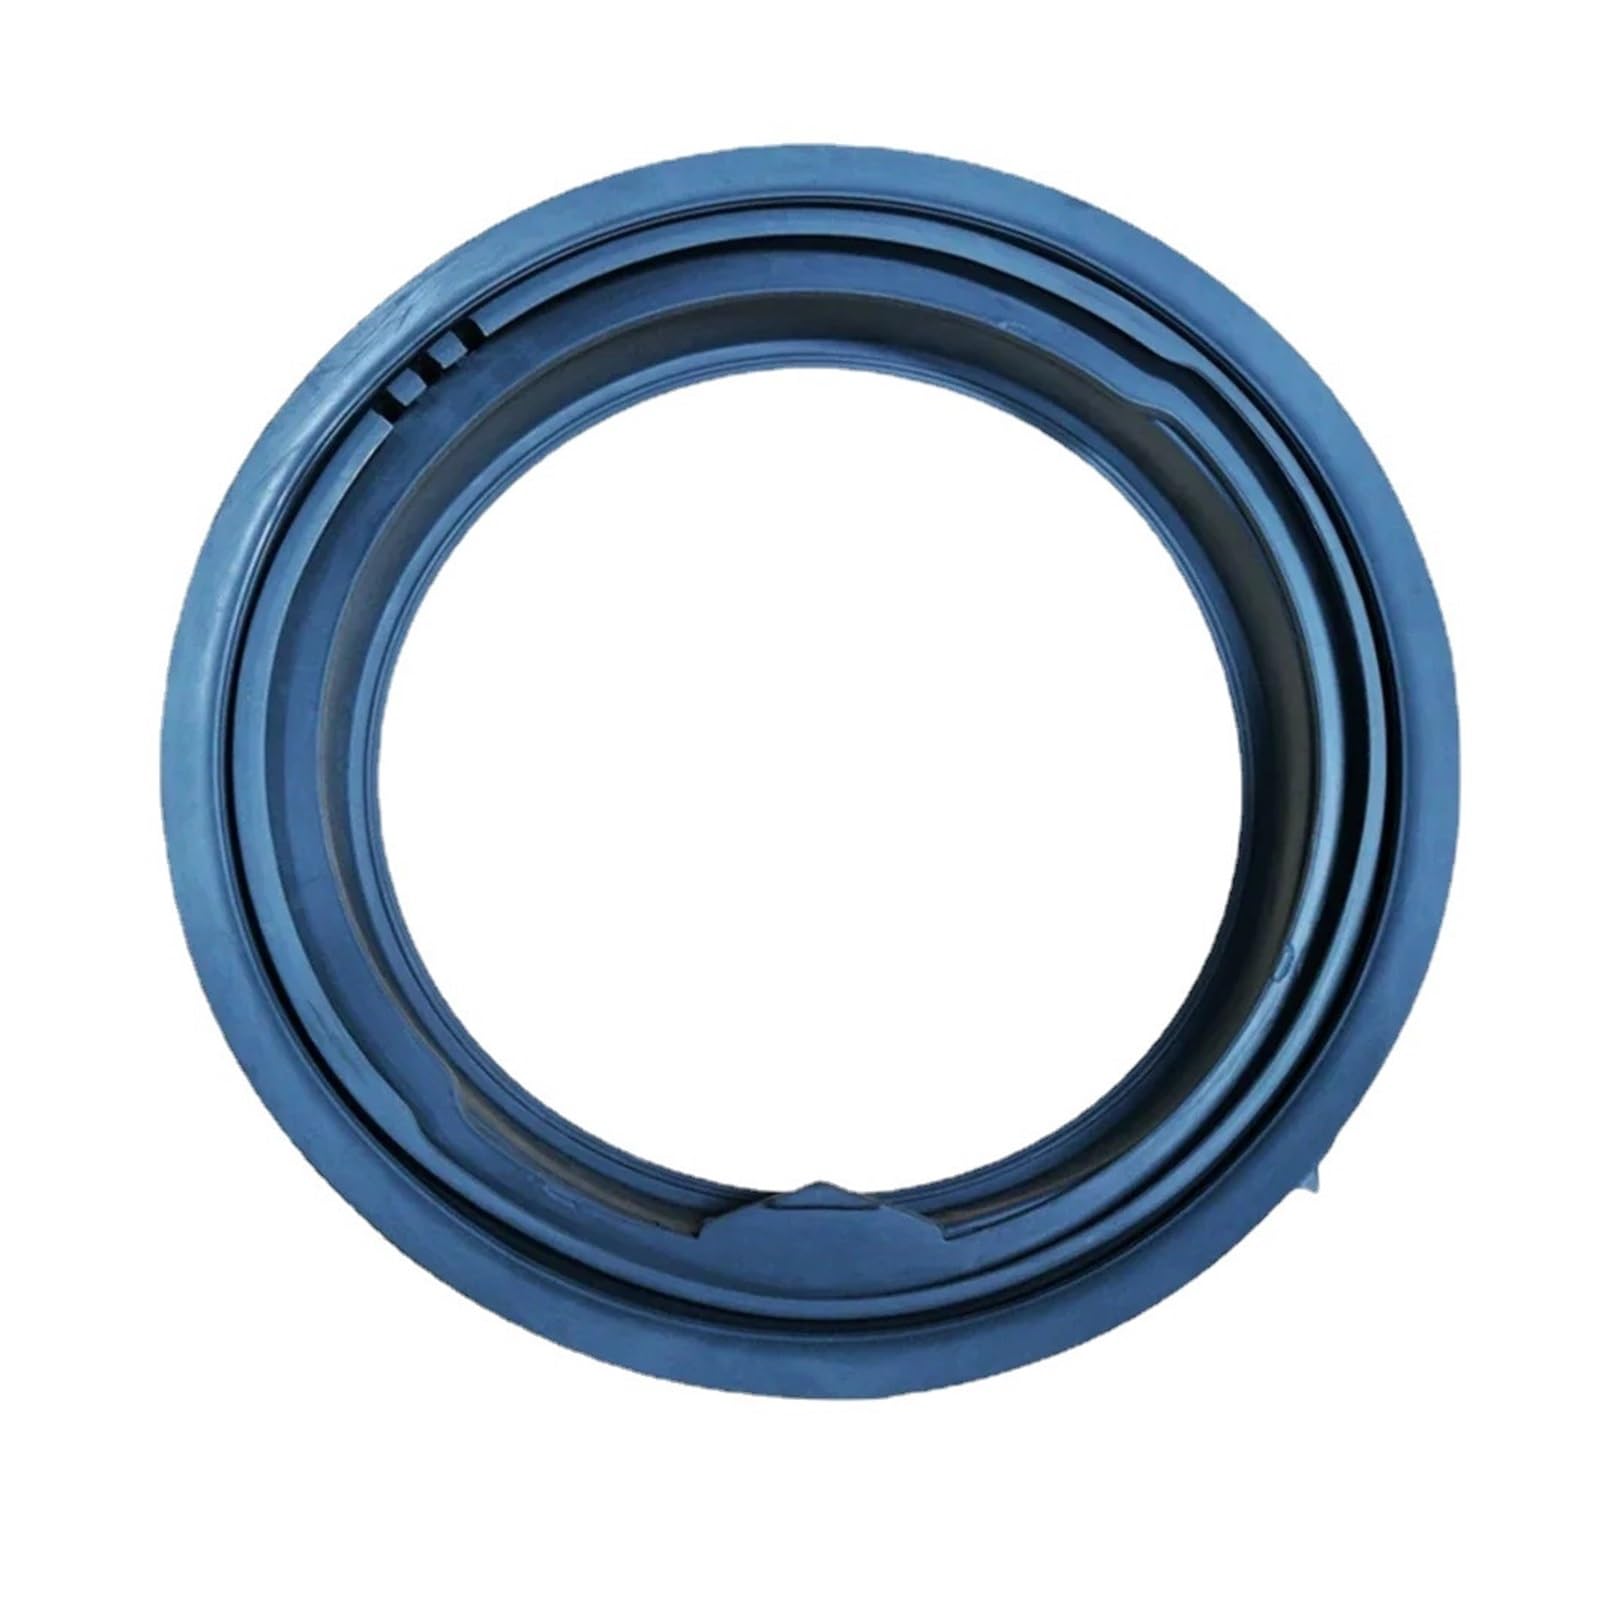
Figure 1: The Skyworth F61090001 washing machine door seal ring. This image shows the complete circular rubber seal designed to prevent water leaks from the washing machine door.
4.3 Installing the New Seal
- Position the New Seal: Carefully position the new door seal, ensuring the drain holes (if present) are at the bottom and align with the corresponding drain in the washing machine tub. The seal typically has a specific orientation.
- Secure Inner Retaining Ring: Work the inner lip of the new seal onto the wash tub flange. Once properly seated, reinstall the inner retaining ring or clamp, ensuring it is securely fastened.
- Secure Outer Retaining Ring: Stretch the outer lip of the seal over the front panel opening. Reinstall the outer spring-loaded wire or clamp, ensuring it is firmly seated in the groove around the seal.

Figure 2: A close-up view of a section of the door seal, highlighting the specific groove and contour designed for a secure fit within the washing machine's drum opening.

Figure 3: Detail of the inner lip of the washing machine door seal, showing the flexible rubber material and its structure which forms a watertight barrier against the washing machine drum.
4.4 Post-Installation Check
- Inspect: Visually inspect the entire seal to ensure it is evenly seated and free from twists or pinches.
- Reconnect Power: Plug the washing machine back into the power outlet.
- Test for Leaks: Run a short wash cycle without laundry to check for any leaks around the door seal. If leaks occur, re-check the installation steps.
5. Operating Considerations
While the door seal itself does not operate, proper usage of the washing machine door is crucial for its longevity and effectiveness.
- Clear Debris: Before closing the washing machine door, ensure no clothing items or foreign objects are caught between the door and the seal.
- Gentle Closure: Close the washing machine door firmly but gently. Avoid slamming the door, which can damage the seal or the door latch mechanism.
6. Maintenance
Regular maintenance of the door seal helps prevent mold growth, odors, and premature wear, ensuring a watertight seal.
- Regular Cleaning: After each wash cycle, wipe down the inside of the door seal with a clean, damp cloth to remove any moisture, lint, or detergent residue.
- Deep Cleaning: Periodically, clean the seal with a mild detergent solution or a washing machine cleaner designed for rubber seals. Pay attention to crevices where mold can accumulate.
- Air Dry: To prevent mold and mildew, leave the washing machine door slightly ajar after use to allow the drum and seal to air dry.
- Inspect for Damage: Regularly inspect the seal for any cracks, tears, or signs of wear. A damaged seal should be replaced promptly to prevent leaks.
7. Troubleshooting
This section addresses common issues related to the washing machine door seal.
| Problem | Possible Cause | Solution |
|---|---|---|
| Water leaking from door |
|
|
| Mold or foul odor on seal |
|
|
8. Specifications
| Item Name | Washing Machine Door Seal Ring |
| Compatible Brand | Skyworth |
| Part Number | F61090001 |
| Model Number (Manufacturer) | OZWCONOMO |
| Item Weight | 2.2 pounds |
| Package Dimensions | 15.75 x 15.75 x 3.94 inches |
| Quantity | 1 PCS |
9. Warranty and Support
For warranty information regarding this product, please refer to the terms provided by the original seller or manufacturer at the time of purchase. This manual does not constitute a warranty.
For technical support or further assistance, please contact the seller or the manufacturer of the washing machine door seal ring directly. Keep your purchase receipt and product information handy when contacting support.