1. Introduction and Safety Information
This manual provides essential instructions for the safe and efficient operation of your zatagen HANYOUNG NX2-00 Temperature Controller. Please read this manual thoroughly before installation and operation, and retain it for future reference.
Safety Precautions
- Ensure the power supply voltage matches the specifications of the controller.
- Disconnect power before performing any wiring or maintenance to prevent electric shock.
- Do not install the controller in locations subject to excessive vibration, dust, humidity, or corrosive gases.
- Only qualified personnel should perform installation and wiring.
- Avoid touching internal components as they may carry high voltage.
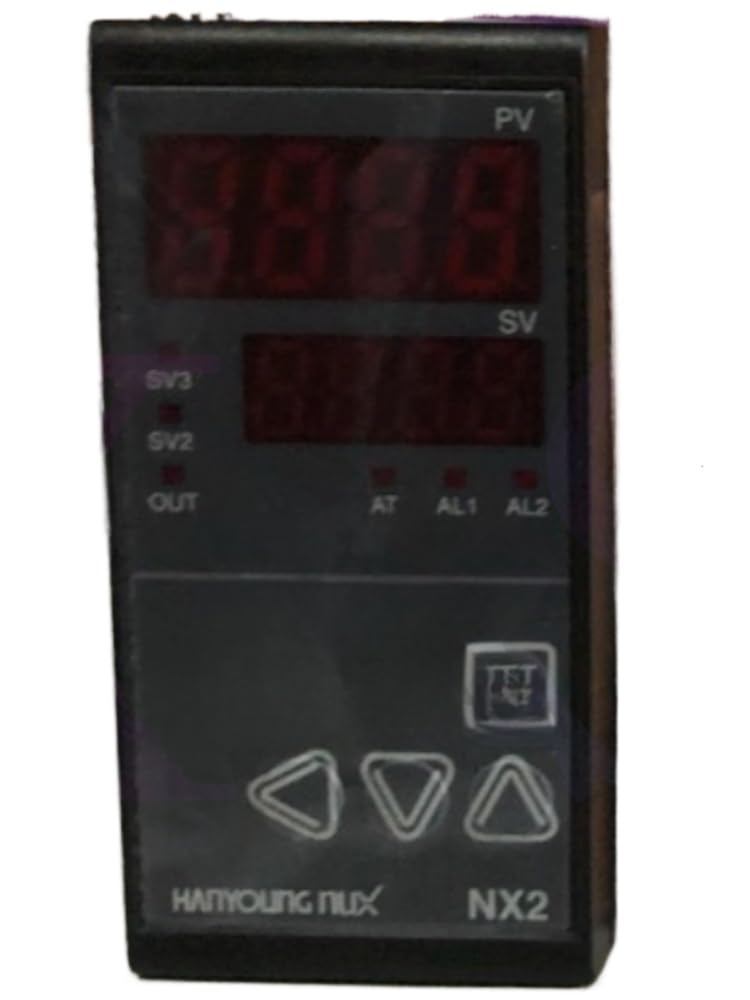
Figure 1: Front view of the HANYOUNG NX2-00 Temperature Controller. This image shows the display screen and control buttons.
2. Setup and Installation
Proper installation is crucial for the accurate and reliable operation of the NX2-00 controller.
2.1 Mounting
- Cut a panel opening of the specified dimensions (refer to specifications section for exact size).
- Insert the controller into the panel opening from the front.
- Secure the controller using the provided mounting brackets from the rear.
2.2 Wiring
Refer to the wiring diagram below for correct terminal connections. Ensure all connections are secure and insulated.

Figure 2: Wiring diagram for the HANYOUNG NX2-00. This diagram illustrates the connections for power, sensor input, and control outputs.
- Power Supply: Connect to terminals L and N (or 1 and 2) as indicated.
- Sensor Input: Connect your temperature sensor (e.g., thermocouple, RTD) to the designated input terminals. Observe polarity for thermocouples.
- Control Output: Connect your heating/cooling device (e.g., SSR, relay) to the output terminals.
3. Operating Instructions
This section details the basic operation and parameter settings of the NX2-00.
3.1 Power On
Once wired correctly, apply power. The controller will perform a self-test and then display the current process value (PV) and set value (SV).
3.2 Setting the Temperature (SV)
- Press the SET button once. The SV display will begin to flash.
- Use the UP and DOWN arrow buttons to adjust the desired temperature.
- Press the SET button again to confirm the new SV. The display will stop flashing.
3.3 Parameter Settings (Advanced)
To access advanced parameters (e.g., P, I, D values, alarm settings, input type), press and hold the MODE button for several seconds. Navigate through parameters using the MODE button and adjust values with the UP/DOWN buttons. Refer to the detailed parameter list in the full product manual for specific codes and ranges.
4. Maintenance
Regular maintenance ensures the longevity and optimal performance of your temperature controller.
4.1 Cleaning
- Disconnect power before cleaning.
- Wipe the front panel with a soft, dry cloth. For stubborn dirt, use a slightly damp cloth with mild detergent.
- Do not use abrasive cleaners, solvents, or alcohol, as these can damage the display or casing.
4.2 Inspection
- Periodically check all wiring connections for looseness or signs of corrosion.
- Ensure the controller is free from dust accumulation, especially around ventilation openings.
- Inspect the sensor and its wiring for damage.
5. Troubleshooting
This section provides solutions to common issues you might encounter with the NX2-00 controller.
| Problem | Possible Cause | Solution |
|---|---|---|
| Controller does not power on. | No power supply; incorrect wiring; blown fuse. | Check power connections; verify wiring against diagram; inspect and replace fuse if necessary. |
| PV display shows "HHHH" or "LLLL". | Sensor open circuit; sensor short circuit; incorrect sensor type setting. | Check sensor wiring and connections; replace faulty sensor; verify sensor input type in parameters. |
| Temperature control is unstable. | Incorrect PID parameters; sensor not properly installed; external disturbances. | Perform auto-tuning or manually adjust PID parameters; ensure sensor is correctly placed; minimize environmental interference. |
| Output not activating. | Output wiring error; output parameter setting incorrect; control deviation too small. | Verify output wiring; check output mode and alarm settings; adjust hysteresis or control range. |
6. Specifications
Key technical specifications for the HANYOUNG NX2-00 Temperature Controller.
- Model: NX2-00
- Manufacturer: zatagen
- Input Type: Universal (Thermocouple, RTD, Voltage, Current) - Specific types configurable via parameters.
- Control Method: PID Auto-tuning / ON/OFF
- Output: Relay / SSR (Solid State Relay) - Specific type depends on model variant.
- Power Supply: 100-240VAC 50/60Hz (typical) - Verify specific unit rating.
- Display: Dual 4-digit LED (PV & SV)
- Panel Cutout: (Refer to full datasheet for exact dimensions, e.g., 48x48mm, 72x72mm, 96x96mm)
- Operating Temperature: 0 to 50°C (32 to 122°F)
- Operating Humidity: 35 to 85% RH (non-condensing)
7. Warranty Information
The zatagen HANYOUNG NX2-00 Temperature Controller is covered by a 180-day warranty from the date of purchase. This warranty covers defects in materials and workmanship under normal use. It does not cover damage resulting from improper installation, misuse, unauthorized modification, or external causes such as accidents or power surges. For warranty claims, please contact your retailer or zatagen customer support with your proof of purchase.