1. Introduction
Thank you for choosing the Jocoevol Twin Over Twin Bunk Bed. This manual provides essential information for the safe assembly, operation, and maintenance of your new bunk bed. Please read all instructions carefully before beginning assembly and retain this manual for future reference.
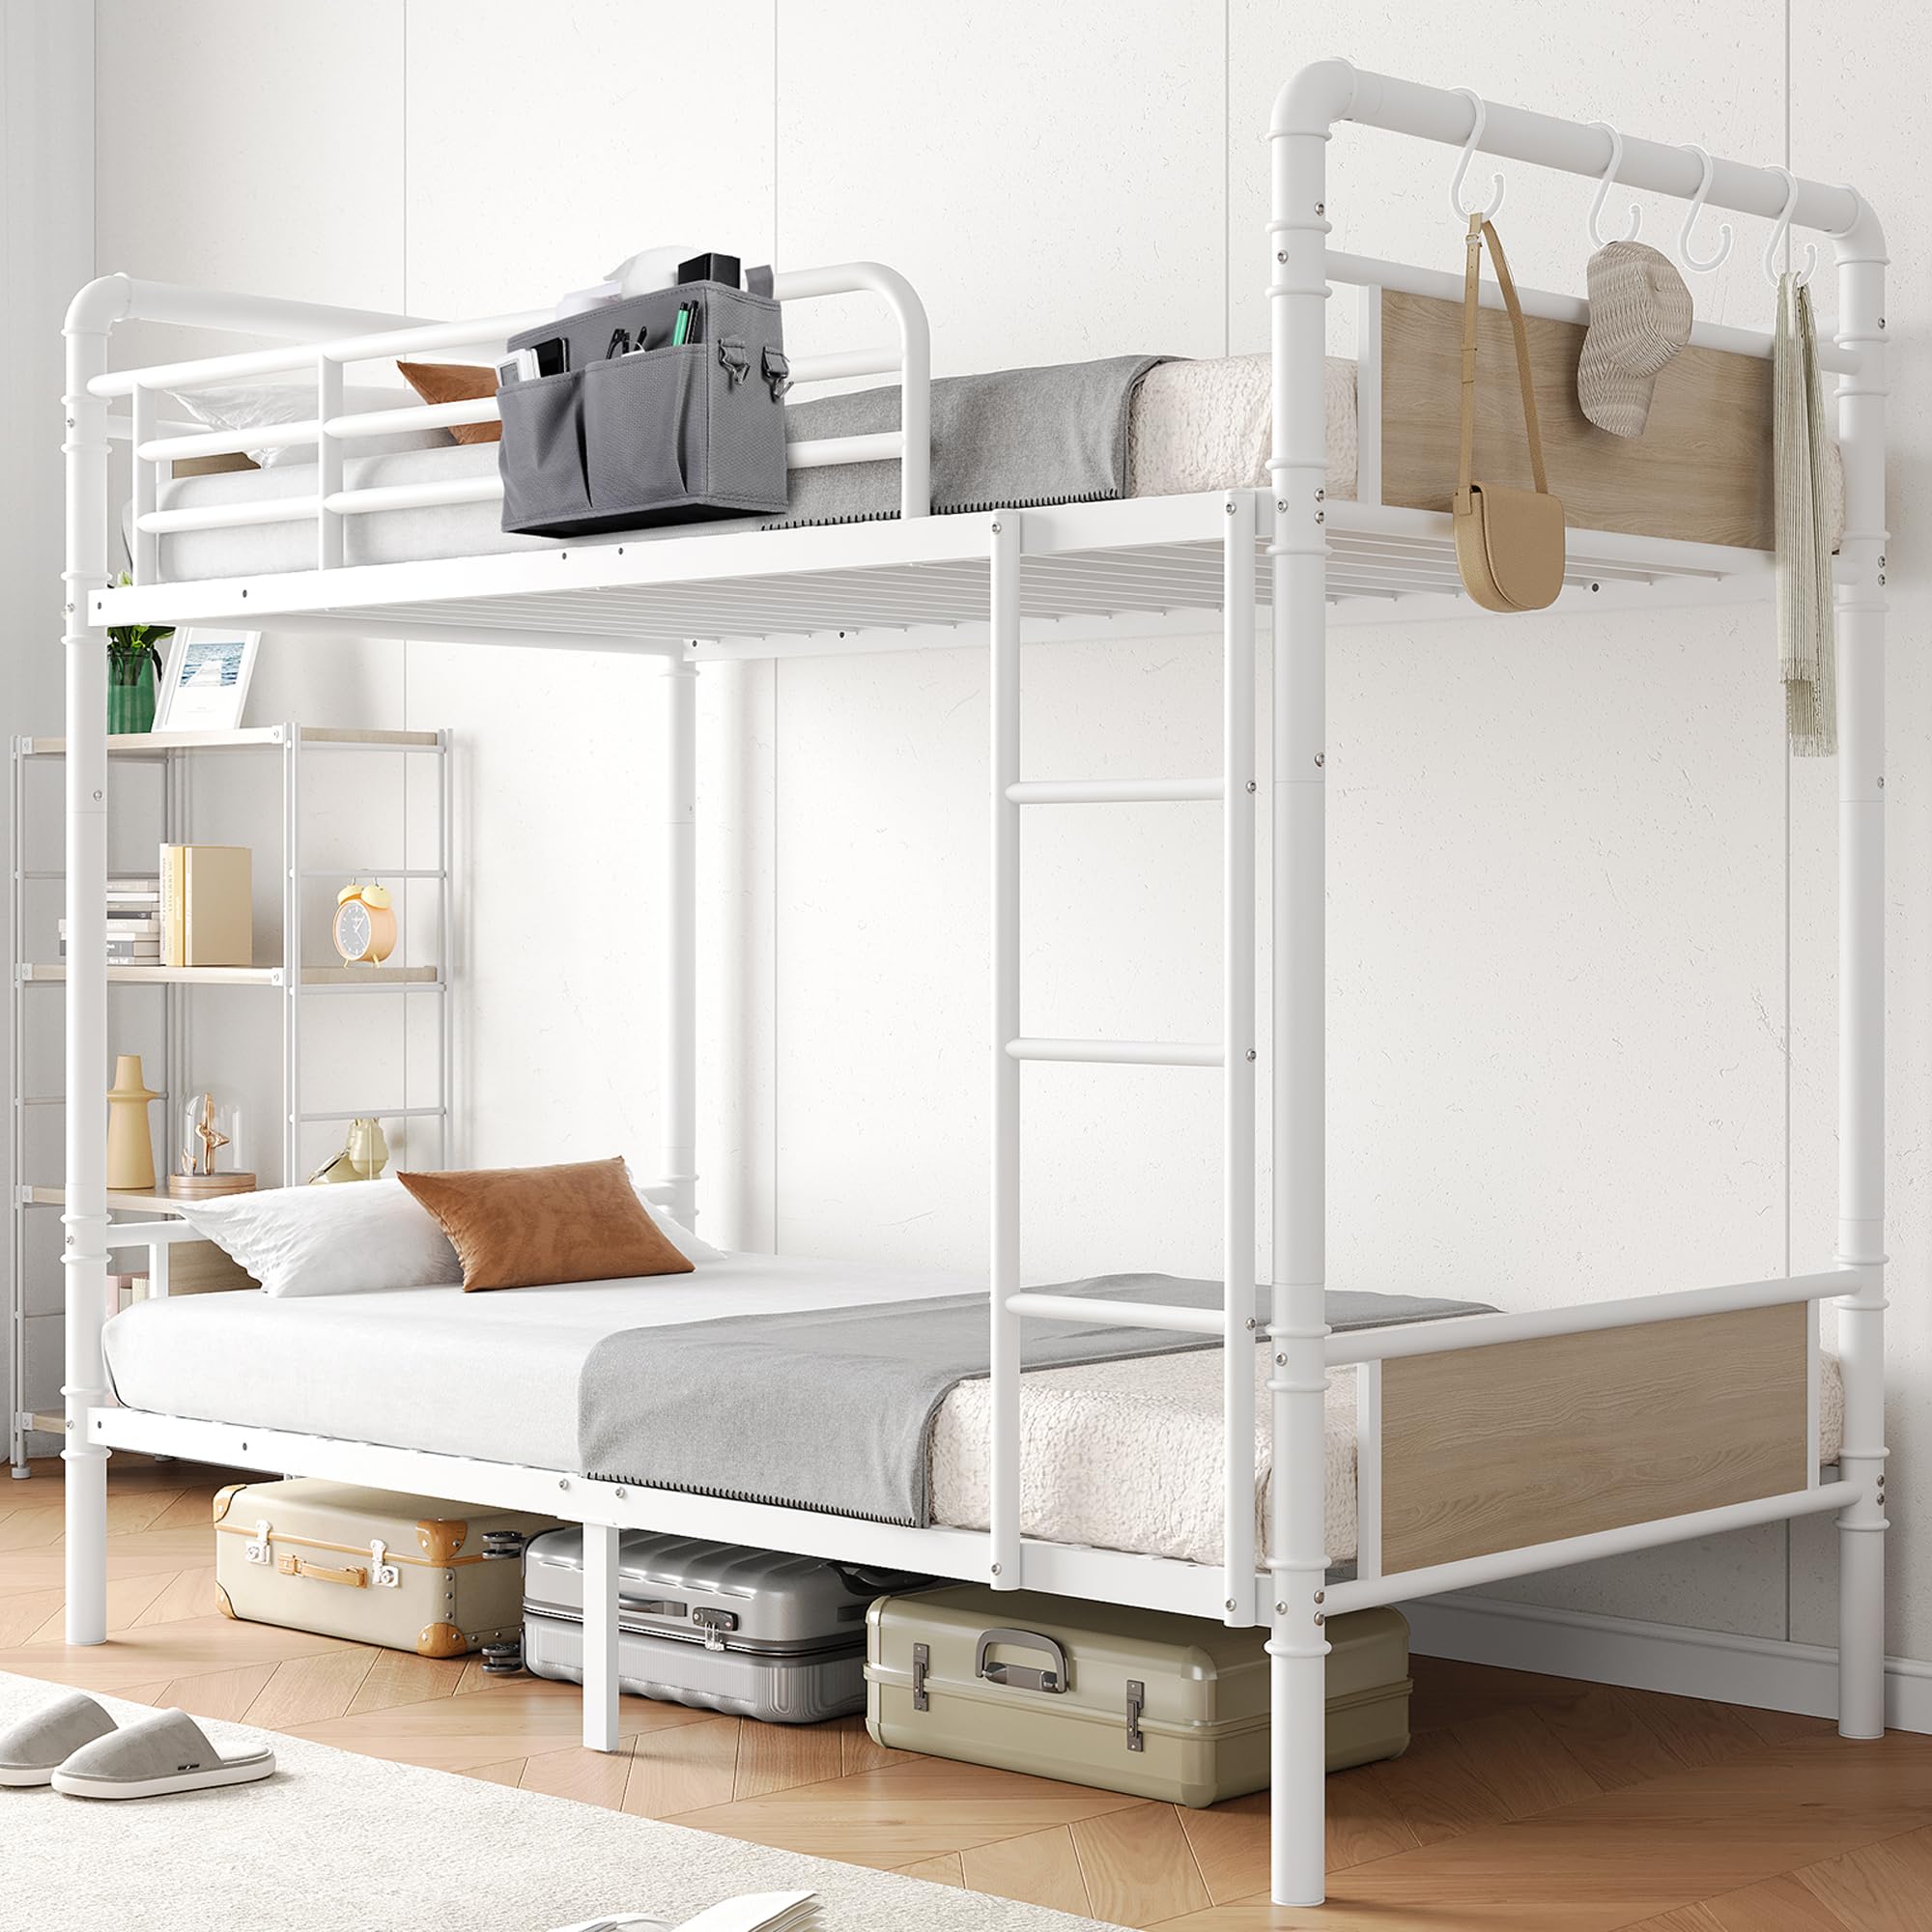
Image: The Jocoevol Twin Over Twin Bunk Bed, showcasing its white metal frame and wooden panel accents in a bedroom environment.
2. Safety Information
Your safety is paramount. Adhere to all warnings and instructions to prevent injury or damage.
- Maximum Weight Capacity: The top bunk has a maximum weight capacity of 330 lbs (149.69 kg). The bottom bunk has a maximum weight capacity of 440 lbs (199.58 kg). Do not exceed these limits.
- Sharp Edges: This bunk bed may have sharp edges during assembly. Exercise caution to avoid injury.
- Guardrails: The top bunk features 16.5-inch high full-length guardrails. Ensure they are properly installed and secured to prevent accidental falls.
- Anti-Tip Kit: An anti-tip kit is included to ensure stability. Install it according to the assembly instructions to prevent the bed from tipping.
- Ladder Safety: Always use the ladder when accessing the top bunk. Ensure the ladder is securely attached before use.
- Mattress Size: Use only twin-sized mattresses that fit snugly within the bed frame to prevent entrapment.
- Children: Children under 6 years of age should not use the top bunk.

Image: Detailed view of the bunk bed's safety features, highlighting the high guardrails and rounded corners designed to prevent injury.
3. Package Contents
Before assembly, verify that all components are present and undamaged. If any parts are missing or damaged, contact customer support immediately.
- Headboard panels
- Footboard panels
- Guardrails (full-length for top bunk)
- Ladder (reversible)
- Bed frames and support slats
- All necessary hardware (screws, bolts, washers, etc.)
- Assembly tools (e.g., Allen wrench)
- Bedside storage bag
- 4 Movable hooks
- Anti-tip kit
4. Setup and Assembly
Assembly is designed to be straightforward. Follow the included clear instructions, which feature labeled parts and all necessary tools.
- Unpack Components: Carefully remove all parts from the packaging. Lay them out on a clean, soft surface to prevent scratches.
- Identify Parts: Refer to the parts list in your separate assembly guide to identify each component.
- Assemble Base Frames: Begin by assembling the headboard and footboard sections for both the upper and lower beds. Ensure all connections are secure.
- Attach Side Rails: Connect the side rails to the headboard and footboard sections.
- Install Support Slats: Place and secure the mattress support slats onto the bed frames.
- Stack Beds (for bunk configuration): Carefully lift and place the upper bed frame onto the lower bed frame, aligning the connection points. Secure with the provided hardware.
- Install Guardrails: Attach the full-length guardrails to the top bunk.
- Attach Ladder: Install the reversible ladder. You can adjust its placement to either the left or right side of the bed to suit your room layout. Ensure it is firmly secured.
- Install Anti-Tip Kit: Follow the specific instructions for the anti-tip kit to secure the bunk bed to a wall, enhancing stability.
- Final Check: Double-check all bolts and screws to ensure they are tightened. Do not overtighten.
Precision-drilled holes facilitate a fast and effortless assembly process.
5. Operating Instructions
5.1. 2-in-1 Convertible Design
This bunk bed offers flexibility by converting into two separate twin beds. To convert:
- Remove the ladder and guardrails from the top bunk.
- Carefully detach the upper bed frame from the lower bed frame by unscrewing the connecting hardware.
- Position the two individual twin beds as desired.

Image: Illustration of the bunk bed's 2-in-1 convertible feature, showing it as a stacked bunk bed and as two individual twin beds.
5.2. Reversible Ladder
The ladder can be attached to either the left or right side of the bunk bed. To change the ladder's position, simply detach it from its current mounting points and reattach it to the desired side, ensuring all connections are secure.

Image: Diagram illustrating the removable ladder and its ability to be attached to either side of the bunk bed.
5.3. Multi-functional Storage
- Bedside Storage Bag: Utilize the included bedside storage bag for convenient access to items such as phones, books, glasses, chargers, and remotes. Attach it to the top bunk's guardrail.
- Movable Hooks: Four movable hooks are provided for hanging bags, scarves, hats, and keys. Place them on the bed frame according to your needs.
- Under-Bed Storage: The bunk bed provides 11.2 inches of under-bed clearance, offering ample space for storing suitcases, storage bins, or other large items.

Image: A detailed view of the bunk bed's headboard and footboard, emphasizing the 11.2-inch under-bed storage space with suitcases stored underneath.
6. Maintenance
Regular maintenance helps prolong the life and safety of your bunk bed.
- Cleaning: Wipe down the metal frame and wooden panels with a soft, damp cloth. Avoid harsh chemicals or abrasive cleaners that could damage the finish.
- Hardware Check: Periodically inspect all bolts, screws, and connections to ensure they remain tight. Retighten any loose hardware to maintain structural integrity and prevent wobbling.
- Guardrail Inspection: Regularly check that the guardrails are securely attached and free from damage.
- Ladder Condition: Ensure the ladder steps and hooks are intact and secure.
7. Troubleshooting
If you encounter issues with your bunk bed, refer to the following common solutions:
- Wobbling or Instability:
Solution: Check all assembly hardware. Ensure all bolts and screws are fully tightened. Verify that the anti-tip kit is correctly installed and secured to the wall. - Squeaking Noises:
Solution: Squeaking often indicates loose connections. Retighten all bolts and screws. Applying a small amount of lubricant to metal-on-metal contact points may also help. - Parts Not Aligning During Assembly:
Solution: Ensure you are using the correct parts for each step as indicated in the assembly guide. Sometimes, parts may be slightly misaligned; try gently adjusting them before fully tightening. Do not force parts together. - Ladder Feels Unstable:
Solution: Confirm the ladder hooks are fully engaged and the ladder is securely fastened to the bed frame.
8. Specifications
| Feature | Detail |
|---|---|
| Model Number | FZZH24110401 |
| Type | Twin Over Twin Bunk Bed |
| Material | Iron frame, Wood headboard/footboard panels |
| Color | White |
| Style | Industrial |
| Product Dimensions (L x W x H) | 199.6 cm x 104.9 cm x 172.7 cm (78.6" L x 41.3" W x 68" H) |
| Item Weight | 93.7 lbs (42.5 kg) |
| Top Bunk Weight Capacity | 330 lbs (149.69 kg) |
| Bottom Bunk Weight Capacity | 440 lbs (199.58 kg) |
| Under-Bed Clearance | 11.2 inches |
| Guardrail Height | 16.5 inches |
| Special Features | Convertible, Heavy Duty, No Box Spring Needed, Reversible Ladder |
| Assembly Required | Yes |

Image: Technical diagram illustrating the overall dimensions (length, width, height) and the individual weight capacities for the top and bottom bunks.
9. Warranty
For information regarding the warranty coverage for your Jocoevol Twin Over Twin Bunk Bed, please refer to your purchase documentation or contact the retailer where the product was purchased.
10. Support
If you have any questions or require assistance with your Jocoevol bunk bed, please do not hesitate to contact our dedicated support team. We are available to assist you and will respond within 24 hours.
Contact Information: Please refer to your purchase invoice or the retailer's website for specific contact details.