
1. Introduction
This user manual provides comprehensive instructions for the installation, operation, and maintenance of your XNY XNY-103-4G-A Wireless 4G WiFi Home Alarm System. Please read this manual carefully before using the product to ensure proper functionality and safety. This system is designed to provide reliable security for your home or office with its dual 4G and WiFi connectivity, smart app control, and various detection accessories.
2. Product Overview
2.1. Main Features
- 2.4-inch TFT Color Screen: For clear display and easy navigation.
- Dual Network Connectivity: Supports 4G (2G/3G/4G SIM card) and 2.4GHz WiFi for continuous security. Note: Does not support 5G WiFi.
- Multi-language Support: 9 built-in languages including English, German, Russian, Spanish, Polish, Greek, French, and Portuguese.
- Multiple Notification Methods: App notifications, SMS alerts, and phone calls.
- Smartphone App Control: Operate and configure settings via the Tuya or Smart Life application.
- Expandable System: Supports up to 90 wireless accessories, including motion detectors, door/window sensors, and remote controls.
- Multiple Control Methods: Keypad, mobile app, remote control, and RFID cards.
- Pre-set Phone Numbers: Supports 5 groups of pre-set phone numbers for calls and SMS alerts.
- Anti-tamper Alarm Function: Enhances security against unauthorized interference.
- Timed Arm/Disarm: Schedule arming and disarming times to automate security.
- Voice Control Integration: Compatible with Amazon Alexa and Google Home.
2.2. Package Contents
The XNY XNY-103-4G-A alarm system package includes the following components:
- 1 x Alarm Host (Main Panel)
- 1 x PE-513 Siren
- 1 x PIR Motion Detector
- 1 x Door/Window Sensor
- 2 x RFID Cards
- 2 x Remote Controls
2.3. Alarm Host Components

Figure 1: Front view of the XNY XNY-103-4G-A Alarm Host, showing the 2.4-inch display screen, speaker, arm button, SOS button, disarm button, and RFID area for card access.

Figure 2: Side view of the XNY XNY-103-4G-A Alarm Host, indicating the battery switch, microphone, Type C power connector, 3.5mm siren connector, and SIM card slot.

Figure 3: Back view of the XNY XNY-103-4G-A Alarm Host, highlighting the anti-tamper bracket for secure mounting.
3. Setup and Installation
3.1. Initial Setup of the Alarm Host
- Power Connection: Connect the alarm host to a power source using the provided Type C power connector. Ensure the battery switch (Figure 2) is in the ON position to utilize the built-in lithium-ion battery.
- SIM Card Insertion: If using 4G connectivity, insert a 2G/3G/4G compatible SIM card into the SIM card slot (Figure 2).
- Siren Connection: Connect the PE-513 siren to the 3.5mm siren connector (Figure 2).
- Mounting: Secure the alarm host to a wall using the anti-tamper bracket (Figure 3) and appropriate screws.
3.2. App Installation and WiFi Connection
- Download App: Download the "Tuya" or "Smart Life" app from your smartphone's app store (iOS or Android).
- Register/Login: Create an account or log in to the app.
- Add Device: Follow the in-app instructions to add your XNY-103-4G-A alarm host. This typically involves putting the alarm host into pairing mode and connecting it to your 2.4GHz WiFi network. Ensure your WiFi network is 2.4GHz, as 5G WiFi is not supported.

Figure 4: The alarm system demonstrating its dual WiFi and 4G network capabilities, ensuring continuous operation even without internet.
3.3. Installing Accessories
The system supports up to 90 wireless accessories. The included accessories are pre-paired, but you may need to add additional sensors or re-pair existing ones if necessary. Refer to the app's instructions for pairing new devices.
- Door/Window Sensor: Install the two parts of the sensor on a door or window frame, ensuring they are aligned and within 1 cm of each other when the door/window is closed.
- PIR Motion Detector: Mount the motion detector in a corner or on a wall where it can cover the desired area. Ensure it is placed at an appropriate height to detect movement effectively. The wide-angle infrared detection covers 110° left and right with a detection distance of 12 meters (39 feet).
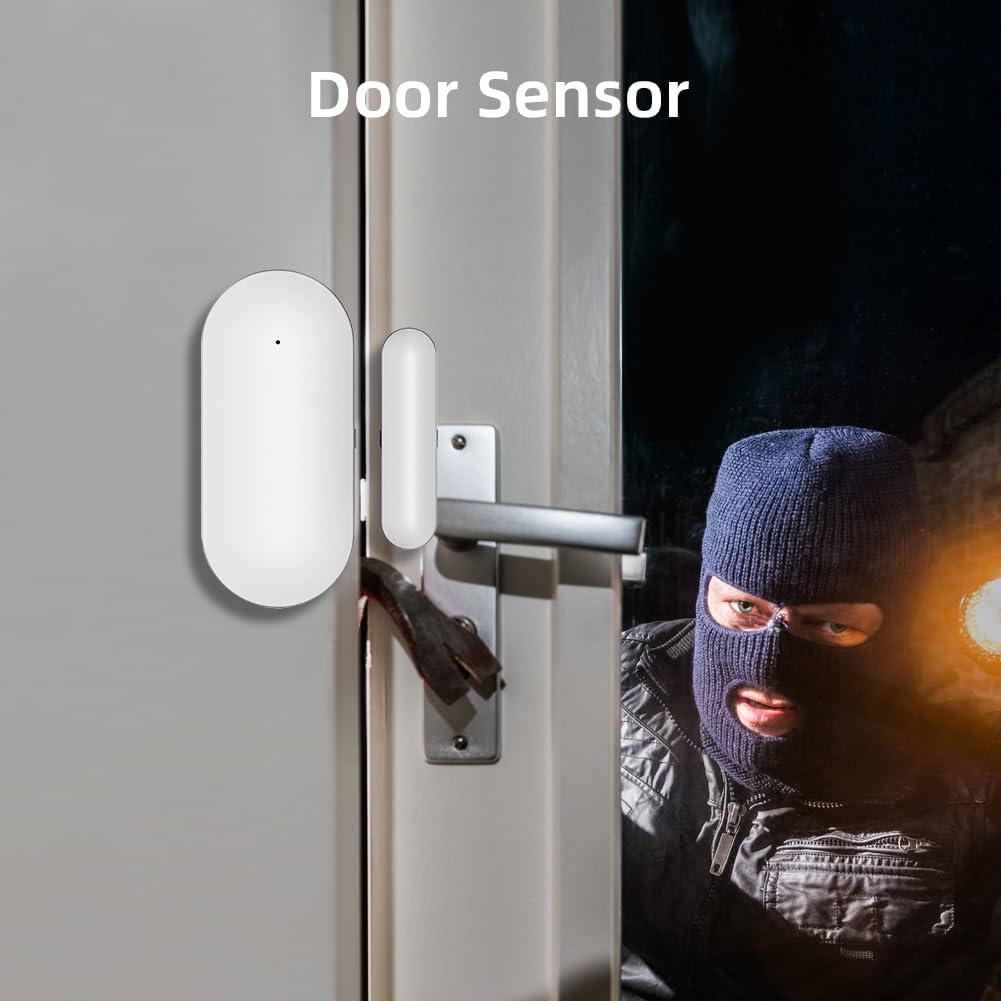
Figure 5: A door sensor installed on a door, designed to detect unauthorized entry.

Figure 6: A motion sensor detecting movement in a room, providing wide-angle infrared detection.
4. Operating Instructions
4.1. Arming and Disarming the System
The system can be armed or disarmed using several methods:
- Keypad: Use the "Arm" and "Disarm" buttons on the alarm host (Figure 1).
- Remote Control: Use the dedicated buttons on the remote control.
- RFID Card: Tap an authorized RFID card on the RFID area of the alarm host (Figure 1) to disarm the system.
- Smartphone App: Use the "Tuya" or "Smart Life" app to remotely arm or disarm the system.

Figure 7: Controlling the alarm system remotely via the smartphone application, allowing for arming and disarming from anywhere.
4.2. Timed Arm and Disarm
You can set schedules for automatic arming and disarming through the smartphone app or directly on the alarm host's keypad. This feature helps automate daily security routines and prevent repeated manual operations.

Figure 8: Setting up timed arm and disarm schedules via the app to avoid daily manual operations.
4.3. Notifications and Alerts
When an alarm is triggered, the system will:
- Activate the siren (120 dB).
- Send push notifications to your smartphone via the app.
- Send SMS alerts to pre-set phone numbers.
- Make phone calls to pre-set phone numbers.
You can rename sensors within the app to easily identify which sensor triggered an alarm, providing specific details like "Door Alarm - Zone 001 Living Room".
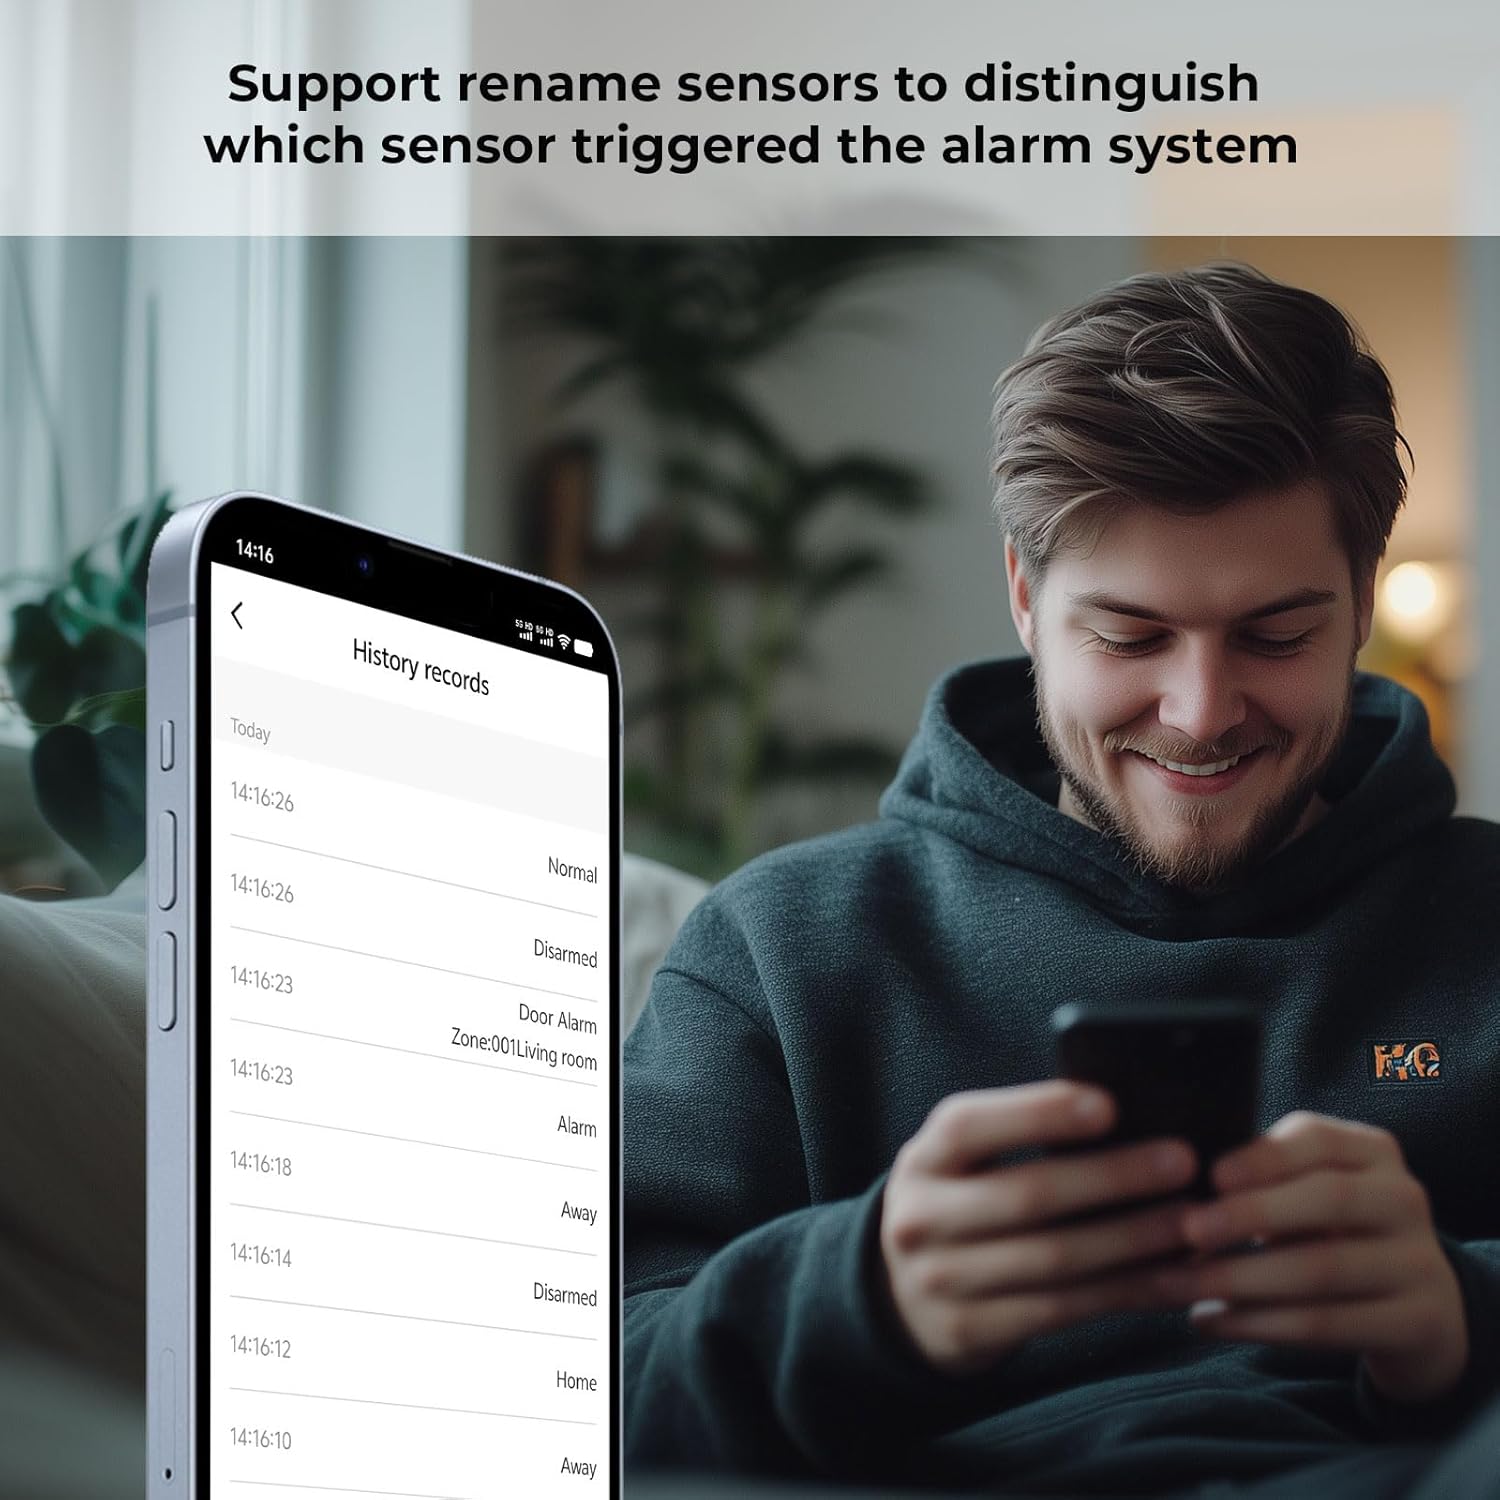
Figure 9: The app displaying a history of events, allowing users to identify which sensor triggered an alarm.
4.4. Voice Control
Integrate your alarm system with Amazon Alexa or Google Home for convenient voice control. Follow the instructions in your Tuya/Smart Life app to link your alarm system to your smart home assistant.
5. Maintenance
- Battery Replacement: The alarm host contains a built-in lithium-ion battery. Ensure it is charged regularly. Replace batteries in wireless sensors (motion detector, door/window sensor, remote controls) as needed. Refer to the individual sensor manuals for specific battery types and replacement procedures.
- Cleaning: Clean the alarm host and sensors with a soft, dry cloth. Avoid using abrasive cleaners or solvents.
- Firmware Updates: Periodically check the Tuya/Smart Life app for any available firmware updates for your alarm system to ensure optimal performance and security.
6. Troubleshooting
- System Not Connecting to WiFi:
- Ensure your WiFi network is 2.4GHz. The system does not support 5G WiFi.
- Check WiFi signal strength.
- Verify correct WiFi password entry.
- Restart your router and the alarm host.
- No 4G/GSM Connectivity:
- Ensure the SIM card is correctly inserted and activated.
- Check for network coverage in your area.
- Verify the SIM card has sufficient credit or an active plan for calls/SMS.
- Sensors Not Triggering Alarm:
- Check sensor battery levels.
- Ensure sensors are properly installed and within range of the alarm host.
- Re-pair the sensors with the alarm host if necessary.
- False Alarms:
- Adjust motion detector sensitivity if pets are causing triggers.
- Ensure door/window sensors are securely attached and not shifting.
- Consider setting a delay time for arming to avoid accidental triggers when leaving the premises.
- No Power During Outage:
- Ensure the internal battery of the alarm host is charged and the battery switch is ON. The system is designed to operate on battery backup during power failures.
7. Specifications
| Feature | Detail |
|---|---|
| Model Number | XNY-103-4G-A |
| Display | 2.4-inch TFT Color Screen |
| Connectivity Technology | Wireless (4G GSM, 2.4GHz WiFi) |
| Compatible Devices | Smartphone, Amazon Alexa, Google Home |
| Power Source | Battery Powered (Lithium-ion included) |
| Control Method | Application, Keypad, Remote Control, RFID |
| Alert Type | Audio (120 dB Siren) and Motion |
| Sensor Technology | Motion Sensor (PIR), IR, RFID |
| Product Dimensions (L x W x H) | 16 x 10 x 2 cm (6.3 x 3.9 x 0.8 inches) |
| Product Weight | 610 grams |
| Recommended Use | Indoor |
8. Warranty and Support
XNY provides a 10-year availability for spare parts for this product. For technical support or warranty claims, please refer to the contact information provided with your purchase or visit the official XNY website.