1. Introduction
Thank you for choosing the RATIO R-SR1400S 1400W Circular Saw. This manual provides essential information for the safe and effective operation, maintenance, and troubleshooting of your new tool. Please read these instructions carefully before use and keep them for future reference.
2. Safety Instructions
Always observe basic safety precautions to reduce the risk of fire, electric shock, and personal injury. Failure to follow these instructions may result in serious injury.
General Safety
- Work Area Safety: Keep your work area clean and well-lit. Cluttered or dark areas invite accidents. Do not operate power tools in explosive atmospheres, such as in the presence of flammable liquids, gases, or dust.
- Electrical Safety: Power tool plugs must match the outlet. Never modify the plug in any way. Avoid body contact with earthed or grounded surfaces. Do not expose power tools to rain or wet conditions.
- Personal Safety: Always wear eye protection, hearing protection, and a dust mask when operating the saw. Dress properly; avoid loose clothing or jewelry. Stay alert and use common sense.
Circular Saw Specific Safety
- Kickback Prevention: Always hold the saw firmly with both hands. Ensure the blade is clear of the workpiece before starting. Avoid cutting small pieces that cannot be securely clamped.
- Blade Guard: Ensure the lower guard operates freely and closes instantly. Never jam or tie back the lower guard.
- Blade Selection: Use only blades recommended for your saw and the material being cut. Ensure the blade is sharp and correctly installed.
- Depth and Bevel Adjustment: Securely tighten all depth and bevel adjustment levers before making a cut.
- Dust Extraction: Connect a dust extraction device when possible to minimize dust exposure.
3. Product Overview and Components
Familiarize yourself with the parts of your RATIO R-SR1400S Circular Saw before operation.
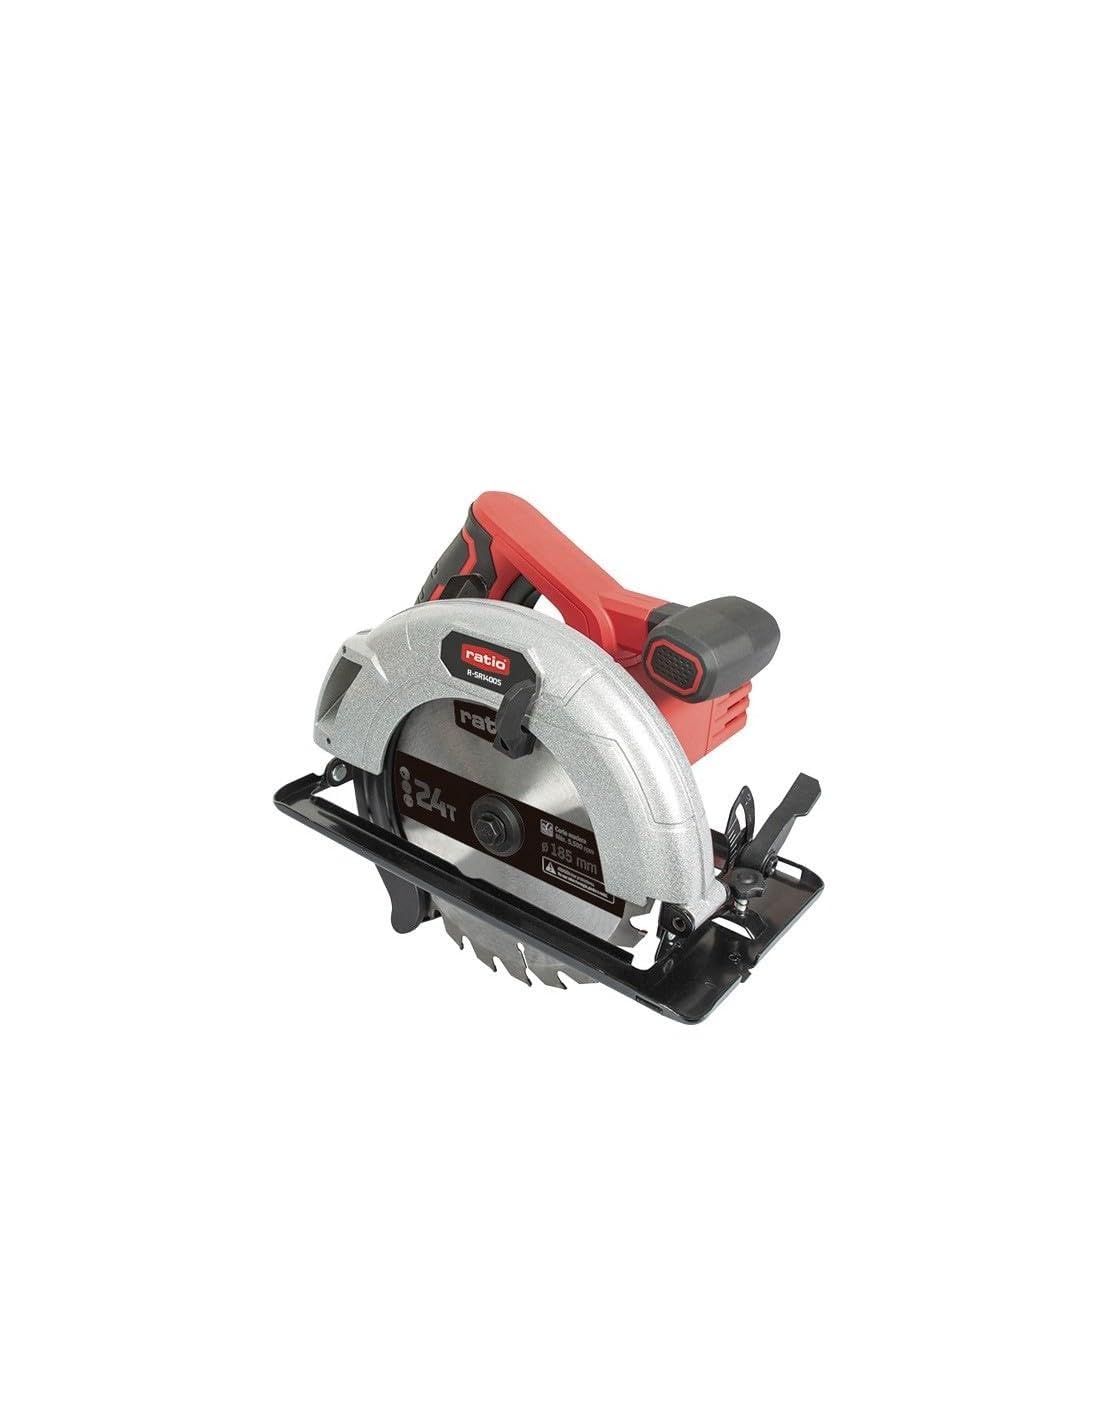
Figure 1: RATIO R-SR1400S Circular Saw. This image shows the complete circular saw with its main components, including the motor housing, handle, blade guard, and cutting blade.
- Motor Housing: Contains the 1400W motor.
- Main Handle: Ergonomically designed with a rubberized grip for comfort and control.
- Safety Lock Switch: Prevents accidental starting.
- Trigger Switch: Activates the saw.
- Upper Blade Guard: Made of aluminum for durability and protection.
- Lower Blade Guard: Made of steel, automatically retracts during cutting.
- Base Plate: Steel construction for stability during cuts.
- Depth Adjustment Lever: For setting the cutting depth.
- Bevel Adjustment Lever: For setting the cutting angle (0-45 degrees).
- Dust Extraction System: Allows connection to a vacuum cleaner for dust management.
- Power Cable: 3 meters long for extended reach.

Figure 2: Included Saw Blade. This image displays the 185mm diameter, 24-tooth saw blade designed for wood cutting, with a maximum speed of 5,500 RPM.
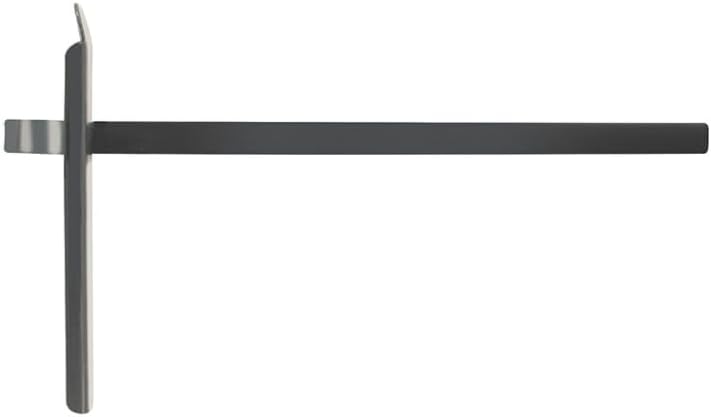
Figure 3: Rip Fence Guide. This accessory is used to guide the saw parallel to the edge of the workpiece for straight and accurate rip cuts.

Figure 4: Blade Changing Wrenches. These wrenches are provided for safely loosening and tightening the blade arbor nut during blade installation and removal.
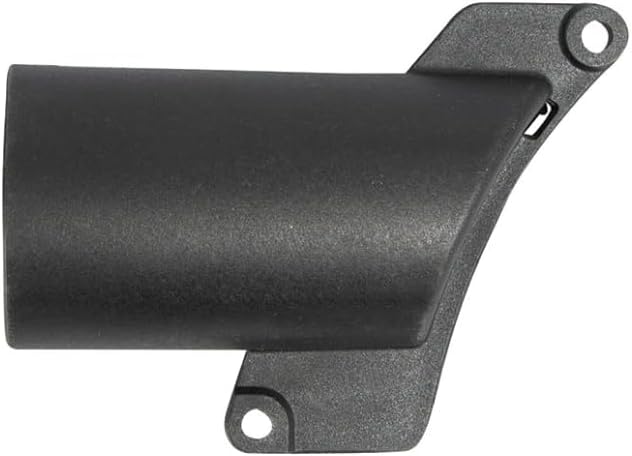
Figure 5: Dust Extraction Port. This component allows for the connection of a dust collection system to minimize sawdust in the work area.
4. Setup
Blade Installation
- Disconnect Power: Always unplug the saw from the power source before performing any adjustments or maintenance.
- Retract Lower Guard: Lift the lower blade guard lever to retract the guard.
- Loosen Arbor Nut: Use the provided wrench to loosen the arbor nut.
- Remove Old Blade: Carefully remove the old blade, noting the direction of rotation.
- Install New Blade: Place the new blade onto the arbor, ensuring the teeth point in the direction of the arrow on the saw and the blade guard.
- Tighten Arbor Nut: Securely tighten the arbor nut with the wrench. Do not overtighten.
- Check Guard: Ensure the lower guard moves freely and springs back to cover the blade.
Adjusting Cutting Depth
The cutting depth should be set so that the blade extends approximately 3-6 mm (1/8"-1/4") below the workpiece. This minimizes kickback and provides a cleaner cut.
- Loosen the depth adjustment lever.
- Raise or lower the base plate to the desired depth.
- Tighten the depth adjustment lever securely.
Adjusting Bevel Angle
The saw can make bevel cuts from 0° to 45°.
- Loosen the bevel adjustment lever.
- Tilt the base plate to the desired angle, aligning with the scale.
- Tighten the bevel adjustment lever securely.
Attaching the Rip Fence Guide
The rip fence guide (Figure 3) helps make straight cuts parallel to the edge of the workpiece.
- Slide the rip fence into the slots on the front of the base plate.
- Adjust the guide to the desired cutting width.
- Tighten the locking screw to secure the guide in place.
5. Operating Instructions
Starting and Stopping the Saw
- To Start: Press the safety lock switch, then squeeze the trigger switch.
- To Stop: Release the trigger switch. The blade will stop rotating.
Making a Cut
- Secure Workpiece: Always clamp the workpiece firmly to prevent movement during cutting.
- Position Saw: Place the front of the base plate on the workpiece, ensuring the blade is clear of the material.
- Start Saw: Start the saw and allow the blade to reach full speed before engaging the material.
- Feed Rate: Apply steady, even pressure to feed the saw through the material. Do not force the saw.
- Complete Cut: Continue the cut until the saw passes completely through the workpiece.
- Release Trigger: Release the trigger and allow the blade to stop before lifting the saw from the workpiece.
6. Maintenance
Regular maintenance ensures the longevity and safe operation of your circular saw.
Cleaning
- Disconnect Power: Always unplug the tool before cleaning.
- Remove Dust: Use a soft brush or compressed air to clean dust and debris from the motor vents and blade guard area.
- Wipe Surfaces: Wipe external surfaces with a damp cloth. Do not use harsh chemicals or solvents.
Blade Care
- Inspect Blade: Regularly inspect the blade for sharpness, cracks, or missing teeth. Replace damaged blades immediately.
- Clean Blade: Remove resin and pitch buildup from the blade using a suitable blade cleaner.
General Inspection
- Check all screws and fasteners for tightness.
- Inspect the power cord for damage. If damaged, have it replaced by a qualified technician.
7. Troubleshooting
This section addresses common issues you might encounter.
| Problem | Possible Cause | Solution |
|---|---|---|
| Saw does not start | No power supply Safety lock not engaged Damaged power cord | Check power outlet and circuit breaker Ensure safety lock is pressed before trigger Inspect cord; contact service if damaged |
| Blade binds or smokes | Dull or dirty blade Incorrect cutting depth Forcing the saw Workpiece not secured | Replace or clean blade Adjust cutting depth Reduce feed rate Secure workpiece firmly |
| Inaccurate cuts | Loose adjustments Worn blade Improper technique | Tighten depth/bevel levers Replace blade Use a guide and maintain steady feed |
| Excessive vibration | Loose blade Damaged blade Bent arbor | Ensure blade is securely tightened Replace blade Contact service center |
8. Specifications
| Feature | Specification |
|---|---|
| Model | R-SR1400S |
| Power | 1400 W |
| No-load Speed | 5,500 rpm |
| Blade Diameter | 185 mm |
| Blade Bore | 20 mm |
| Max. Cutting Capacity (90°) | 63 mm |
| Max. Cutting Capacity (45°) | 42 mm |
| Bevel Cut Range | 0° - 45° |
| Weight | 5 kg (approx. 4.34 kg product weight) |
| Cable Length | 3 m |
9. Warranty and Support
RATIO products are manufactured to high-quality standards. For warranty information, please refer to the warranty card included with your purchase or contact your local RATIO dealer. For technical support or service, please contact the retailer where the product was purchased or visit the official RATIO website for service center locations.