Introduction
The Sper Scientific 2 Channel Digital Lab + Kitchen Timer Model 810002 is a versatile device featuring two independent countdown/count-up timers. It is designed for precise time management in various environments, including laboratories, kitchens, and educational settings. The timer includes a large display, audible alarms, and color-coded LED indicators for clear and reliable notifications.
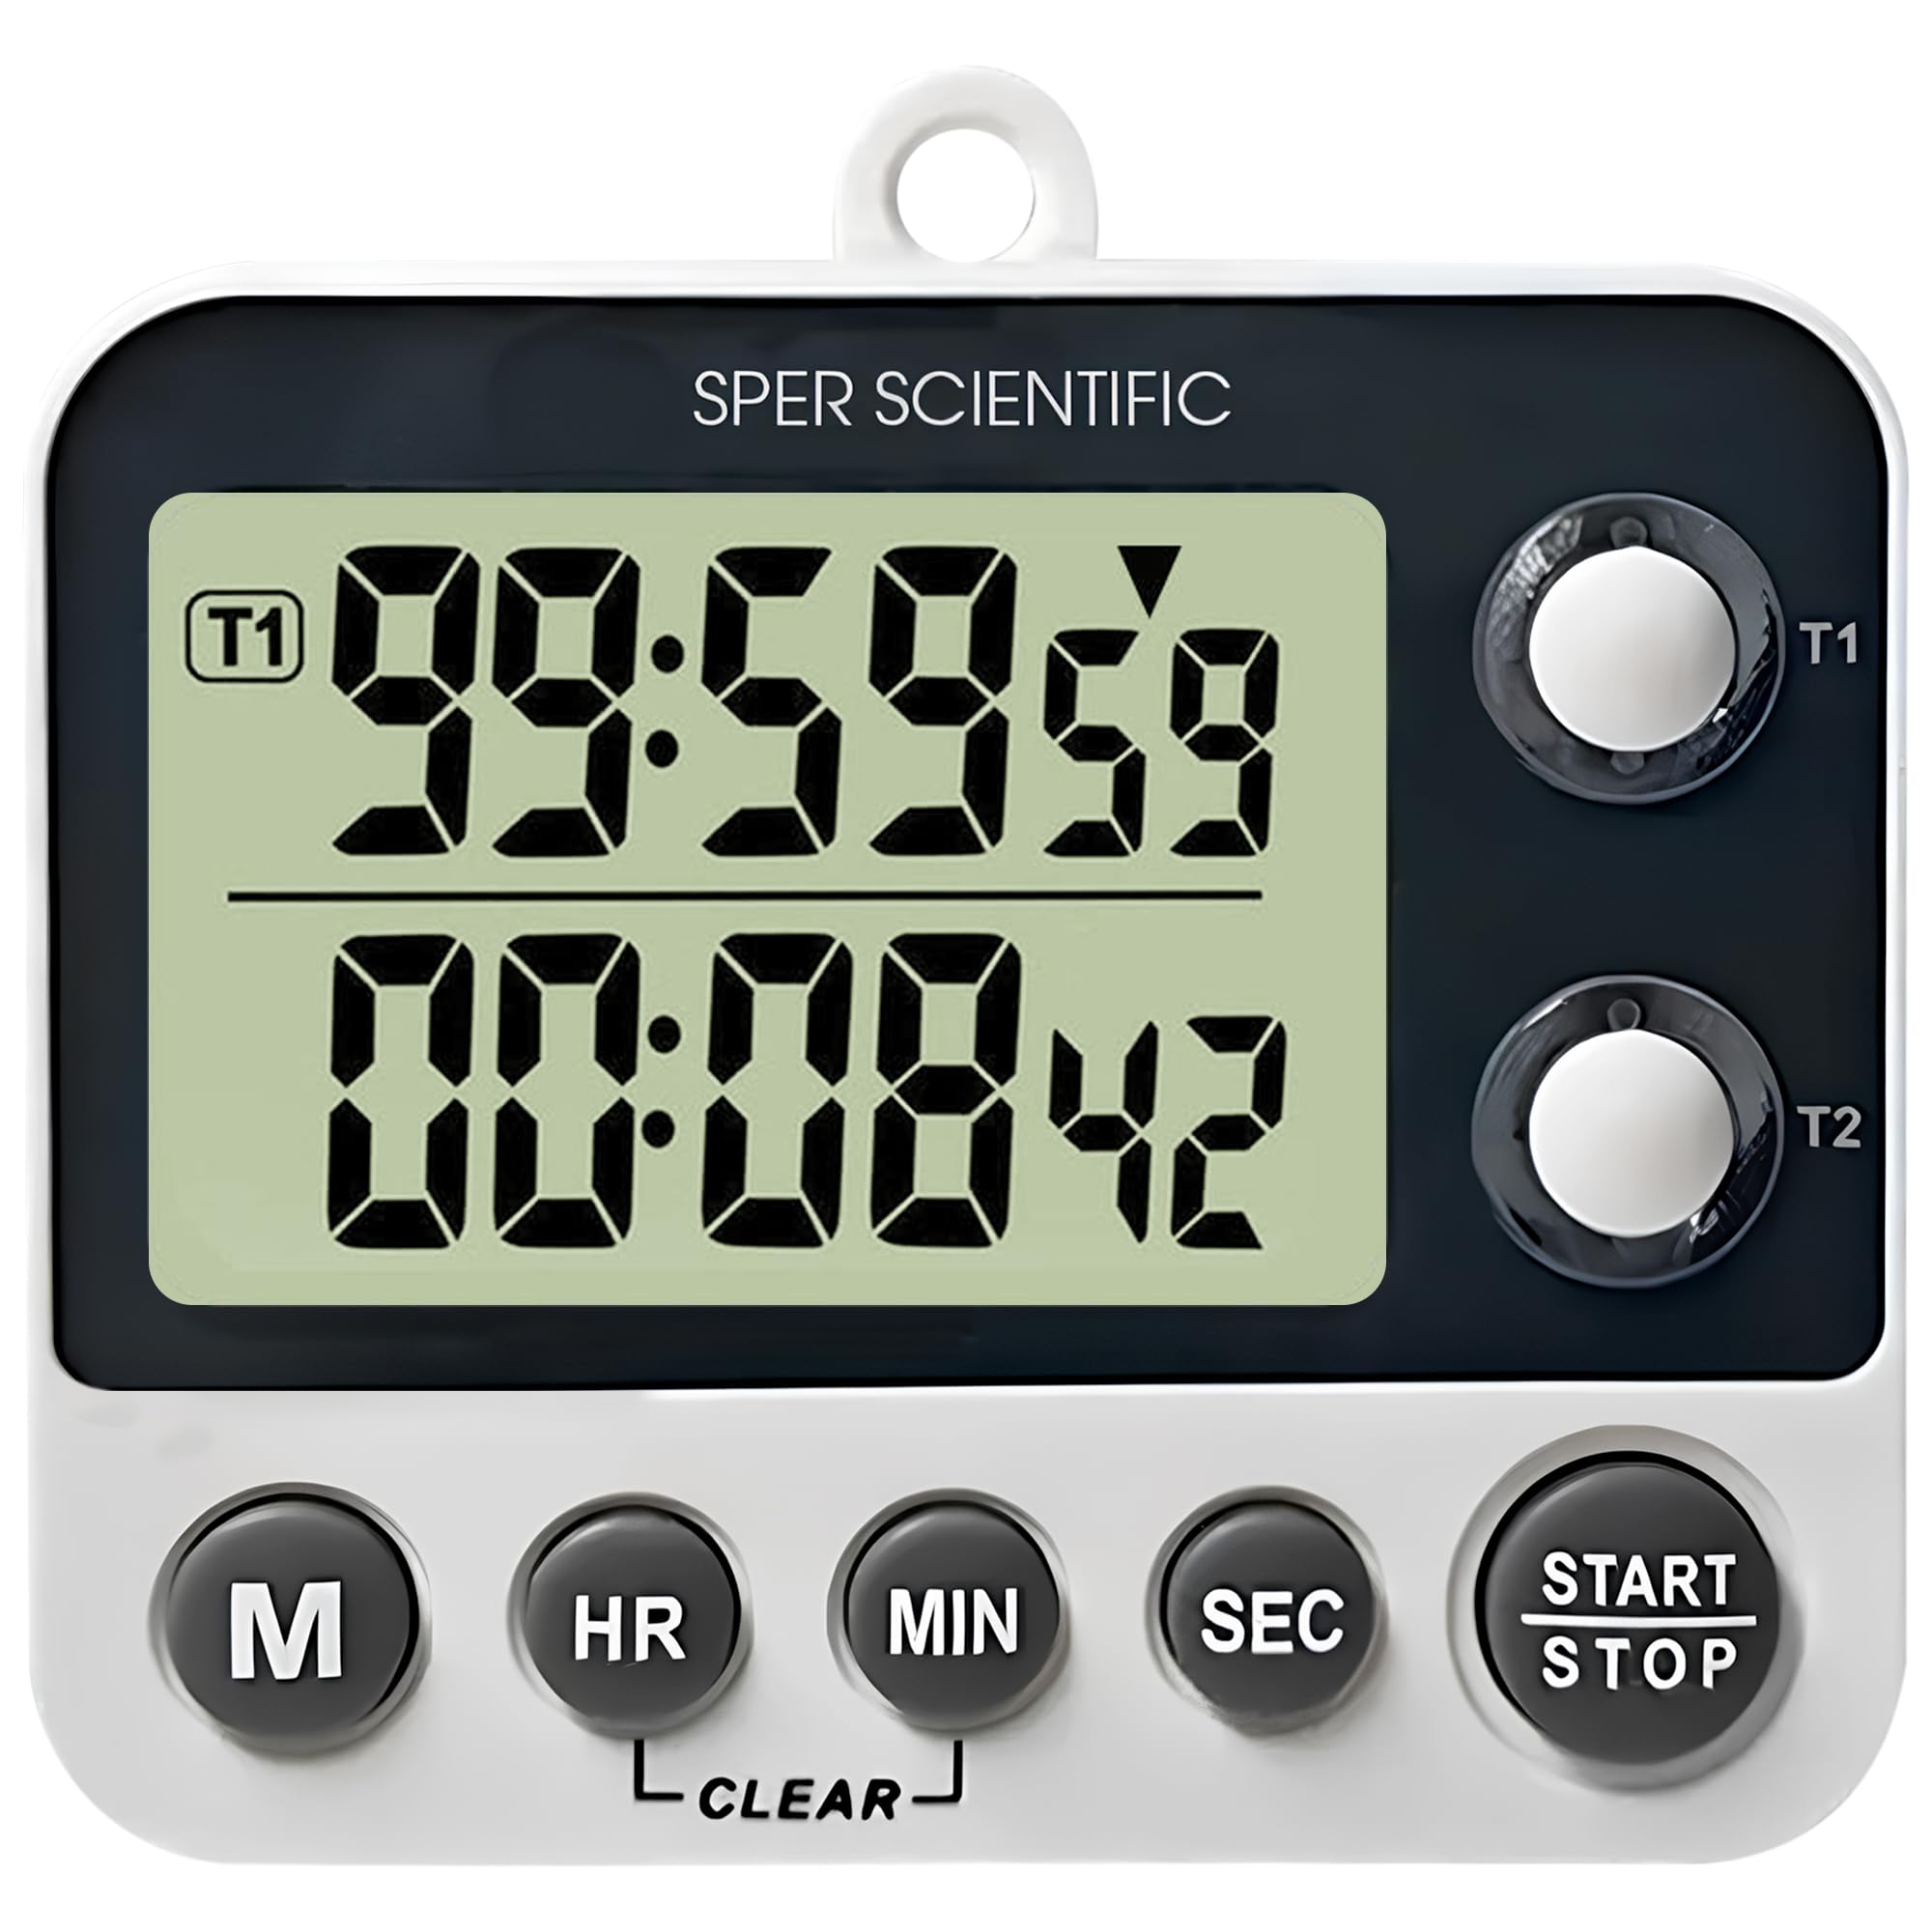
Figure 1: Sper Scientific 2 Channel Digital Timer Model 810002
Key Features
- Dual Timer Function: Two independent countdown/count-up timers allow simultaneous tracking of multiple tasks.
- Easy-to-Read Display: A large LCD screen with 0.75-inch digits ensures clear visibility.
- Loud Alarm & LED Alerts: Provides audible alarms and color-coded LED indicator lights for distinct notifications.
- Multiple Mounting Options: Features a folding stand, magnetic back, and a wall hanger for flexible placement.
- Timer & Clock Modes: Easily switch between timer and clock functions for enhanced versatility.

Figure 2: Overview of the timer's key features including large display, loud alarm, timer & clock modes, and magnetic back.

Figure 3: Detailed view of the timer's easy-to-read display, showing its 0.75-inch digit size and overall product dimensions.

Figure 4: Illustration of the timer's loud alarm and color-coded LED alerts, indicating active timers and notifications.

Figure 5: Demonstration of the timer's multiple mounting options, including magnets, a wall hanger, and a folding stand.
Setup
Battery Installation
- Locate the battery compartment on the back of the timer.
- Open the battery compartment cover.
- Insert two AAA batteries, ensuring correct polarity (+ and -).
- Close the battery compartment cover securely.
Mounting Options
- Folding Stand: Pull out the integrated stand on the back of the timer to place it on a flat surface.
- Magnetic Back: The timer features magnets on its back for attachment to metallic surfaces like refrigerators or lab equipment.
- Wall Hanger: Use the built-in hook to hang the timer on a nail or screw on a wall.
Operating Instructions
Power On/Off
The timer powers on automatically when batteries are inserted. There is no dedicated power button. To turn off, remove the batteries.
Switching Modes (Timer/Clock)
Press the 'M' button to cycle between Timer 1, Timer 2, and Clock modes.
Setting Timers (Countdown)
- In Timer 1 or Timer 2 mode, press the 'HR', 'MIN', or 'SEC' buttons to set the desired countdown time. Each press increases the value. Hold the button for faster adjustment.
- Press the 'START/STOP' button to begin the countdown.
- To pause the countdown, press 'START/STOP' again. Press it once more to resume.
- When the timer reaches zero, an audible alarm will sound, and the corresponding LED will flash.
- Press any button to stop the alarm.
- To clear the set time, press the 'CLEAR' button.
Count-Up Function
- Ensure the timer is in Timer 1 or Timer 2 mode and the display shows '00:00:00'. If not, press the 'CLEAR' button.
- Press the 'START/STOP' button to begin counting up from zero.
- To pause the count-up, press 'START/STOP' again. Press it once more to resume.
- To reset the count-up timer to zero, press the 'CLEAR' button.
Setting Clock Mode
- In Clock mode, press and hold the 'M' button until the hour digits begin to flash.
- Use the 'HR' button to adjust the hour.
- Press the 'M' button again to select the minute digits, then use the 'MIN' button to adjust the minutes.
- Press the 'M' button once more to confirm the time setting.
Maintenance
Cleaning
Wipe the timer with a soft, damp cloth. Do not use abrasive cleaners, solvents, or immerse the unit in water.
Battery Replacement
If the display becomes dim or the timer functions erratically, replace the batteries. Always use fresh AAA batteries and dispose of old batteries responsibly.
Troubleshooting
- Timer not turning on: Ensure batteries are correctly installed and are not depleted. Replace batteries if necessary.
- Display is dim or blank: This usually indicates low battery power. Replace the batteries.
- Alarm not sounding: Check if the timer is in a mode where the alarm is expected. Ensure the timer is not muted (if applicable, though this model has a loud alarm).
- Incorrect time displayed: Reset the clock following the 'Setting Clock Mode' instructions.
Specifications
| Feature | Detail |
|---|---|
| Model | 810002 |
| Brand | Sper Scientific |
| Product Dimensions (D x W x H) | 0.87" x 3.25" x 2.63" |
| Item Weight | 0.12 Kilograms |
| Screen Size | 0.75 Inches |
| Number of Operational Settings | 3 |
| UPC | 816366026574 |
Warranty and Support
For warranty information, technical support, or service inquiries, please contact Sper Scientific directly. Refer to the official Sper Scientific website or product packaging for the most current contact details and warranty terms.
You can visit the Sper Scientific store for more information: Sper Scientific Store


