
1. Introduction
This manual provides detailed instructions for the installation, operation, and maintenance of your TDH Smart Toilet T09 PRO. Please read this manual thoroughly before installation and use to ensure proper function and safety. Keep this manual for future reference.
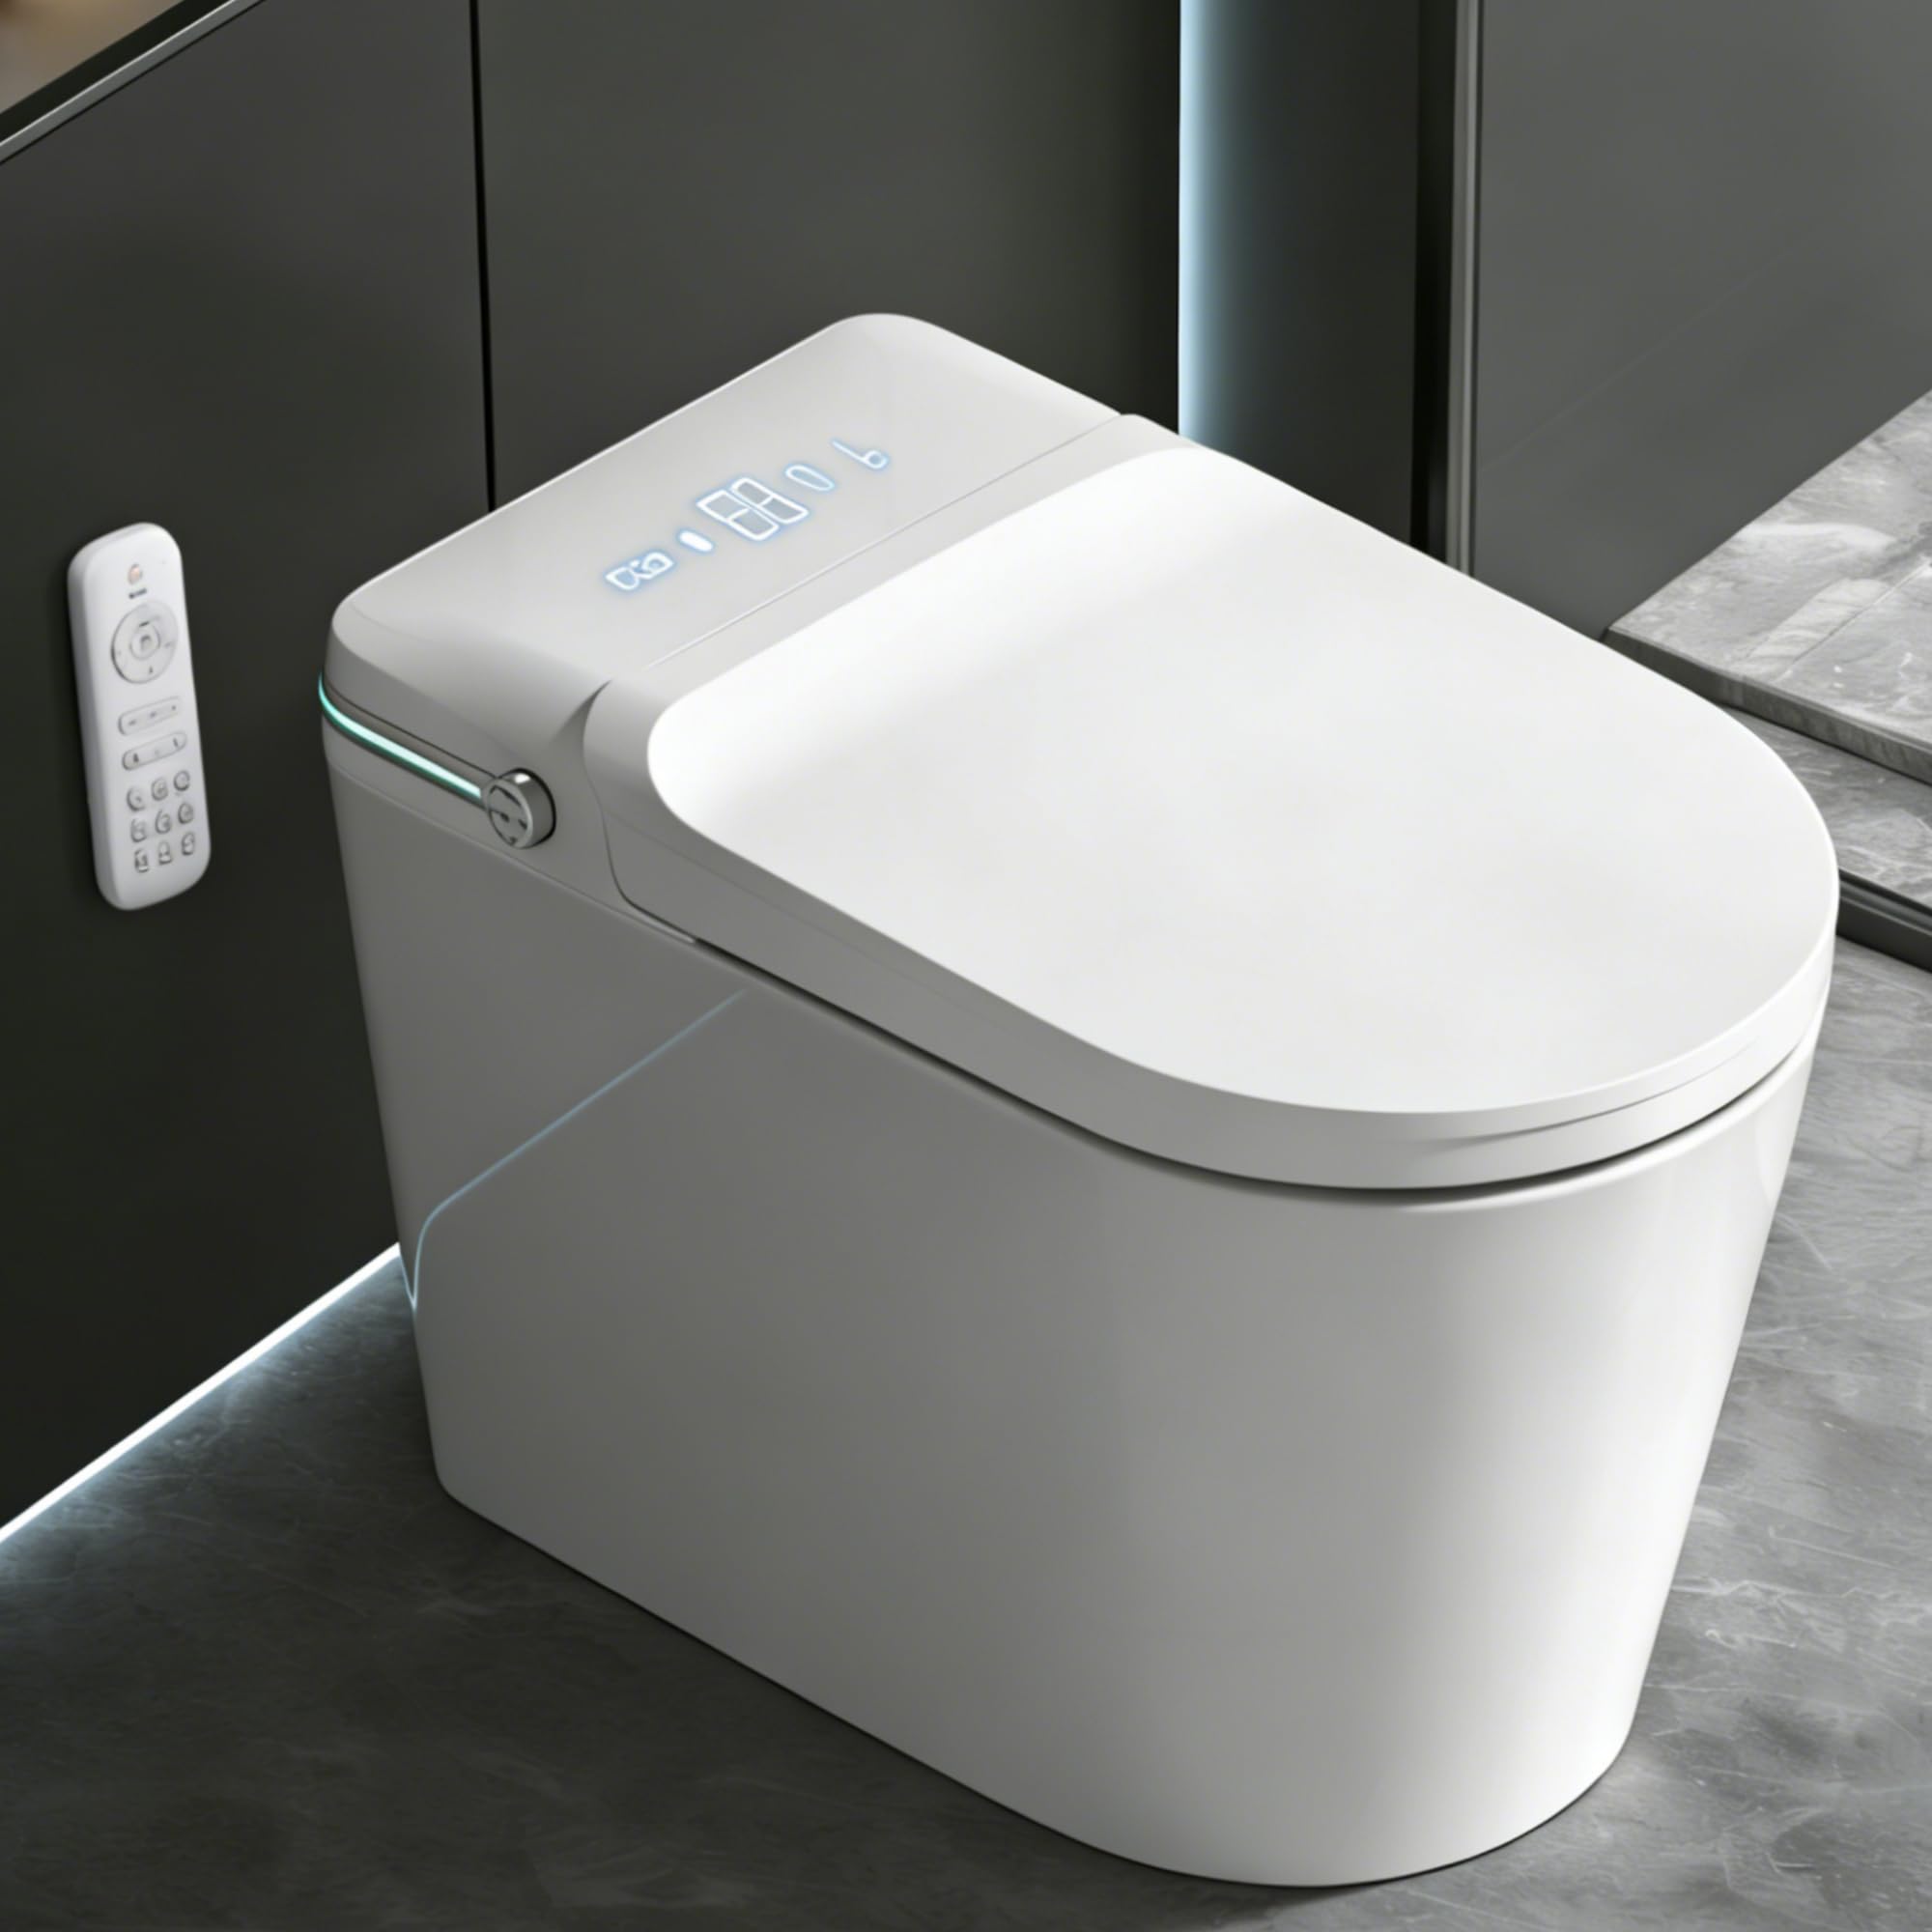
Figure 1: TDH Smart Toilet T09 PRO - A modern, one-piece smart toilet with advanced features.
2. Safety Information
Always follow basic safety precautions when using electrical products, especially when children are present. To reduce the risk of burns, electrocution, fire, or injury to persons:
- Ensure the power outlet is within reach of the unit and meets product specifications.
- Do not immerse the product in water or other liquids.
- Unplug this product before cleaning.
- Close supervision is necessary when this product is used by, on, or near children or invalids.
- Use this product only for its intended use as described in this manual.
- Do not use attachments not recommended by the manufacturer.
- Never operate this product if it has a damaged cord or plug, if it is not working properly, or if it has been dropped or damaged.
3. Package Contents
Verify that all components are present before beginning installation:
- TDH Smart Toilet Unit
- Remote Control
- Angle Valve (American standard 3/4 outlet and 1/2 inlet)
- 7/8 to 3/4 Adapter
- Wax Ring
- Mounting Screws and Hardware
- Backup Battery for Emergency Flush
- User Manual

Figure 2: Included accessories and key dimensions for the TDH Smart Toilet T09 PRO.
4. Setup and Installation
Proper installation is crucial for the optimal performance of your smart toilet. Please follow these steps carefully.
4.1 Pre-Installation Checks
- Ensure the installation area is clean and dry.
- Measure the rough-in distance (distance from the wall to the center of the drain hole) to ensure it is 12 inches (305mm).
- Confirm water pressure meets requirements: 5L water output in 15 seconds, and water inlet pressure of 0.15-0.75MPa.
4.2 Angle Valve Installation
- Wrap thread seal tape around the interface of the angle valve.
- Install the angle valve onto the water supply line.
- Drain residual water from the supply line to clear debris.
- Insert the water flow restrictor into the outlet with the small end inside.
4.3 Toilet Unit Installation
- Install expansion screws into the floor flange.
- Mount the wax ring onto the drain hole.
- Carefully align the toilet unit with the floor flange and screws.
- Install the flat washer and nut to secure the toilet to the floor.
- Connect the braided tube from the toilet to the angle valve and tighten securely. Ensure the braided tube is not bent.
- Open the angle valve to the maximum position.
- Check for any water leaks.
- Plug the power cord into a suitable electrical outlet.
- Install the remote control in its wall-mounted holder.
Video 1: How to install the TDH Smart Toilet. This video demonstrates the complete installation process from start to finish.
Video 2: 7/8 Water pipe installation. This video provides specific instructions for connecting the 7/8 water pipe.
5. Operating Instructions
Your TDH Smart Toilet T09 PRO offers various intelligent functions for enhanced comfort and hygiene.
5.1 Automatic Functions
- Foot Sensor Operation: Gently tap your foot near the sensor at the base of the toilet to automatically open or close the lid and seat.
- Approach Sensor: The lid will automatically open when you approach the toilet.
- Auto-Flush: The toilet will automatically flush after use, or after a set period of time when you leave the seat.
- Pre-Wetting System: The bowl is pre-wetted before use to help keep it cleaner.

Figure 3: Overview of the automatic functions and comfort features of the smart toilet.

Figure 4: Illustration of the off-seat auto flush system for hands-free operation.
5.2 Remote Control and Side Knob
All functions can be controlled via the remote or the side rotational knob.
- Cleaning Modes: Select Rear, Feminine, or Massage wash modes. Adjust nozzle position and water pressure (5 levels).
- Water Temperature: Adjust warm water sprayer temperature (multiple levels).
- Heated Seat: Adjust seat temperature (multiple levels).
- Warm Air Drying: Adjust air temperature for drying (multiple levels).
- Night Light: Turn on/off the gentle night light.
- Flush: Manual flush button.
- Stop/Reset: Stop current operations.
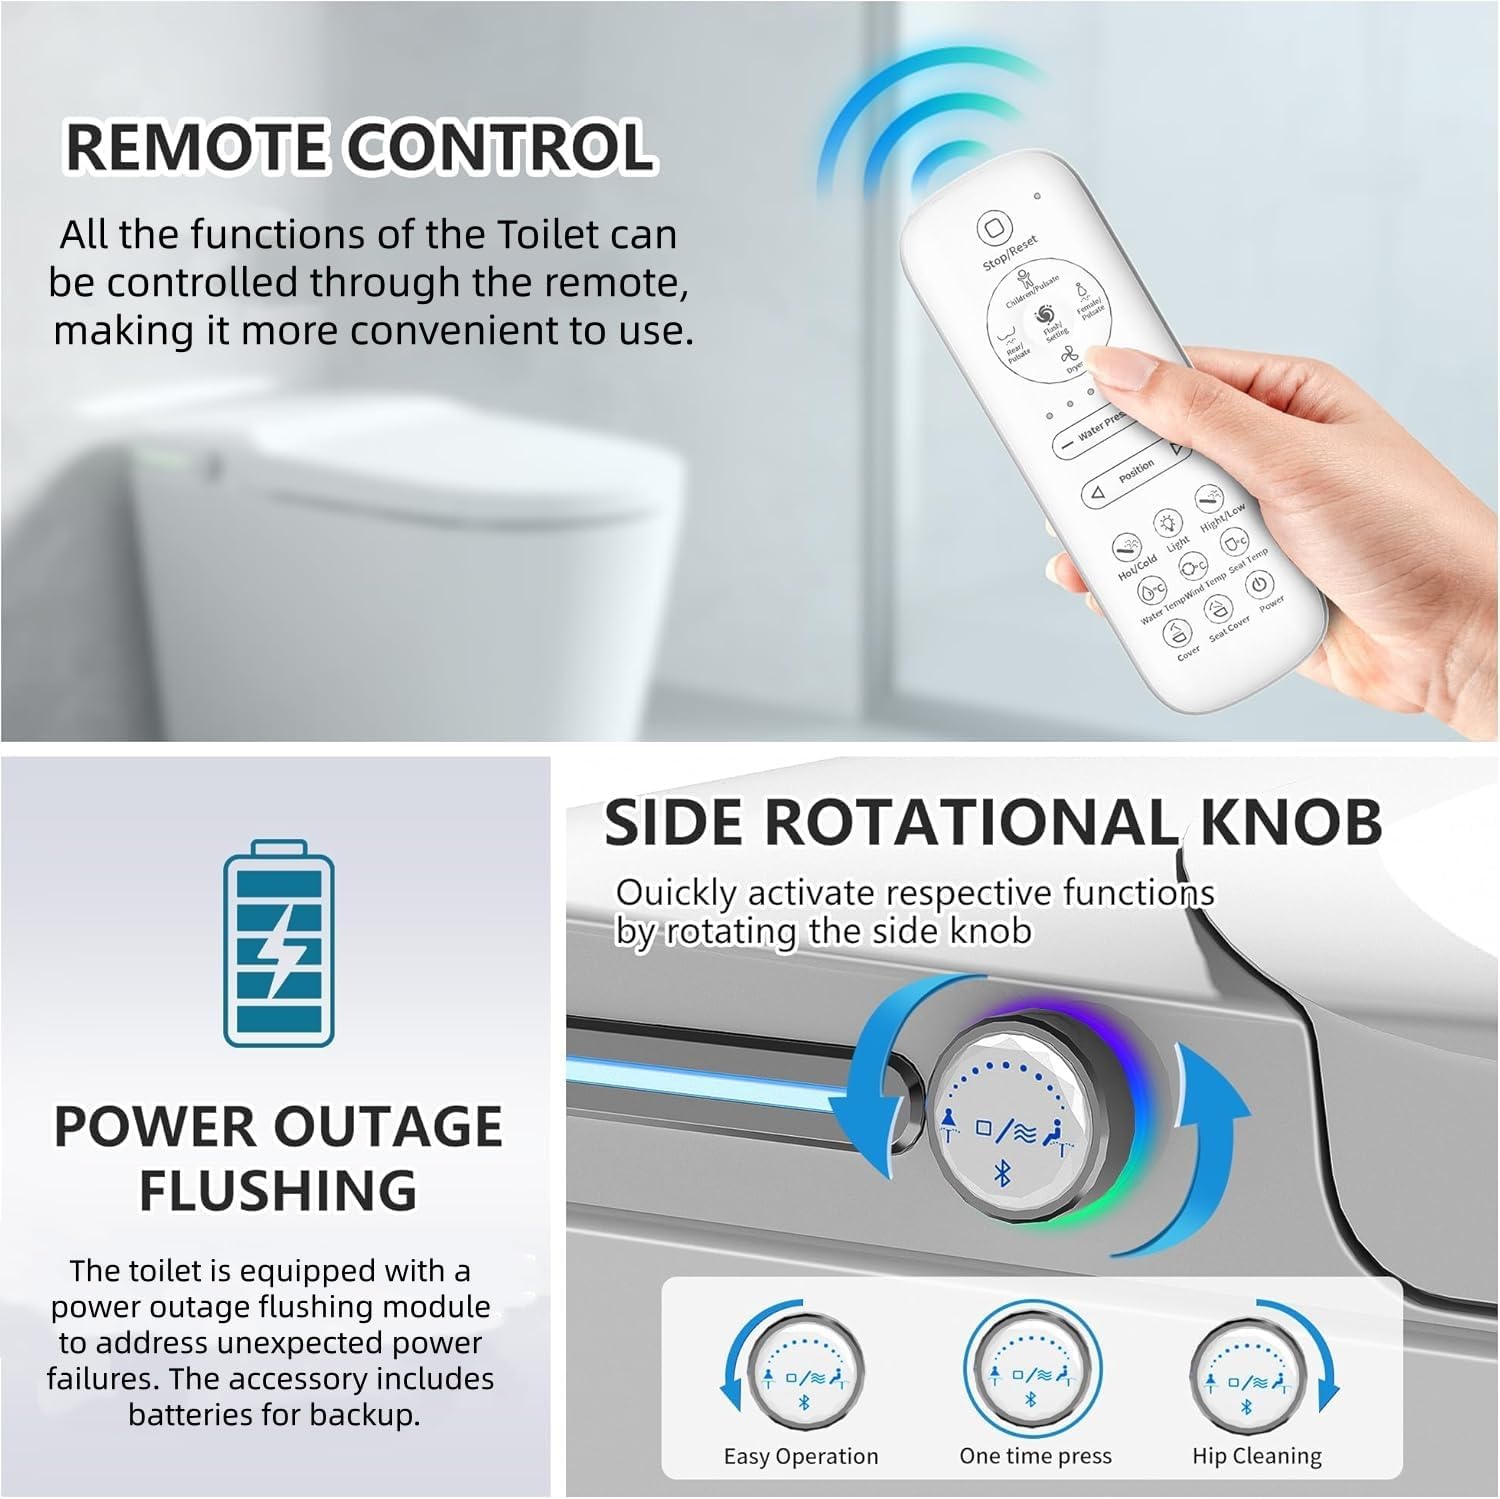
Figure 5: Remote control and side rotational knob for easy function access.

Figure 6: Smart temperature control for the seat and adjustable hot air drying.

Figure 7: Contactless LED digital display showing real-time temperatures and various nozzle cleaning modes.
Video 3: Toilet Function Instruction. This video provides a detailed overview of the smart toilet's various functions and how to use them.
Video 4: How to use smart toilet. A practical demonstration of the smart toilet's features in action.
6. Maintenance
Regular maintenance ensures the longevity and hygiene of your smart toilet.
6.1 Cleaning
- The easy-to-clean glazed ceramic surface simplifies cleaning. Use a soft cloth and mild, non-abrasive cleaners.
- The self-cleaning nozzle activates before and after each use. For deeper cleaning, specific remote functions can extend the nozzle for manual cleaning.
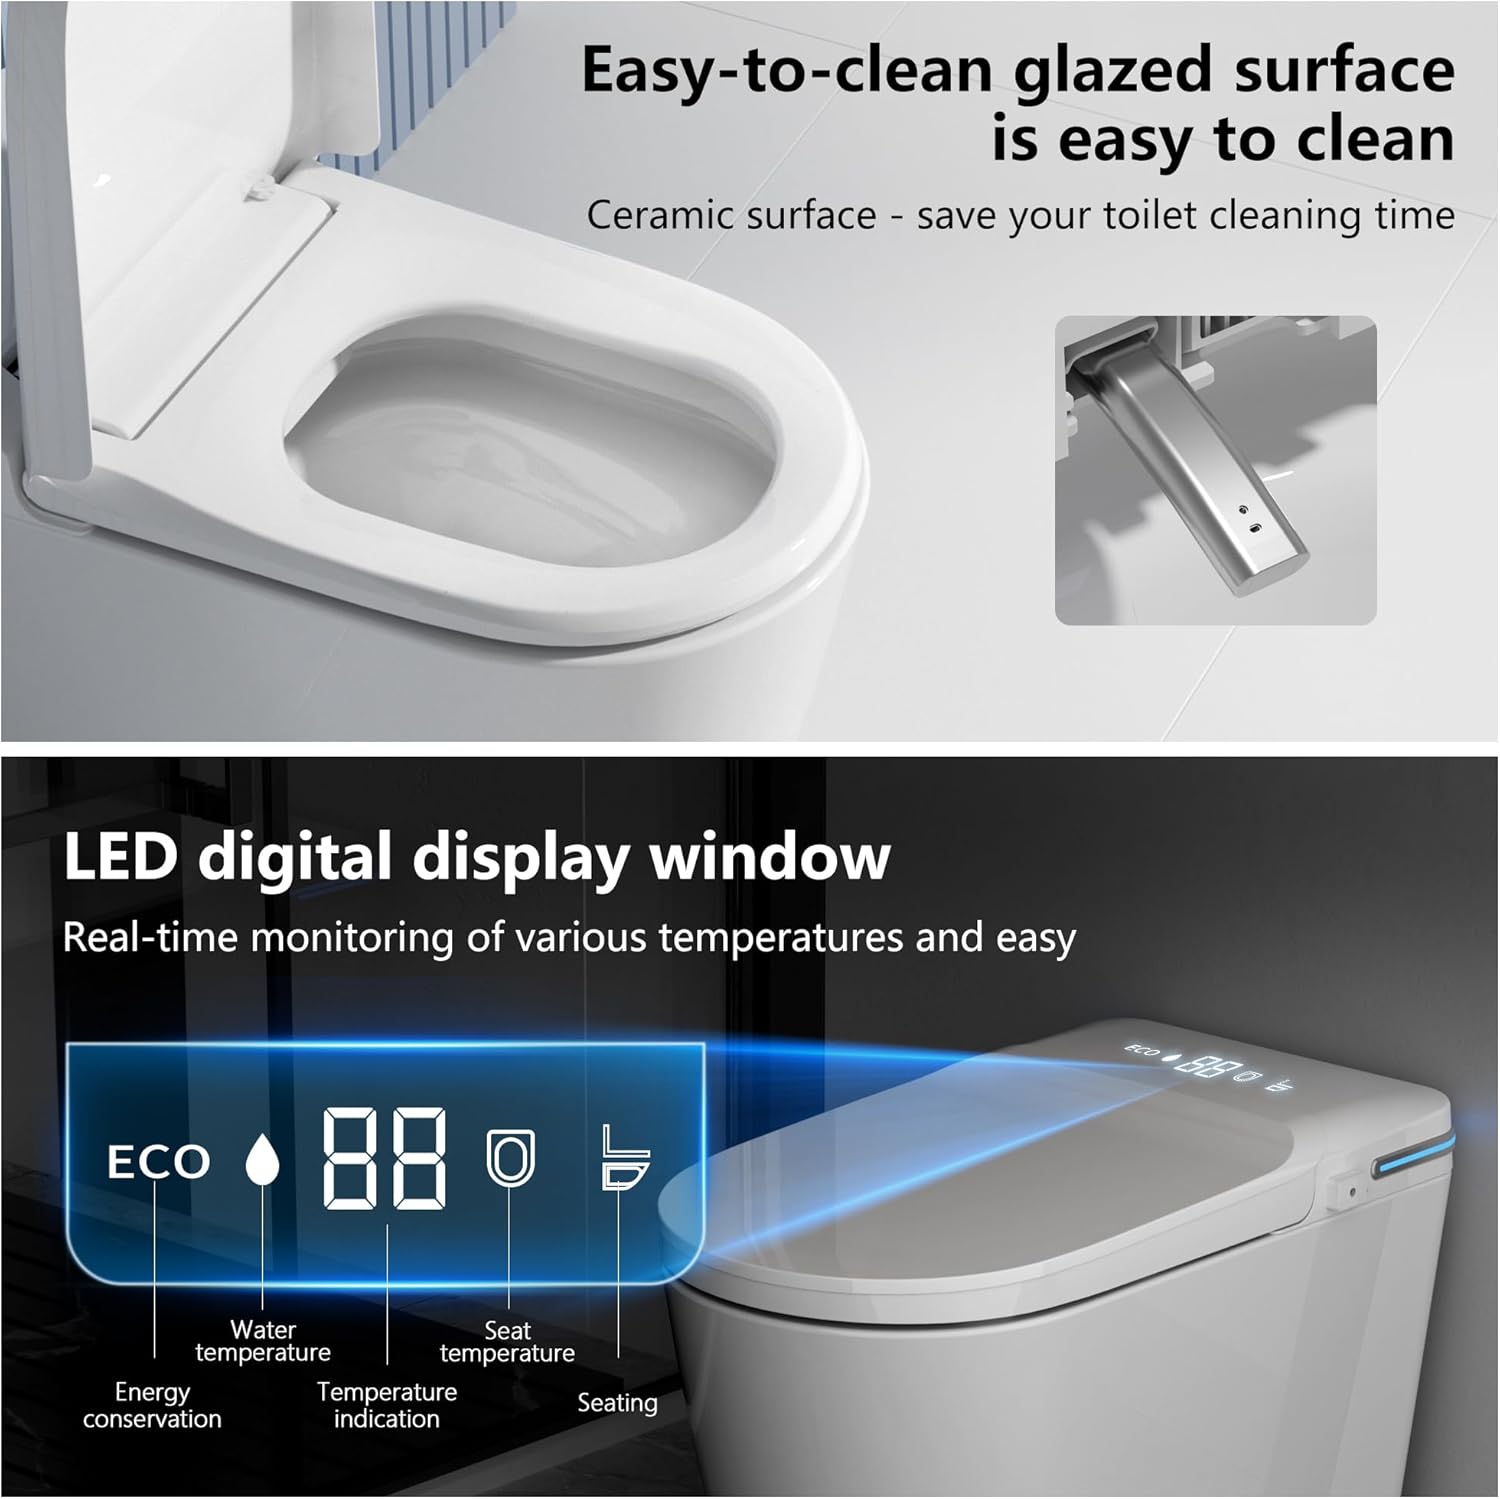
Figure 8: The toilet features an easy-to-clean glazed surface and an LED digital display for monitoring settings.
6.2 Aromatherapy Tablet Replacement
The aromatherapy system uses replaceable fragrance tablets. Replace them when the scent diminishes.
- Locate the aromatherapy compartment on the side of the toilet.
- Press the side button to release and remove the compartment.
- Open the top cover of the compartment and replace the old tablet with a new one.
- Close the cover and reinsert the compartment into the toilet until it clicks into place.

Figure 9: Aromatherapy tablets keep the air fresh and are easily replaceable.
Video 5: Foam Shield Replacement. This video demonstrates how to replace the foam liquid in the smart toilet.
7. Troubleshooting
If you encounter issues with your smart toilet, refer to the following common solutions:
- No Power: Check if the power cord is securely plugged in. Ensure the circuit breaker is not tripped.
- Weak Flush: Verify that the angle valve is fully open. Check your household water pressure against the product specifications (0.15-0.75MPa).
- Remote Not Responding: Ensure the remote control batteries are functional. Re-pair the remote with the toilet if necessary (refer to the full user manual for pairing instructions).
- Lid/Seat Not Opening/Closing Automatically: Check for obstructions around the sensors. Ensure the foot sensor is clean.
- Water Leaks: Tighten all water connections. If leaks persist, contact customer support.
- Emergency Flush: In case of a power outage, use the manual flush button or connect the backup battery for operation.
8. Specifications
| Feature | Detail |
|---|---|
| Model Number | T09 PRO |
| Product Dimensions | 27.6"D x 16.1"W x 18.5"H |
| Material | Ceramic (Toilet), Plastic (Seat) |
| Installation Type | Floor Mounted |
| Rough-in | Standard 12-inch (305mm) |
| Water Pressure Requirement | 0.15-0.75MPa (5L water output in 15 seconds) |
| Flush Technology | Vortex Flushing System (1.26 GPF) |
| Special Features | Heated Seat, Warm Water Sprayer & Dryer, Aromatherapy, Foot Sensor, Night Light, Remote Control, Auto-Flush, Pre-Wetting |
9. Warranty and Support
TDH offers a 12-month free accessories parts service for your smart toilet. For any questions or assistance, please contact our 24/7 customer support.