1. Product Overview
The AXAUCHOZ Electronic Digital Pressure Gauge is a precision instrument designed for accurate measurement of pressure in various applications, including hydraulic, vacuum, water, and oil systems. It features a 60mm dial with an LCD digital display for clear readings and offers a measuring range of -100 to 500 KPA. This device is built for reliability and ease of use in industrial and scientific environments.
Key Features:
- 60mm LCD Digital Display for clear pressure readings.
- Wide measuring range suitable for various media.
- High accuracy of 0.5%FS.
- Standard M20*1.5 thread specification for easy connection.
- Durable construction for reliable performance.

Figure 1: Front view of the AXAUCHOZ Electronic Digital Pressure Gauge, showing the LCD display and control buttons.
2. Setup and Installation
2.1 Unpacking
Carefully remove the pressure gauge from its packaging. Inspect the device for any signs of damage during transit. Retain the packaging for future storage or transport.
2.2 Battery Installation
- Locate the battery compartment on the back of the gauge.
- Open the battery cover.
- Insert the required batteries (typically 2x AAA, though not explicitly stated, common for such devices) ensuring correct polarity (+/-).
- Close the battery cover securely.

Figure 2: Internal view of the gauge, illustrating the circuit board and battery compartment for power supply.
2.3 Mounting and Connection
- Ensure the system where the gauge will be installed is depressurized and safe for connection.
- Identify the M20*1.5 thread connection point on the gauge.
- Carefully thread the gauge into the corresponding port on your system. Use appropriate sealing tape (e.g., PTFE tape) if necessary to ensure a leak-free connection.
- Tighten the gauge firmly but do not overtighten, as this can damage the threads or the gauge itself.

Figure 3: Side view of the pressure gauge, highlighting the M20*1.5 threaded connection for system integration.
3. Operating Instructions
3.1 Power On/Off
- To turn on the gauge, press the ON/OFF button. The LCD display will illuminate and show the current pressure reading.
- To turn off the gauge, press and hold the ON/OFF button for a few seconds until the display turns off.
3.2 Zeroing the Gauge
Before taking a measurement, especially for relative pressure, it is often necessary to zero the gauge. Ensure the gauge is not connected to any pressure source or is at atmospheric pressure before performing this step.
- With the gauge powered on and at zero pressure, press the ZERO button. The display should show "0.000" or a value very close to zero.
3.3 Changing Units
The gauge supports multiple pressure units. To cycle through available units (e.g., KPA, MPa, PSI, Bar):
- Press the UNIT button. Each press will cycle to the next available unit. Stop when your desired unit is displayed.
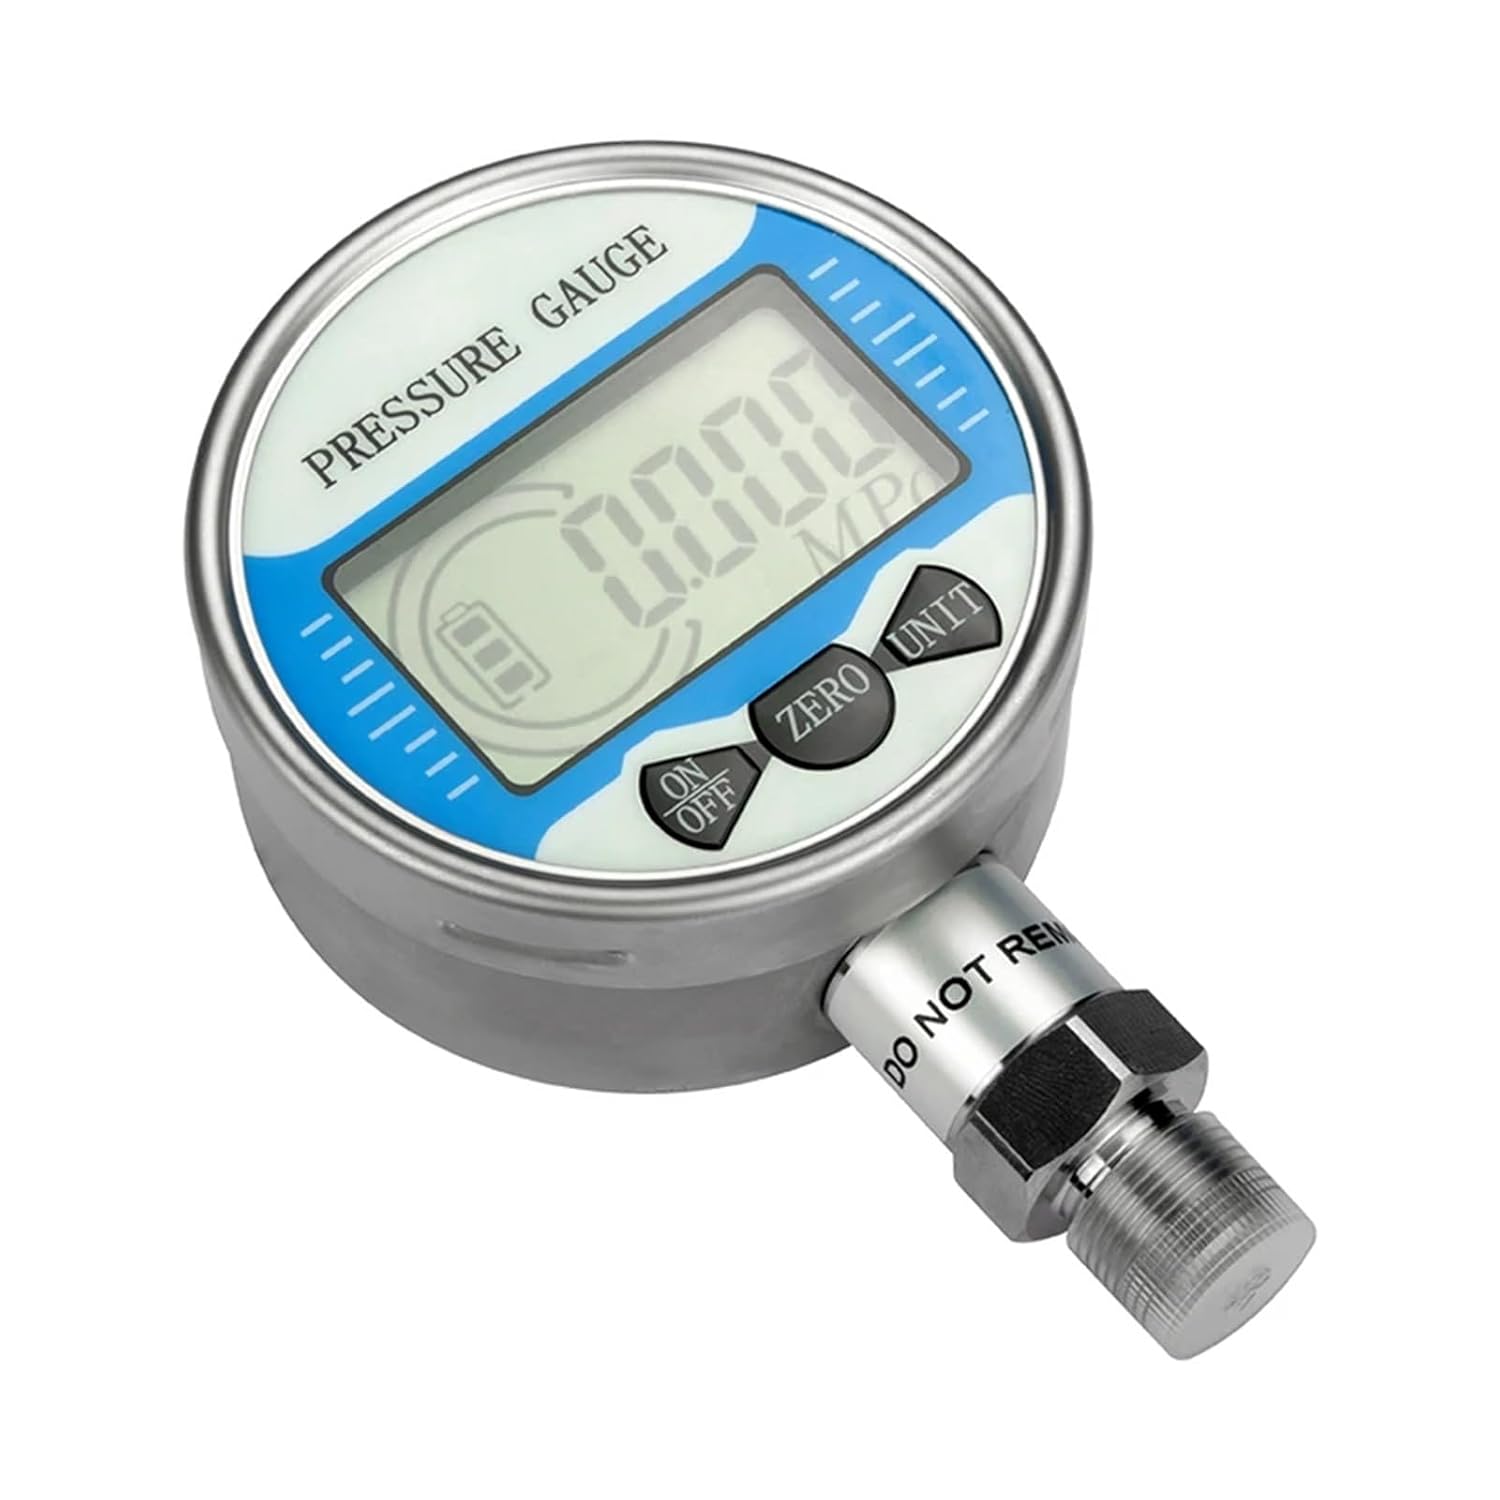
Figure 4: Close-up view of the gauge's control panel, showing the ON/OFF, ZERO, and UNIT buttons for operation.
3.4 Taking Measurements
- Ensure the gauge is properly installed and powered on.
- If necessary, zero the gauge as described in Section 3.2.
- Apply pressure to the system. The LCD display will show the real-time pressure reading in the selected unit.
- Observe the reading on the digital display.
4. Maintenance
4.1 Cleaning
Wipe the exterior of the gauge with a soft, damp cloth. Do not use abrasive cleaners or solvents, as these can damage the display or casing. Ensure no liquid enters the internal components.
4.2 Battery Replacement
When the battery indicator on the LCD display shows low power, replace the batteries promptly to ensure accurate readings. Follow the steps outlined in Section 2.2 for battery installation.
4.3 Storage
When not in use for extended periods, store the gauge in a dry, cool environment, away from direct sunlight and extreme temperatures. It is recommended to remove the batteries if storing for a very long time to prevent leakage.
5. Troubleshooting
- No Display:
- Check if the gauge is powered on.
- Verify battery installation and ensure batteries are not depleted. Replace if necessary.
- Inaccurate Readings:
- Ensure the gauge has been properly zeroed before measurement (Section 3.2).
- Check for leaks in the connection to the pressure system.
- Verify that the gauge's measuring range is appropriate for the pressure being measured.
- Ensure the gauge is operating within its specified temperature range.
- Unit Not Changing:
- Press the UNIT button firmly. If the issue persists, try replacing batteries.
6. Specifications
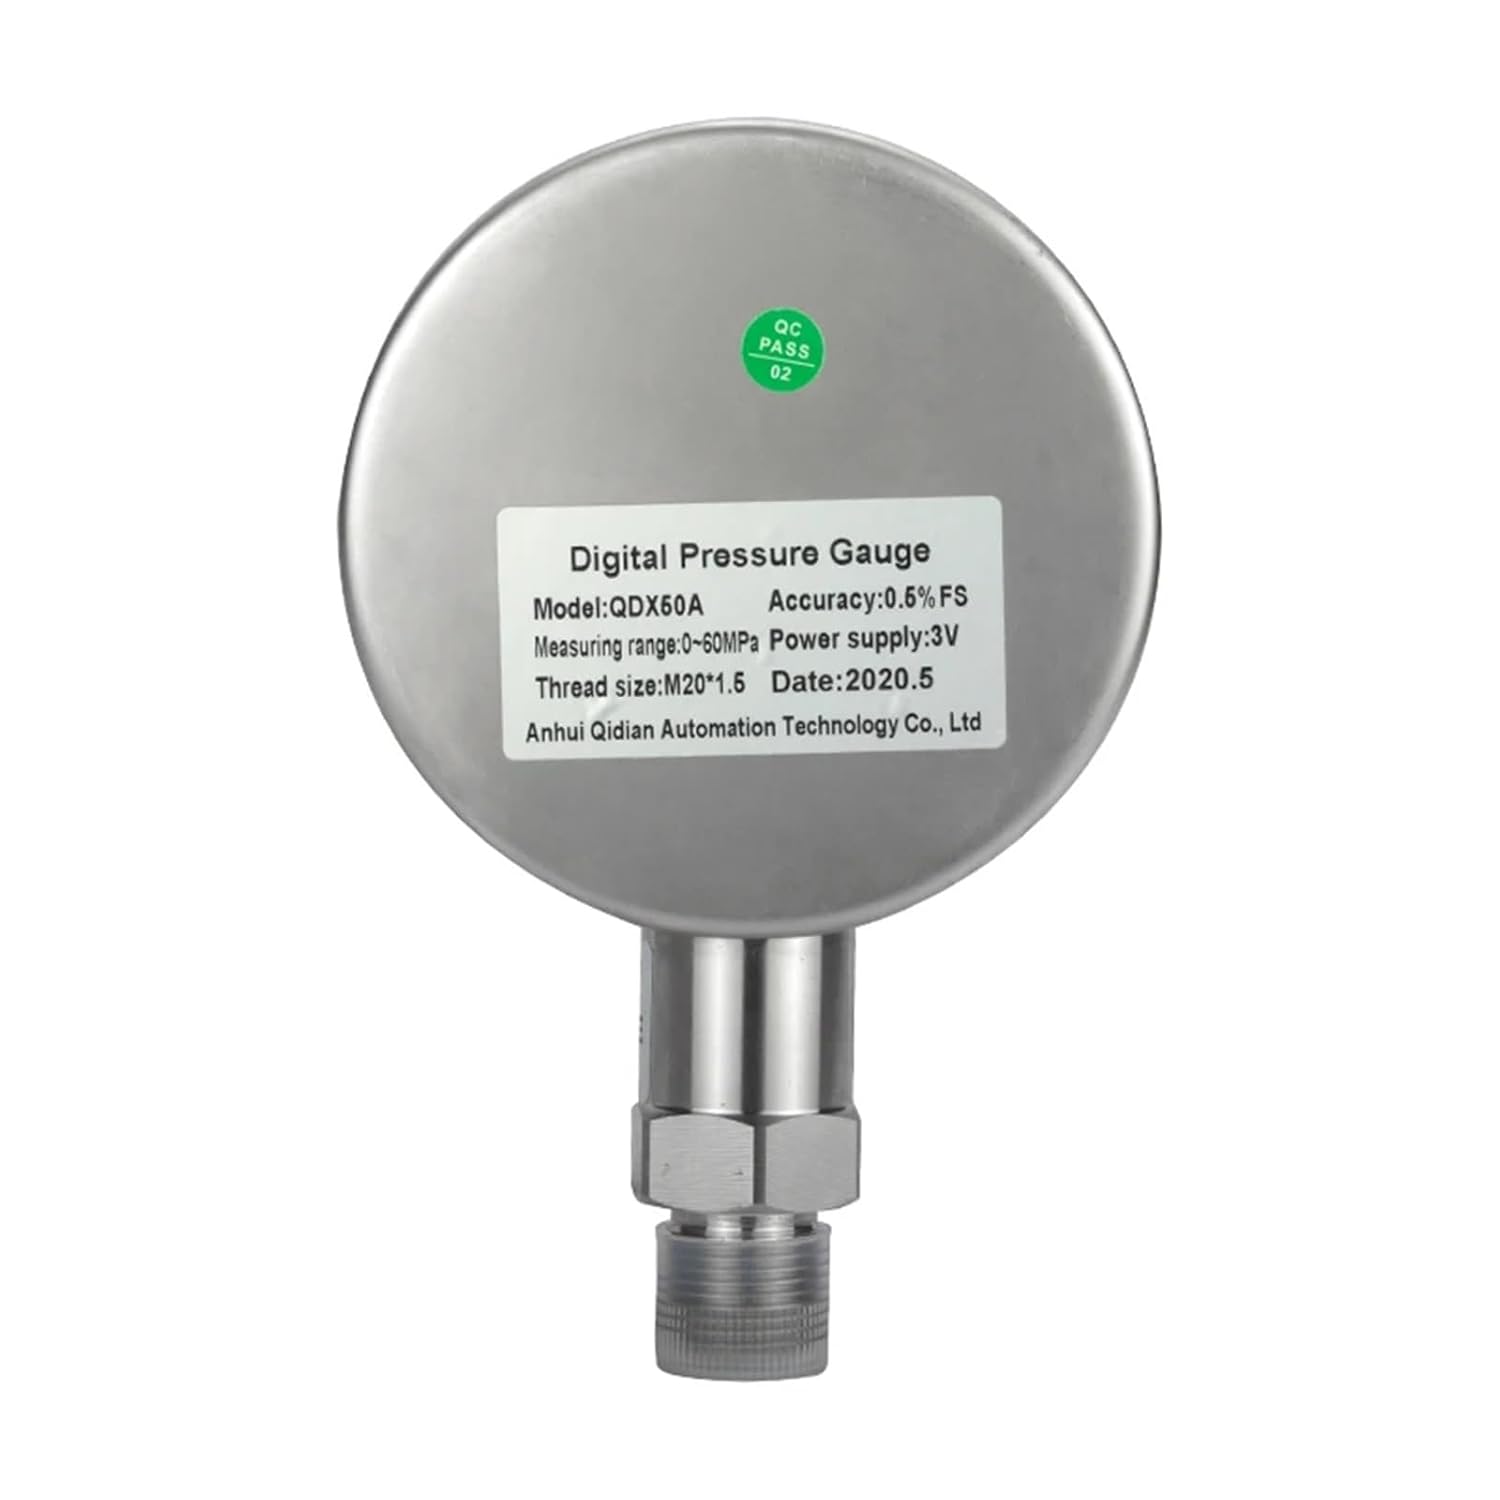
Figure 5: Back label providing key specifications of the digital pressure gauge.
| Feature | Specification |
|---|---|
| Model Number | AXAUCHOZ (QDX50A/QDX60A Series) |
| Measuring Range | -100 to 500 KPA (Current Variant) / -0.1 to 0-100Mpa (General Range) |
| Display Type | 4-bit LCD Digital Display |
| Dial Diameter | 60mm (2 - 3.9 Inches) |
| Accuracy | 0.5%FS |
| Thread Specification | M20*1.5 |
| Power Supply | 3V (Battery operated) |
| Dimensions (Package) | 1.18 x 0.79 x 0.39 inches |
| Weight (Item) | 1.76 ounces |