1. Introduction
This manual provides essential information for the safe and efficient operation of your SHHJCO TK8072iP 7-Inch Touch Panel Human Machine Interface (HMI). Please read this manual thoroughly before installation and operation to ensure proper use and to prevent damage to the device or injury to personnel. Keep this manual for future reference.
2. Safety Information
Observe the following safety precautions to prevent electric shock, fire, or damage to the device:
- Ensure the power supply voltage matches the device's requirements.
- Do not open the device casing; refer servicing to qualified personnel.
- Avoid installing the device in environments with excessive dust, moisture, or extreme temperatures.
- Disconnect power before performing any installation, wiring, or maintenance.
- Ground the device properly to prevent electrical hazards.
3. Package Contents
Verify that all items are present upon unpacking:
- SHHJCO TK8072iP HMI Unit
- Mounting Brackets/Clips
- Power Connector
- User Manual (this document)
- Software CD/Download Link (if applicable)
4. Product Overview
The TK8072iP is a 7-inch Human Machine Interface designed for industrial automation and process control applications. It features a high-resolution touch screen for intuitive interaction and various communication ports for connectivity with PLCs and other industrial devices.
4.1. Front View
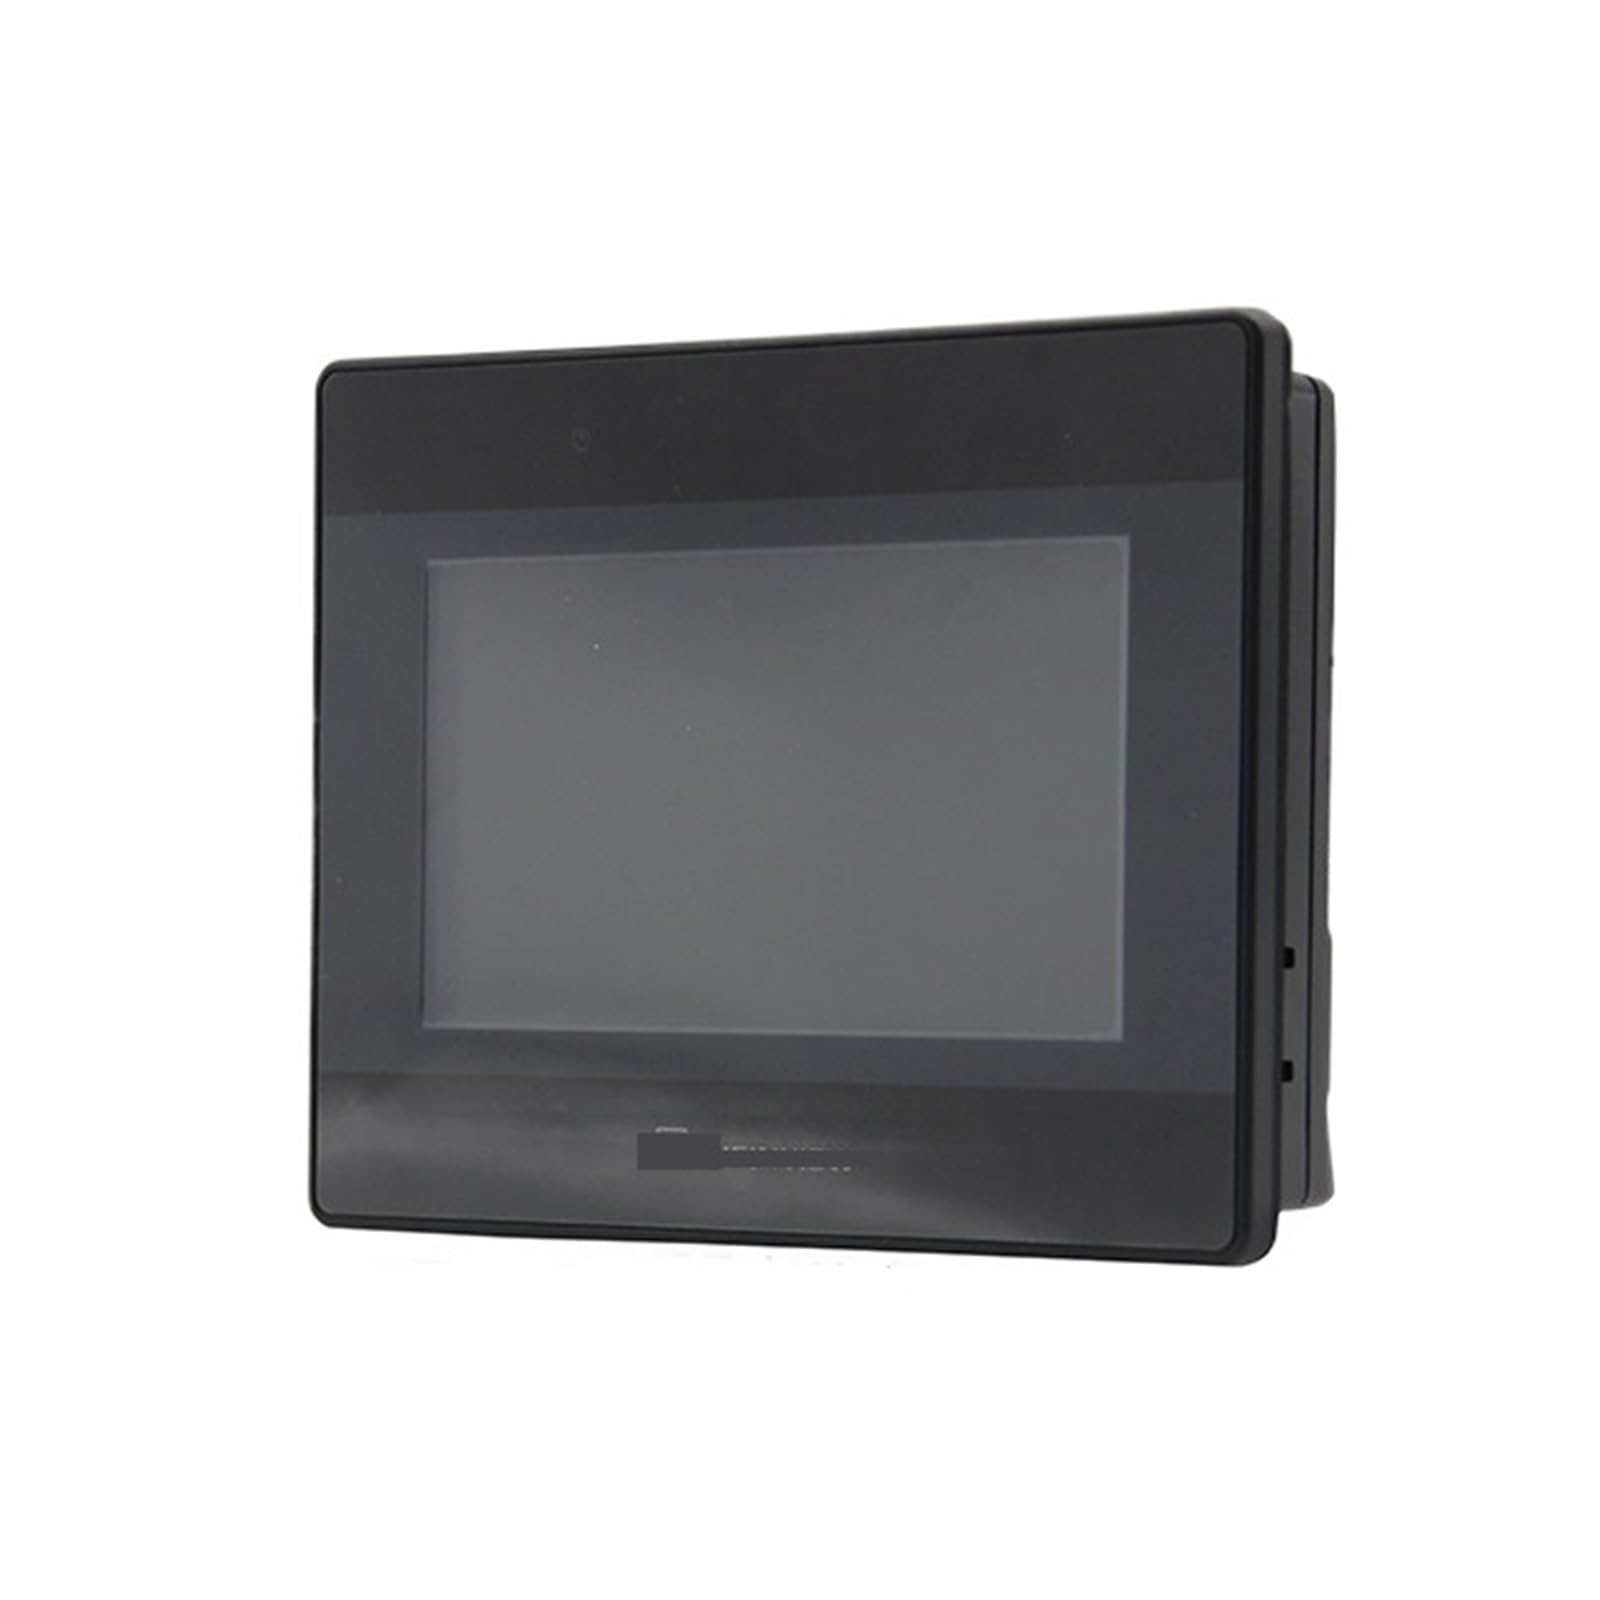
Figure 1: Front view of the SHHJCO TK8072iP HMI, showing the 7-inch touch display.
The front panel primarily consists of the 7-inch resistive touch screen, which serves as the main interface for displaying data and receiving user input.
4.2. Rear View and Ports
The rear panel typically houses the power input terminal, communication ports (e.g., RS232, RS485, Ethernet), and USB ports. Specific port locations and types may vary slightly. Refer to the detailed wiring diagram for precise port identification.
(Image of the rear view with labeled ports would be displayed here if available.)
Power Input: DC 24V (typical, refer to specifications for exact voltage range).
Communication Ports: Used for connecting to Programmable Logic Controllers (PLCs), sensors, and other industrial equipment.
USB Ports: For connecting external devices like USB drives for data transfer or firmware updates.
5. Setup
5.1. Mounting the HMI
The TK8072iP is designed for panel mounting. Follow these steps:
- Cut an opening in the control panel according to the dimensions provided in the specifications section.
- Insert the HMI unit into the opening from the front.
- Secure the HMI using the provided mounting brackets/clips from the rear of the panel. Tighten screws evenly to ensure a snug fit without over-tightening.
(Image illustrating the panel mounting process would be displayed here if available.)
5.2. Wiring Connections
Ensure all power is disconnected before making any wiring connections.
- Power Connection: Connect the DC 24V power supply to the designated power input terminal on the rear of the HMI. Observe polarity (+ and -).
- Grounding: Connect the ground terminal to a reliable earth ground.
- Communication Cables: Connect the appropriate communication cables (e.g., RS232, RS485, Ethernet) from your PLC or other devices to the corresponding ports on the HMI. Refer to your PLC's manual and the HMI's software documentation for specific wiring diagrams and pin assignments.
(Image showing typical wiring connections would be displayed here if available.)
5.3. Initial Power-On
After all connections are secure, apply power to the HMI. The device should power on and display the boot-up screen, followed by the configured application interface.
6. Operating
6.1. Basic Navigation
The TK8072iP uses a resistive touch screen. Interact with the interface by gently pressing on the screen with your finger or a stylus. The HMI application will typically feature buttons, input fields, and display areas.
6.2. Application Interface
The specific functions and screens available on your HMI are determined by the application program loaded onto it. Common functions include:
- Data Display: Monitoring real-time process values, alarms, and status indicators.
- Control Input: Activating motors, opening/closing valves, or adjusting setpoints via on-screen buttons and input fields.
- Recipe Management: Selecting and loading different operational parameters.
- Alarm Management: Viewing and acknowledging active and historical alarms.
(Screenshot of a typical HMI application screen would be displayed here if available.)
6.3. Communication with PLCs
The HMI communicates with connected PLCs to read data and send commands. Ensure the communication protocol and parameters (e.g., baud rate, parity, data bits) are correctly configured in both the HMI application and the PLC program.
7. Maintenance
7.1. Cleaning the Screen
To clean the touch screen, power off the device and use a soft, lint-free cloth dampened with a mild, non-abrasive cleaner. Do not spray cleaner directly onto the screen or use harsh chemicals.
7.2. Firmware Updates
Periodically check the manufacturer's website for firmware updates. Firmware updates can improve performance, add features, or fix bugs. Follow the specific instructions provided with the firmware update package carefully to avoid damaging the device.
7.3. Storage
If storing the HMI for an extended period, ensure it is kept in a dry, dust-free environment within the specified temperature and humidity ranges. Protect the screen from scratches.
8. Troubleshooting
| Problem | Possible Cause | Solution |
|---|---|---|
| Device does not power on. | No power supply; incorrect voltage; faulty wiring. | Check power connections and voltage. Ensure power supply is active. |
| Touch screen unresponsive. | Screen calibration issue; software freeze; physical damage. | Restart the HMI. If issue persists, recalibrate the touch screen (refer to software manual) or contact support. |
| Communication error with PLC. | Incorrect communication settings; faulty cable; PLC not responding. | Verify communication protocol, baud rate, and other settings in both HMI and PLC. Check cable integrity. Ensure PLC is operational. |
| Display is blank or distorted. | Backlight failure; internal hardware issue; software error. | Restart the HMI. If the problem persists, contact technical support. |
9. Specifications
| Feature | Detail |
|---|---|
| Model | TK8072iP |
| Display Size | 7 Inch |
| Type | Touch Panel HMI |
| Package Dimensions | 1.18 x 0.79 x 0.39 inches |
| Item Weight | 1.1 pounds |
| Manufacturer | SHHJCO |
| Assembly Required | No |
| Number of Pieces | 1 |
10. Warranty Information
This SHHJCO product is covered by a limited warranty against defects in materials and workmanship. The warranty period typically begins from the date of purchase. Please retain your proof of purchase. For specific warranty terms and conditions, refer to the warranty card included with your product or visit the official SHHJCO website. Unauthorized repairs or modifications will void the warranty.
11. Technical Support
If you encounter problems that cannot be resolved using the troubleshooting guide, or require further assistance, please contact SHHJCO technical support. Have your product model number (TK8072iP) and purchase information ready when contacting support.
Website: www.shhjco.com (Hypothetical link, please replace with actual if available)
Email: support@shhjco.com (Hypothetical email, please replace with actual if available)
12. Official Product Videos
No official product videos from the seller were found in the provided data. If available, relevant instructional videos would be embedded here to demonstrate setup, operation, or specific features of the TK8072iP HMI.