1. Introduction and Safety Information
This manual provides essential information for the safe and effective operation of your ACMER S1 Laser Engraver. Please read this manual thoroughly before operating the device and retain it for future reference.
1.1 Important Safety Warnings
- Laser Radiation: This product contains a Class 4 laser. Avoid direct exposure to the laser beam. The laser beam can cause severe eye injury and skin burns.
- Eye Protection: Always wear the provided laser safety goggles when operating the engraver. Ensure anyone in the vicinity also wears appropriate eye protection.
- Ventilation: Operate the laser engraver in a well-ventilated area to disperse fumes and smoke generated during engraving. Some materials may produce hazardous fumes.
- Fire Hazard: Laser engraving can ignite flammable materials. Do not leave the machine unattended during operation. Keep a fire extinguisher nearby.
- Material Compatibility: Only engrave materials specified as safe for laser engraving. Avoid PVC, vinyl, or other chlorine-containing plastics as they produce corrosive and toxic gases.
- Children and Pets: Keep children and pets away from the laser engraver during operation.
2. What's in the Box
Upon opening your ACMER S1 Laser Engraver package, verify that all components are present and undamaged. The machine is designed for ease of use with minimal assembly required.

Image: The ACMER S1 Laser Engraver unit shown with various sample materials like wood, leather, and plastic items that can be engraved.
2.1 Package Contents
- ACMER S1 Laser Engraver Unit (Pre-assembled base)
- Laser Module (3500mW)
- Power Adapter
- USB-C Data Cable
- Laser Safety Goggles
- 2mm Focal Length Measuring Sheet
- Sample Materials (e.g., wood, cardboard, metal blanks)
- Cleaning Cloth
- Tools (wrenches, Allen keys)
- User Manual (this document)
2.2 Unboxing and Initial Inspection
The unit is securely packaged in foam to prevent damage during transit. The main engraver unit is largely pre-assembled, requiring only the laser module to be installed.
Video: An unboxing video demonstrating the contents and initial setup of the ACMER S1 Laser Engraver. This video shows the careful packaging and the main components included.
3. Setup Guide
The ACMER S1 is designed for quick setup, making it ideal for beginners. Follow these steps to get your engraver ready for use.
3.1 Laser Module Installation
- Locate the laser module and the main engraver unit.
- Gently slide the laser module into the designated slot on the gantry.
- Secure the module by tightening the thumbscrew on the side.
- Connect the data cable from the laser module to the main unit.

Image: The pre-assembled ACMER S1 unit, highlighting its compact design and readiness for quick setup.
3.2 Focus Adjustment
Accurate focus is crucial for optimal engraving results. Use the provided 2mm focal length measuring sheet:
- Place the material to be engraved on the working area.
- Place the 2mm measuring sheet on top of your material.
- Loosen the thumbscrew on the laser module.
- Lower the laser module until its bottom edge gently touches the measuring sheet.
- Tighten the thumbscrew to secure the laser module in place.
- Remove the measuring sheet. Your laser is now focused.
3.3 Software Installation (LaserGRBL)
The ACMER S1 is compatible with professional carving software like LaserGRBL and LightBurn. For beginners, LaserGRBL is a popular open-source option.
- Visit the official LaserGRBL website (lasergrbl.com/download) to download the latest stable version.
- Run the installer and follow the on-screen prompts.
- During installation, ensure you select to install the necessary CH340 driver if prompted.
- Once installed, launch LaserGRBL. Connect your engraver to your computer using the USB-C data cable and power it on.
- In LaserGRBL, select the correct COM port and Baud rate (typically 115200) and click "Connect".
Video: Detailed operating instructions for using the ACMER S1 with compatible software, including steps for installing LaserGRBL and connecting the device.
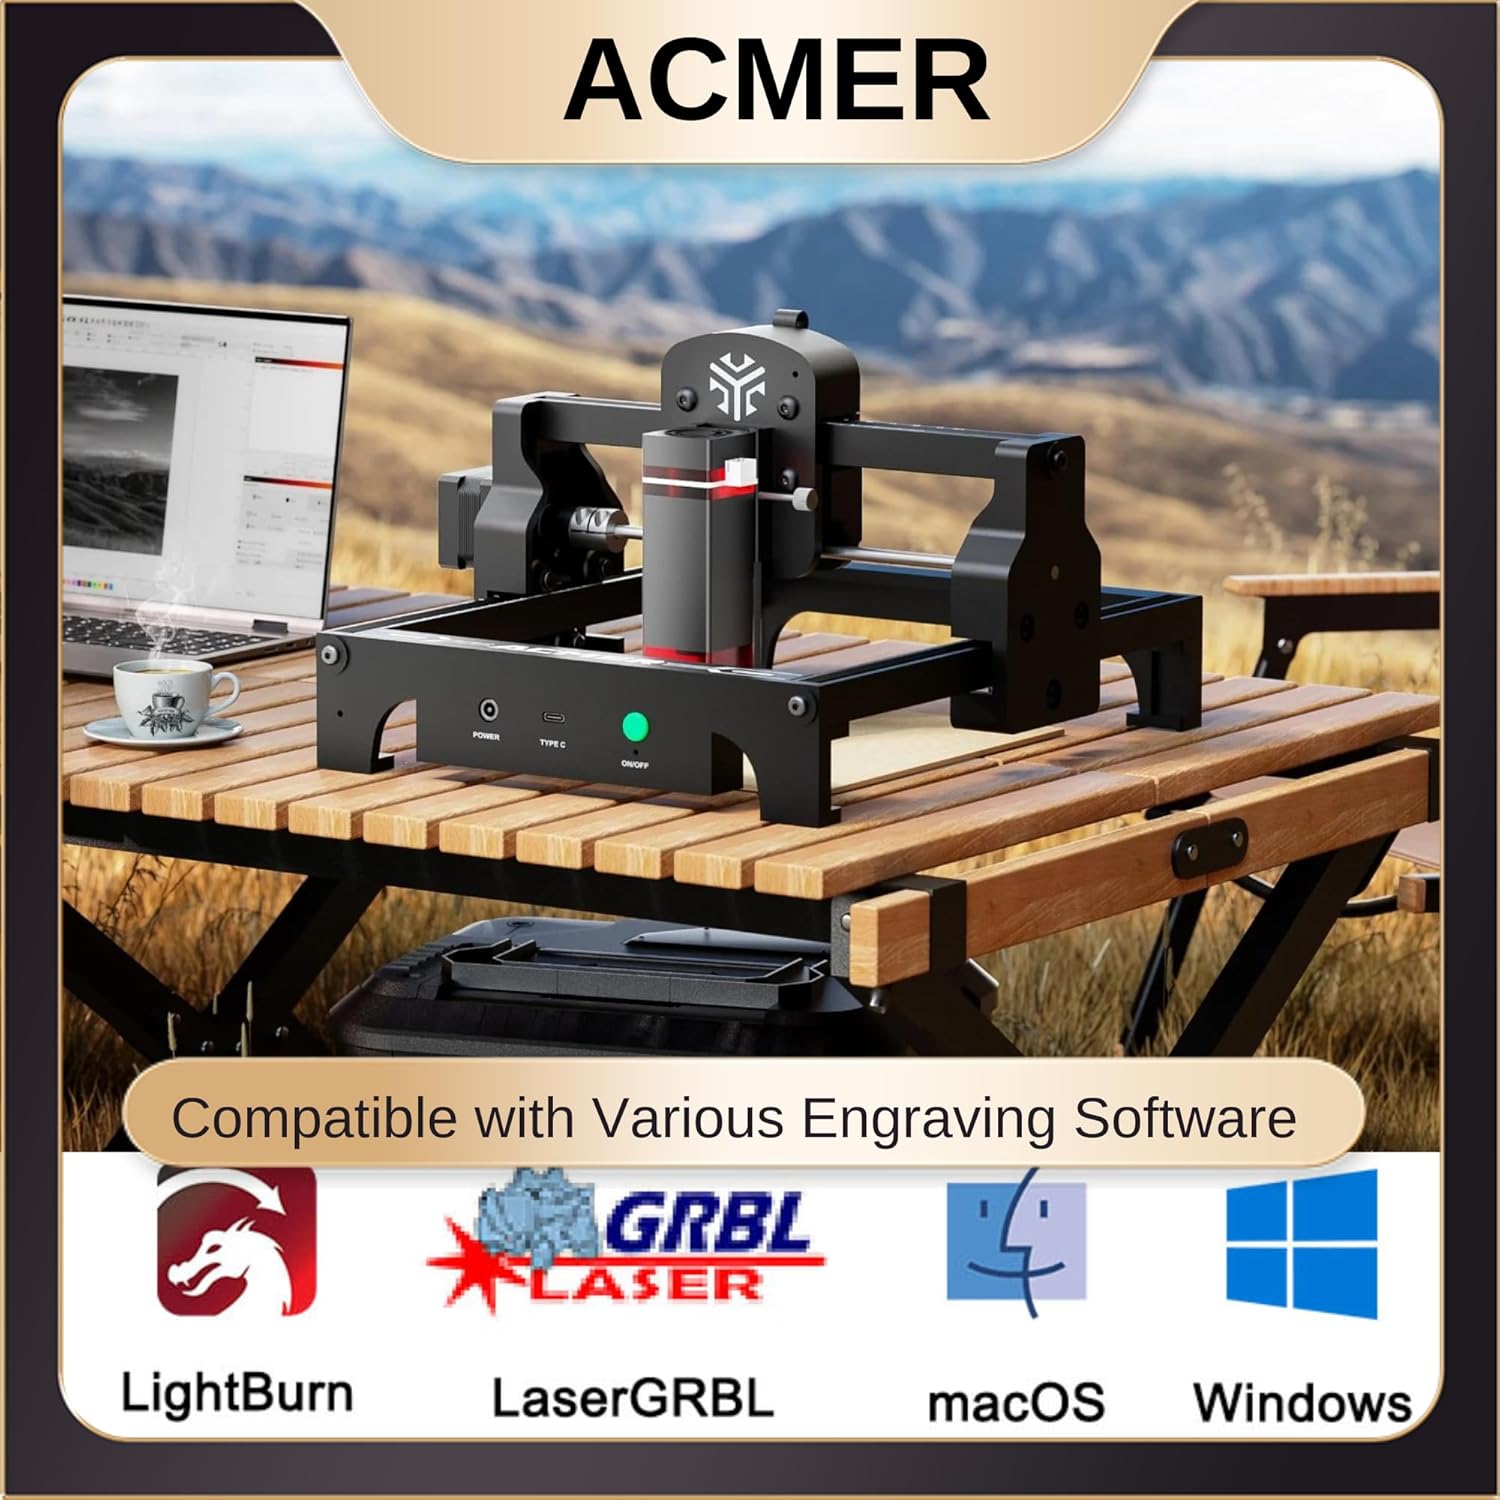
Image: Illustrates the software compatibility of the ACMER S1, showing icons for LightBurn, LaserGRBL, macOS, and Windows.
4. Operating Instructions
Once your engraver is set up and connected to the software, you can begin your engraving projects.
4.1 Material Preparation and Placement
Ensure your material is flat and securely placed within the 5.1 x 5.1 inch (130 x 130 mm) working area. For thin materials, consider placing a sacrificial base layer underneath to protect your work surface.

Image: Highlights the technical capabilities of the ACMER S1, including its engraving speed, fine spot size, and working area dimensions.
4.2 Engraving Process
- Load Image: In your chosen software (e.g., LaserGRBL), import your desired image or design.
- Adjust Settings: Set engraving parameters such as speed, power, and line density based on your material. Refer to recommended settings for common materials (often found in software documentation or online communities).
- Preview and Position: Use the software's preview function to ensure the design is correctly positioned on your material. You can often "frame" the design with the laser (without engraving) to check alignment.
- Start Engraving: Once satisfied with the settings and positioning, wear your safety goggles and initiate the engraving process.
Video: A short demonstration of the ACMER S1 engraving a design, showcasing its operational capabilities.

Image: Demonstrates the precision of the ACMER S1's 0.04mm x 0.04mm laser spot size compared to a larger spot size, resulting in finer and more lifelike engravings.

Image: Details the engraving and cutting capabilities of the ACMER S1, emphasizing its 3500mW laser output and ultra-fine spot size for various materials.

Image: Displays a collage of finished products, showcasing the detailed and intricate designs achievable with the ACMER S1 on different materials.
5. Maintenance
Regular maintenance ensures the longevity and optimal performance of your ACMER S1 Laser Engraver.
5.1 Cleaning
- Laser Lens: Periodically clean the laser lens with the provided cleaning cloth or a lint-free cloth and lens cleaning solution. A dirty lens can reduce laser power and engraving quality.
- Working Area: Remove any debris, dust, or small material scraps from the working area after each use.
- Rails and Belts: Keep the guide rails and drive belts free from dust and debris to ensure smooth movement of the laser module.
5.2 Storage
Store the laser engraver in a dry, dust-free environment when not in use. Protect the laser module from direct sunlight and physical impact.
6. Troubleshooting
If you encounter issues with your ACMER S1, refer to the common problems and solutions below.
| Problem | Possible Cause | Solution |
|---|---|---|
| Laser not firing or weak output | Incorrect focus, dirty lens, low power setting, loose connection. | Re-adjust focus (Section 3.2), clean laser lens (Section 5.1), increase power setting in software, check all cable connections. |
| Engraving is blurry or inconsistent | Incorrect focus, material not flat, loose belts/rails. | Re-adjust focus (Section 3.2), ensure material is flat and secured, check and tighten belts/rails if necessary. |
| Machine not connecting to computer | Incorrect COM port, missing/corrupt driver, faulty USB cable. | Verify COM port and Baud rate in software, re-install CH340 driver (Section 3.3), try a different USB cable. |
| Machine not moving or making grinding noises | Obstruction on rails, loose motor connections, software error. | Clear obstructions, check motor cable connections, restart software and machine. |
Video: A guide on circuit testing for the laser engraver, useful for diagnosing electrical issues.
7. Specifications
| Feature | Detail |
|---|---|
| Brand | ACMER |
| Model Number | Laser Engraver S1 |
| Laser Output Power | 3500mW |
| Laser Class | Class 4 |
| Finest Laser Spot Size | 0.04 x 0.04mm |
| Maximum Engraving Speed | Up to 10000mm/min |
| Working Area | 5.1 x 5.1 inches (130 x 130 mm) |
| Compatible Materials | Wood, Acrylic, Leather, Paper, Plastic, Rock, Cork, Glass (engraving/cutting capabilities vary by material and laser power) |
| Connectivity | USB-C |
| Compatible Software | LightBurn, LaserGRBL |
| Item Weight | 4.18 pounds |
| Product Dimensions | 6.3 x 9.84 x 9.84 inches |
| Power Source | AC/DC |
8. Warranty and Support
Your ACMER S1 Laser Engraver comes with a 1 Year Warranty from the manufacturer.
For any issues or questions not covered in this manual, please contact ACMER customer support. You can often find support contact information on the product packaging, the official ACMER website, or through your purchase platform.
Additional resources and community forums may also provide helpful tips and solutions from other users.


