1. Important Safety Information
Please read and understand all instructions before assembling, filling, or operating this lawn roller. Failure to follow these instructions may result in personal injury or property damage. Keep this manual for future reference.
- Always wear appropriate safety gear, such as gloves and sturdy footwear, when operating the roller.
- Ensure the roller is stable before filling or emptying.
- Do not overfill the drum. Refer to the specifications for maximum capacity.
- Keep children and pets away from the work area during operation.
- Do not use the roller on excessively steep slopes where control may be lost.
- Inspect the roller for any damage or loose parts before each use. Do not operate if damaged.
- Empty the roller completely before storing it for extended periods, especially in freezing temperatures, to prevent damage to the drum.
2. Package Contents
Verify that all components are present before beginning assembly. If any parts are missing or damaged, contact VEVOR customer service.
- 1 x Lawn Roller Drum
- 1 x U-Shaped Handle Assembly
- 1 x Draw Bar
- 1 x Metal Scraper Rod (Brace)
- 2 x O Pins
- 2 x Large Washers
- 4 x Bolts
- 4 x Nuts
- 4 x Small Washers
- 1 x User Manual (This document)

Image: Detailed diagram illustrating the lawn roller's dimensions and listing all included accessories for assembly.
3. Assembly Instructions
Follow these steps to assemble your VEVOR Lawn Roller.
- Attach the Draw Bar: Align the draw bar with the mounting points on the roller drum. Secure it using the provided bolts, nuts, and small washers. Ensure all connections are tight.
- Install the Handle Assembly: Connect the U-shaped handle assembly to the draw bar. Use the remaining bolts, nuts, and large washers to fasten it securely.
- Mount the Scraper Rod: Position the metal scraper rod (brace) between the handle assembly and the roller drum. This rod helps prevent debris buildup. Secure it with the O pins.
- Final Check: Verify that all bolts and nuts are tightened, and the handle moves freely without excessive play.

Image: The U-shaped handle, designed for comfortable pushing and pulling, also allows the roller to be hung for convenient storage.
4. Operating Instructions
4.1 Filling the Roller
The VEVOR Lawn Roller can be filled with either water or sand to achieve the desired weight for soil compaction.
- Locate the fill plug on the side of the roller drum.
- Unscrew the easy-turn plug.
- Carefully fill the drum with water or sand. The maximum capacity is 13 gallons (approximately 46 liters).
- Do not exceed the maximum capacity.
- Once filled, securely re-insert and tighten the plug to prevent leaks. The plug features a secure seal to prevent loss.
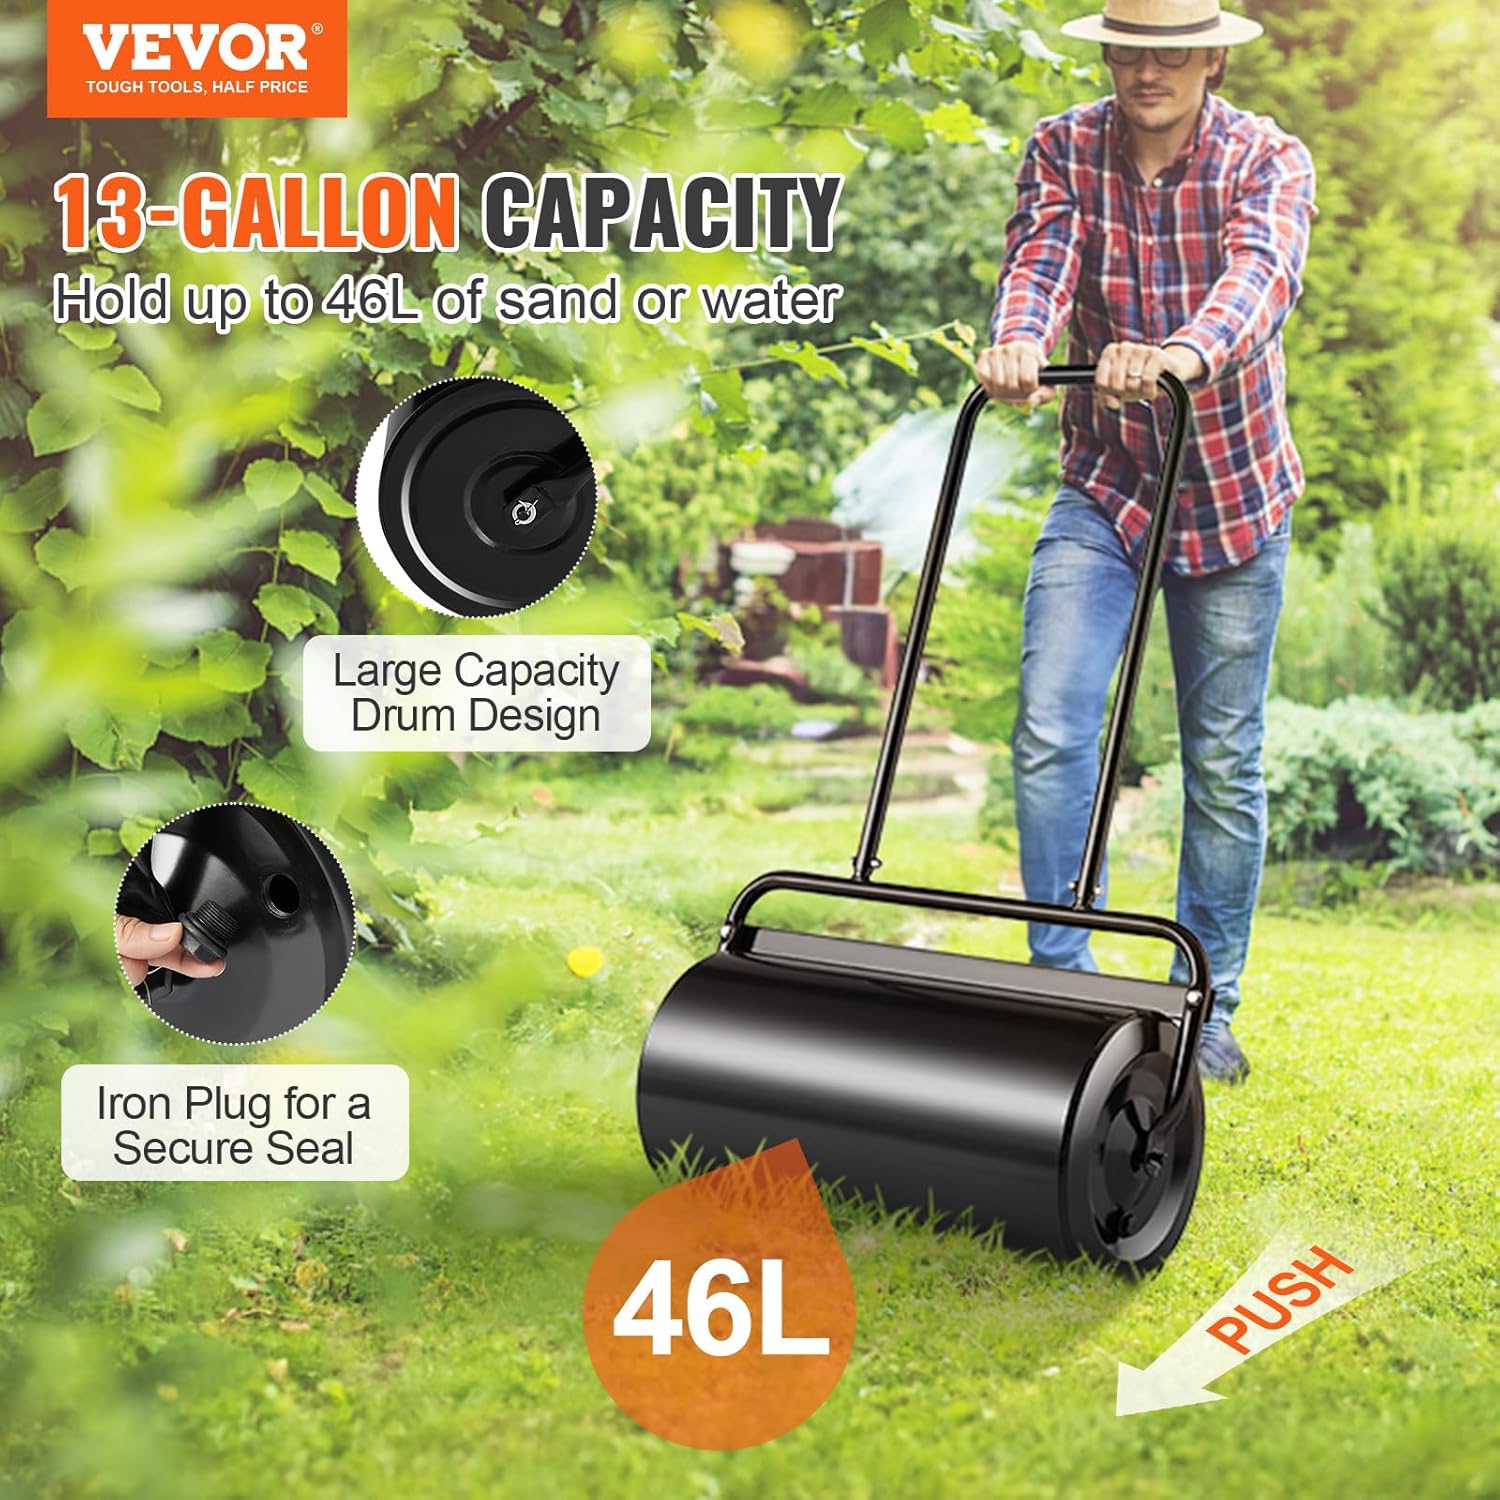
Image: The roller drum, capable of holding 13 gallons (46 liters) of water or sand, features a secure iron plug for filling.
4.2 Using the Roller
The roller is designed for manual push and pull operation to compact soil, press seeds into the ground, and smooth lawn surfaces.
- For best results, use the roller on slightly moist soil. Avoid using it on overly wet or dry ground.
- Push or pull the roller across the area you wish to compact. Overlap each pass slightly to ensure even coverage.
- The U-shaped ergonomic handle provides comfortable grip and control during operation.
- The metal scraper rod helps to prevent soil and debris from accumulating on the drum during use.
- The circular edges of the drum ensure smooth rotation and prevent damage to the lawn.

Image: A user demonstrates the push operation of the VEVOR Lawn Roller on a lawn.
4.3 Applications
This lawn roller is suitable for various applications:
- Lawn Care: Compacting newly sown seeds, flattening uneven turf, or preparing soil for sod.
- Gardens: Preparing garden beds by compacting soil after tilling.
- Farms: Light soil compaction for various agricultural tasks.
- Parks: Maintaining smooth surfaces in recreational areas.

Image: The versatile push-pull design makes the roller suitable for lawns, gardens, farms, and grassland parks.
5. Maintenance
Proper maintenance ensures the longevity and optimal performance of your lawn roller.
- Cleaning: After each use, clean any soil, grass, or debris from the roller drum and frame. The metal scraper rod helps in this process.
- Draining: Always drain the water or sand from the drum before storing, especially if temperatures are expected to drop below freezing. This prevents expansion damage to the drum.
- Rust Prevention: The roller features a powder-coated surface for rust resistance. However, regularly inspect for any scratches or chips in the paint and touch them up to prevent rust. The stainless steel clamps also contribute to rust prevention.
- Storage: Store the roller in a dry, covered area when not in use. The U-shaped handle allows for convenient hanging storage in a garage or shed.

Image: The heavy-duty steel frame, powder-coated surface, and stainless steel clamps contribute to the roller's durability and rust resistance.
6. Troubleshooting
If you encounter issues with your lawn roller, refer to the following common problems and solutions.
| Problem | Possible Cause | Solution |
|---|---|---|
| Roller is not compacting effectively. | Drum is not filled sufficiently; soil is too dry. | Fill the drum to the appropriate weight with water or sand. Lightly moisten the soil before rolling. |
| Water is leaking from the drum. | Fill plug is not tightened; plug seal is damaged. | Ensure the fill plug is securely tightened. Inspect the plug and its seal for damage and replace if necessary. |
| Difficulty pushing/pulling the roller. | Drum is too heavy; uneven terrain; bearings need lubrication. | Reduce the amount of water/sand in the drum. Operate on relatively level ground. Check and lubricate axle points if applicable. |
| Soil buildup on the drum. | Scraper rod is misaligned or missing; soil is too wet. | Ensure the scraper rod is correctly installed and positioned close to the drum. Avoid rolling on excessively wet soil. |
7. Specifications
Detailed technical specifications for the VEVOR 13-Gallon Lawn Roller.
- Model Number: Lawn Roller
- Product Dimensions (L x W x H): 27.36 x 12.6 x 44.49 inches (695 x 320 x 1130 mm)
- Drum Diameter: 12.6 inches (320 mm)
- Drum Length: 23.6 inches (600 mm)
- Drum Material: Q195 Iron
- Capacity: 13 Gallons (approx. 46 Liters)
- Filled Weight (Water/Sand): Up to 105 lbs (approx. 47.6 kg)
- Empty Product Weight: 22.7 pounds (10.25 kg)
- Main Material: Iron
- Draw Bar Material: Q195 Welded Pipe
- Brace Material: Q235 Steel
- Water-Proof Plug Type: Q235 Plug
- Inlet Diameter: 0.87 inch (22 mm)

Image: The VEVOR 13-Gallon Lawn Roller, showcasing its robust design.
8. Warranty and Support
VEVOR products are designed and manufactured to high-quality standards. For warranty information, technical support, or to order replacement parts, please visit the official VEVOR website or contact their customer service department. Please have your model number and purchase date available when contacting support.
VEVOR Official Website: www.vevor.com