ZPS-5F638E37CDA5F8DAD565967F5C676F0F
Zephis Kuco Teneth Pinch Roller Assembly User Manual
Model: ZPS-5F638E37CDA5F8DAD565967F5C676F0F
1. Product Overview
This manual provides instructions for the installation, operation, and maintenance of the Zephis Kuco Teneth Pinch Roller Assembly. This component is designed for use with TH1300X, 740, T48L, and T48LX series cutter cutting plotters, specifically functioning as a paper pressure rubber roller frame assembly.

Figure 1: A single Zephis Kuco Teneth Pinch Roller Assembly, showing its main components including the roller and pressure mechanism.
2. Setup and Installation
Proper installation of the pinch roller assembly is crucial for optimal performance of your cutting plotter. Ensure the plotter is powered off and disconnected from the power source before beginning installation.
2.1. Required Tools
- Small Phillips head screwdriver
- Clean, lint-free cloth
2.2. Installation Steps
- Prepare the Plotter: Power off and unplug the cutting plotter. Open the access panel or cover to the pinch roller area.
- Remove Old Assembly (if applicable): Carefully identify the existing pinch roller assembly. Loosen any screws or clips holding it in place. Gently lift and remove the old assembly.
- Clean the Area: Use a clean, lint-free cloth to wipe away any dust, debris, or paper residue from the pinch roller mounting area.
- Install New Assembly: Align the new Zephis Kuco Teneth Pinch Roller Assembly with the mounting points on the plotter. Ensure the roller is facing the correct direction for paper feeding. Gently press it into place.
- Secure the Assembly: Fasten any screws or clips to secure the new assembly firmly. Do not overtighten.
- Verify Movement: Manually test the movement of the pinch roller to ensure it moves freely and applies even pressure.
- Close and Power On: Close the access panel or cover. Reconnect the plotter to the power source and power it on.

Figure 2: Two pinch roller assemblies, illustrating the design from different angles, which can aid in proper orientation during installation.
3. Operating Instructions
The pinch roller assembly is a critical component for accurate paper feeding in your cutting plotter. Proper operation ensures consistent cutting results.
3.1. Paper Loading
- Lift Pinch Rollers: Engage the lever or mechanism on your plotter to lift the pinch rollers, releasing pressure on the platen.
- Position Material: Carefully slide your cutting material (vinyl, paper, etc.) onto the plotter's platen, aligning it with the guides.
- Lower Pinch Rollers: Gently lower the pinch rollers back down onto the material. Ensure the rollers are positioned over the edges of the material, providing firm and even pressure. Avoid placing rollers over areas that will be cut or where the material is uneven.
- Verify Grip: Lightly tug on the material to confirm that the pinch rollers have a firm grip and the material will not slip during cutting.
3.2. Pressure Adjustment
Some plotter models allow for pressure adjustment of the pinch rollers. Refer to your plotter's main user manual for specific instructions on adjusting pinch roller pressure. Incorrect pressure can lead to material slippage or damage to the material.

Figure 3: Side view of the pinch roller assembly, highlighting the spring mechanism responsible for applying pressure to the material.
4. Maintenance
Regular maintenance of your pinch roller assembly will extend its lifespan and ensure consistent performance.
4.1. Cleaning
- Frequency: Clean the rubber rollers regularly, especially after cutting materials that leave residue (e.g., certain types of vinyl or paper).
- Procedure: Use a clean, lint-free cloth dampened with isopropyl alcohol or a mild, non-abrasive rubber cleaner. Gently wipe the surface of the rubber rollers to remove dust, adhesive residue, and paper fibers.
- Avoid: Do not use harsh chemicals, solvents, or abrasive materials, as these can damage the rubber surface.
4.2. Inspection
- Rollers: Periodically inspect the rubber rollers for signs of wear, cracking, flat spots, or hardening. Worn rollers can lead to material slippage and inaccurate cuts.
- Frame and Springs: Check the plastic frame for any cracks or damage. Ensure the springs are intact and provide adequate tension.
- Replacement: If significant wear or damage is observed, replace the pinch roller assembly to maintain optimal plotter performance.
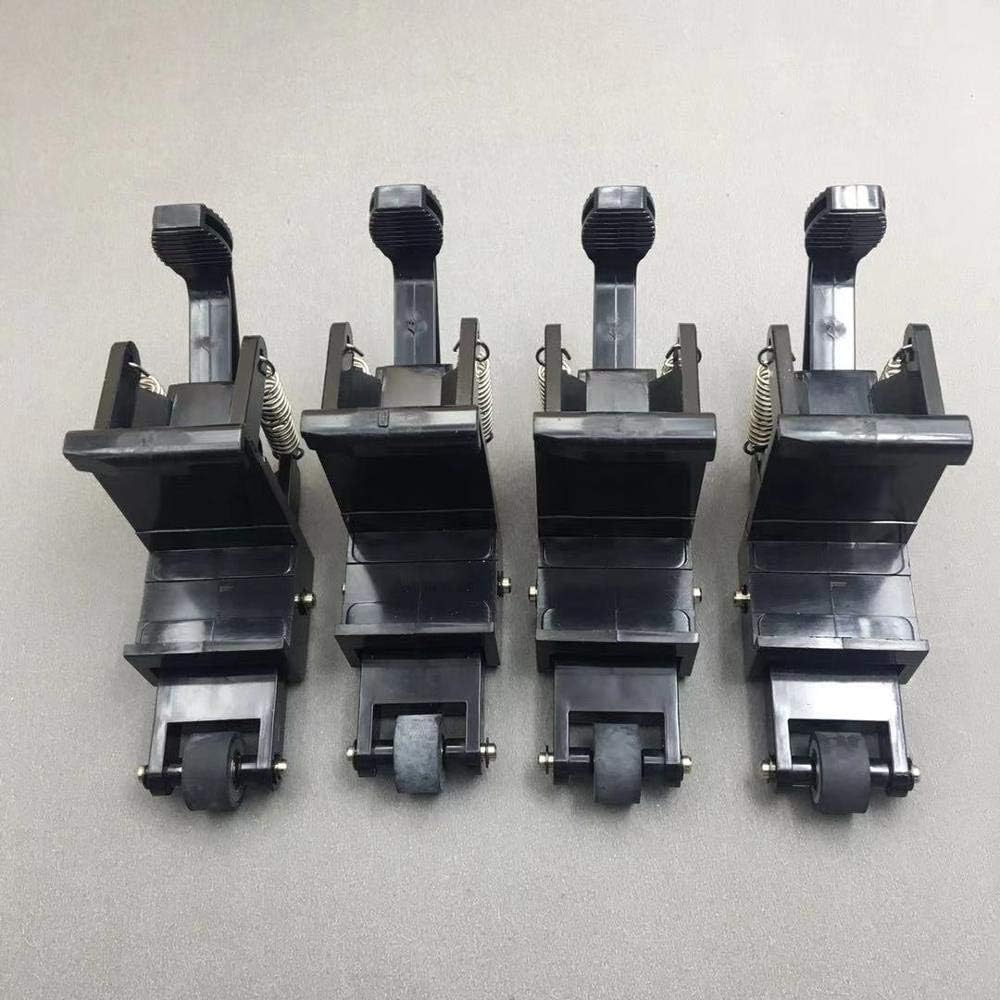
Figure 4: Multiple pinch roller assemblies, useful for visual comparison during inspection to identify wear or damage.
5. Troubleshooting
This section addresses common issues related to the pinch roller assembly.
| Problem | Possible Cause | Solution |
|---|---|---|
| Material slips during cutting | Worn or dirty rollers, insufficient pressure, incorrect material loading. | Clean rollers. Adjust pinch roller pressure (if plotter allows). Ensure material is loaded correctly and rollers are positioned over edges. Replace worn rollers. |
| Uneven cutting or tracking issues | One or more rollers are worn, damaged, or not applying even pressure. | Inspect all pinch rollers for wear or damage. Ensure they are clean and free of debris. Replace the assembly if rollers are unevenly worn or damaged. |
| Difficulty lifting/lowering rollers | Mechanism obstruction or damage to the assembly frame. | Check for any foreign objects obstructing the mechanism. Inspect the assembly frame for cracks or bending. Replace if damaged. |
6. Specifications
- Product Type: Pinch Roller Assembly
- Compatibility: TH1300X, 740, T48L, T48LX Cutter Cutting Plotters
- Function: Paper pressure rubber roller frame ASSY
- Manufacturer: Generic
- Part Number: ZPS-5F638E37CDA5F8DAD565967F5C676F0F
- ASIN: B0DWSNPDCJ
- Date First Available: February 11, 2025
7. Warranty and Support
For warranty information and technical support regarding your Zephis Kuco Teneth Pinch Roller Assembly, please contact the seller or the manufacturer directly. Keep your purchase receipt as proof of purchase.
Seller: Zephis
Manufacturer: Generic
Ask a question about this manual
Ask about setup, troubleshooting, compatibility, parts, safety, or missing instructions. Manuals+ will review the question and use this page’s manual context to help answer it.