1. Product Overview
This kit provides high-quality FEP (Fluorinated Ethylene Propylene) films and essential cleaning tools designed for use with resin 3D printers. The FEP films are crucial components in SLA/DLP 3D printing, serving as the non-stick surface at the bottom of the resin vat, allowing cured layers to detach easily.
The included cleaning tools facilitate safe handling and maintenance of the FEP film, ensuring optimal performance and longevity.
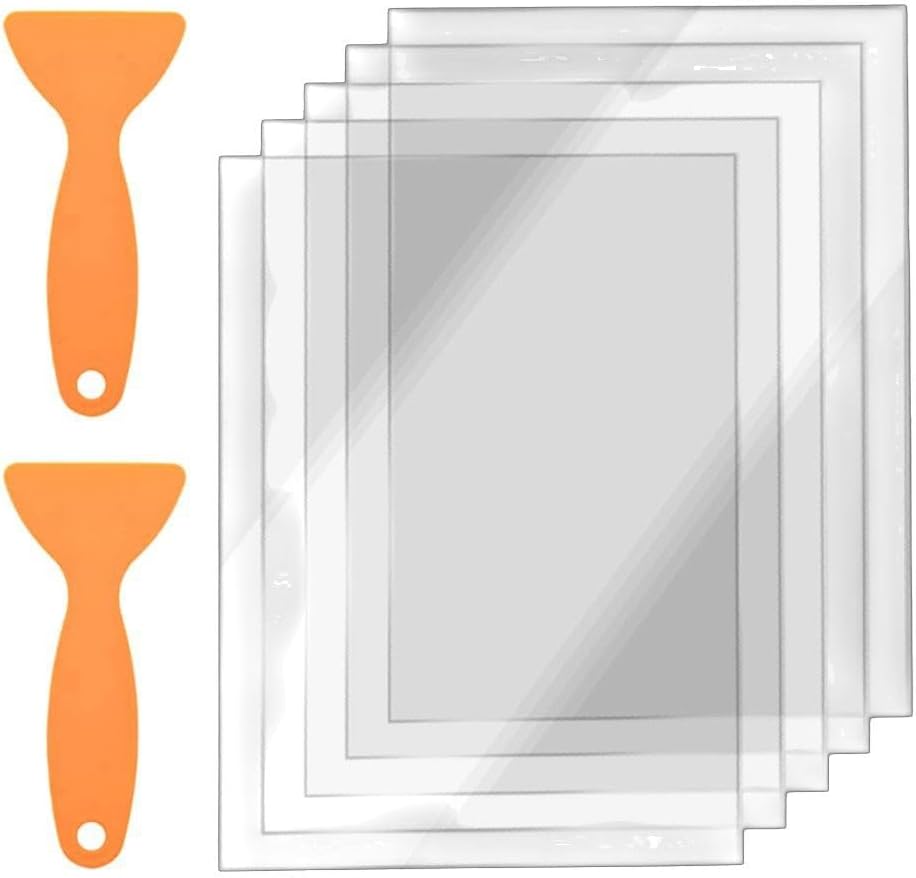
Image 1.1: Contents of the Todikaper FEP Film and Maintenance Tool Kit, showing five FEP films and two orange cleaning tools.
2. Specifications
| Feature | Detail |
|---|---|
| Product Name | FEP Release Film and Cleaning Tool Kit |
| Material | FEP (Fluorinated Ethylene Propylene) |
| Film Dimensions (L x W) | 200 mm x 140 mm |
| Film Thickness | 0.15 mm |
| Light Transmission Rate | 95% |
| Compatibility | Elegoo Mars 2, Mars 2 Pro, Photon 3D Printers |
| Kit Contents | 5 x FEP Release Films, 2 x Cleaning Tools |
| Color | Transparent (FEP Film), Orange (Tools) |
| Model Number | K4UQ84L3G348G7583137O1D65 |

Image 2.1: Diagram illustrating the dimensions of the FEP film: 200mm in length and 140mm in width.
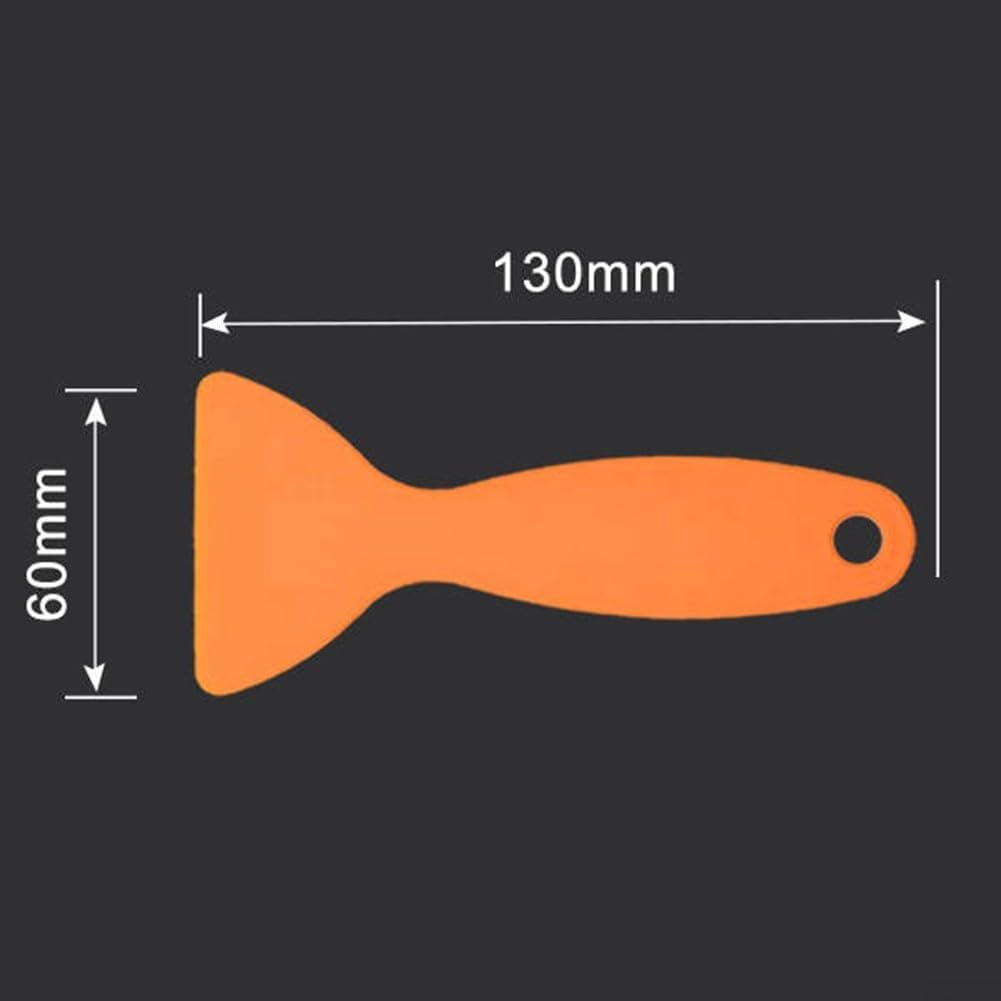
Image 2.2: Diagram illustrating the dimensions of the cleaning tool: 130mm in length and 60mm in width.
3. Setup and Installation
Replacing the FEP film in your resin 3D printer's vat is a delicate process that requires care to avoid damage to the film or the vat. Always refer to your specific 3D printer's manual for detailed instructions on FEP film replacement, as procedures may vary slightly between models.
3.1. Required Tools (Not Included, except for cleaning tools):
- Gloves (nitrile or latex)
- Safety glasses
- Clean, lint-free cloths
- Isopropyl Alcohol (IPA)
- Small screwdriver set (for vat disassembly)
- The included cleaning tools
3.2. General Installation Steps:
- Preparation: Ensure your 3D printer is turned off and unplugged. Remove the resin vat from the printer.
- Resin Removal: If there is resin in the vat, carefully pour it back into its original bottle through a resin filter. Clean any remaining resin from the vat using IPA and a lint-free cloth.
- Disassembly: Invert the resin vat. Locate and remove the screws that hold the FEP film frame in place. Carefully separate the old FEP film and its gasket from the frame. Dispose of the old film properly.
- Cleaning the Frame: Thoroughly clean the FEP film frame and the vat's bottom surface with IPA to remove any resin residue. Ensure surfaces are completely dry before proceeding.
- New FEP Film Placement: Carefully place a new Todikaper FEP film onto the frame. Ensure it is centered and free of dust or fingerprints. The film is transparent and flexible.
- Reassembly: Place the gasket (if applicable) and the top part of the frame over the new FEP film. Align all holes and gently reinsert the screws. Do not overtighten the screws initially.
- Tensioning (if required by printer model): Some printer vats require specific tensioning of the FEP film. Follow your printer's manual for this step. Generally, screws are tightened in a cross pattern, gradually increasing tension until the film is taut but not overly stretched. The film should produce a low drum-like sound when gently tapped.
- Final Check: Inspect the installed FEP film for any wrinkles, tears, or debris. Ensure it is smooth and securely fastened.
- Reinstall Vat: Carefully place the resin vat back into your 3D printer.

Image 3.1: A hand demonstrating the flexibility of the FEP film, alongside an image showing the film being installed into a 3D printer resin vat frame.
4. Operating Considerations
The FEP film acts as a crucial interface during the 3D printing process. Its primary function is to allow UV light to pass through while preventing the cured resin from sticking to the bottom of the vat. Proper operation involves ensuring the film remains clean and undamaged.
4.1. During Printing:
- Resin Level: Ensure the resin level in the vat is appropriate for your print, avoiding overfilling or underfilling.
- Print Adhesion: If prints are failing to adhere to the build plate or are sticking excessively to the FEP film, it may indicate issues with exposure settings, build plate leveling, or a worn FEP film.
4.2. After Printing:
- Resin Removal: After a print, carefully remove the build plate and any cured resin from the vat.
- Film Inspection: Inspect the FEP film for any cured resin stuck to its surface. Use the included cleaning tools to gently scrape off any cured resin. Never use sharp metal objects, as they can easily damage the film.
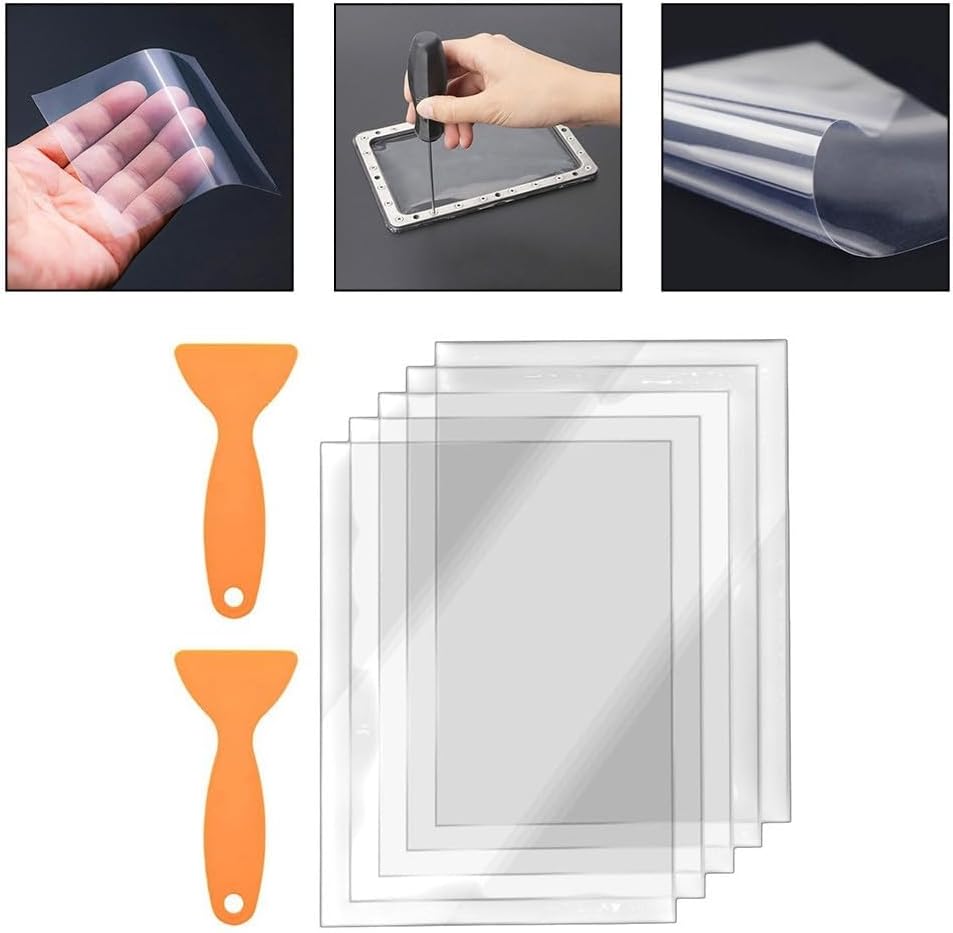
Image 4.1: Close-up views of the FEP film, demonstrating its transparent nature and flexibility when handled.
5. Maintenance and Care
Proper maintenance of the FEP film is essential for consistent print quality and extending the lifespan of the film. The Todikaper FEP films are designed for multiple uses, provided they are cared for correctly.
5.1. Cleaning the FEP Film:
- Gentle Cleaning: After each print, if there is any cured resin stuck to the FEP film, gently remove it using the provided plastic cleaning tools. Avoid excessive force.
- IPA Cleaning: For general cleaning of the FEP film surface (when the vat is empty), use a soft, lint-free cloth dampened with Isopropyl Alcohol (IPA). Wipe gently.
- Avoid Abrasives: Never use abrasive materials, paper towels, or sharp objects on the FEP film, as these can scratch or puncture the surface, leading to print failures.
5.2. Storage:
- Store unused FEP films in a clean, dry, and flat environment, away from direct sunlight and sharp objects. Keep them in their original packaging if possible to prevent damage.

Image 5.1: Close-up of the FEP film surface, highlighting its smooth and transparent quality, essential for proper light transmission.
6. Troubleshooting
This section addresses common issues related to FEP film performance and offers solutions.
6.1. Common Issues and Solutions:
- Resin Sticking to FEP Film:
- Cause: Insufficient bottom exposure time, build plate not leveled, FEP film worn out or damaged, resin temperature too low.
- Solution: Increase bottom exposure time in slicer settings. Re-level the build plate. Replace the FEP film if it shows signs of wear (cloudiness, scratches, dimples). Ensure resin is at room temperature.
- Prints Not Adhering to Build Plate:
- Cause: Build plate not leveled, insufficient bottom exposure, FEP film too loose or too tight.
- Solution: Re-level the build plate. Increase bottom exposure time. Check FEP film tension; it should be taut but not overly stretched.
- Cloudy or Scratched FEP Film:
- Cause: Normal wear and tear, improper cleaning, cured resin residue.
- Solution: Replace the FEP film. Always use soft, non-abrasive tools for cleaning.
- Light Bleed/Poor Print Detail:
- Cause: FEP film is too old or has micro-scratches affecting light transmission.
- Solution: Replace the FEP film. Ensure the film is clean and free of smudges.
`
7. Warranty and Support
Todikaper products are manufactured to high standards. While FEP films are consumable parts, if you encounter any manufacturing defects or issues upon receiving your product, please contact your retailer or Todikaper customer support.
Please note that FEP films are subject to wear and tear during normal use and are not covered under warranty for damage caused by improper installation, handling, or cleaning.
For further assistance or inquiries, please refer to the contact information provided by your point of purchase or visit the official Todikaper website (if available).