
1. Important Safety Information
Please read and understand all instructions before assembling and using this product. Retain this manual for future reference.
- Anti-Tip Kit: Always install the included anti-tip restraint kit to prevent serious or fatal injuries from furniture tip-over. This is crucial for households with children.
- Weight Limits: Do not exceed the maximum weight capacity for the dresser top or individual drawers. Overloading can cause instability and damage.
- Placement: Place the dresser on a flat, level surface. Uneven surfaces can compromise stability.
- Child Safety: Keep small parts and packaging materials away from children during assembly. Do not allow children to climb on or play with the dresser.
- Electrical Safety: Ensure the charging station is connected to a properly grounded outlet. Do not overload the outlets. Keep liquids away from the charging station.
2. Package Contents
Before beginning assembly, verify that all parts listed below are present and undamaged. If any parts are missing or damaged, please contact customer support.
- Dresser Panels (Top, Bottom, Sides, Back)
- 9 Drawer Fronts, Sides, and Bottoms
- Drawer Slides (Ball Bearings)
- Gold Metal Handles
- LED Light Strip with Controller
- Built-in Charging Station (2 AC outlets, 2 USB ports)
- Power Cord (3 feet)
- Assembly Hardware (Screws, Dowels, Cam Locks, etc.)
- Anti-Tip Restraint Kit
- Assembly Instructions Manual
3. Setup Instructions
Assembly of the knoworld 9-Drawer Dresser requires careful attention to detail. It is recommended to have two people for assembly. Tools required include a Phillips head screwdriver (not included) and potentially a power drill on a low torque setting for efficiency.
3.1 Assembly Steps
- Unpack and Organize: Lay out all components on a soft, clean surface to prevent scratches. Group similar hardware.
- Assemble the Main Frame: Follow the step-by-step diagrams in the included assembly manual to construct the dresser's main body. Ensure all connections are secure.
- Install Drawer Slides: Attach the drawer slides to the inner walls of the dresser frame and to the drawer sides as indicated in the manual. Ensure they are level and aligned for smooth operation.
- Assemble Drawers: Construct each of the nine drawers. Attach the gold metal handles securely to the drawer fronts.
- Insert Drawers: Carefully slide each assembled drawer into its designated slot on the dresser frame.
- Install LED Light Strip: Adhere the LED light strip to the designated area on the dresser top. Connect the controller and power adapter.
- Connect Charging Station: Ensure the built-in charging station is properly seated and its power cord is accessible for connection to a wall outlet.
- Attach Anti-Tip Kit: Securely fasten the anti-tip restraint kit to the dresser and to a wall stud, following the specific instructions provided with the kit. This step is critical for safety.
For visual guidance during assembly, refer to the product images that illustrate the dresser's structure and components.
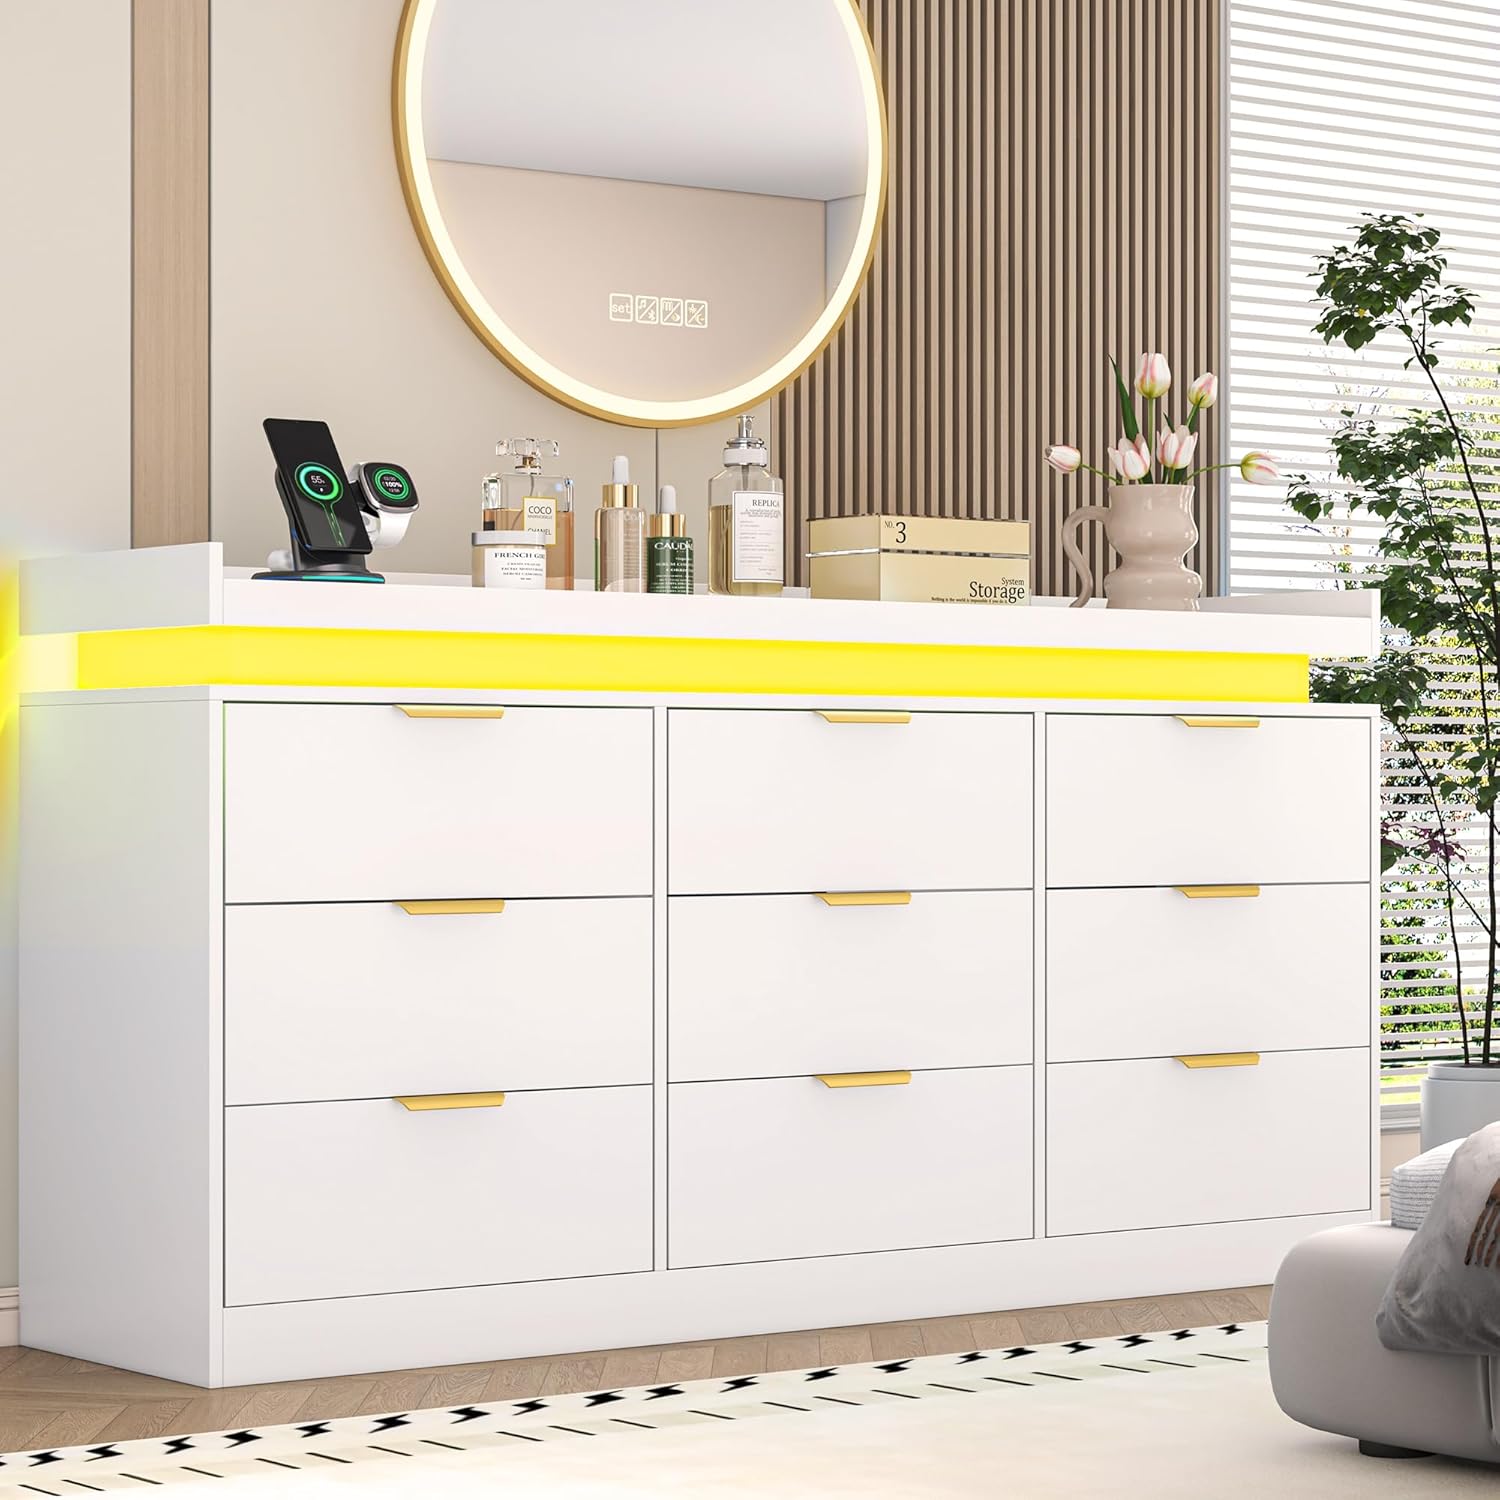
Figure 3.1: Assembled 9-Drawer Dresser in a bedroom setting.

Figure 3.2: Product dimensions for planning placement.
4. Operating Instructions
4.1 LED Lights Operation
The dresser features multi-color RGB LED light strips that can be adjusted to create various ambiances.
- Control Methods: The LED lights can be controlled via a physical button on the light strip's controller or through a dedicated mobile application.
- Adjustable Modes:
- RGB Colors: Select from a wide spectrum of colors.
- Light Mode: Adjust brightness and static light effects.
- Mic Mode: Lights react to ambient sounds detected by the microphone.
- Music Mode: Lights synchronize with music played through the app or detected by the microphone.
- Timing Mode: Set schedules for the lights to turn on or off automatically.
- App Control: Download the specified app (details in the separate LED light manual, if provided) to unlock full customization features.
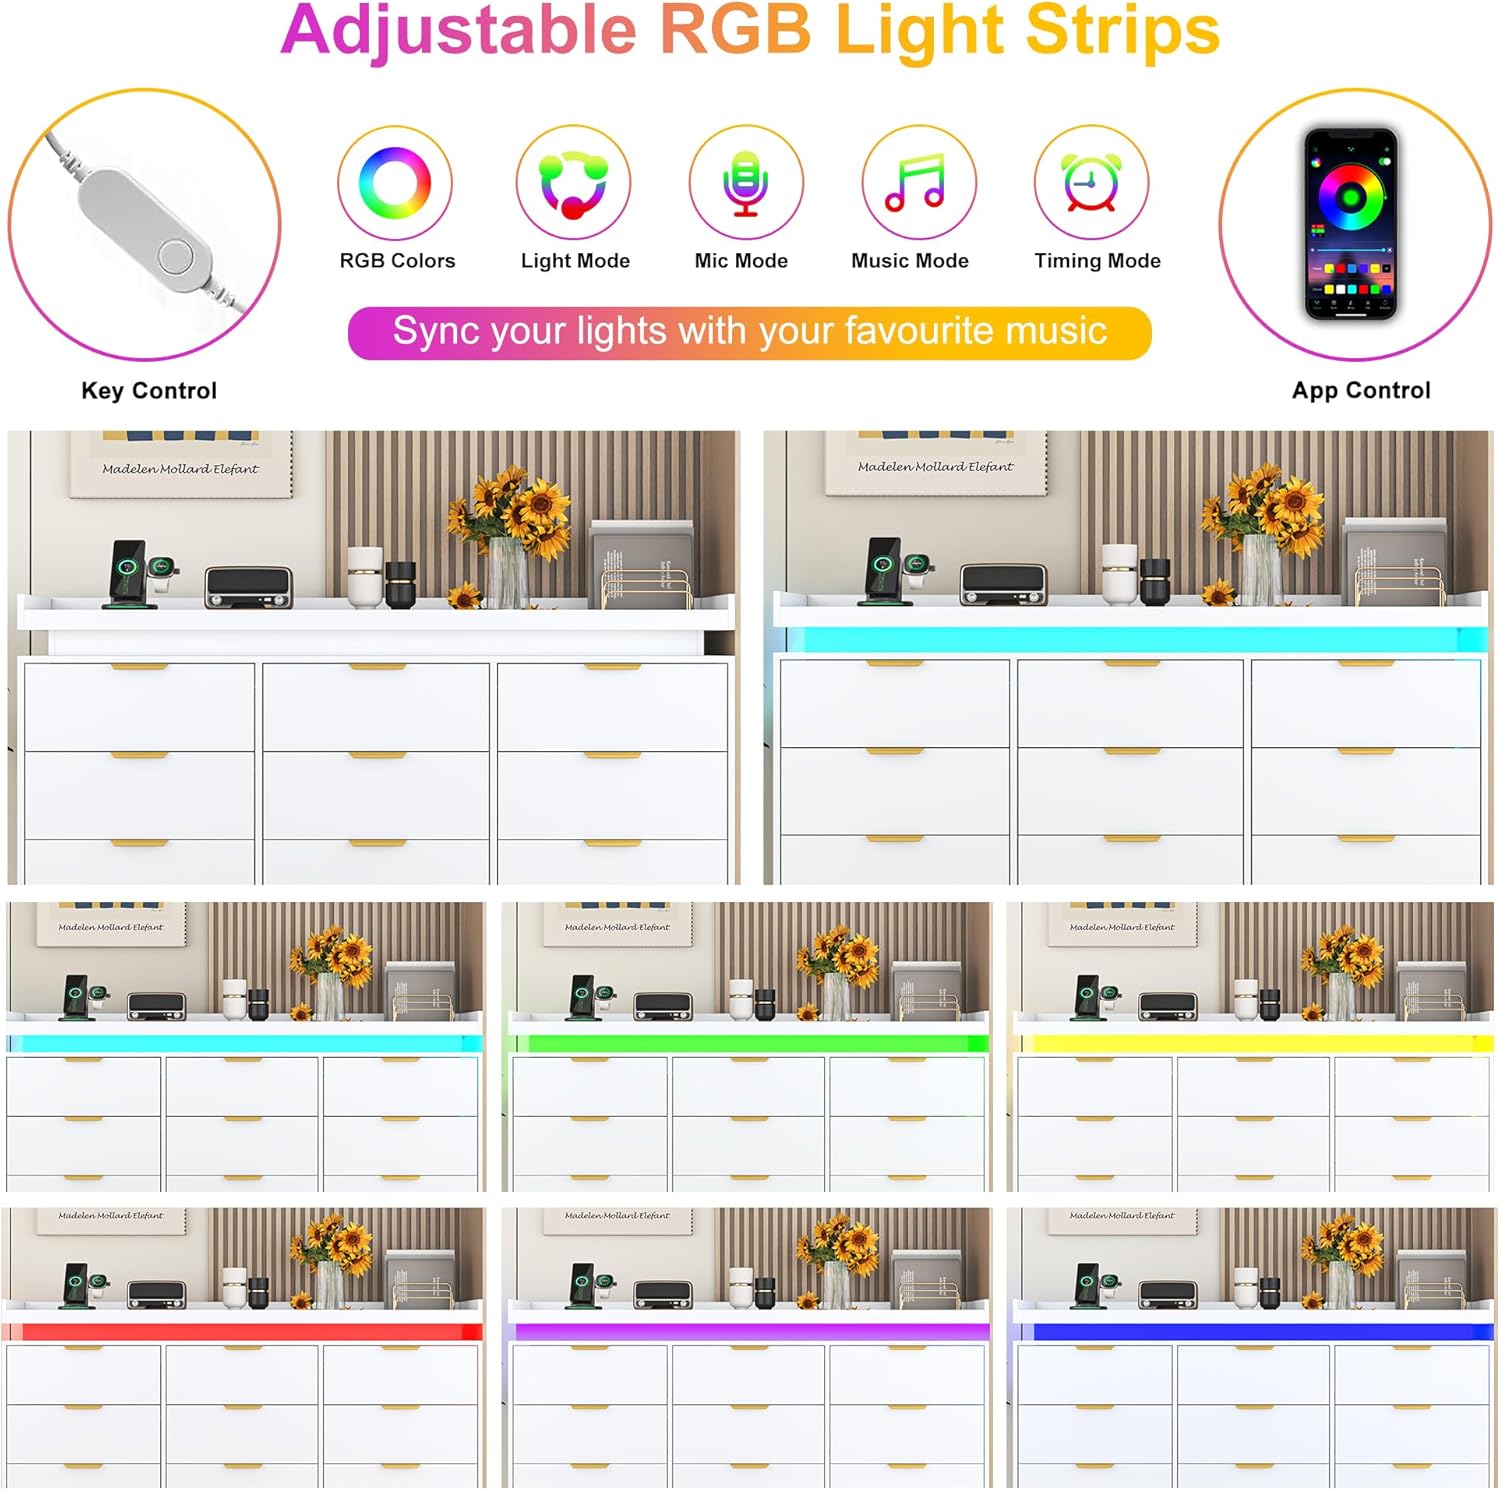
Figure 4.1: Adjustable RGB Light Strips with key and app control.
4.2 Charging Station Usage
The dresser is equipped with a convenient built-in power outlet for charging electronic devices.
- Power Connection: Plug the dresser's main power cord (3 feet long) into a standard 125V/12A wall outlet.
- AC Outlets: Two (2) standard AC outlets are available for devices requiring direct power, such as laptops or lamps.
- USB Ports: Two (2) USB ports (5V/2A) are provided for charging mobile phones, tablets, smartwatches, and other USB-powered devices.
- Usage: Simply plug your devices into the appropriate outlets or ports. Ensure devices are compatible with the provided voltage and amperage.

Figure 4.2: Built-in Charging Station with AC and USB ports.
5. Maintenance and Care
Proper care will ensure the longevity and appearance of your dresser.
- Cleaning: Wipe surfaces with a soft, damp cloth. Avoid harsh chemicals, abrasive cleaners, or polishes that may damage the white finish.
- Spills: Immediately wipe up any spills to prevent staining or damage to the MDF material.
- Drawer Maintenance: Periodically check drawer slides for smooth operation. If drawers become stiff, a small amount of silicone lubricant can be applied to the slides.
- Hardware: Regularly check and tighten all screws and fasteners to ensure the dresser remains stable and secure.
- Sunlight Exposure: Avoid prolonged direct sunlight exposure, which can cause fading or discoloration of the finish.

Figure 5.1: Key features and materials of the dresser.
6. Troubleshooting
If you encounter issues with your dresser, refer to the following common problems and solutions.
| Problem | Possible Cause | Solution |
|---|---|---|
| Drawers do not slide smoothly or are misaligned. | Incorrect drawer slide installation; loose screws; overloaded drawer. | Check that drawer slides are correctly installed and aligned. Tighten all screws on slides and drawers. Reduce drawer contents if overloaded. |
| LED lights are not working. | Power adapter not plugged in; loose connection; faulty LED strip/controller. | Ensure the power adapter is securely plugged into the wall and the LED strip. Check all connections. If issues persist, contact customer support. |
| Charging station is not providing power. | Dresser power cord not plugged in; wall outlet not active; internal wiring issue. | Verify the dresser's power cord is fully plugged into a working wall outlet. Test the wall outlet with another device. If still no power, contact customer support. |
| Dresser feels unstable or wobbly. | Loose assembly hardware; uneven floor. | Tighten all assembly screws. Ensure the dresser is placed on a level surface. Use shims if necessary to stabilize. |
If the problem persists after attempting these solutions, please contact knoworld customer support for further assistance.
7. Product Specifications
| Feature | Detail |
|---|---|
| Brand | knoworld |
| Model Name | I870100422A1 |
| Product Dimensions (D x W x H) | 15.75"D x 62.99"W x 32.29"H |
| Color | White |
| Number of Drawers | 9 |
| Material | Premium MDF |
| Special Features | LED Lights (RGB, App Control), Built-in Charging Station (2 AC, 2 USB) |
| Assembly Required | Yes |
| Item Weight | 116 pounds |
8. Warranty and Customer Support
knoworld is committed to providing high-quality products and excellent customer service.
- Warranty: This product comes with a 12-month service period from the date of purchase.
- Damaged or Missing Parts: Each package is carefully wrapped to ensure safe delivery. However, if you receive an item with scratches, breakage, or missing parts, please contact our customer service team immediately.
- Customer Service: Our professional customer service team is available 24/7 to assist you with any questions or concerns regarding your product. We aim to respond within 24 hours.
For assistance, please refer to the contact information provided on your purchase receipt or the knoworld official website.

Figure 8.1: knoworld Customer Support Information.