1. Introduction
This manual provides detailed instructions for the setup, operation, and maintenance of your XElectron Techno Android 13 Smart Projector. Please read this manual thoroughly before using the product to ensure proper function and to extend its lifespan.
The XElectron Techno portable projector features a powerful LED light source and supports 4K decoding. With a native resolution of 1280×720 and a high dynamic contrast ratio of 5000:1, it delivers enhanced brightness, clarity, and color depth. It includes a built-in Android 13 operating system for instant access to a vast array of content, supports a massive 200” screen projection, dual-band 2.4/5G WiFi 6 for reduced latency, and Bluetooth 5.0 for effortless pairing with external audio devices. The built-in bass speakers provide excellent audio quality.
2. What's in the Box
Verify that all items are present in the packaging:
- XElectron Techno Smart Projector
- Power Cord
- Remote Control
- User Manual
- Warranty Card
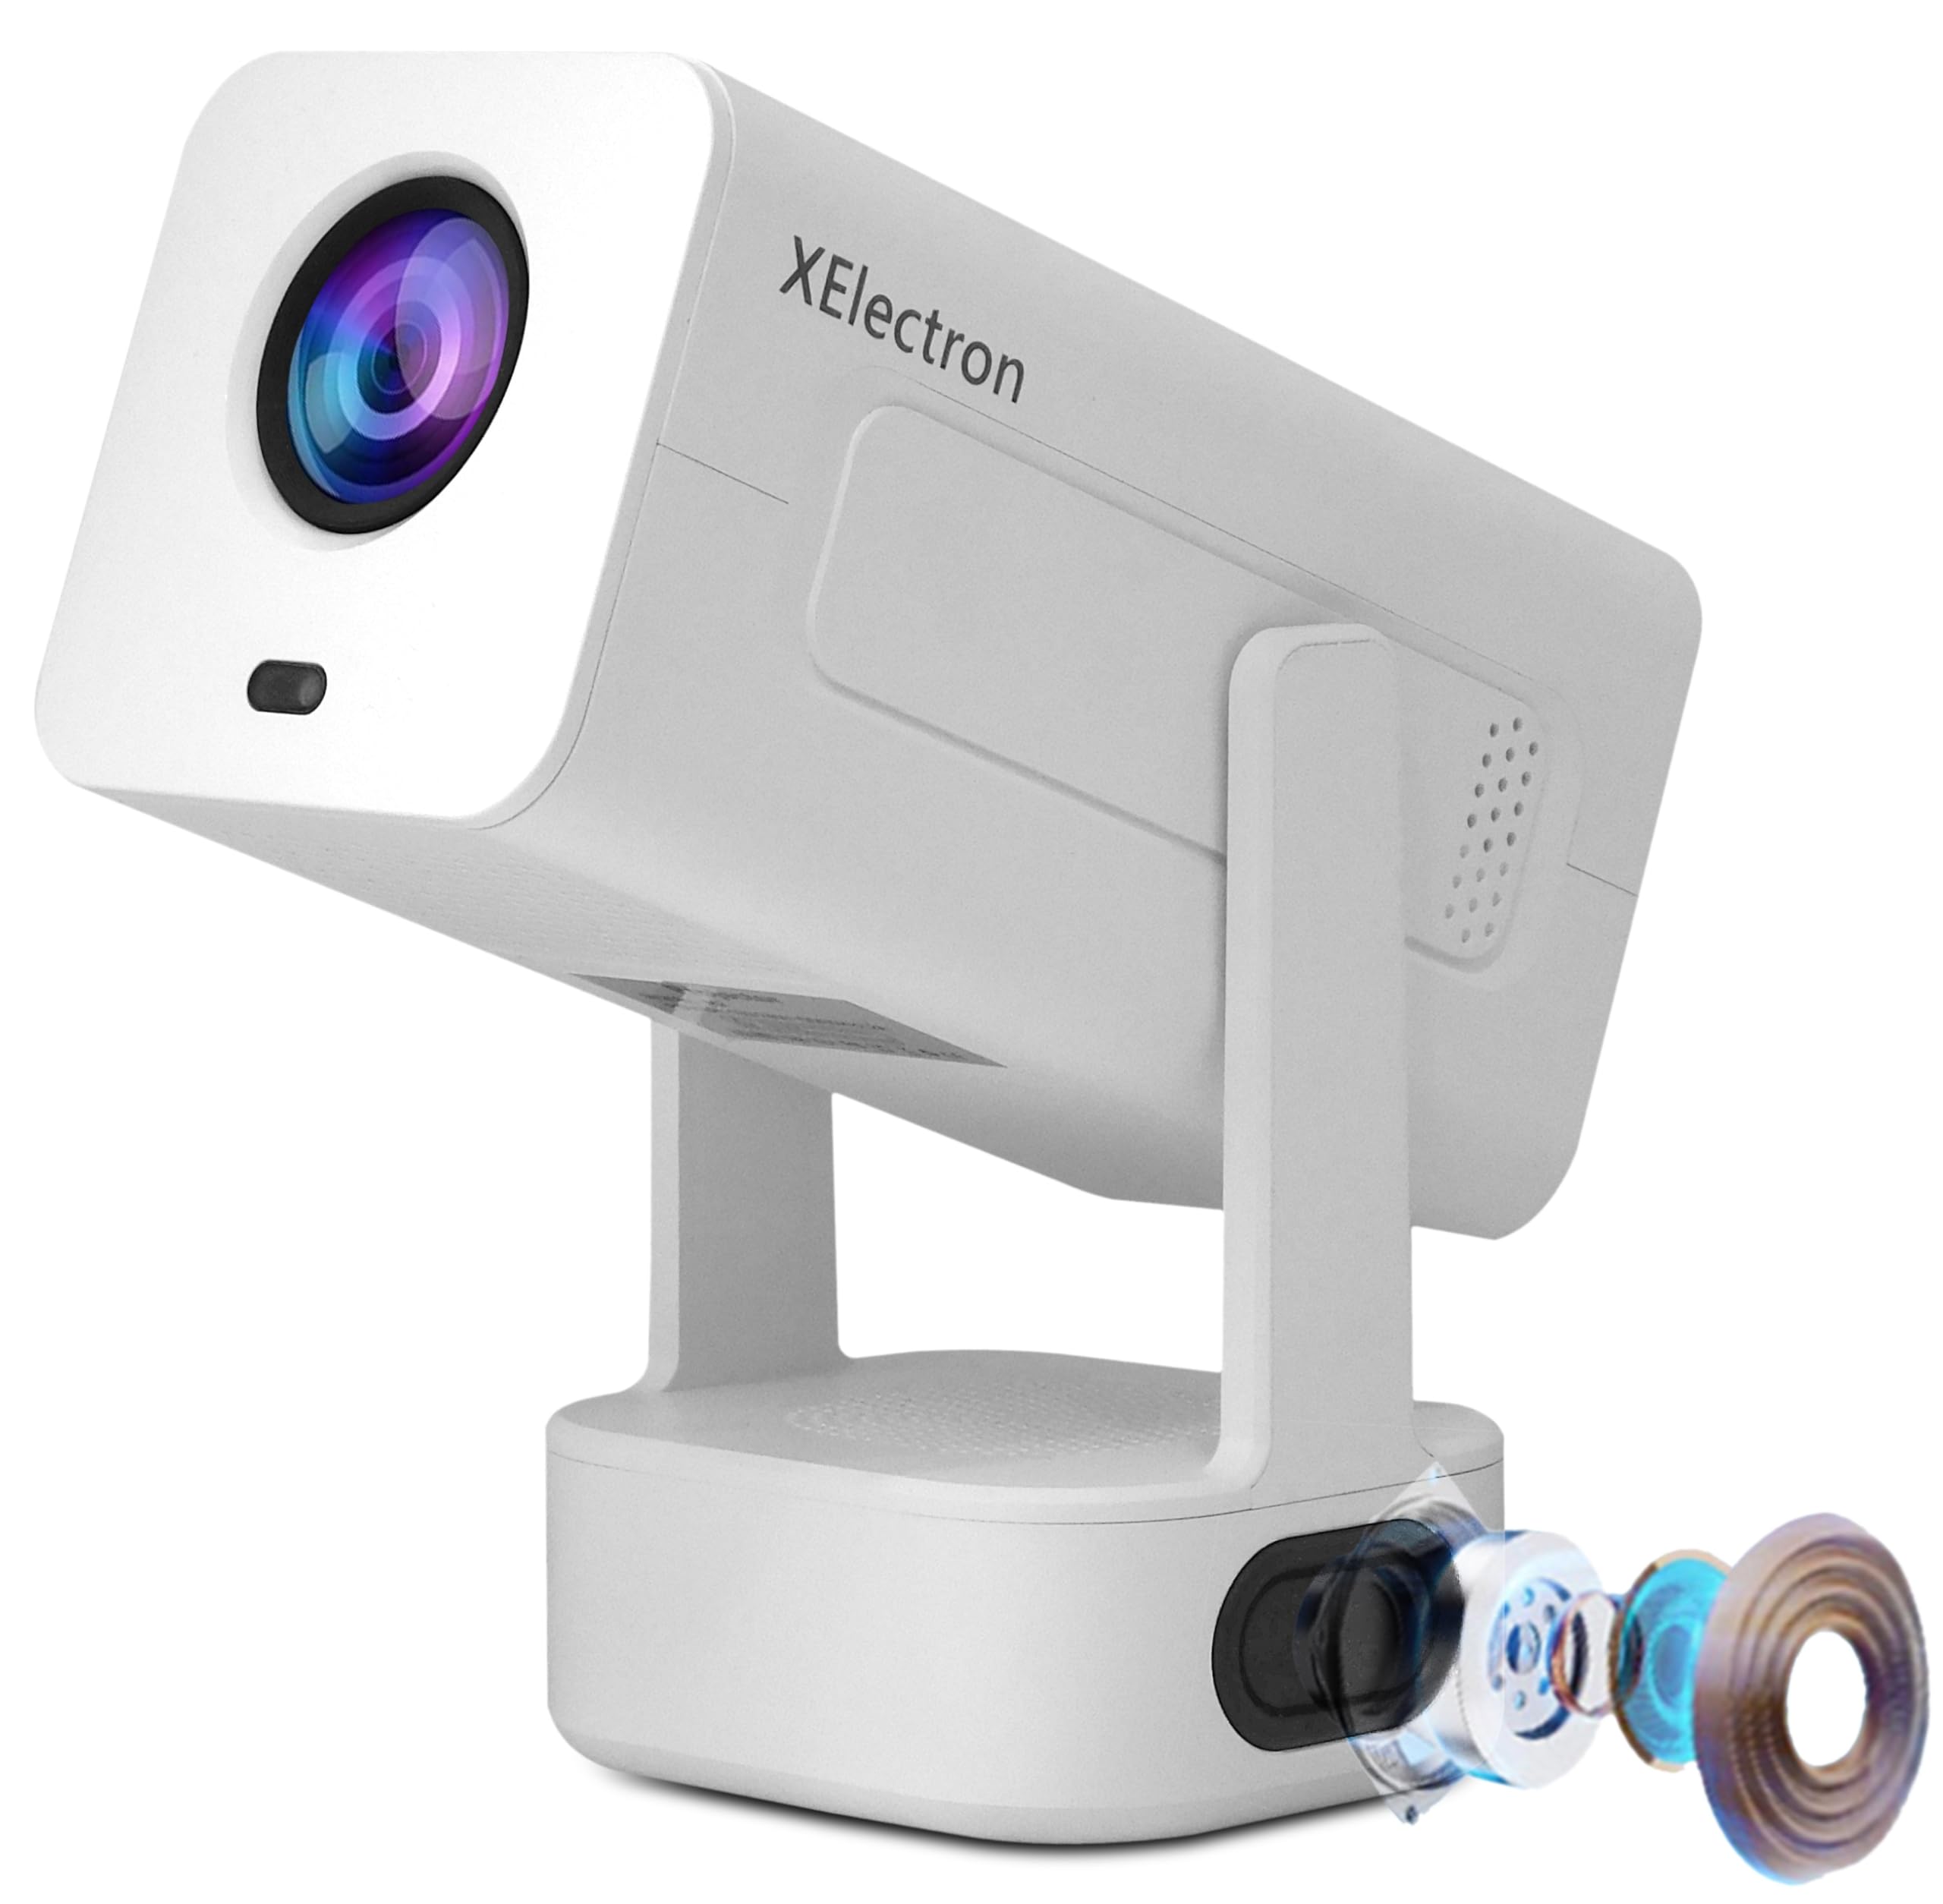
Image: The XElectron Techno Smart Projector, remote control, and power cord.
3. Product Overview
The XElectron Techno projector is designed for versatile home cinema use, offering advanced features in a portable form factor.
Key Features:
- Native Resolution: 1280 x 720P, with support for 1080P and 4K decoding.
- Brightness: 9000 Lumens (660 ANSI Lumens).
- Contrast Ratio: 5000:1.
- Operating System: Android 13 (1GB RAM + 8GB ROM).
- Connectivity: Dual-Band WiFi 6 (2.4/5G), Bluetooth 5.0, HDMI, USB, 3.5mm Audio Jack.
- Projection Size: 40 to 200 inches.
- Light Source Life: Up to 50,000 hours.
- Audio: Built-in 20 Watt Bass Speaker.
- Adjustments: 210° Rotatable Design, Auto Keystone Correction, 4D Keystone Correction, Electronic Remote Focus.
- Portability: Lightweight and compact design.

Image: Visual representation of the projector's key features including Android 13, 4K support, 210° rotation, auto keystone, and connectivity options.
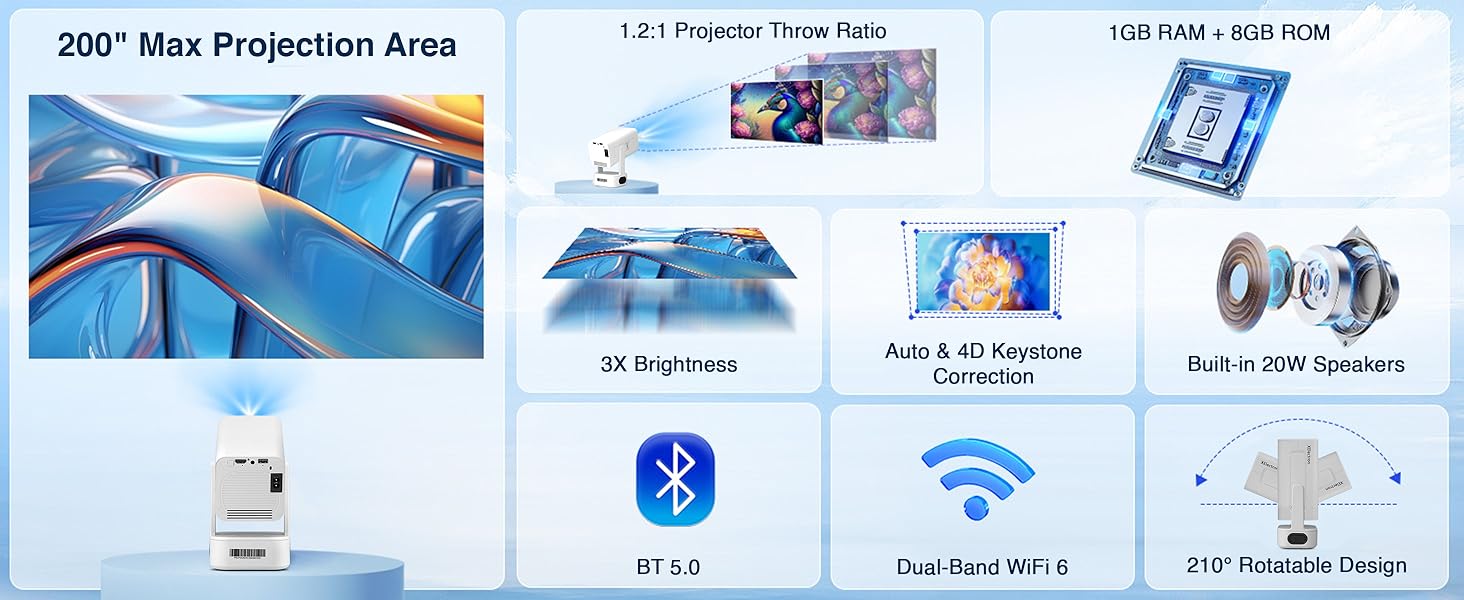
Image: Detailed diagram illustrating the projector's maximum projection area, throw ratio, brightness, keystone correction, audio, and connectivity.
4. Setup
4.1 Initial Placement
Place the projector on a stable, flat surface. The 210° rotatable design allows for flexible placement, including projecting onto walls or ceilings. Ensure there are no obstructions between the projector lens and the projection surface.

Image: The projector demonstrating projection flexibility with various screen sizes (20" to 120") at different distances.
4.2 Power Connection
- Connect the power cord to the projector's power input port.
- Plug the other end of the power cord into a suitable electrical outlet.
- Press the power button on the projector or remote control to turn it on.
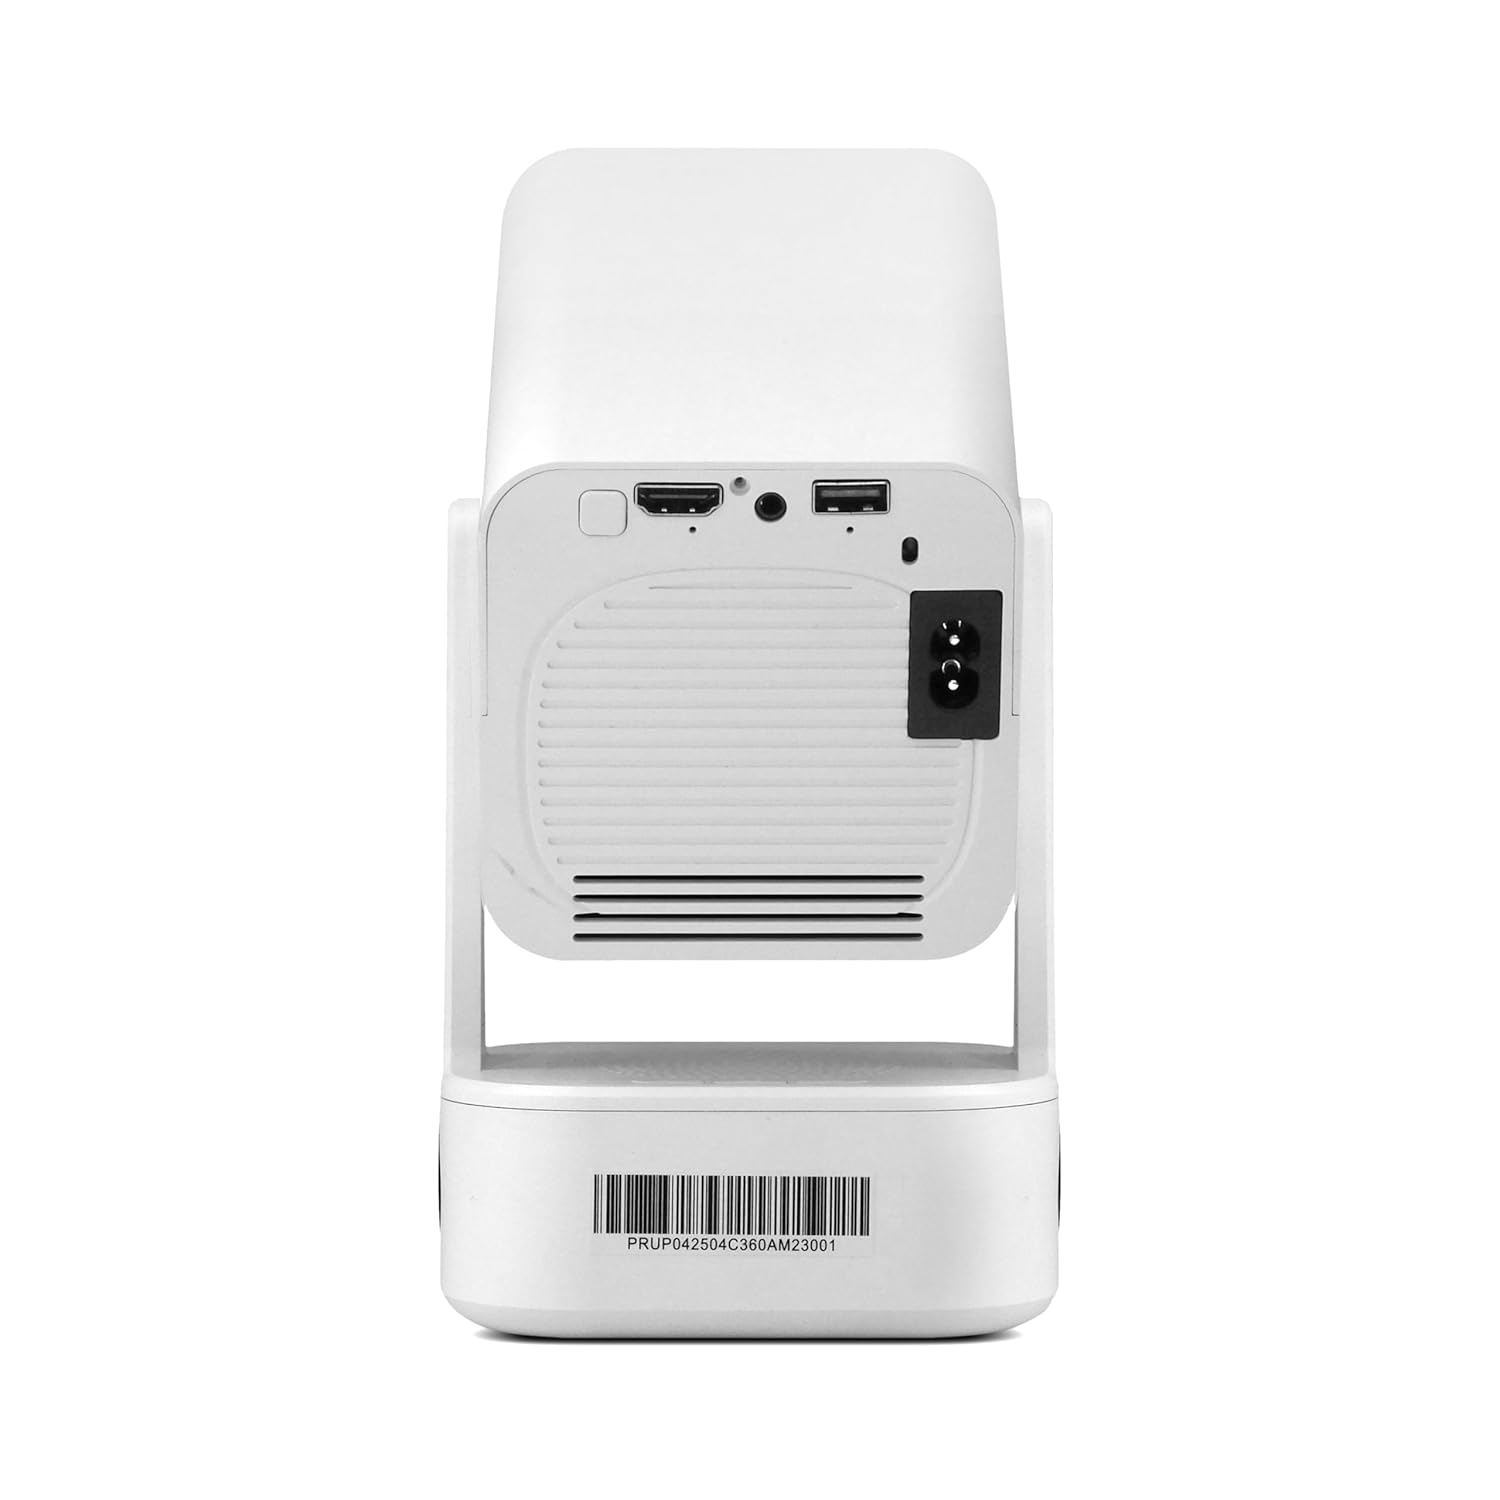
Image: The rear panel of the projector, highlighting the HDMI, USB, and power input connections.
4.3 Initial Focus and Keystone Correction
Upon startup, the projector will automatically perform keystone correction. Use the remote control to fine-tune the focus electronically for a sharp image.

Image: The projector adjusting its image with automatic 4D keystone correction and electronic remote focus.
Video: Demonstration of the projector displaying content on a ceiling, highlighting its flexible projection capabilities.
5. Operating Instructions
5.1 Navigating Android 13
The projector runs on Android 13, providing a smart interface. Use the remote control to navigate through menus, select applications, and adjust settings. Popular streaming apps like Netflix, Prime Video, and YouTube are pre-installed or can be downloaded from the app store.
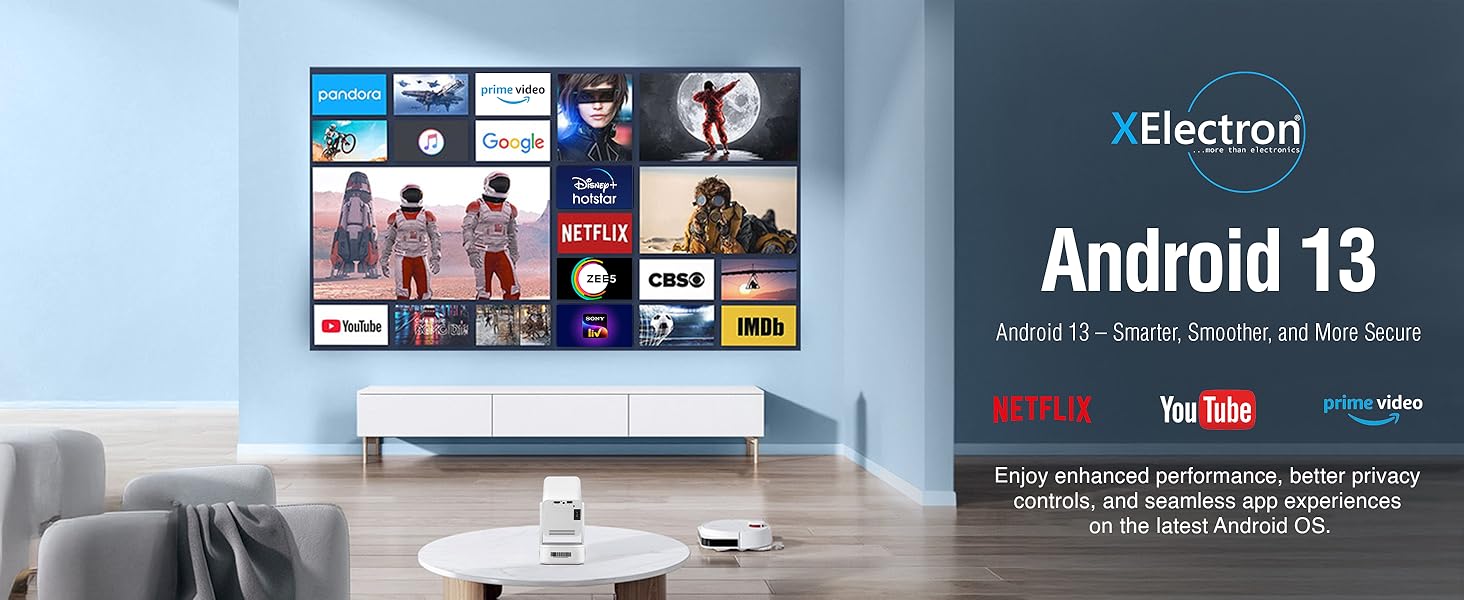
Image: The projector's display showing the Android 13 interface with various streaming applications.
5.2 Screen Mirroring
The projector supports seamless screen mirroring from iOS, Android, and Windows devices via Dual-Band WiFi 6. Ensure your device and the projector are connected to the same Wi-Fi network. Select the screen mirroring option on the projector and follow the on-screen instructions to connect your device.

Image: The projector demonstrating wireless screen mirroring from various mobile devices.
5.3 Adjusting Projection
The projector features a 210° rotatable design, allowing you to adjust the projection angle easily. Use the remote for electronic focus and auto keystone correction to maintain a clear and rectangular image from various positions.
Video: A brief overview of the projector's key features, including its rotatable design and automatic adjustments.
6. Connectivity
6.1 Wi-Fi Connection
The projector supports Dual-Band WiFi 6 (2.4GHz and 5GHz) for a stable and fast internet connection. Navigate to the 'Settings' menu, select 'Network & Internet', and connect to your preferred Wi-Fi network.
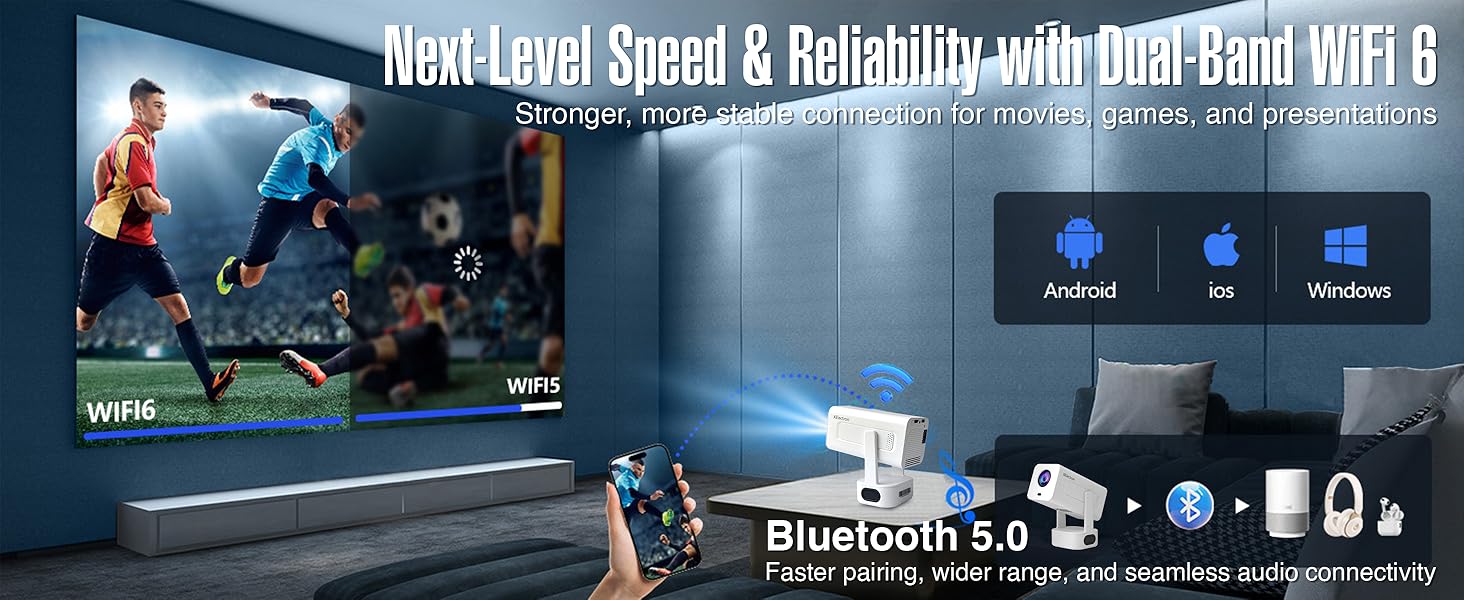
Image: Illustration of the projector's WiFi 6 and Bluetooth 5.0 capabilities, supporting various operating systems.
6.2 Bluetooth Connection
Utilize Bluetooth 5.0 to connect external audio devices such as wireless speakers or headphones. Go to 'Settings', select 'Connected Devices', and pair your Bluetooth device. The built-in 20W bass speaker provides robust audio without external connections.
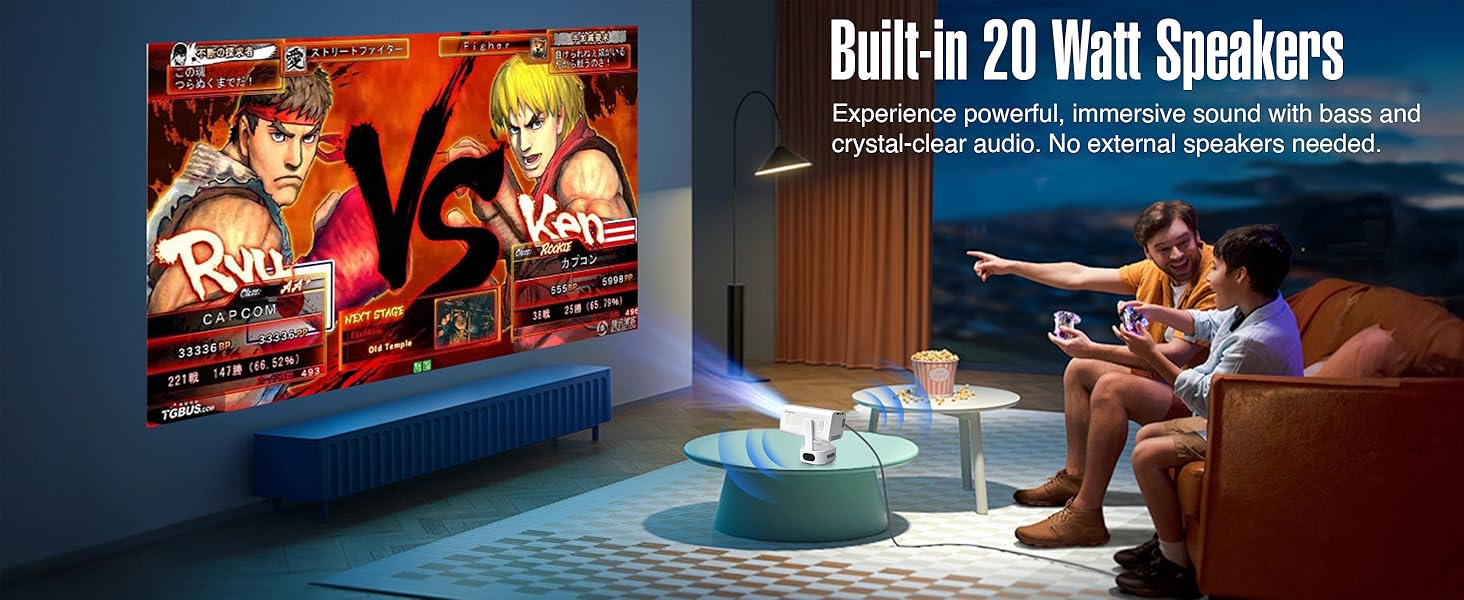
Image: The projector displaying a game, emphasizing the powerful built-in 20 Watt speakers.
6.3 Wired Connections (HDMI, USB, 3.5mm Audio)
The projector includes HDMI and USB ports for connecting various devices like gaming consoles, laptops, TV sticks, and external storage. A 3.5mm audio jack is available for wired audio output.
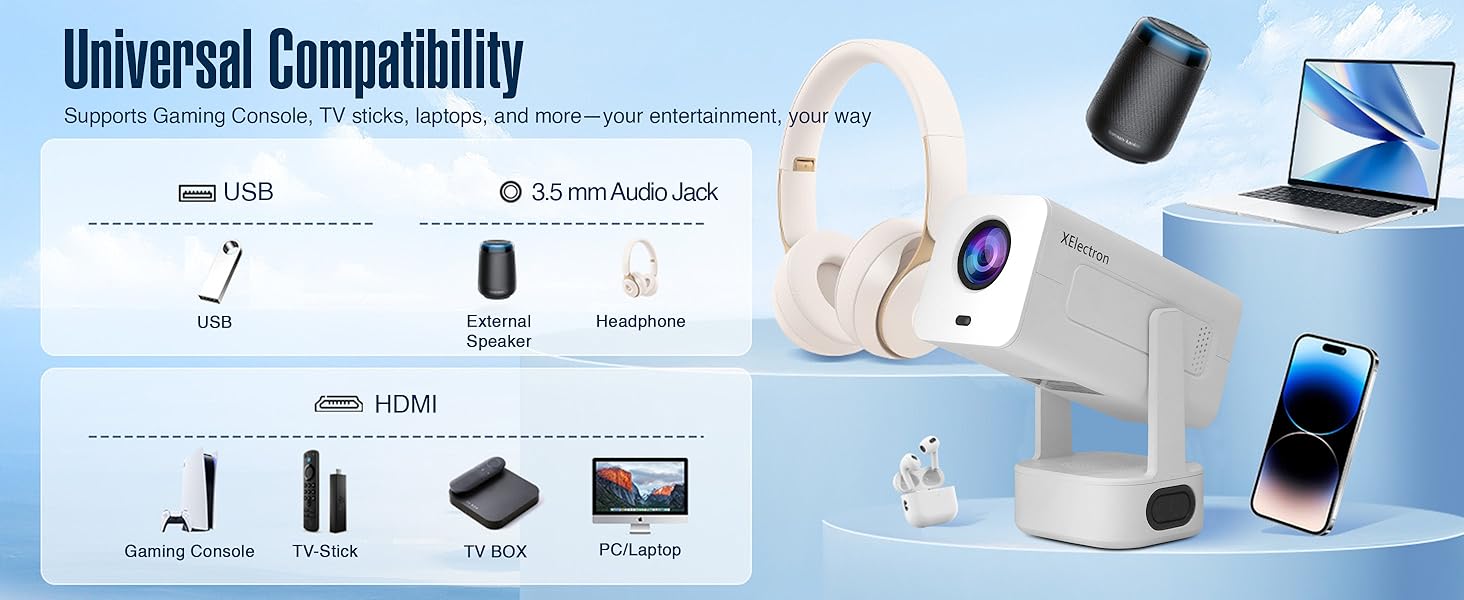
Image: An illustration of the projector's universal compatibility with various devices via USB, 3.5mm audio, and HDMI ports.
7. Maintenance
7.1 Cleaning the Lens
Gently wipe the projector lens with a soft, lint-free cloth. Do not use abrasive cleaners or solvents, as they can damage the lens coating.
7.2 Cleaning the Projector Body
Use a soft, dry cloth to clean the exterior of the projector. For stubborn marks, a slightly damp cloth can be used, followed by a dry cloth.
7.3 Ventilation
Ensure the projector's ventilation openings are clear and unobstructed to prevent overheating. Do not place the projector on soft surfaces that may block airflow.
8. Troubleshooting
8.1 No Image or Distorted Image
- Check Power: Ensure the projector is properly connected to power and turned on.
- Focus Adjustment: Use the remote control to adjust the electronic focus.
- Keystone Correction: The projector features auto keystone correction. If the image is still distorted, manually adjust it via the settings menu.
- Input Source: Verify the correct input source (HDMI, USB, Screen Mirroring) is selected.
8.2 No Sound or Low Sound
- Volume Level: Increase the volume on the projector and the connected source device.
- Mute Function: Check if the projector or source device is muted.
- Bluetooth Connection: If using Bluetooth speakers, ensure they are properly paired and connected.
- Cable Connection: For wired connections, ensure audio cables are securely connected.
8.3 Wi-Fi or Bluetooth Connection Issues
- Restart Devices: Restart the projector, your router, and the device you are trying to connect.
- Signal Strength: Ensure the projector is within range of your Wi-Fi router or Bluetooth device.
- Interference: Move away from other electronic devices that might cause interference.
9. Specifications
| Feature | Specification |
|---|---|
| Brand | XElectron |
| Model Name | Techno |
| Native Resolution | 1280 x 720 Pixels |
| Maximum Display Resolution | 1920 x 1080 Pixels (4K Support) |
| Lumens | 9000 Lumen |
| Contrast Ratio | 5000:1 |
| Operating System | Android 13 |
| Connectivity Technology | 3.5mm Jack, Bluetooth 5.0, HDMI, USB, Wi-Fi 6 |
| Light Source Operating Life | 50000 Hours |
| Maximum Image Size | 200 Inches |
| Minimum Image Size | 40 Inches |
| Special Features | Auto Keystone Correction, Built-In Wi-Fi, Lightweight, Portable, 210° Rotatable Design, Remote Focus |
| Built-in Speaker | 20 Watts Bass Speaker |
| Item Weight | 0.95 Kilograms |
| Item Dimensions L x W x H | 25L x 9.2W x 10H Centimeters |
10. Warranty and Support
10.1 Warranty Information
The XElectron Techno Smart Projector comes with a 1 Year Manufacturer Warranty from the date of purchase. Please retain your purchase receipt for warranty claims.
10.2 Customer Support
For technical assistance, troubleshooting, or warranty inquiries, please contact XElectron Customer Support:
- Manufacturer: Xelectron Technologies Pvt Ltd
- Address: 2417, Tower A, The Corenthum, Sector 62, Noida-201301, India
- Phone: 0120-4550655, 85273-12304