1. Introduction
Thank you for choosing the VOLISUN 13-inch Low Profile Ceiling Fan. This instruction manual provides essential information for the safe installation, operation, and maintenance of your new ceiling fan. Please read this manual thoroughly before installation and keep it for future reference.
2. Safety Information
Always follow basic safety precautions when installing and operating electrical appliances to reduce the risk of fire, electric shock, and personal injury.
- Ensure the power is turned off at the circuit breaker before installation or maintenance.
- All wiring must be in accordance with national and local electrical codes.
- Consult a qualified electrician if you are unsure about the installation process.
- Mount the fan to a ceiling joist or support structure capable of supporting the fan's weight.
- Do not insert objects into the fan blades while the fan is operating.
3. Package Contents
Verify that all components are present before beginning installation:
- VOLISUN 13-inch Low Profile Ceiling Fan with Integrated LED Light
- Remote Control
- Mounting Bracket
- Installation Hardware (screws, wire nuts, etc.)
- User Manual
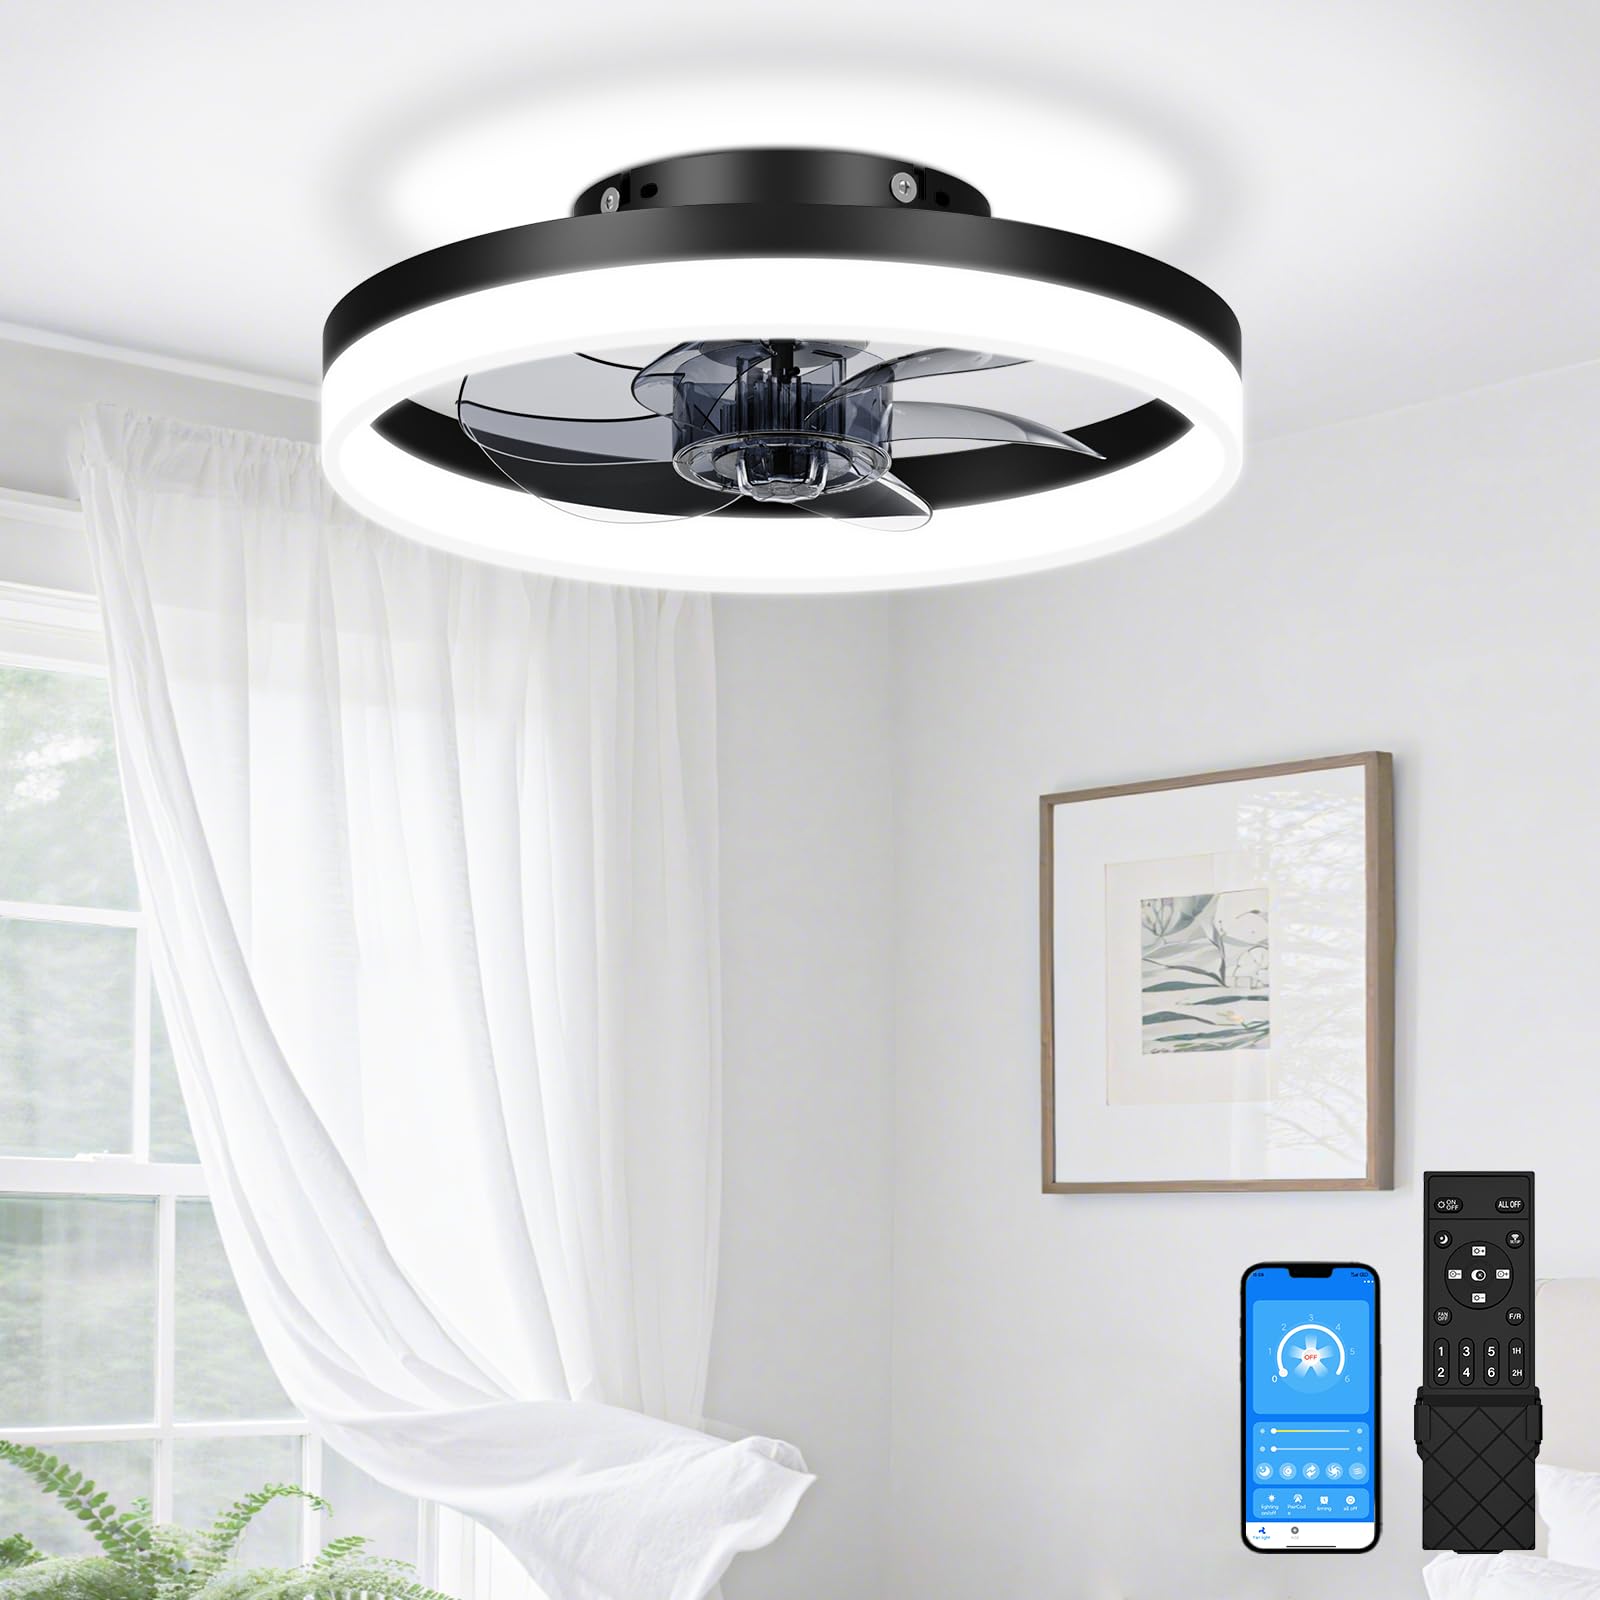
Image: The VOLISUN 13-inch Low Profile Ceiling Fan, showcasing its compact design and integrated LED light.
4. Setup and Installation
The VOLISUN ceiling fan is designed for simplified installation with most components pre-assembled. A comprehensive user manual is included in the package for detailed instructions.
- Prepare for Installation: Turn off power at the main circuit breaker. Ensure the mounting location is secure and can support the fan's weight.
- Mount the Bracket: Secure the mounting bracket to the ceiling junction box using the provided screws.
- Connect Wiring: Connect the fan's electrical wires to the household wiring according to the wiring diagram in the included manual. Use appropriate wire nuts.
- Attach the Fan: Carefully lift the fan assembly and attach it to the mounting bracket. Secure it with the designated screws.
- Restore Power: Once installation is complete and all connections are secure, restore power at the circuit breaker.

Image: Diagram illustrating the flush mount installation of the 13-inch ceiling fan.
5. Operating Instructions
Your VOLISUN ceiling fan can be controlled via the included remote control or a mobile application.
5.1. Remote Control Functions
- Power On/Off: Turn the fan and light on or off.
- Fan Speed: Select from 6 distinct wind speed options to suit your comfort.
- Light Control: Adjust brightness (5%-100%) and color temperature (3000K-6500K) from warm to cool white.
- Memory Function: The fan remembers your last light settings (brightness and color temperature) when turned off and on via remote or wall switch.
- Timer Setting: Set the fan to automatically turn off after 1 or 2 hours.
- Forward/Reverse Function: Change the direction of the fan blades for summer (downward airflow for cooling) or winter (upward airflow for circulating warm air).

Image: The remote control for the VOLISUN ceiling fan, showing buttons for fan speed, light control, timer, and direction.

Image: Visual representation of the dimmable LED light's adjustable color temperatures from 3000K to 6500K.
5.2. App Control
The fan supports control via a mobile application for enhanced smart features. Refer to the included user manual for specific instructions on pairing your device with the app.
5.3. Wall Switch
The wall switch provides basic ON/OFF functionality for the fan and light. Note that advanced features like speed, dimming, and color temperature adjustments require the remote control or mobile app.
6. Maintenance
Regular maintenance ensures optimal performance and longevity of your ceiling fan.
- Cleaning: Wipe the fan and light fixture with a soft, damp cloth. Do not use abrasive cleaners or solvents.
- Blade Cleaning: The bladeless design simplifies cleaning. The transparent blades can be easily wiped clean.
- Check Connections: Periodically check all electrical connections and mounting screws to ensure they are secure.
7. Troubleshooting
If you encounter any issues with your VOLISUN ceiling fan, refer to the following common problems and solutions:
| Problem | Possible Cause | Solution |
|---|---|---|
| Fan does not operate | No power supply; Loose wiring; Remote control battery low | Check circuit breaker; Verify wiring connections; Replace remote control batteries. |
| Light does not turn on | No power supply; Loose wiring; LED module failure | Check circuit breaker; Verify wiring connections; Contact customer support. |
| Remote control not working | Batteries low/dead; Not paired correctly | Replace batteries; Re-pair remote control with the fan (refer to manual). |
| Fan makes unusual noise | Loose mounting screws; Obstruction in fan blades | Tighten all mounting screws; Ensure no objects are interfering with blades. |
If the problem persists after attempting these solutions, please contact VOLISUN customer support.
8. Specifications
| Feature | Detail |
|---|---|
| Brand | VOLISUN |
| Model Number | 21742ZM |
| Size | 13 inches (Diameter) |
| Product Dimensions | 13"L x 13"W x 4.8"H |
| Color | Black |
| Material | Acrylonitrile Butadiene Styrene, Aluminum |
| Style | Modern |
| Installation Type | Flush Mount |
| Control Method | App, Remote |
| Light Source Type | LED |
| Light Color | Adjustable White (3000K-6500K) |
| Brightness | 2880 Lumen |
| Wattage | 24 watts |
| Voltage | 110 Volts |
| Item Weight | 4.6 pounds |
| Indoor/Outdoor Usage | Indoor |
9. Warranty and Support
VOLISUN stands by its products with a comprehensive 3-year service for this LED ceiling fan. This warranty covers malfunctions or defects within 3 years from the date of purchase.
For technical support, troubleshooting assistance, or warranty claims, please contact VOLISUN customer service through the retailer's platform or visit the official VOLISUN store online.
VOLISUN Store: Visit the VOLISUN Store