Casaottima B0DWK7HX2N
Casaottima L Shaped Desk User Manual
Model: B0DWK7HX2N
1. Introduction
Thank you for choosing the Casaottima L Shaped Desk. This manual provides detailed instructions for assembly, operation, and maintenance of your new desk. Please read this manual thoroughly before beginning assembly to ensure proper setup and safe use.
2. Key Features
- Reversible L-Shaped Design: Configurable for left or right-hand setup to fit various room layouts.
- Integrated Power Outlets: Conveniently located power strip with outlets for easy device charging and power access.
- Three Fabric Drawers: Provides ample storage for office supplies and documents, designed for smooth sliding.
- Double-Tier Storage Shelves: Offers additional space for books, decor, or office equipment.
- Movable CPU Stand: A dedicated stand for your computer tower, allowing flexible placement.
- Durable Construction: Made with engineered wood and a sturdy metal frame.

Figure 2.1: The Casaottima L Shaped Desk, showcasing its spacious design and integrated features.
3. Package Contents
Before assembly, please verify that all parts listed below are present and undamaged. If any parts are missing or damaged, please contact customer support.
| Part | Description | Quantity |
|---|---|---|
| A | Main Desktop Panel (with power outlets) | 1 |
| B | Side Desktop Panel | 1 |
| C | Desk Legs/Frame Components | Set |
| D | Fabric Drawers | 3 |
| E | Movable CPU Stand | 1 |
| F | Storage Shelf Components | Set |
| G | Hardware Pack (screws, wrench, etc.) | 1 |
| H | Instruction Manual | 1 |
4. Setup and Assembly
Assembly is required for this product. Please follow these steps carefully. It is recommended to have two people for assembly.
4.1 Before You Start
- Clear a spacious area for assembly.
- Lay out all parts and hardware, comparing them with the package contents list.
- Keep children and pets away from the assembly area.
- Do not overtighten screws during initial assembly; tighten fully once all parts are aligned.
4.2 Assembly Steps
- Assemble the Main Desk Frame: Attach the desk legs to the main desktop panel (Part A) using the provided hardware. Ensure all connections are secure but not fully tightened yet.
- Attach the Side Desk Frame: Connect the side desktop panel (Part B) to the main desk frame. Decide on the L-shape orientation (left or right) before securing.

Figure 4.1: Reversible design allows for left or right L-shape configuration.
- Install Storage Shelves: Assemble the double-tier storage shelves (Part F) and attach them to the side desk frame.

Figure 4.2: Detail of the double-tier storage shelves.
- Insert Fabric Drawers: Slide the three fabric drawers (Part D) into their designated slots under the main desktop panel.

Figure 4.3: The fabric drawers offer ample storage and smooth operation.
- Place Movable CPU Stand: Position the movable CPU stand (Part E) as desired under the desk.
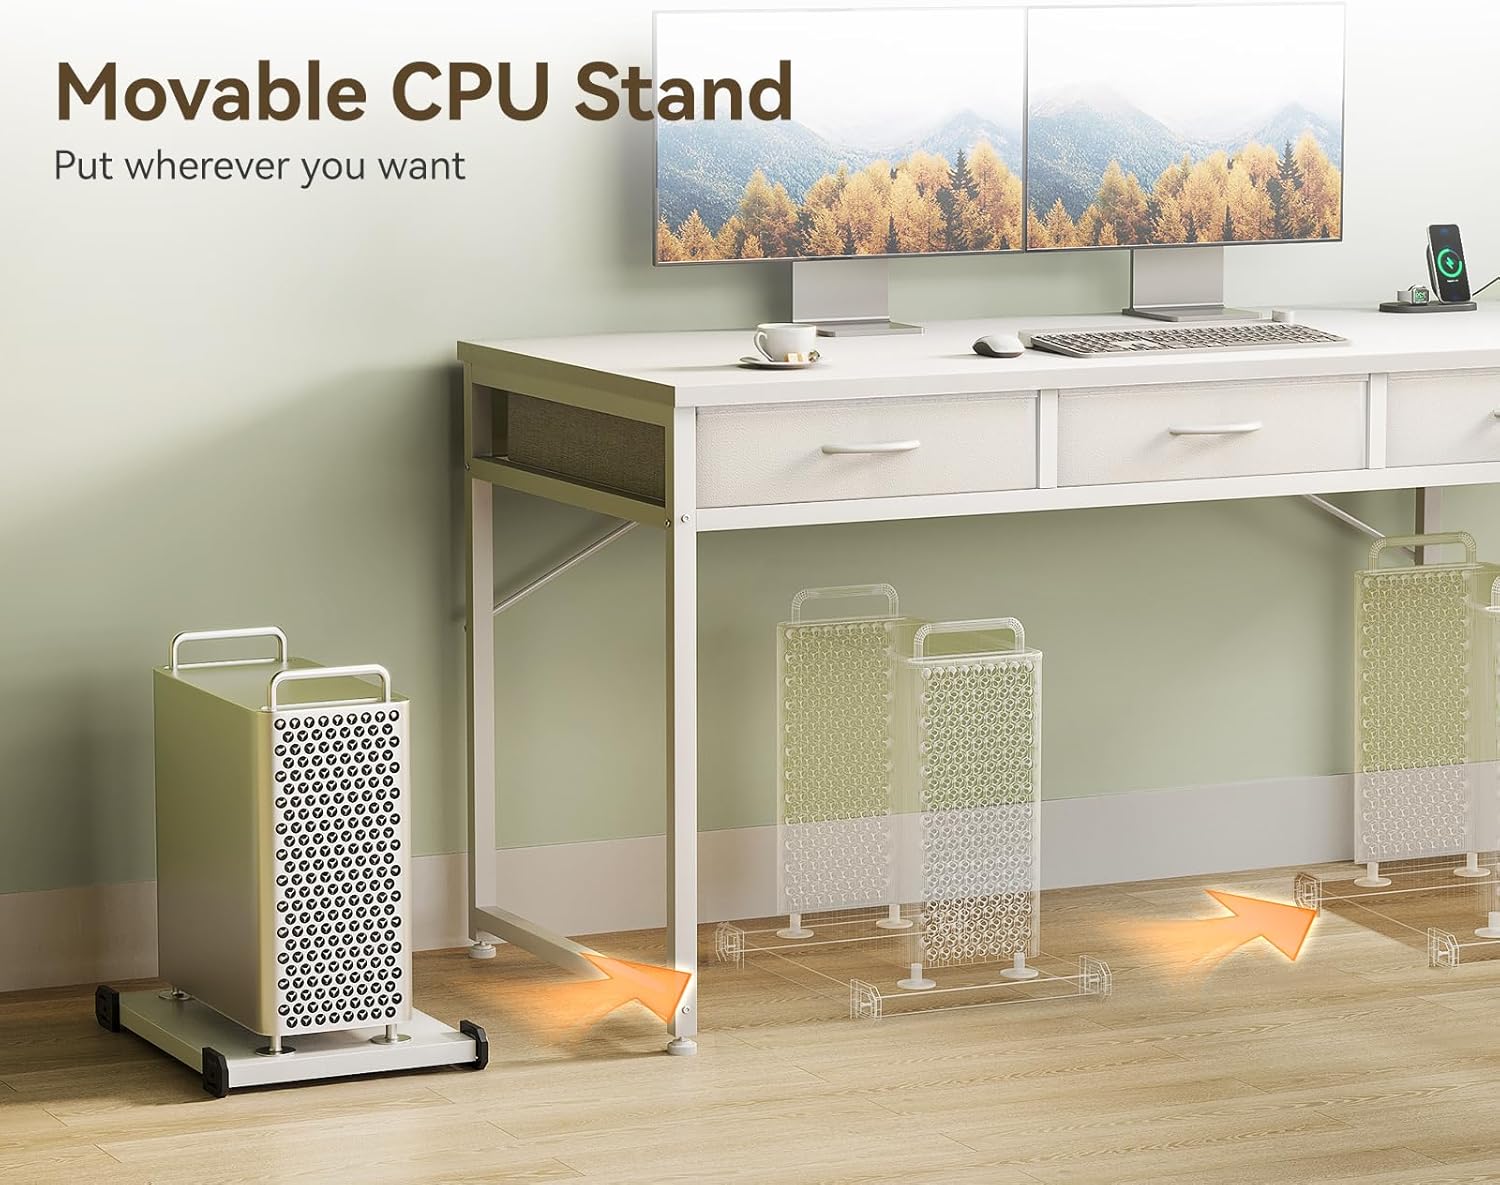
Figure 4.4: The movable CPU stand provides flexible placement for your computer tower.
- Final Tightening: Once all components are in place and aligned, fully tighten all screws and bolts.
5. Operating Instructions
5.1 Using the Power Outlets
- Connect the desk's power cord to a standard wall outlet.
- Plug your electronic devices (monitors, laptops, chargers) into the integrated power outlets on the desktop.
- Ensure the total power draw of connected devices does not exceed the desk's rated capacity (refer to specifications).
5.2 Using the Fabric Drawers
- The fabric drawers are designed for light to medium storage of office supplies, documents, and personal items.
- Pull the drawer handles gently to open and push to close.
- Avoid overloading drawers to ensure smooth operation and prevent damage.
5.3 Utilizing Storage Shelves
- The double-tier shelves provide open storage for books, decorative items, or small office equipment like printers.
- Distribute weight evenly on the shelves.
6. Maintenance
- Cleaning: Wipe the desk surfaces with a soft, damp cloth. Avoid harsh chemicals or abrasive cleaners. For fabric drawers, spot clean with a mild detergent if necessary.
- Hardware Check: Periodically check all screws and bolts to ensure they remain tight. Retighten if necessary to maintain stability.
- Avoid Excessive Weight: Do not place excessively heavy items on the desk or shelves to prevent structural damage.
- Liquid Spills: Clean up liquid spills immediately to prevent damage to the laminated surface.
7. Troubleshooting
| Problem | Possible Cause | Solution |
|---|---|---|
| Desk is wobbly/unstable. | Screws are loose; uneven floor. | Ensure all screws are fully tightened. Adjust leveling feet if present, or place shims under legs on uneven surfaces. |
| Fabric drawers do not slide smoothly. | Overloaded drawer; obstruction in slot. | Reduce weight in the drawer. Check for any objects blocking the drawer's path. |
| Power outlets not working. | Desk not plugged in; circuit breaker tripped; faulty device. | Verify the desk's power cord is securely plugged into a working wall outlet. Check your home's circuit breaker. Test with a different device. |
8. Specifications
- Brand: Casaottima
- Model: B0DWK7HX2N
- Product Dimensions: 39.37"D x 53.15"W x 30.79"H
- Color: White
- Style: Modern
- Base Material: Legs (Metal Frame)
- Top Material: Engineered Wood
- Finish Type: Laminated
- Special Features: Reversible L-shape, 3 Fabric Drawers, Power Outlets, Storage Shelves, Movable CPU Stand
- Assembly Required: Yes
- UPC: 850073018132
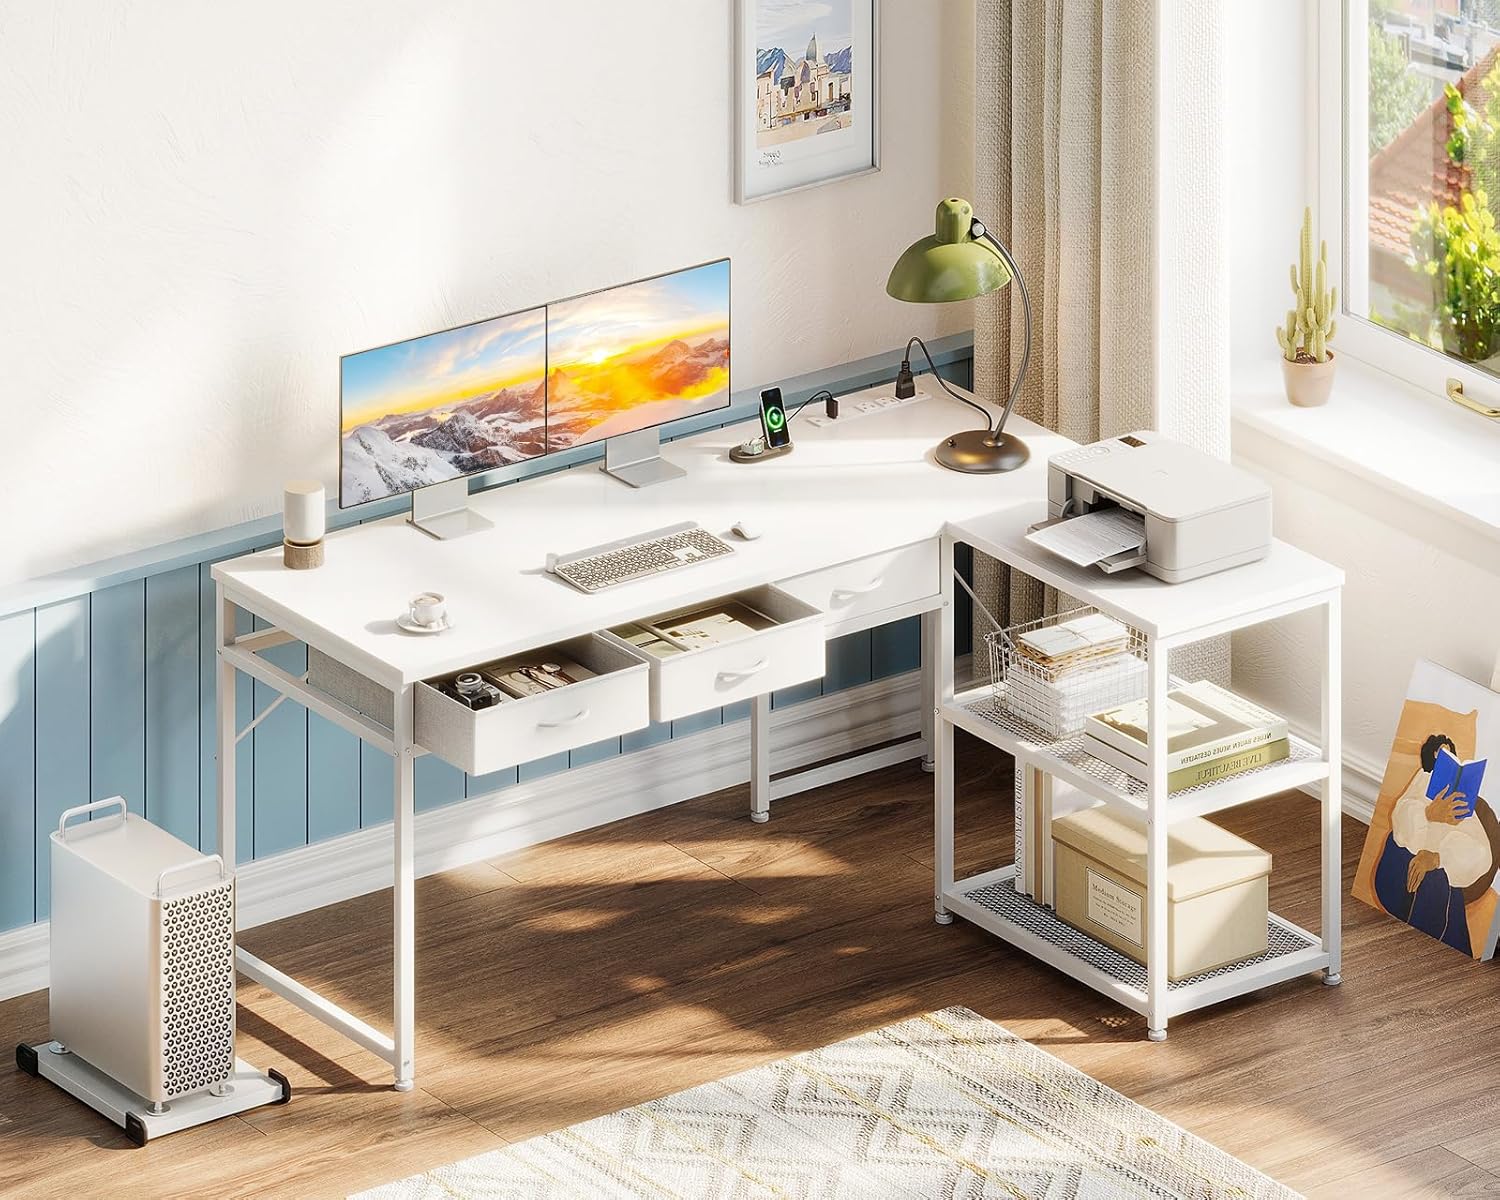
Figure 8.1: Detailed dimensions of the Casaottima L Shaped Desk.
9. Warranty and Support
For warranty information or technical support, please contact Casaottima customer service. Refer to your purchase documentation for specific warranty terms and contact details.
You may also visit the official Casaottima store on Amazon for more information and support resources: