1. Introduction
This manual provides essential information for the safe and efficient operation, installation, and maintenance of your KWCWB Bottom Loading Water Cooler Dispenser, Model FX-YS2. This appliance is designed to provide both hot and cold water from 5-gallon bottles, featuring a durable construction and user-friendly design.
2. Safety Information
Please read all safety instructions carefully before using the appliance to prevent injury or damage.
- Electrical Safety: Ensure the power outlet meets the specified voltage (110V) and frequency (60Hz). Do not use extension cords. Always plug into a grounded outlet.
- Hot Water Safety: The dispenser provides water heated to over 90°C (194°F). Exercise extreme caution when dispensing hot water to avoid burns. Keep children away from the hot water dispenser.
- Over-Temperature Protection: The unit is equipped with a thermostat that automatically disconnects power if water temperature is too high or too low. Additional protections include overload and anti-dry burn features.
- Placement: Place the dispenser on a firm, level surface. Ensure adequate ventilation around the unit, keeping it away from direct sunlight and heat sources.
- Water Supply: Always ensure a water bottle is properly installed and filled before activating heating or cooling functions to prevent damage to the unit.
- Cleaning: Unplug the unit before cleaning. Do not immerse the dispenser in water.
3. Product Overview
The KWCWB Bottom Loading Water Cooler Dispenser (Model FX-YS2) is constructed with a high-quality PP shell and a 304 stainless steel inner liner, treated with electrostatic spraying for durability. It features a bottom-loading design for easy 5-gallon bottle replacement.
Key Components:
- Hot Water Spout
- Cold Water Spout
- Control Panel with LED Indicators (Power, Hot, Cold, Shortage)
- Bottom Loading Compartment for 5-Gallon Water Bottles
- Rear Power and Heating/Cooling Switches
- Removable Drip Tray
Product Dimensions:
The unit measures approximately 12.99 inches (D) x 11.81 inches (W) x 35.43 inches (H).
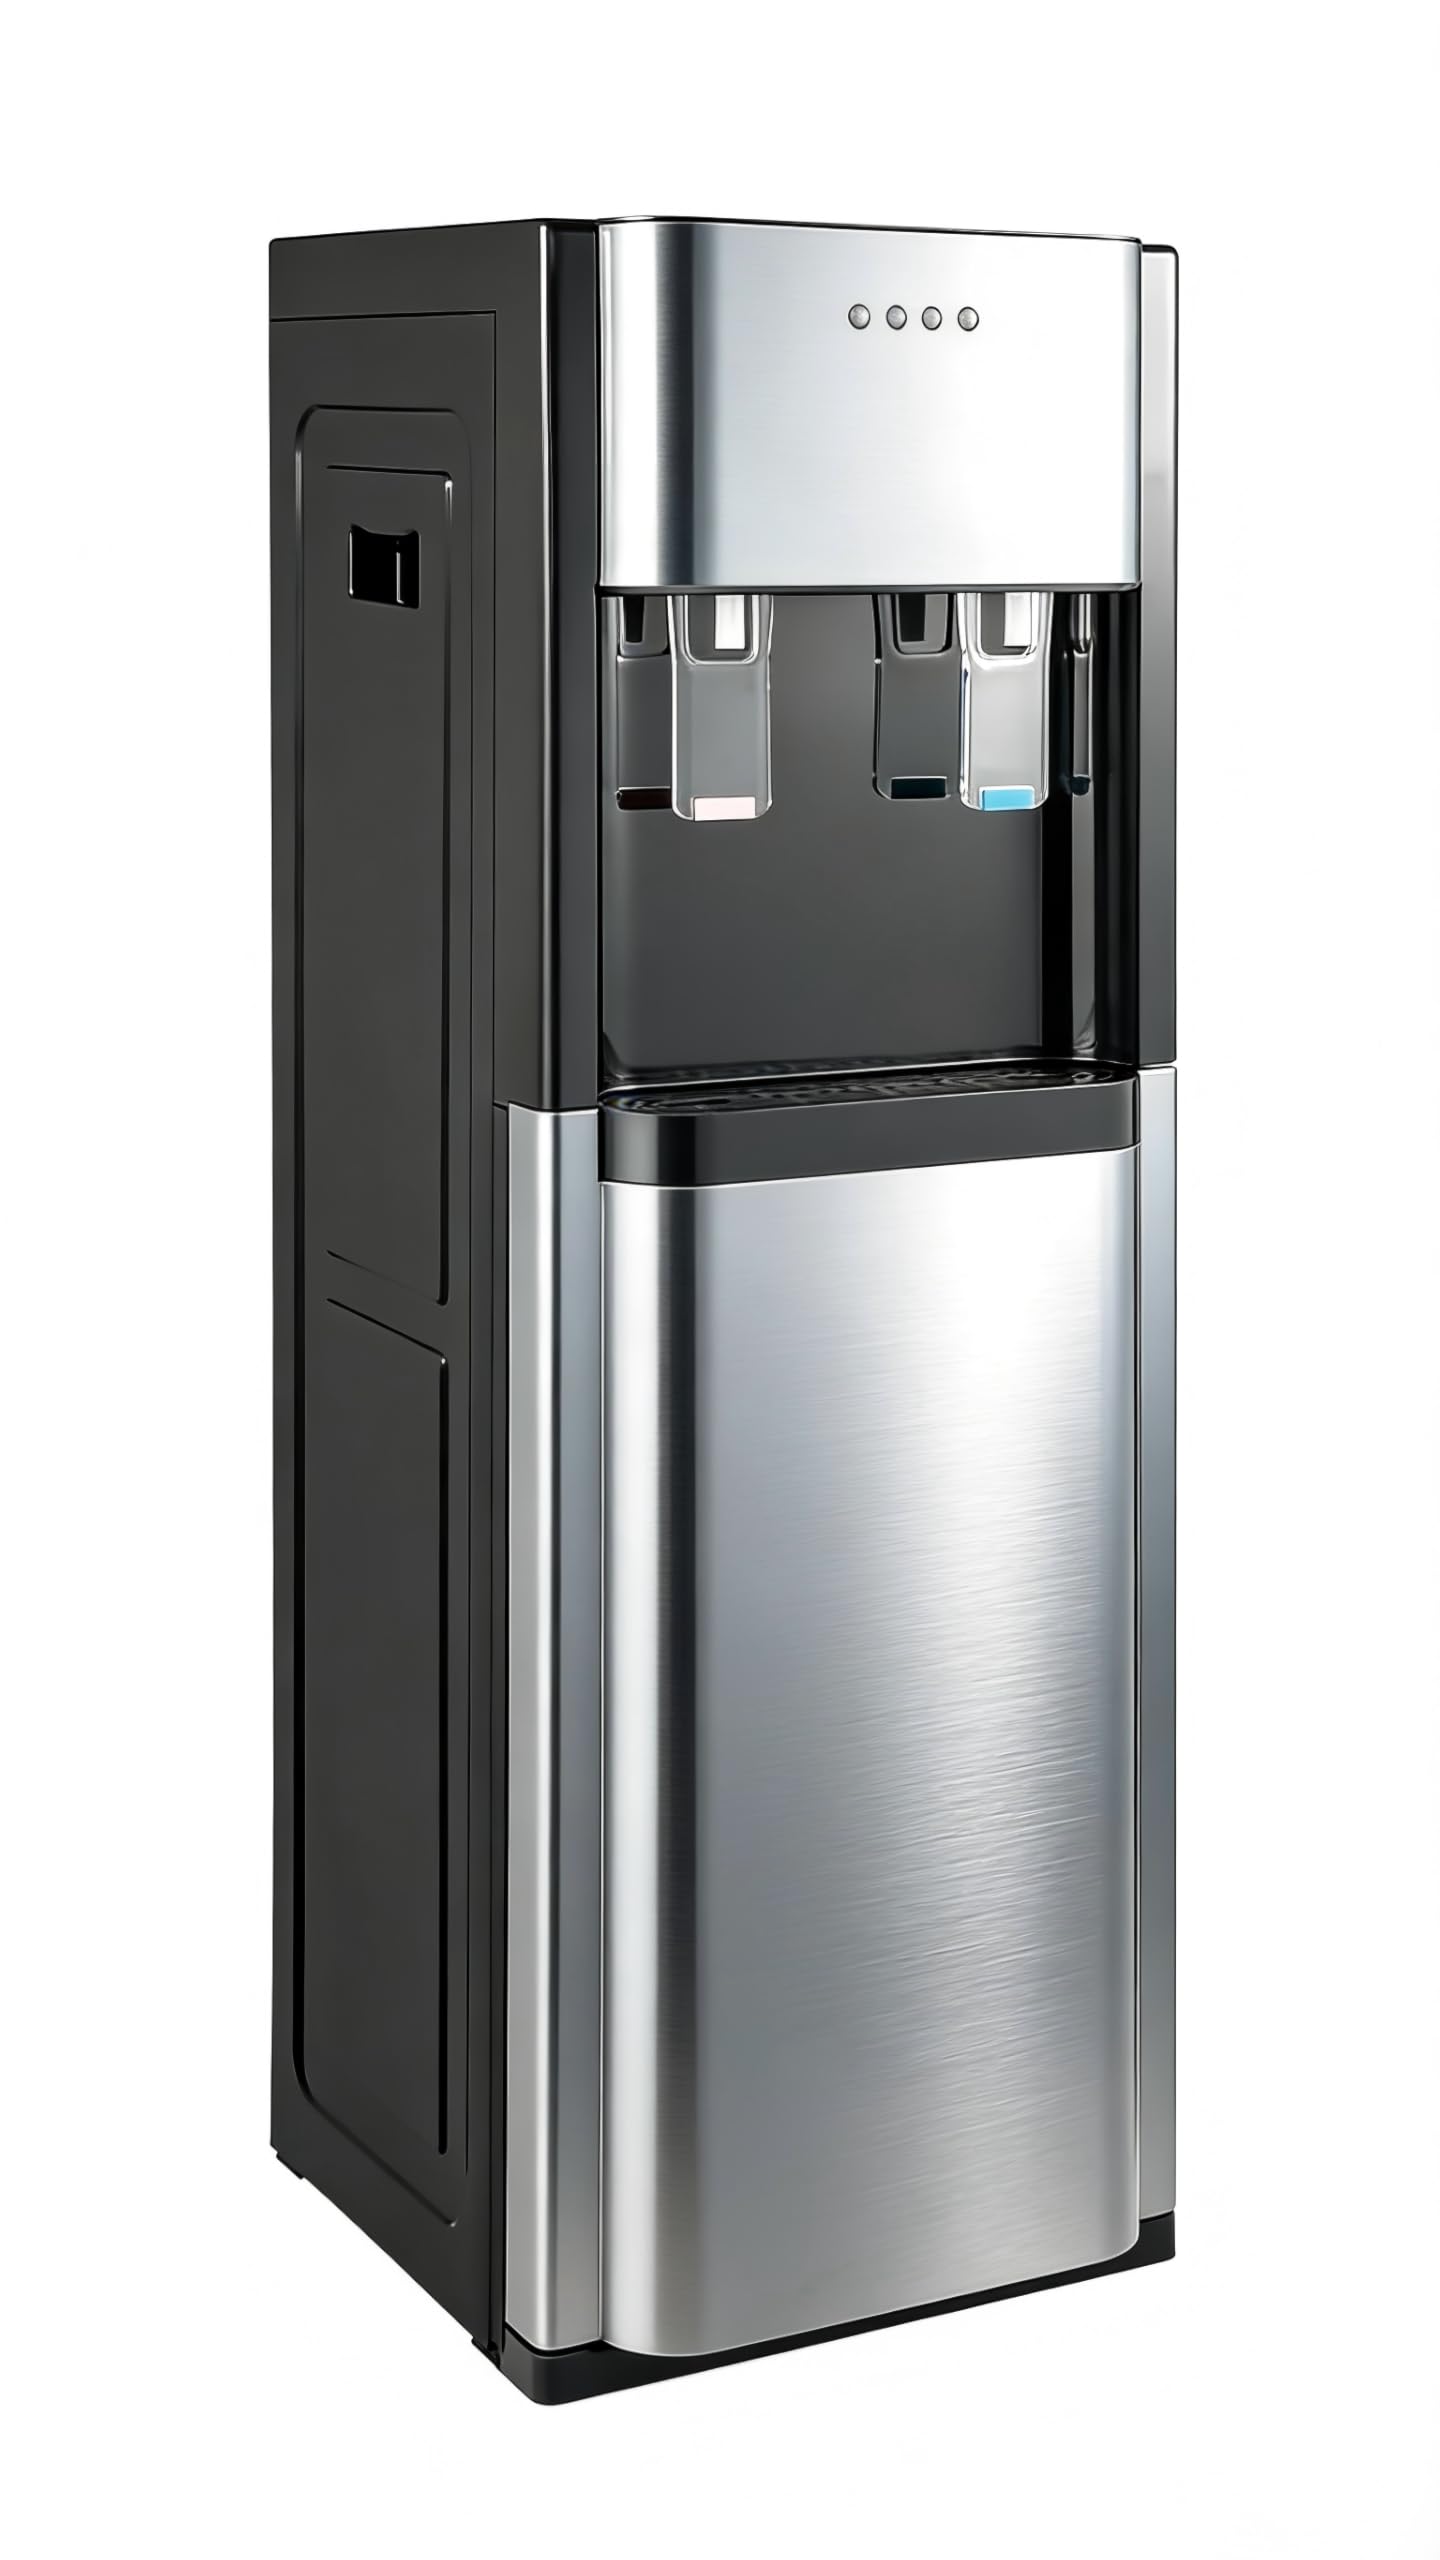
Figure 3.1: KWCWB Bottom Loading Water Cooler Dispenser (Dark Gray)

Figure 3.2: Bottom loading compartment open, showing space for a 5-gallon bottle.

Figure 3.3: Product dimensions (12.99"D x 11.81"W x 35.43"H).
4. Setup
- Unpack the Dispenser: Carefully remove the dispenser from its packaging. Inspect for any damage.
- Placement: Position the dispenser on a flat, stable surface in a cool, dry place away from direct sunlight and heat sources. Ensure there is at least 4 inches of clearance from walls for proper ventilation.
- Install Water Bottle: Open the bottom compartment door. Place a 5-gallon water bottle inside. Ensure the water pump tube is securely inserted into the bottle's opening. Close the compartment door.
- Initial Flush: Before plugging in, place a cup under the cold water spout and press the lever until water flows out. Repeat for the hot water spout. This helps to remove any air from the lines.
- Connect Power: Plug the power cord into a grounded electrical outlet.
- Activate Heating/Cooling: Locate the green (cooling) and red (heating) switches on the back of the unit. Flip them to the 'ON' position. Allow 15-30 minutes for the water to reach optimal hot and cold temperatures.

Figure 4.1: Rear switches for power and temperature control.
Setup Demonstration Video:
Video 4.1: This video demonstrates the general setup and features of the water dispenser, including the bottom loading mechanism and overall design.
5. Operating Instructions
Once the unit is set up and powered on, you can dispense hot or cold water.
Dispensing Water:
- Cold Water: Place a cup under the blue-marked spout. Press the cold water lever to dispense water. The cold water temperature ranges from 13-15°C (55.4-59°F).
- Hot Water: Place a cup under the red-marked spout. Press the hot water lever to dispense water. The hot water temperature is typically above 90°C (194°F). Exercise caution.
LED Indicators:
The control panel features LED lights to indicate the status of the dispenser:

Figure 5.1: Control panel with LED indicators.
- POWER: Indicates the unit is powered on.
- HOT: Illuminates when the heating function is active.
- COLD: Illuminates when the cooling function is active.
- SHORTAGE: Indicates a low water level in the bottle or an issue with water flow.

Figure 5.2: Efficient working temperatures: Hot water >90°C (194°F) with 450W heating power; Cold water 13-15°C (55.4-59°F) with 70W cooling power.
6. Maintenance
Regular maintenance ensures optimal performance and longevity of your water dispenser.
Cleaning the Exterior:
- Unplug the dispenser before cleaning.
- Wipe the exterior surfaces with a soft, damp cloth. Do not use abrasive cleaners or solvents.
- Clean the drip tray regularly by removing it, emptying any collected water, and washing it with mild soap and water.
Draining the Unit:
It is recommended to drain and clean the internal tanks periodically, especially if the dispenser will not be used for an extended period or if you notice a change in water taste.
- Unplug the dispenser and remove the water bottle.
- Place a bucket under the drain plug located at the back of the unit.
- Remove the drain plug to allow water to empty from the tanks.
- Once drained, replace the drain plug securely.
- Clean the internal tanks with a food-grade cleaning solution if necessary, following the solution's instructions, then rinse thoroughly.
7. Troubleshooting
Refer to the following tips for common issues. If problems persist, contact customer support.
- No Water Flow:
- Ensure the water bottle is not empty and is correctly installed.
- Release trapped air by opening the tap or gently shaking the dispenser.
- No Hot Water:
- Verify the hot water switch on the back of the unit is in the 'ON' position.
- Ensure the unit is plugged in and the POWER LED is illuminated.
- Confirm the water bottle is not empty before heating.
- No Cold Water / Water Not Cold Enough:
- Verify the cold water switch on the back of the unit is in the 'ON' position.
- Check if the cooling light is on and the fan is running. If warm air blows out, the cooling system is generally working.
- Cooling performance may decrease in high ambient temperatures (e.g., 40°C-45°C / 104°F-113°F).
- Allow sufficient time (15-30 minutes) for the water to cool after initial setup or bottle change.
- Water Tastes Like Plastic:
- Perform an initial flush as described in the Setup section.
- Ensure the water bottle itself is clean and free from odors.
8. Specifications
| Specification | Value |
|---|---|
| Brand | KWCWB |
| Model Number | FX-YS2 |
| Color | Dark Gray |
| Material | Polypropylene (PP), Stainless Steel |
| Capacity | 5.28 Gallons (for water bottle) |
| Product Dimensions | 12.99"D x 11.81"W x 35.43"H |
| Weight | 12.79 Pounds (unit) / 13.45 Pounds (item) |
| Wattage | 620 watts (Total) |
| Heating Power | 450W |
| Cooling Power | 70W |
| Hot Water Temperature | >90°C (194°F) |
| Cold Water Temperature | 13-15°C (55.4-59°F) |
| Installation Type | Floor Mounted |
| Access Location | Bottom |
| Power Source | Corded Electric |
| UPC | 757582823892 |
| Manufacturer | UTWCWB |
9. Warranty and Support
KWCWB is committed to providing quality products and support. For any questions or assistance, please contact our customer service team.
- After-sales Service: KWCWB provides comprehensive service. Users can submit questions via email at any time to receive timely service and support within 24 hours.
- Please retain your purchase receipt for warranty claims.